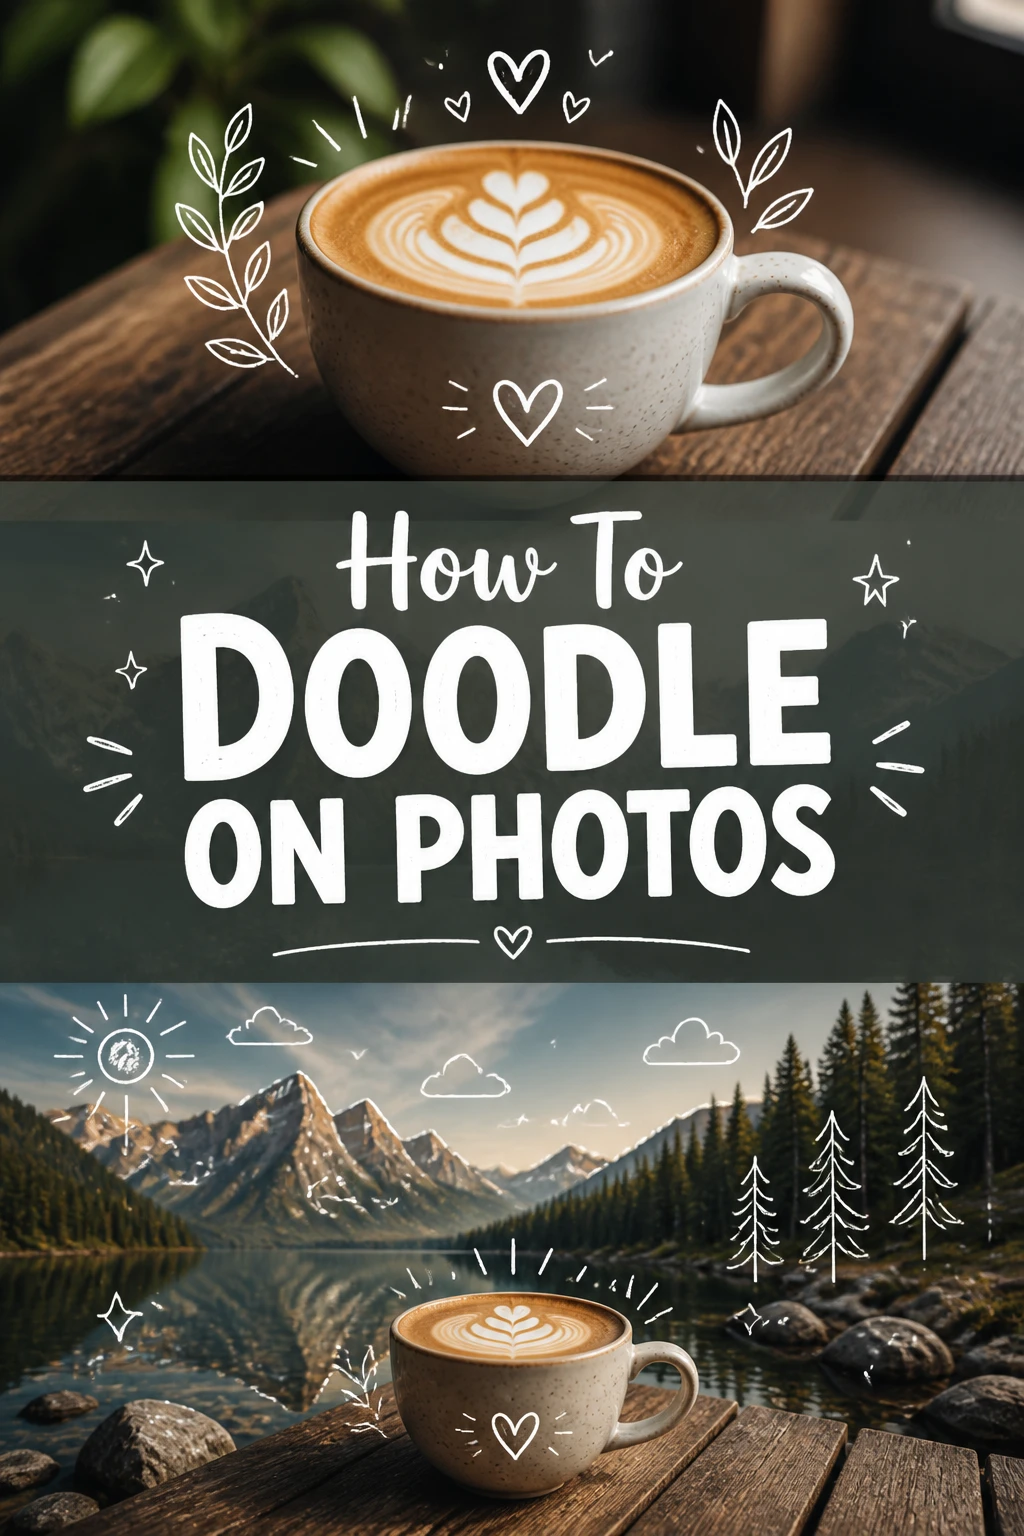
🎨 How To Doodle On Photos
There’s something uniquely personal about adding your own touch to a cherished photograph.
I’ve spent countless hours transforming ordinary snapshots into whimsical art pieces for friends, family, and my own social media.
This guide distills that hands-on experience, showing you exactly how to bring your photos to life with simple, fun doodles.
Quick Overview
Doodling on photos lets you inject personality, humor, or artistic flair into any image. It’s a creative outlet that’s surprisingly easy to pick up, regardless of your artistic skill level.
- Time needed: 15-45 minutes (depending on complexity)
- Difficulty: Beginner
- What you’ll need: A smartphone, tablet, or computer; a photo editing app with drawing tools; a photo you want to doodle on.
Step-by-Step Instructions
Step 1: Choose Your Canvas Wisely
The first step is picking the perfect photo. Look for images with clear subjects or interesting backgrounds that can be enhanced, not overwhelmed, by doodles.
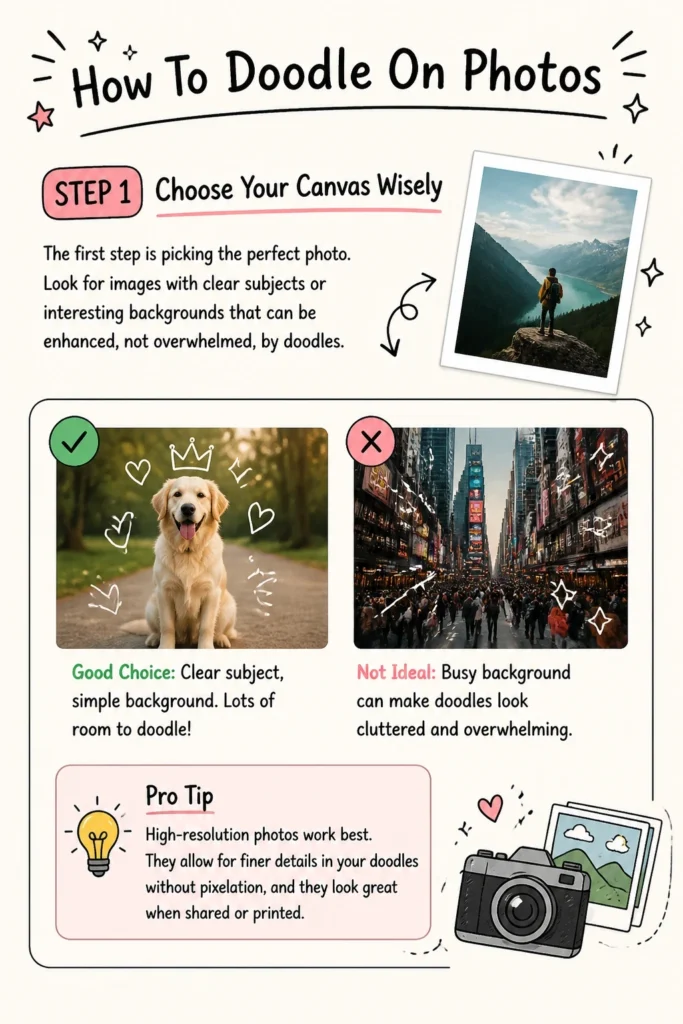
Consider the photo’s story or emotion. A plain background often provides more space for elaborate doodles, while a busy photo might benefit from just a few simple additions.
Pro Tip: High-resolution photos work best. They allow for finer details in your doodles without pixelation, and they look great when shared or printed.
Step 2: Select Your Digital Art Studio
Next, you need an app. Many photo editing applications offer robust drawing tools. Popular choices include PicsArt, Adobe Photoshop Express, Procreate (for iPad), Sketchbook, or even Instagram’s built-in doodle feature for quick edits.
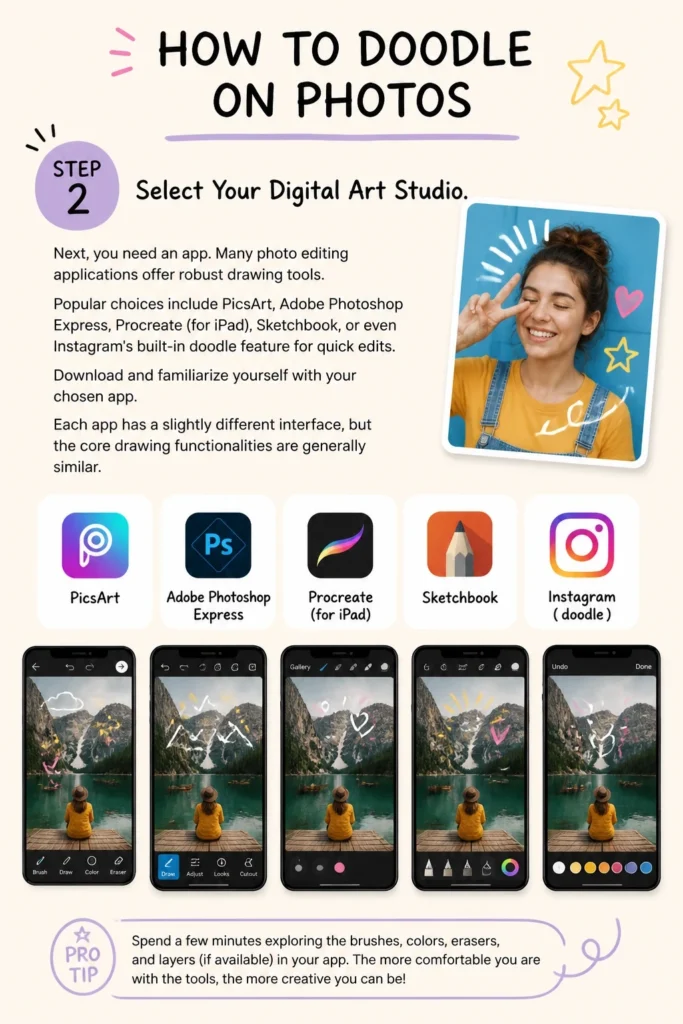
Download and familiarize yourself with your chosen app. Each app has a slightly different interface, but the core drawing functionalities are generally similar.
Step 3: Import Your Masterpiece
Open your chosen photo editing app and import the picture you selected. Most apps have an “Open,” “Import,” or “+” icon that lets you browse your device’s photo library.
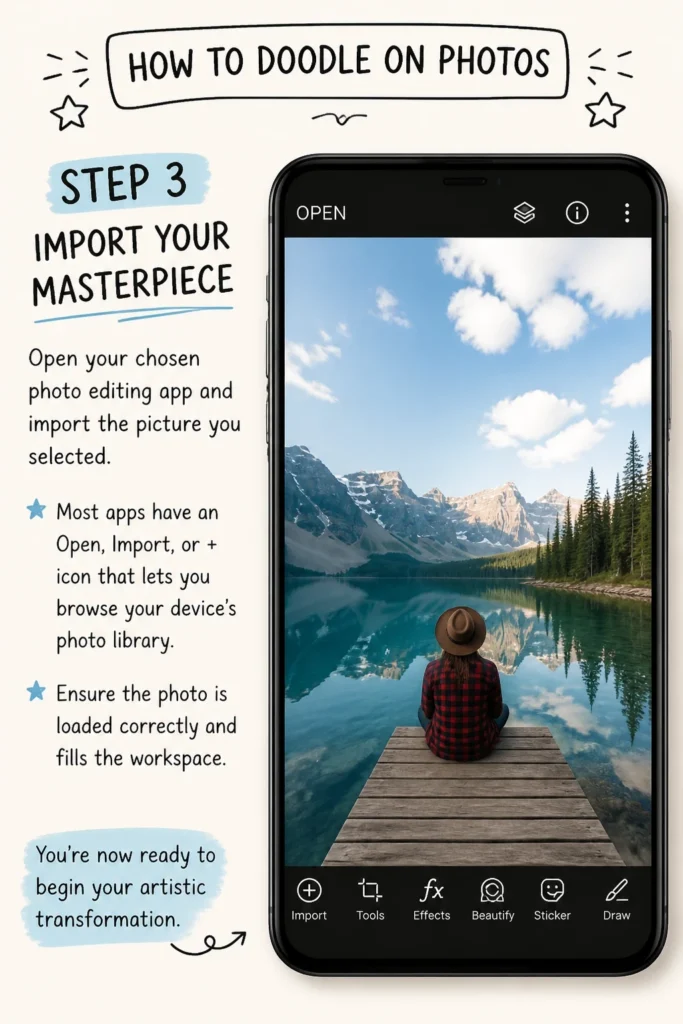
Ensure the photo is loaded correctly and fills the workspace. You’re now ready to begin your artistic transformation.
Step 4: Explore the Doodle Toolbelt
Before drawing, take a moment to understand your app’s drawing tools. Locate the brush tool, color palette, eraser, and crucially, the layers panel.
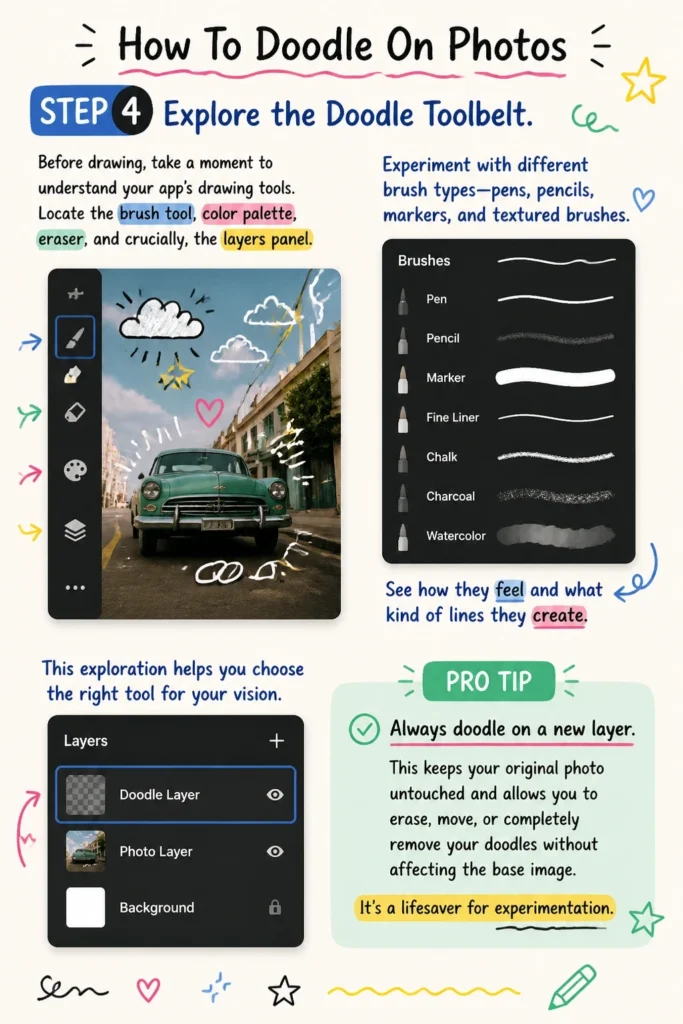
Experiment with different brush types—pens, pencils, markers, and textured brushes. See how they feel and what kind of lines they create. This exploration helps you choose the right tool for your vision.
Pro Tip: Always doodle on a new layer. This keeps your original photo untouched and allows you to erase, move, or completely remove your doodles without affecting the base image. It’s a lifesaver for experimentation.
Step 5: Sketch Your Initial Ideas
Start with light, rough sketches on a new layer. Think about what you want to add: speech bubbles, eyeglasses on a pet, a halo above a friend’s head, or maybe whimsical swirls around a landscape.
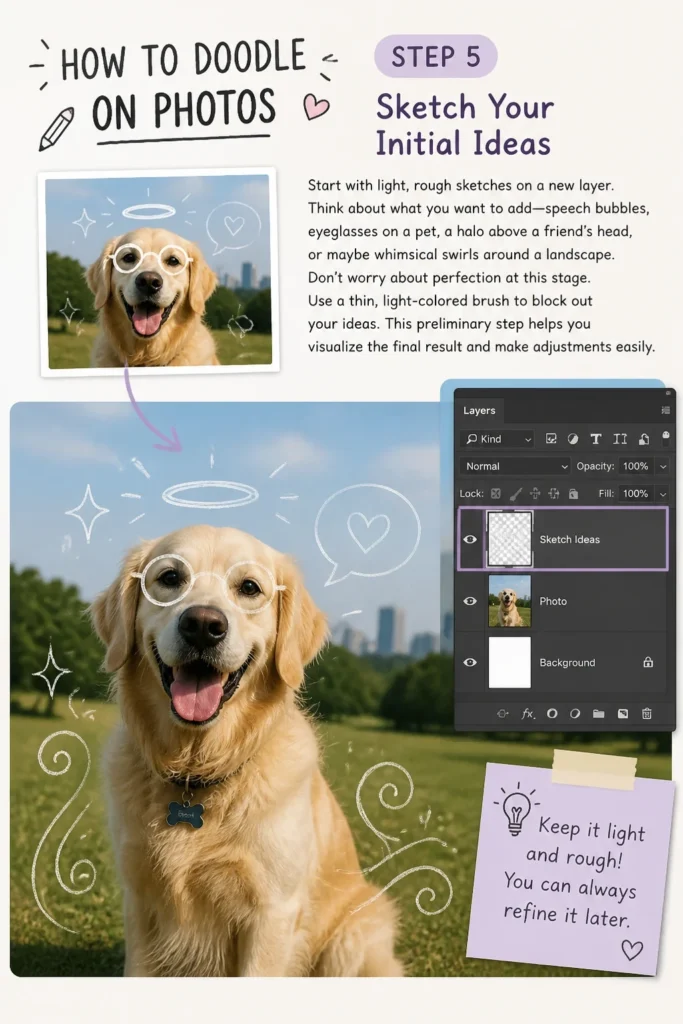
Don’t worry about perfection at this stage. Use a thin, light-colored brush to block out your ideas. This preliminary step helps you visualize the final result and make adjustments easily.
Step 6: Bring Your Doodle to Life with Color and Detail
Once you’re happy with your rough sketch, select a new layer (or continue on the same one if you’re confident). Choose your desired brush size and color.
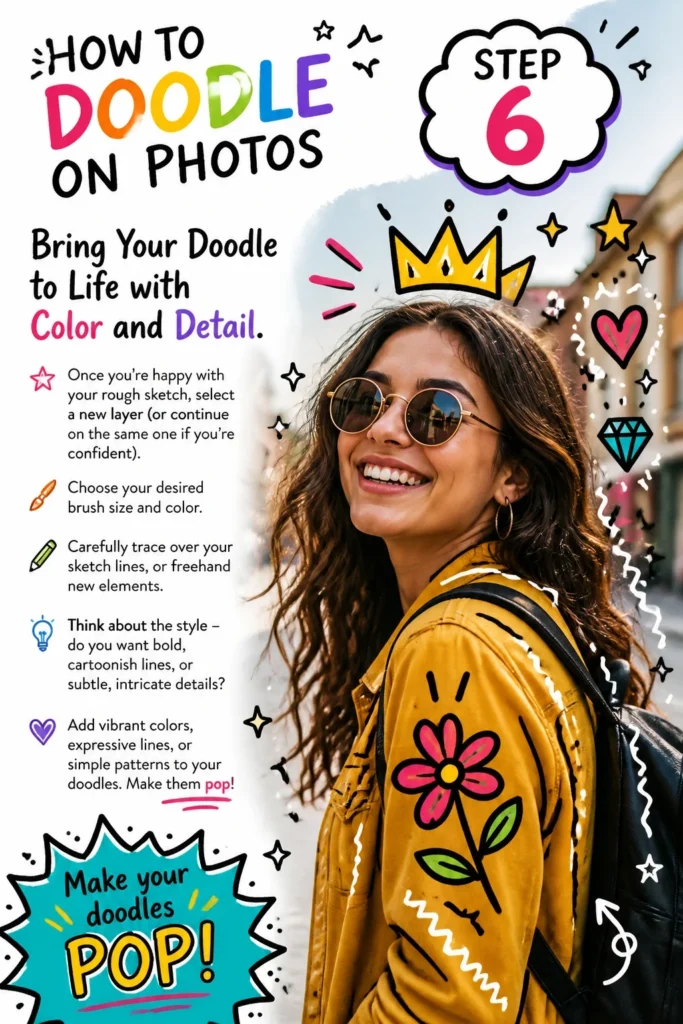
Carefully trace over your sketch lines, or freehand new elements. Think about the style: do you want bold, cartoonish lines, or subtle, intricate details?
Add vibrant colors, expressive lines, or simple patterns to your doodles. Make them pop!
Step 7: Refine and Enhance Your Creations
This is where your doodles truly shine. Use the eraser tool to clean up any stray lines or mistakes. Adjust brush sizes for finer details or broader strokes.
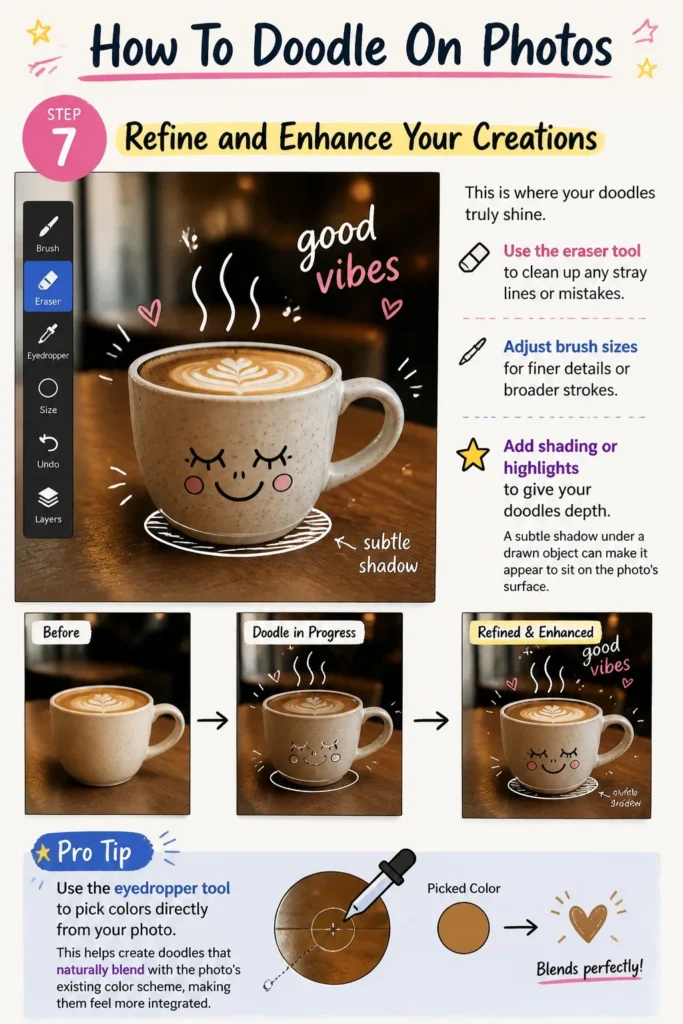
Consider adding shading or highlights to give your doodles depth. A subtle shadow under a drawn object can make it appear to sit on the photo’s surface.
Pro Tip: Use the eyedropper tool to pick colors directly from your photo. This helps create doodles that naturally blend with the photo’s existing color scheme, making them feel more integrated.
Step 8: Review and Polish Your Artwork
Step back and look at your entire image. Does anything feel off? Are the doodles balanced with the photo?
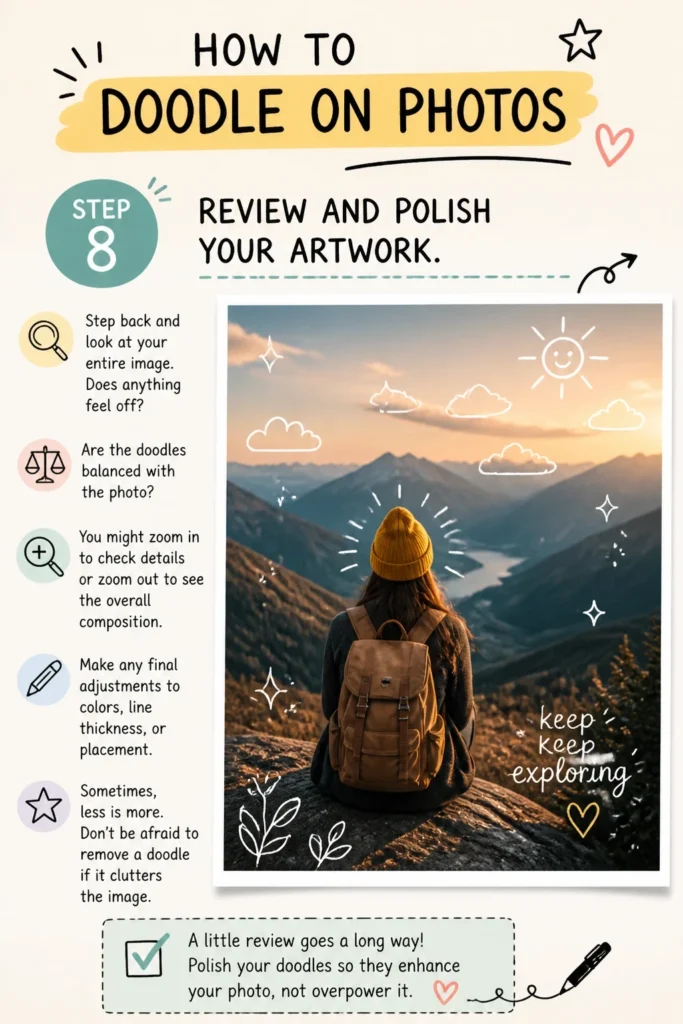
You might zoom in to check details or zoom out to see the overall composition. Make any final adjustments to colors, line thickness, or placement.
Sometimes, less is more. Don’t be afraid to remove a doodle if it clutters the image.
Step 9: Save and Share Your Masterpiece
When you’re completely satisfied, save your doodled photo. Most apps offer options to save as a JPEG or PNG file.
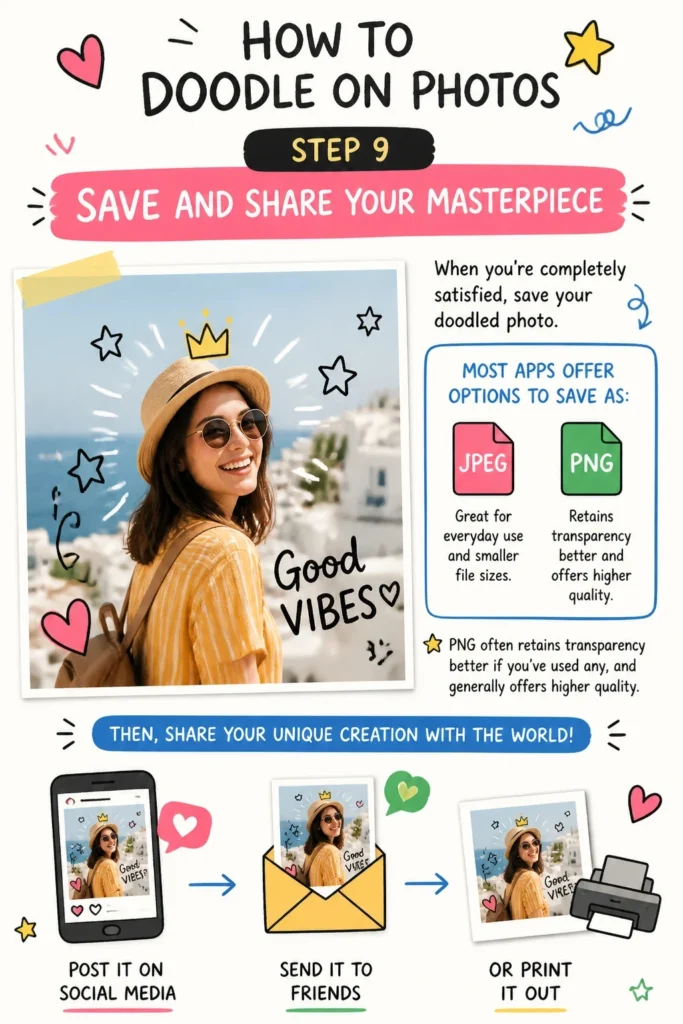
PNG often retains transparency better if you’ve used any, and generally offers higher quality. Then, share your unique creation with the world! Post it on social media, send it to friends, or print it out.
Common Mistakes to Avoid
Overcrowding the Photo
A common pitfall is adding too many doodles. This can make your photo look cluttered and distract from the original image’s beauty. The doodles should complement the photo, not compete with it.
Instead, focus on a few key elements that enhance the photo’s narrative or highlight a specific feature. Give your doodles space to breathe and allow the photo’s subject to remain visible.
Ignoring Photo Composition
Doodling without considering the photo’s existing composition can lead to awkward results. For example, drawing a speech bubble directly over someone’s face might obscure them.
Always think about where your doodles will fit naturally within the image’s existing lines, shapes, and empty spaces. Use the photo’s elements as guides for placement and size.
Using the Wrong Brush or Color
Inconsistent brush styles or clashing colors can make your doodles look out of place. A fine line brush for a bold, cartoonish doodle won’t have the desired impact, and a bright neon color might look jarring on a vintage-toned photo.
Experiment with different brushes and colors. Choose brushes that match the intended style of your doodle and colors that either complement or intentionally contrast with the photo’s palette in a pleasing way.
Forgetting to Use Layers
Starting to doodle directly on the photo layer is a common beginner mistake. This permanently alters the original image and makes it impossible to undo specific doodles without undoing everything else.
Always create a new layer for your doodles. This simple habit saves immense frustration and gives you complete control over each element of your design, allowing for easy edits and revisions.
Troubleshooting
My Doodles Look Messy and Unprofessional
This is a very common concern when starting out. The key is practice and using the right tools. Try using the “stabilizer” or “smoothing” setting if your app has one, which helps create cleaner lines.
Also, don’t be afraid to use the undo button frequently and refine your lines. Zooming in while drawing can also help you achieve greater precision. Focus on simple shapes and lines first, building up complexity as you gain confidence.
Colors Don’t Match or Look Out of Place
Color harmony is crucial for integrated doodles. If your colors look jarring, it might be because they clash with the photo’s dominant hues. Use the eyedropper tool to select colors directly from the photo itself.
Alternatively, choose colors that are complementary or analogous to the photo’s main colors. Many apps also offer color palettes that are designed to work well together, which can be a great starting point.
App Keeps Crashing or Lagging
An app crashing or lagging can be incredibly frustrating, especially if you haven’t saved your work. First, ensure your app and operating system are up to date. Sometimes, older versions have bugs that cause instability.
Close other apps running in the background to free up memory. If working with very large photos or many layers, your device might struggle. Try saving your work frequently, and consider exporting your project in stages if it’s very complex.
Key Takeaways
- Always work on separate layers to protect your original photo.
- Experiment with different brushes and colors to find your unique style.
- Start with simple doodles and gradually add complexity as you gain confidence.
- Use the eyedropper tool to pick colors directly from your photo for better integration.
- Don’t overcrowd your image; let your doodles enhance, not dominate, the photo.
- Practice regularly; your doodling skills will improve with every attempt.
Frequently Asked Questions
What’s the best app for beginners to doodle on photos?
For beginners, PicsArt is an excellent choice. It’s available on both iOS and Android, offers a wide range of intuitive drawing tools, stickers, and filters, and has a very active community for inspiration. Adobe Photoshop Express also provides solid basic drawing features in a user-friendly interface.
Can I doodle on physical photos?
Absolutely! Doodling on physical photos is a classic art form. You’ll need permanent markers, fine-tip pens, or paint pens that work on photo paper. Always test your chosen pen on a scrap piece of photo paper first to ensure it doesn’t smudge or damage the photo surface.
How do I make my doodles look professional?
Professional-looking doodles come from clean lines, consistent style, and thoughtful integration with the photo. Practice drawing smooth curves and straight lines, pay attention to color harmony, and consider the overall composition. Using a stylus can also significantly improve precision and control.
Should I use a stylus when doodling on a phone or tablet?
While not strictly necessary, using a stylus can dramatically improve your doodling experience, especially on smaller screens. A stylus offers much greater precision than your finger, allowing for finer details, smoother lines, and more comfortable drawing sessions. Many affordable options are available, or you can invest in a more advanced one like the Apple Pencil for iPads.
Our Top Recommended Finds
- Universal Stylus Pen: Great for adding precision to your phone or tablet doodles, making intricate details much easier to draw.
- Premium Photo Editing App Subscription: Apps like Adobe Creative Cloud (Photoshop Express, Lightroom Mobile) or Procreate (iPad only) offer advanced features, more brushes, and greater control for serious doodlers.
- Fine-Tip Permanent Marker Set: Perfect for those who want to experiment with doodling directly on physical prints, offering vibrant colors and clean lines.
Unleash Your Inner Photo Artist
Doodling on photos is more than just a fun pastime; it’s a powerful way to express creativity and personalize your memories. Each stroke you add tells a unique story, transforming a simple image into a piece of art that truly reflects your perspective.
Don’t be afraid to experiment, make mistakes, and discover your own signature style. The beauty of digital doodling is that you can always undo, erase, and start fresh.
So, grab your device, pick a favorite photo, and start doodling today. You might just uncover a hidden talent and create something truly special.