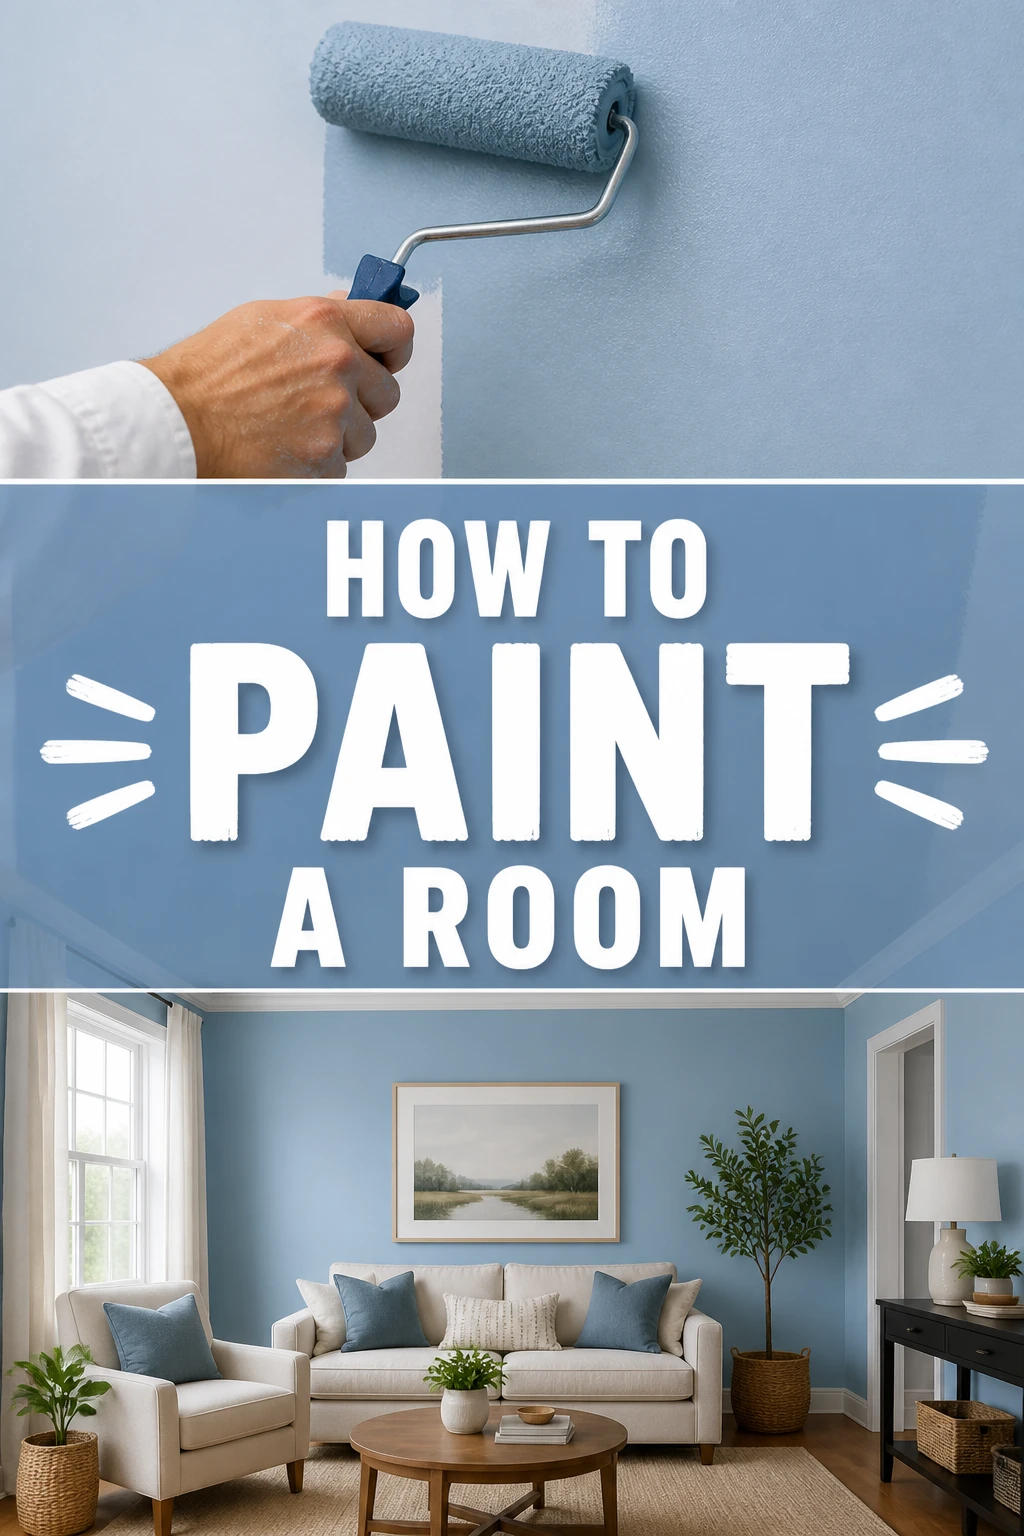
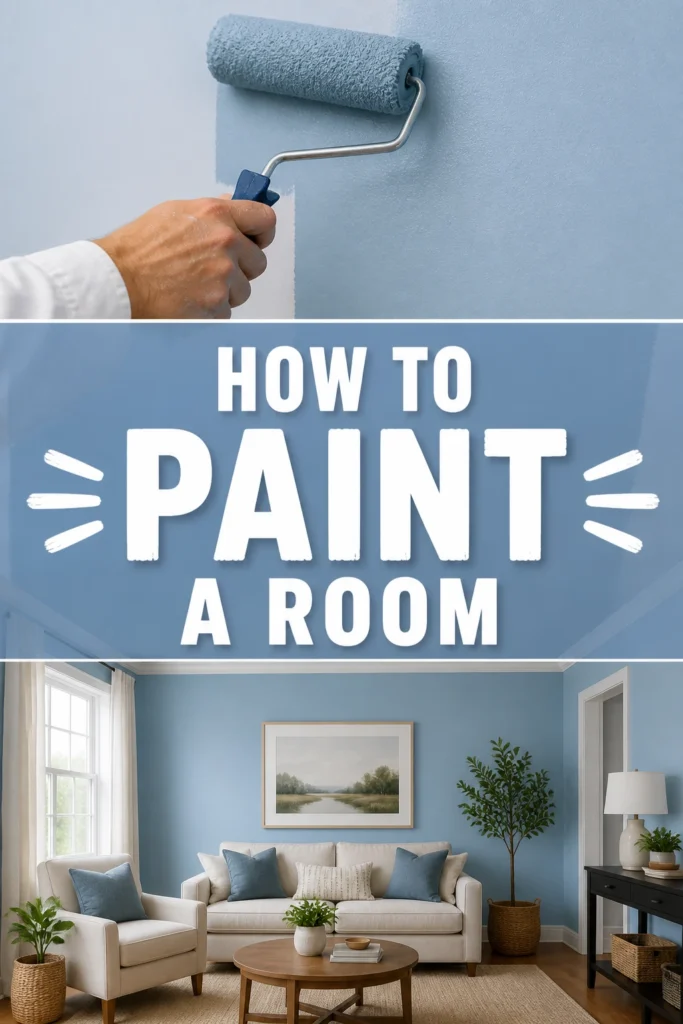
🎨 How To Paint A Room
Painting a room can feel like a daunting task, but it’s one of the most rewarding home improvement projects you can undertake.
Having personally transformed many drab spaces into vibrant ones, I’ve learned the essential techniques to achieve a professional-looking finish.
This guide will walk you through every step, ensuring your painting project is successful and stress-free.
Quick Overview
You’re about to learn how to prepare a room properly, choose the right tools, and apply paint for a flawless, long-lasting finish.
By following these instructions, you’ll gain confidence and a beautifully refreshed living space.
- Time needed: 1-3 days (depending on room size and prep work)
- Difficulty: Beginner
- What you’ll need: Paint, primer, brushes, rollers, painter’s tape, drop cloths, cleaning supplies, sandpaper, spackle, safety glasses.
Step-by-Step Instructions
Step 1: Plan Your Project and Gather Supplies
Before any paint touches a wall, careful planning saves time and prevents frustration. Decide on your desired paint color and finish, considering how it complements your existing decor and lighting.
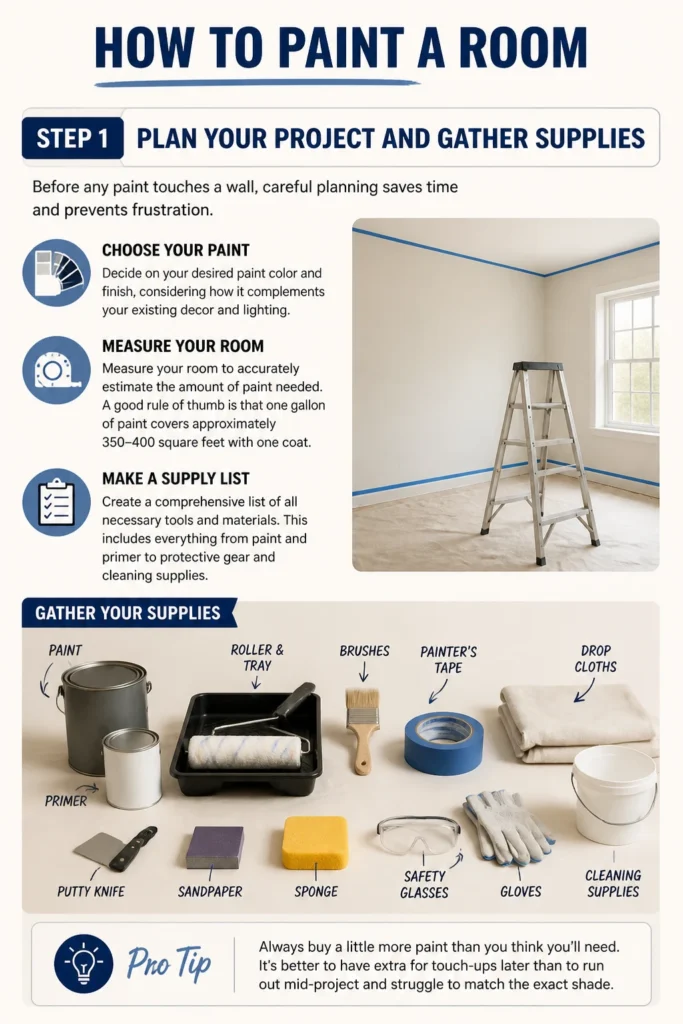
Measure your room to accurately estimate the amount of paint needed. A good rule of thumb is that one gallon of paint covers approximately 350-400 square feet with one coat.
Create a comprehensive list of all necessary tools and materials. This includes everything from paint and primer to protective gear and cleaning supplies.
Pro Tip: Always buy a little more paint than you think you’ll need. It’s better to have extra for touch-ups later than to run out mid-project and struggle to match the exact shade.
Step 2: Prepare the Room
Thorough preparation is the secret to a professional-looking paint job. Clear the room by removing all furniture, wall hangings, and decorative items.
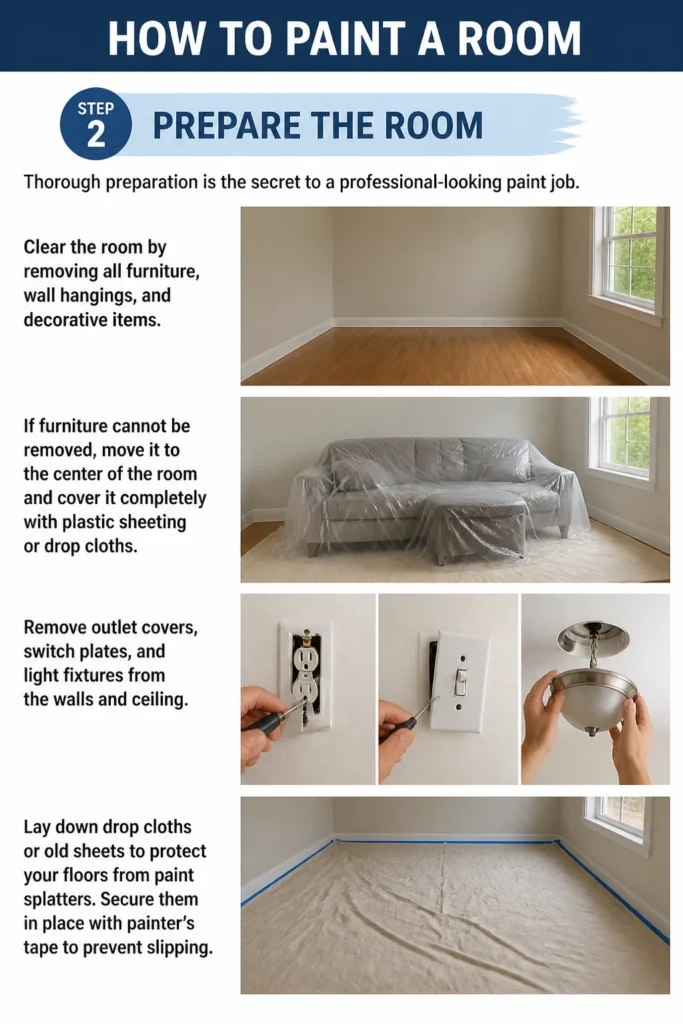
If furniture cannot be removed, move it to the center of the room and cover it completely with plastic sheeting or drop cloths. Remove outlet covers, switch plates, and light fixtures from the walls and ceiling.
Lay down drop cloths or old sheets to protect your floors from paint splatters. Secure them in place with painter’s tape to prevent slipping.
Step 3: Clean and Repair Surfaces
Paint adheres best to clean, smooth surfaces. Wash your walls and trim thoroughly using a mild all-purpose cleaner and a sponge.
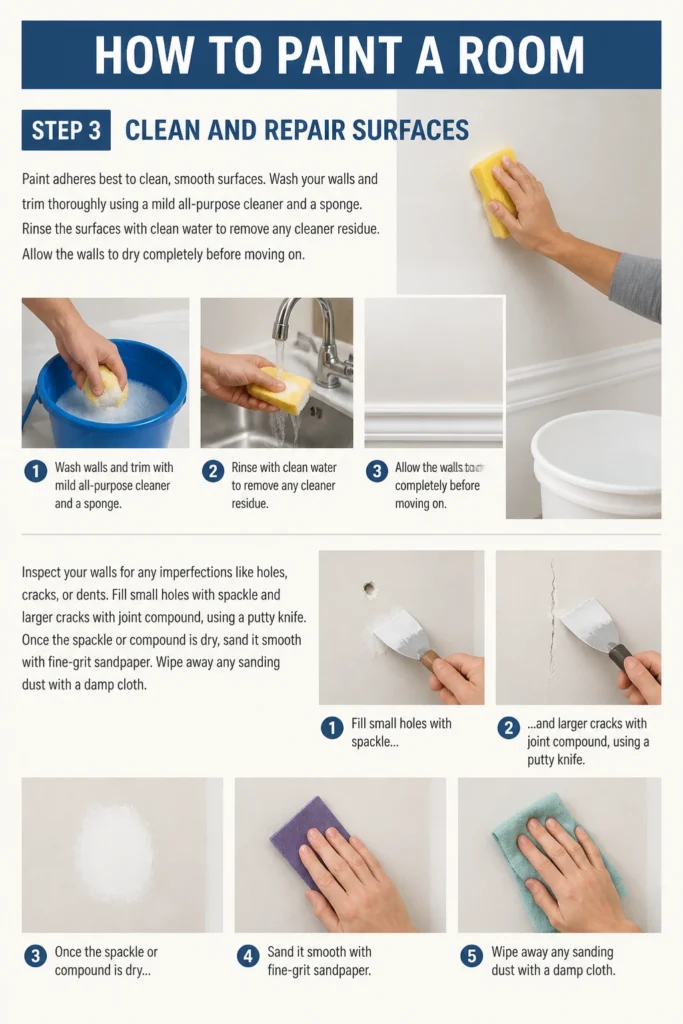
Rinse the surfaces with clean water to remove any cleaner residue. Allow the walls to dry completely before moving on.
Inspect your walls for any imperfections like holes, cracks, or dents. Fill small holes with spackle and larger cracks with joint compound, using a putty knife.
Once the spackle or compound is dry, sand it smooth with fine-grit sandpaper. Wipe away any sanding dust with a damp cloth.
Step 4: Tape Off Areas
Painter’s tape creates crisp lines and protects areas you don’t want to paint. Apply painter’s tape along the edges of your trim, baseboards, window frames, and door frames.
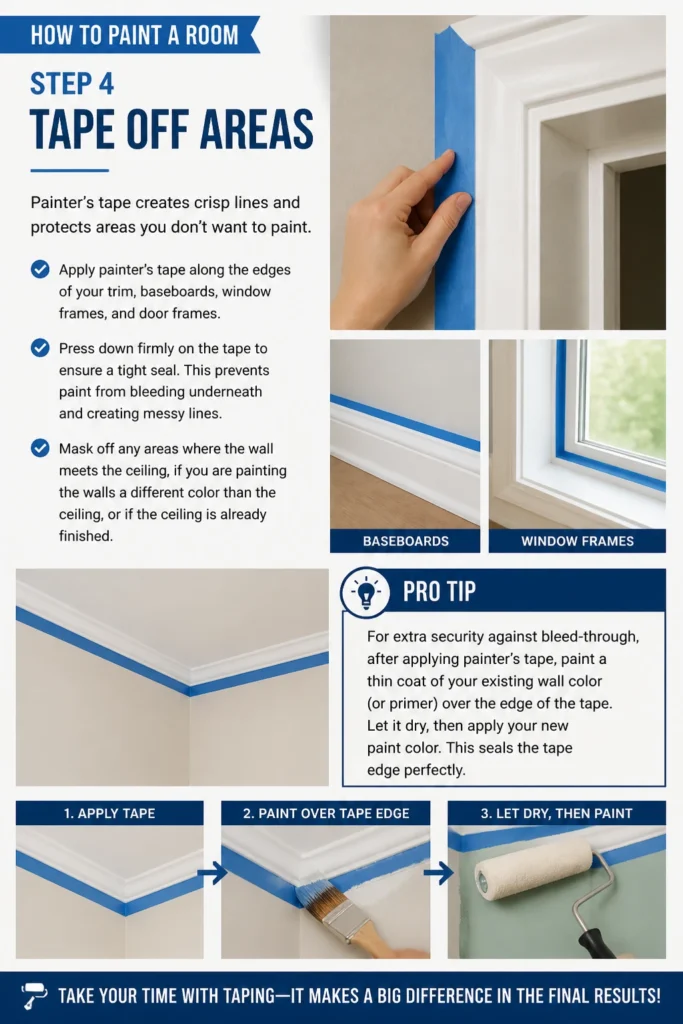
Press down firmly on the tape to ensure a tight seal. This prevents paint from bleeding underneath and creating messy lines.
Mask off any areas where the wall meets the ceiling, if you are painting the walls a different color than the ceiling, or if the ceiling is already finished.
Pro Tip: For extra security against bleed-through, after applying painter’s tape, paint a thin coat of your existing wall color (or primer) over the edge of the tape. Let it dry, then apply your new paint color. This seals the tape edge perfectly.
Step 5: Apply Primer
Primer is crucial for achieving an even color and better paint adhesion, especially when changing a dark color to a light one or painting over patched areas. Stir the primer thoroughly before use.
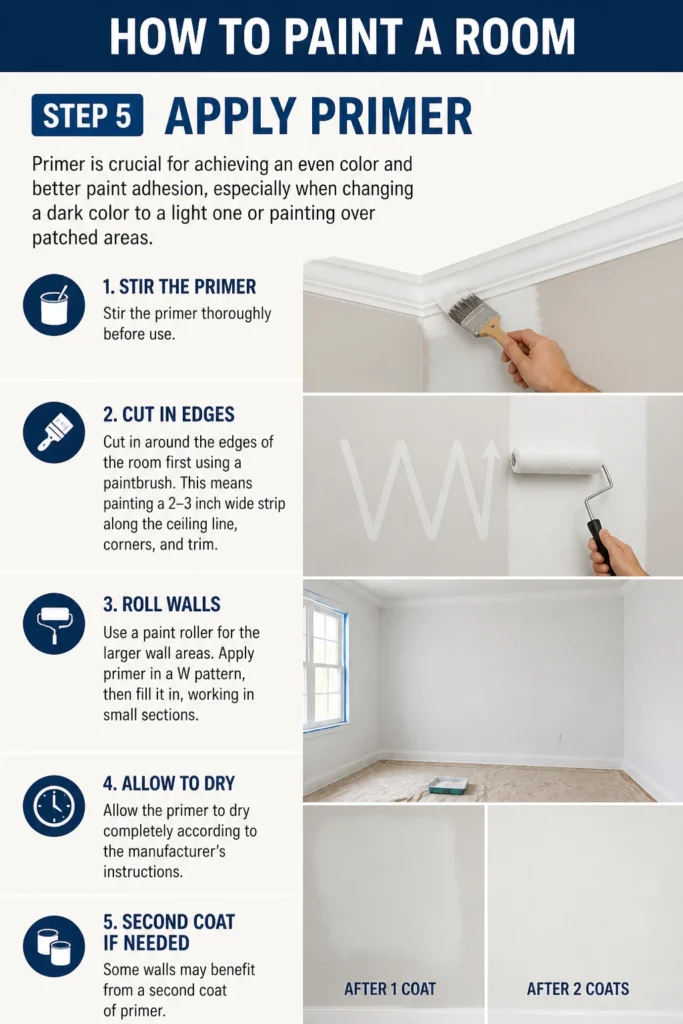
Cut in around the edges of the room first using a paintbrush. This means painting a 2-3 inch wide strip along the ceiling line, corners, and trim.
Use a paint roller for the larger wall areas. Apply primer in a “W” pattern, then fill it in, working in small sections.
Allow the primer to dry completely according to the manufacturer’s instructions. Some walls may benefit from a second coat of primer.
Step 6: Paint the Ceiling (If Applicable)
If you’re painting the ceiling, always do it first. This way, any drips or splatters on the walls can be covered later.
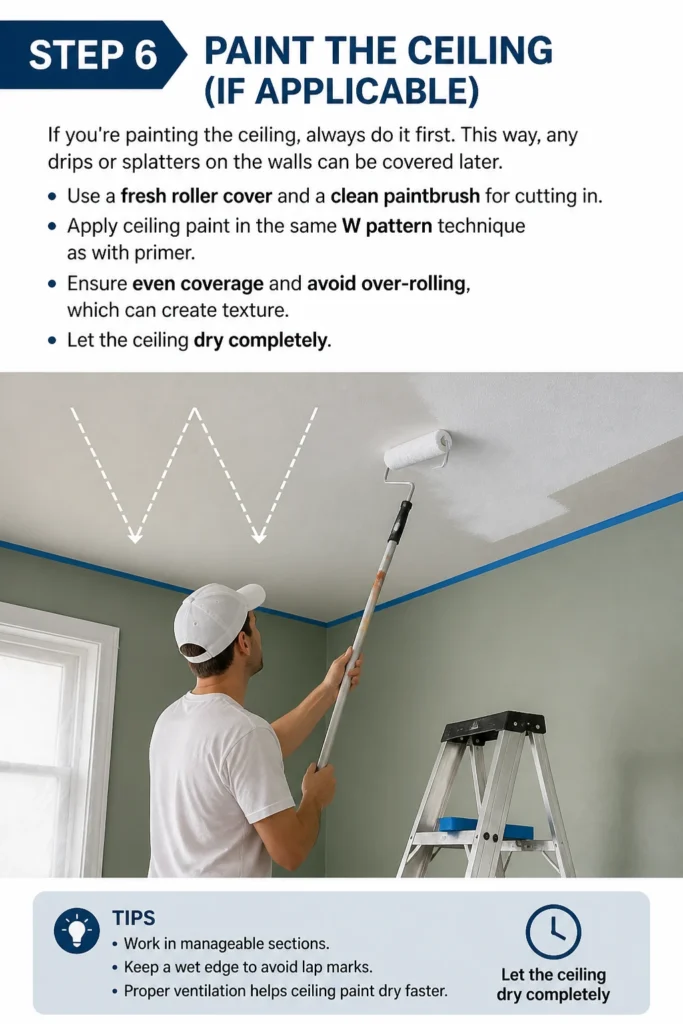
Use a fresh roller cover and a clean paintbrush for cutting in. Apply ceiling paint in the same “W” pattern technique as with primer.
Ensure even coverage and avoid over-rolling, which can create texture. Let the ceiling dry completely.
Step 7: Paint the Walls
Now for the main event! Stir your paint thoroughly before you begin. Pour a manageable amount into a paint tray.
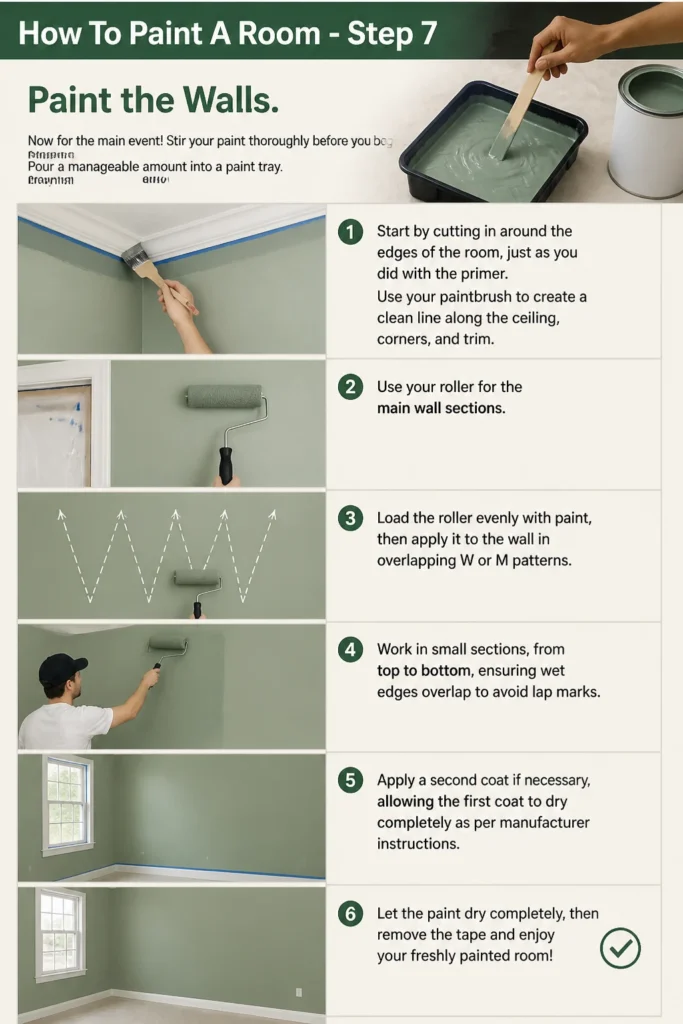
Start by “cutting in” around the edges of the room, just as you did with the primer. Use your paintbrush to create a clean line along the ceiling, corners, and trim.
Use your roller for the main wall sections. Load the roller evenly with paint, then apply it to the wall in overlapping “W” or “M” patterns.
Work in small sections, from top to bottom, ensuring wet edges overlap to avoid lap marks. Apply a second coat if necessary, allowing the first coat to dry completely as per manufacturer instructions.
Step 8: Paint the Trim and Doors
Once the walls are dry to the touch, you can paint the trim and doors. This usually comes last to ensure crisp lines against the new wall color.
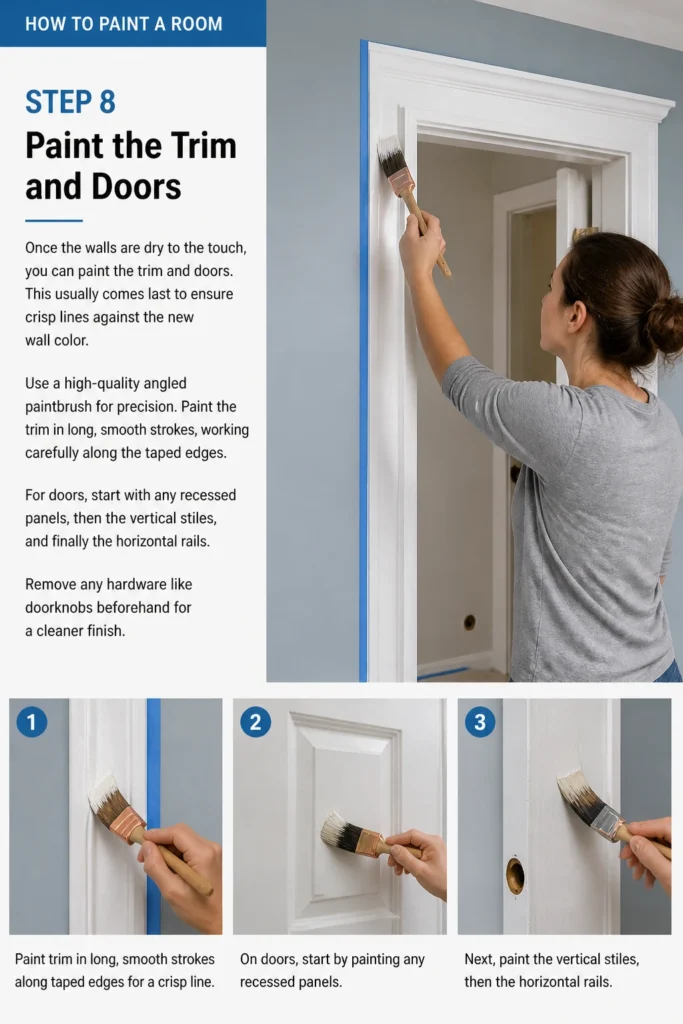
Use a high-quality angled paintbrush for precision. Paint the trim in long, smooth strokes, working carefully along the taped edges.
For doors, start with any recessed panels, then the vertical stiles, and finally the horizontal rails. Remove any hardware like doorknobs beforehand for a cleaner finish.
Step 9: Clean Up and Final Touches
Once the final coat of paint is dry to the touch (but not fully cured), it’s time to clean up. Carefully remove the painter’s tape by pulling it slowly at a 45-degree angle.
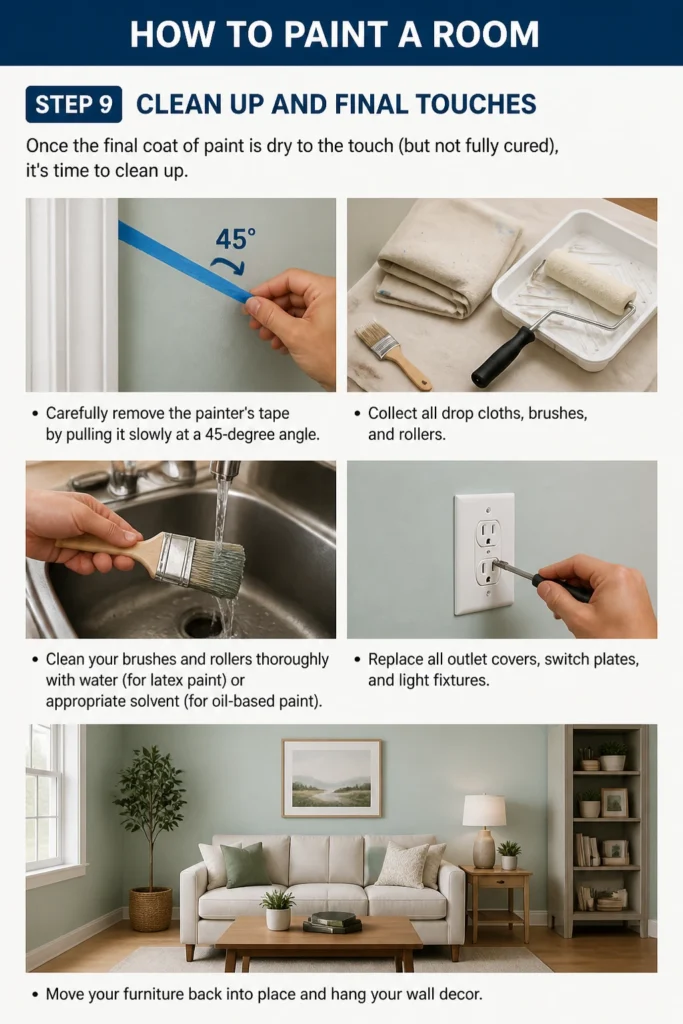
Collect all drop cloths, brushes, and rollers. Clean your brushes and rollers thoroughly with water (for latex paint) or appropriate solvent (for oil-based paint).
Replace all outlet covers, switch plates, and light fixtures. Move your furniture back into place and hang your wall decor.
Common Mistakes to Avoid
Skipping Proper Preparation
Many people rush into painting without adequately cleaning, repairing, or taping surfaces. This often leads to paint peeling prematurely, uneven finishes, and messy lines on trim and ceilings.
Taking the time to prepare correctly ensures your paint job looks professional and lasts longer. It truly is the foundation of a great finish.
Using Low-Quality Tools
Investing in cheap brushes and rollers can result in frustrating streaks, lint shedding, and poor paint application. Inferior tools make the job harder and the finish less appealing.
Spend a bit more on good quality brushes, roller frames, and roller covers. They provide smoother coverage, hold more paint, and make the entire process more efficient and enjoyable.
Not Priming When Necessary
Failing to prime can lead to uneven color, especially when painting over dark colors or patching areas. The old color can bleed through, and new paint might not adhere properly, requiring more coats.
Always use a good quality primer when changing colors drastically, painting over repairs, or dealing with stained walls. It creates a uniform base for your new paint color.
Removing Tape Too Late or Too Early
Removing painter’s tape when the paint is either too wet or completely dry can cause issues. If too wet, it can smudge; if too dry, the paint can peel off with the tape, ruining your crisp lines.
The ideal time to remove painter’s tape is when the paint is dry to the touch but not fully cured. This usually means within a few hours of the final coat, or as specified by the paint manufacturer.
Troubleshooting
Paint Drips or Runs
Drips and runs usually occur from applying too much paint at once or not spreading it evenly. This is common when loading a brush or roller too heavily.
If the paint is still wet, gently smooth out the drip with your brush or roller. If it’s dry, lightly sand the drip smooth with fine-grit sandpaper, clean the area, and then touch up with a thin coat of paint.
Uneven Paint Coverage
Uneven coverage can happen if the roller isn’t loaded consistently, if you skip priming, or if the paint isn’t stirred properly. You might see lighter or darker patches.
Ensure your roller is evenly saturated with paint for each pass. Apply a second or even third thin coat, allowing adequate drying time between each, to build up consistent color.
Paint Peeling or Flaking
Peeling paint often indicates poor surface preparation, such as painting over dirty, greasy, or glossy surfaces without proper cleaning or sanding. It can also happen if the previous paint was unstable.
Scrape away all loose paint, clean the area thoroughly, and sand the edges smooth. Apply a high-quality primer formulated for adhesion, then repaint the area.
Key Takeaways
- Thorough preparation is the most critical step for a successful paint job.
- Invest in quality tools; they make a significant difference in the final finish.
- Always use primer when changing colors, covering repairs, or painting over stains.
- Apply paint in thin, even coats, allowing sufficient drying time between each.
- Remove painter’s tape when the paint is dry to the touch but not fully cured.
- Don’t rush the process; patience leads to professional results.
Frequently Asked Questions
Do I need to prime if I’m painting over the same color?
Generally, no, if the existing paint is in good condition and you’re using a similar color and finish. However, if the surface is glossy, stained, or has repairs, a light sanding and a coat of primer will improve adhesion and ensure an even finish.
How long should I wait between coats of paint?
Always refer to the paint manufacturer’s instructions on the can, as drying times vary. Typically, latex paints require 2-4 hours between coats, while oil-based paints may need 6-8 hours or more. Rushing can lead to peeling or an uneven finish.
What type of paint finish should I choose?
The best finish depends on the room’s function. Flat or matte finishes hide imperfections well but are harder to clean, ideal for low-traffic areas like bedrooms. Eggshell or satin finishes offer a subtle sheen, are more durable, and easier to clean, great for living rooms. Semi-gloss or gloss finishes are highly durable and washable, perfect for kitchens, bathrooms, and trim.
How do I clean my paint brushes and rollers?
For latex (water-based) paint, rinse brushes and rollers thoroughly under warm running water until the water runs clear. Use a wire brush or roller spinner to help remove paint. For oil-based paint, you’ll need mineral spirits or a paint thinner, followed by soap and water. Always store cleaned tools properly.
Our Top Recommended Finds
- Angled Sash Brush: Essential for cutting in precise lines around trim and ceilings.
- Microfiber Roller Covers: Provide excellent paint pickup and a smooth, lint-free finish on walls.
- Painter’s Plastic Sheeting: Lightweight and perfect for quickly covering furniture and fixtures to protect them from splatters.
Your Room Awaits Its Transformation
You now have all the knowledge and steps needed to confidently paint any room in your home. This isn’t just about applying color; it’s about refreshing your space and expressing your personal style.
Don’t let hesitation hold you back. Gather your supplies, follow these steps, and prepare to enjoy the immense satisfaction of a beautifully painted room.
Your next home improvement project starts now!