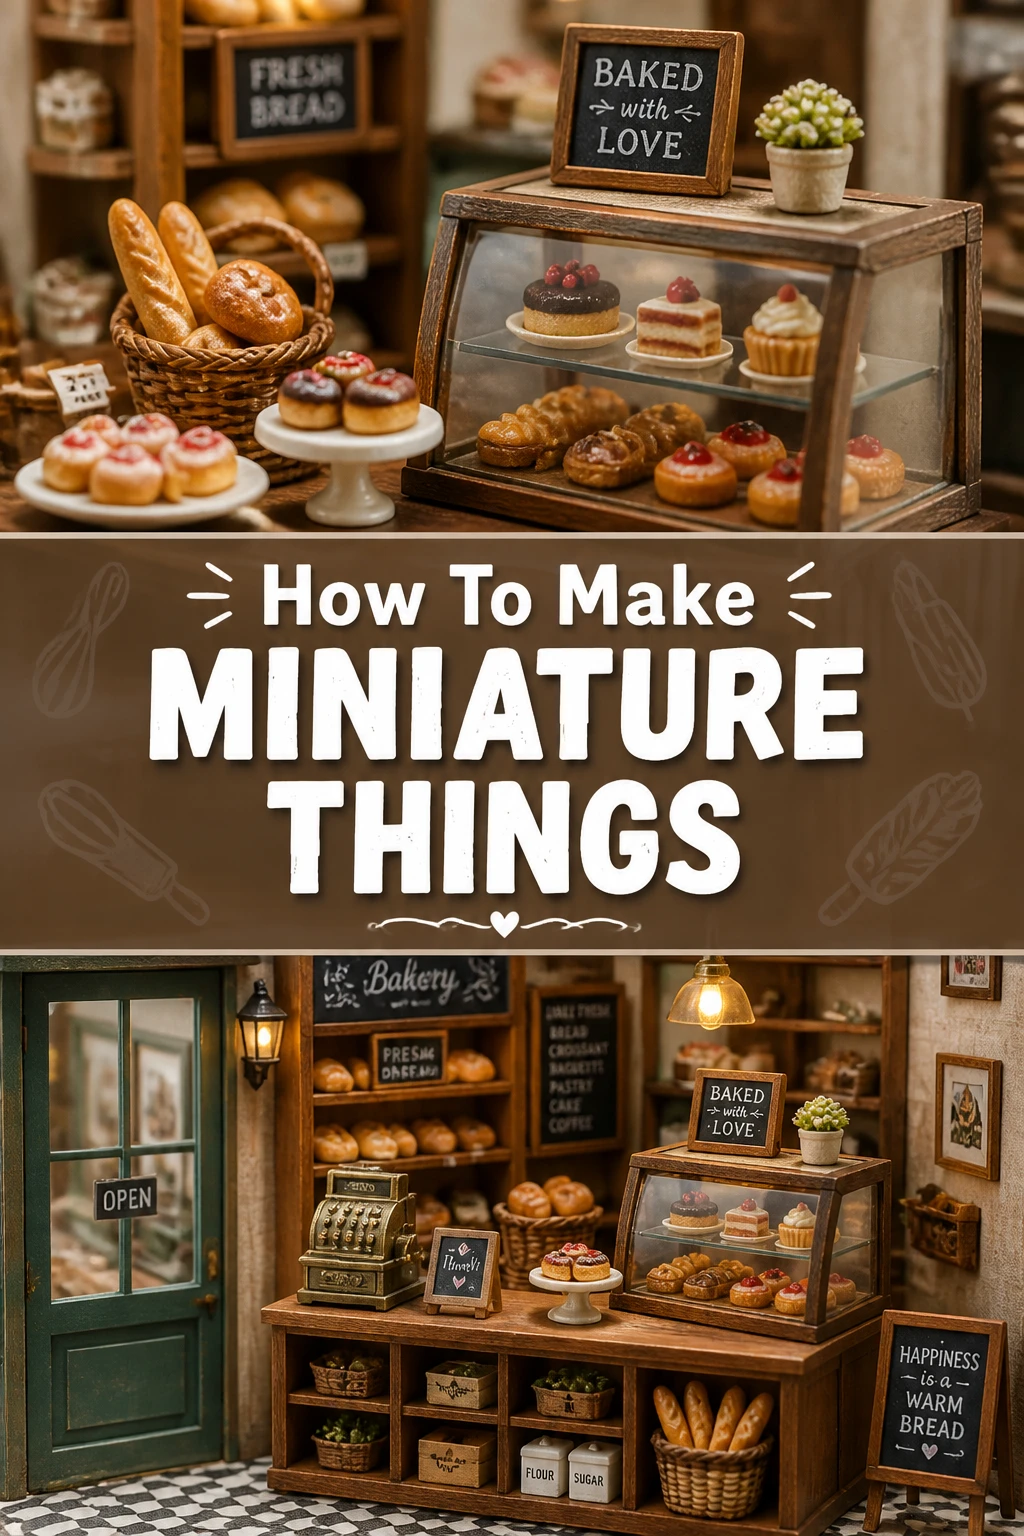
✨ How To Make Miniature Things
There’s a special joy in holding a tiny world in your hands, a miniature replica that sparks wonder and delight.
I remember crafting my first miniature bakery scene, painstakingly rolling clay croissants no bigger than a fingernail. It was incredibly rewarding to see the tiny details come to life.
This guide will walk you through the process, sharing practical steps and insights to help you create your own captivating miniature items.
Quick Overview
Embark on a creative journey to shrink the world around you. You’ll learn fundamental techniques and gather essential tools to craft charming miniature objects from various materials.
- Time needed: Varies greatly by project, from 1 hour for simple items to several days for complex scenes.
- Difficulty: Beginner-Friendly (with room to grow your skills).
- What you’ll need: Craft knife, cutting mat, ruler, tweezers, various glues, sculpting clay, paint, and tiny brushes.
Step-by-Step Instructions
Step 1: Gather Your Inspiration and Reference
Before you begin, decide what miniature you want to create. Look for real-life objects, photos, or even conceptual ideas that excite you.
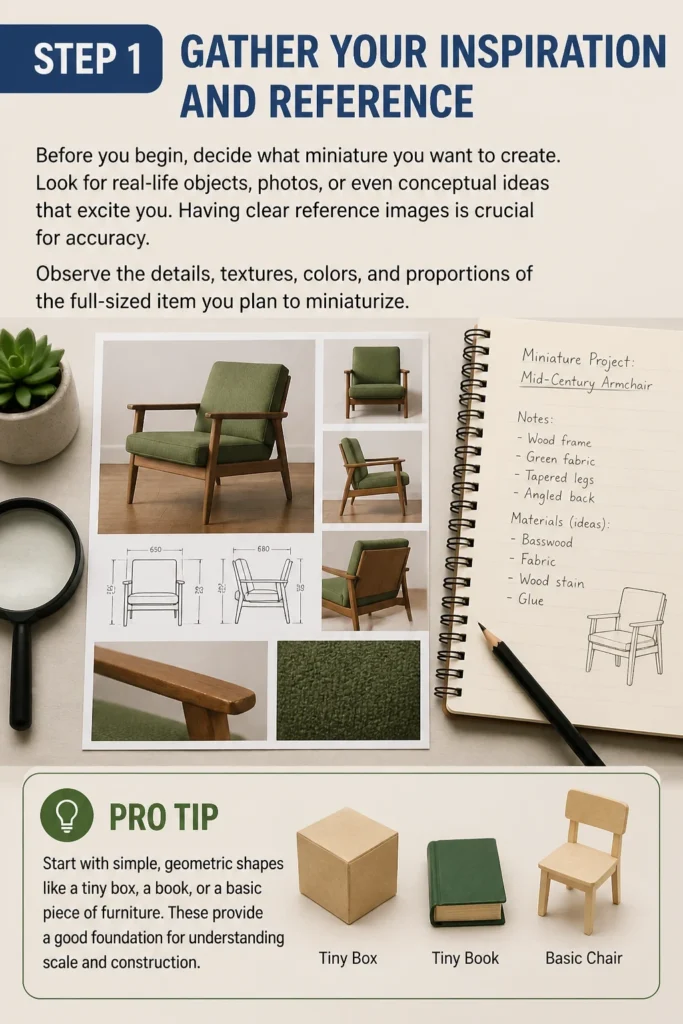
Having clear reference images is crucial for accuracy. Observe the details, textures, colors, and proportions of the full-sized item you plan to miniaturize.
Pro Tip: Start with simple, geometric shapes like a tiny box, a book, or a basic piece of furniture. These provide a good foundation for understanding scale and construction.
Step 2: Choose Your Scale and Material
Selecting a consistent scale is vital for a believable miniature. Common scales include 1:12 (dollhouse scale), 1:24, and 1:48, but you can choose any ratio.
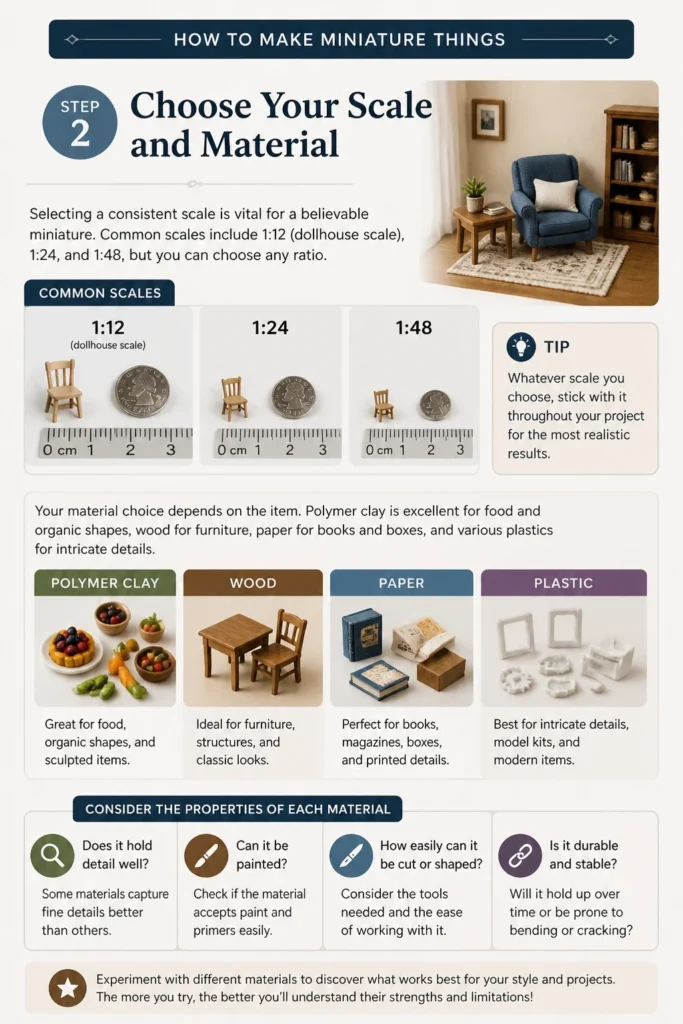
Your material choice depends on the item. Polymer clay is excellent for food and organic shapes, wood for furniture, paper for books and boxes, and various plastics for intricate details.
Consider the properties of each material. Does it hold detail well? Can it be painted? How easily can it be cut or shaped?
Step 3: Prepare Your Workspace and Tools
A clean, well-lit workspace is essential for miniature crafting. You’ll be working with tiny components, so good visibility helps prevent errors and lost pieces.
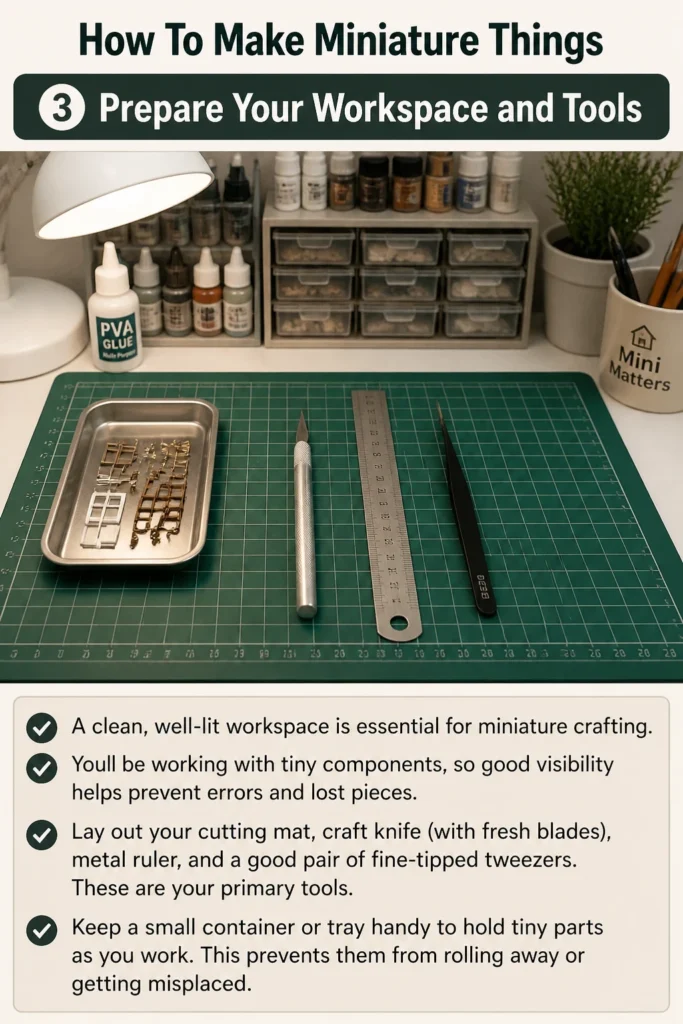
Lay out your cutting mat, craft knife (with fresh blades), metal ruler, and a good pair of fine-tipped tweezers. These are your primary tools.
Keep a small container or tray handy to hold tiny parts as you work. This prevents them from rolling away or getting misplaced.
Step 4: Measure and Cut Your Base Components
Accuracy is paramount in miniatures. Use your ruler and reference images to carefully measure the dimensions of your full-sized object.
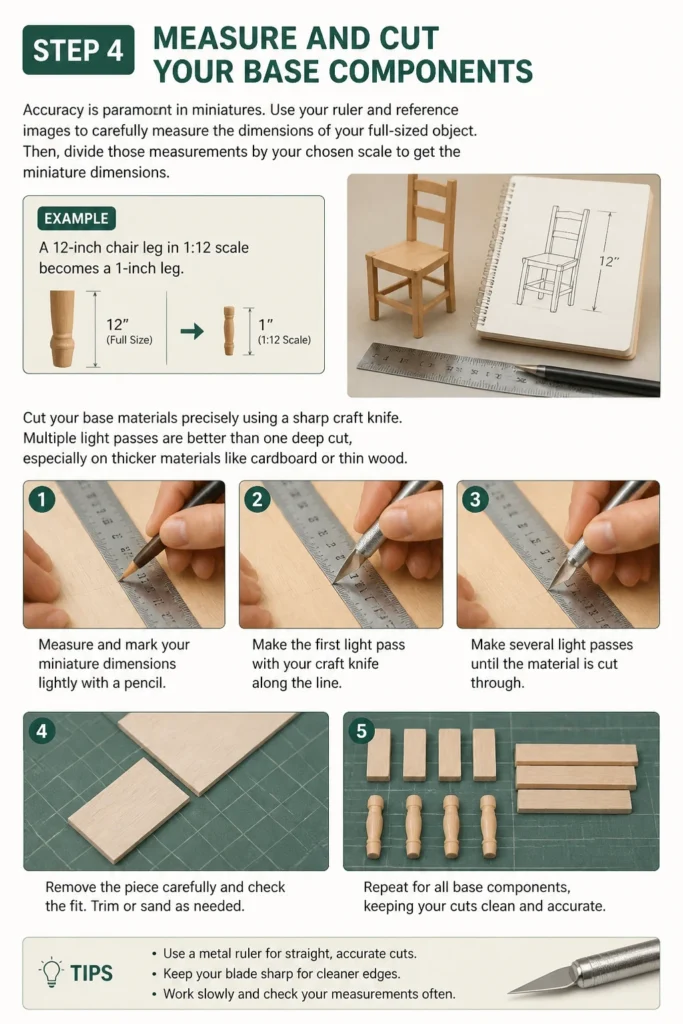
Then, divide those measurements by your chosen scale to get the miniature dimensions. For example, a 12-inch chair leg in 1:12 scale becomes a 1-inch leg.
Cut your base materials precisely using a sharp craft knife. Multiple light passes are better than one deep cut, especially on thicker materials like cardboard or thin wood.
Step 5: Assemble the Core Structure
Begin by assembling the main parts of your miniature. Use appropriate glues for your chosen materials.
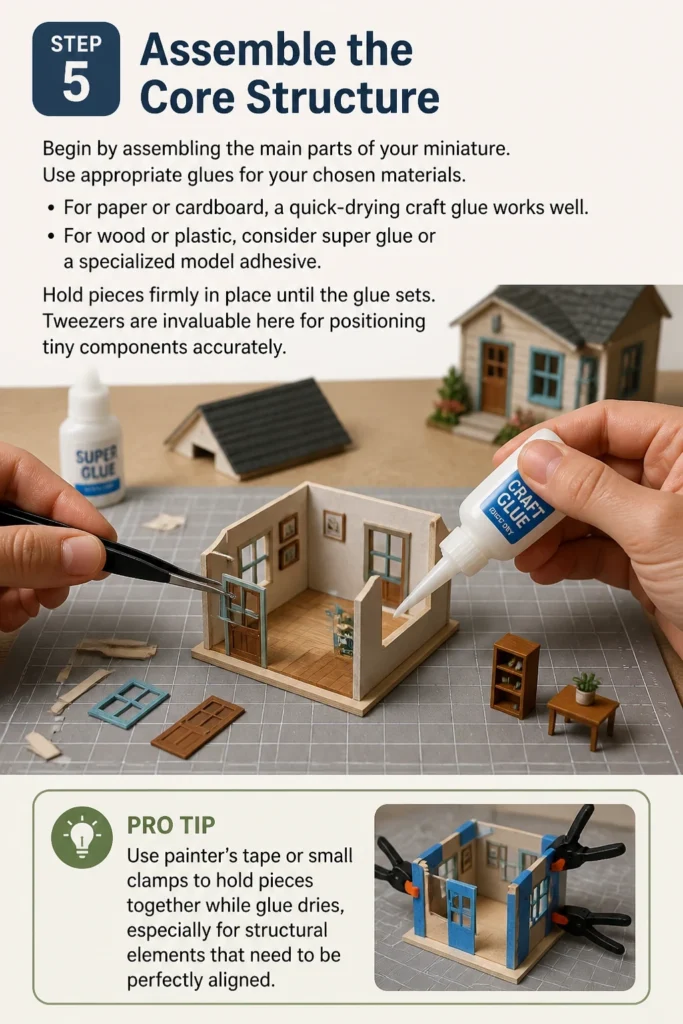
For paper or cardboard, a quick-drying craft glue works well. For wood or plastic, consider super glue or a specialized model adhesive.
Hold pieces firmly in place until the glue sets. Tweezers are invaluable here for positioning tiny components accurately.
Pro Tip: Use painter’s tape or small clamps to hold pieces together while glue dries, especially for structural elements that need to be perfectly aligned.
Step 6: Sculpt or Shape Fine Details
Once the basic structure is solid, it’s time for the intricate details. If you’re using polymer clay, condition it until it’s pliable.
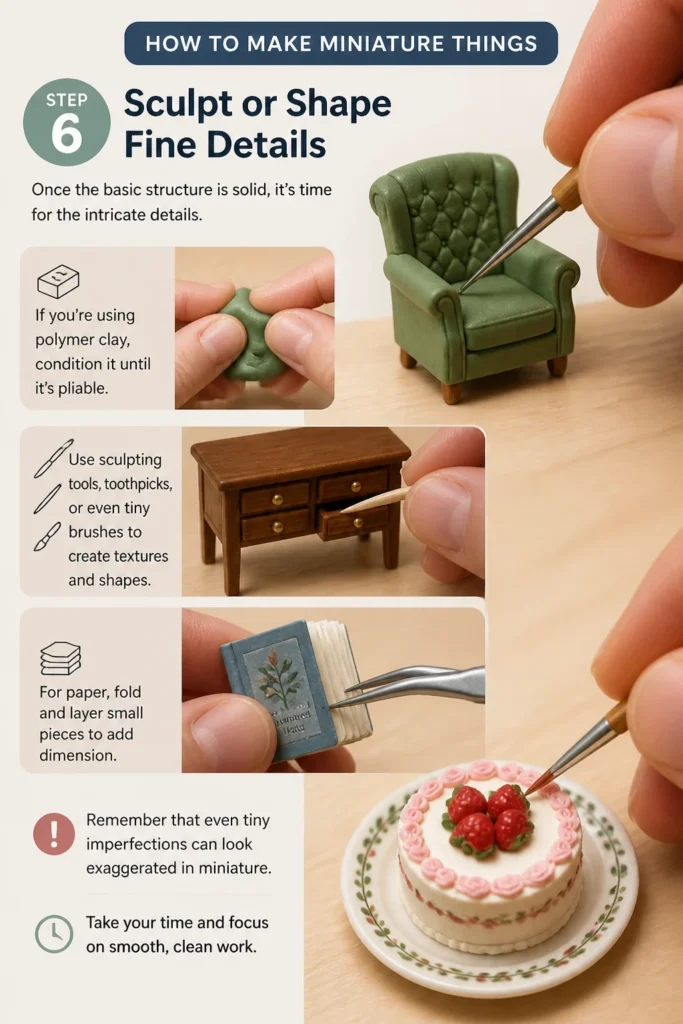
Use sculpting tools, toothpicks, or even tiny brushes to create textures and shapes. For paper, fold and layer small pieces to add dimension.
Remember that even tiny imperfections can look exaggerated in miniature. Take your time and focus on smooth, clean work.
Step 7: Paint and Finish Your Miniature
Painting brings your miniature to life. Use acrylic paints for most materials, as they dry quickly and offer a wide range of colors.
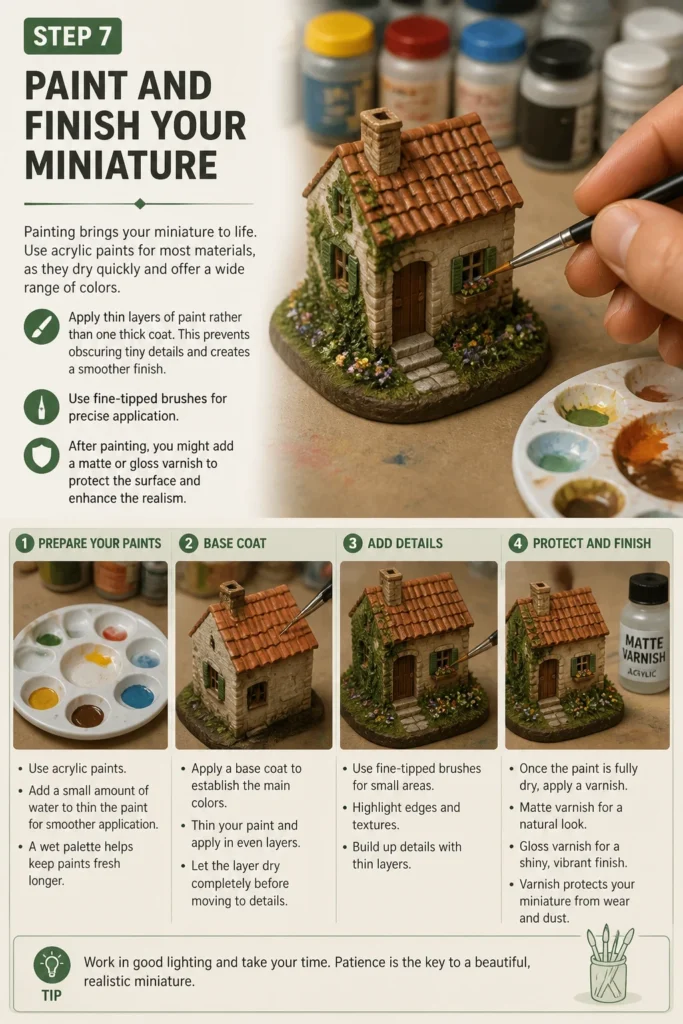
Apply thin layers of paint rather than one thick coat. This prevents obscuring tiny details and creates a smoother finish.
Use fine-tipped brushes for precise application. After painting, you might add a matte or gloss varnish to protect the surface and enhance the realism.
Step 8: Add Final Touches and Embellishments
This is where your miniature truly shines. Attach tiny embellishments like miniature buttons, fabric scraps, or printed labels.
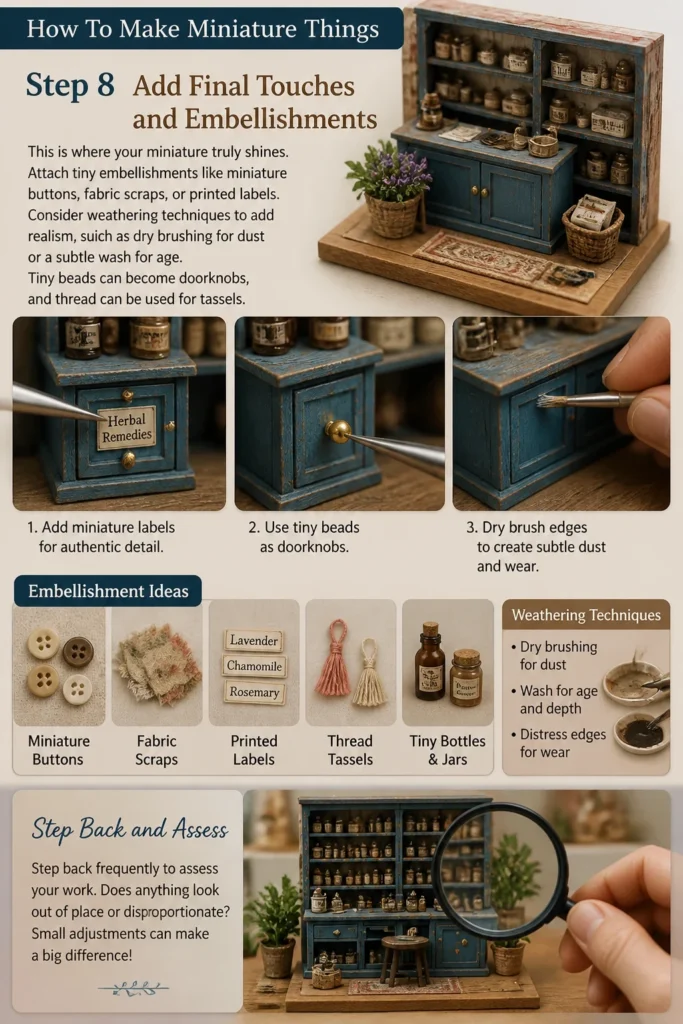
Consider weathering techniques to add realism, such as dry brushing for dust or a subtle wash for age. Tiny beads can become doorknobs, and thread can be used for tassels.
Step back frequently to assess your work. Does anything look out of place or disproportionate?
Step 9: Display Your Creation
Once complete, your miniature deserves a proper display. A small shadow box, a glass dome, or a dedicated shelf can protect it from dust and damage.
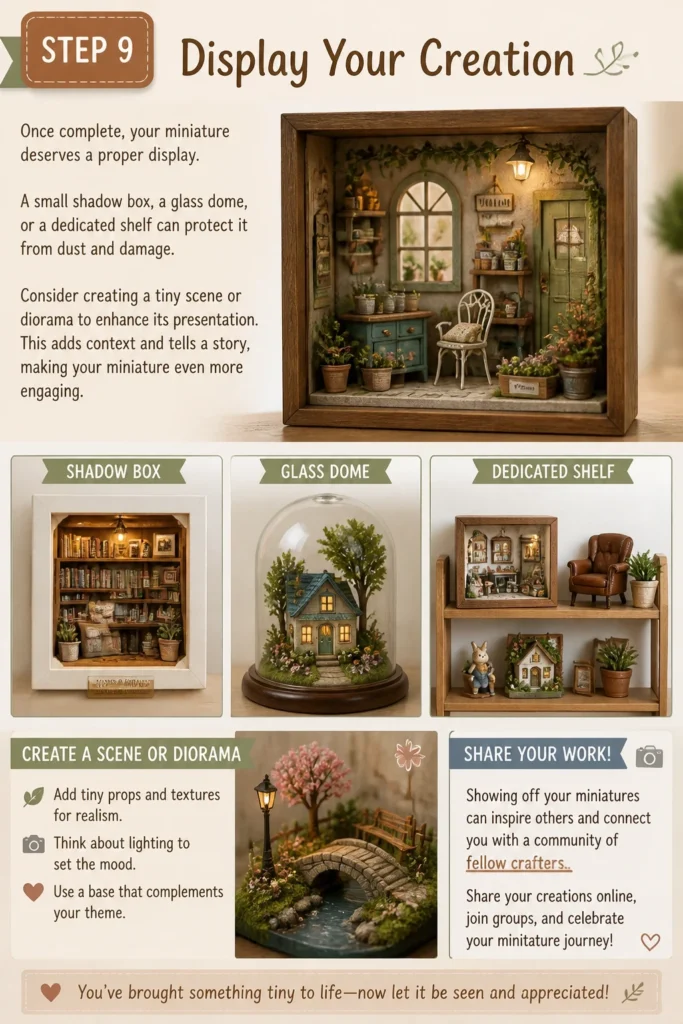
Consider creating a tiny scene or diorama to enhance its presentation. This adds context and tells a story, making your miniature even more engaging.
Share your work! Showing off your miniatures can inspire others and connect you with a community of fellow crafters.
Common Mistakes to Avoid
Ignoring Scale Consistency
A common pitfall is making different elements of a miniature scene in varying scales. This makes the overall piece look disjointed and unrealistic, breaking the illusion you’re trying to create.
Always stick to one chosen scale for all components within a single project. Use a scale ruler or consistently apply your chosen ratio to all measurements to ensure harmony.
Using Too Much Glue
It’s tempting to use a lot of glue to ensure pieces hold, but excessive glue can ooze out, create unsightly bumps, and ruin delicate details. It can also warp paper or cardboard.
Apply glue sparingly with a toothpick or a fine applicator. Use only enough to create a strong bond, and always wipe away any excess immediately with a damp cloth or cotton swab.
Rushing the Drying Process
Impatience can lead to wobbly structures and smudged paint. Glues and paints need adequate time to cure and dry completely before you move on to the next step.
Allow each layer of glue, paint, or varnish to dry fully according to the product instructions. This ensures a durable and professional-looking finish for your miniature.
Overlooking Small Details
Miniatures thrive on intricate details. Forgetting tiny elements like hinges, seams, or textures can make an item look flat or unfinished, diminishing its realism.
Study your reference photos closely and consider every aspect of the full-sized item. Even the smallest details, when replicated, contribute significantly to the overall authenticity and charm of your miniature.
Troubleshooting
My Pieces Won’t Stick Together
This often happens if you’re using the wrong type of glue for your materials or if surfaces aren’t clean. Some plastics or metals require specialized adhesives.
Ensure your surfaces are free of dust, oil, or debris. Use a glue specifically designed for the materials you’re bonding, and apply gentle pressure while it sets. For stubborn materials, lightly sand the surfaces to create a better grip.
Paint Looks Streaky or Uneven
Streaky paint usually means you’ve applied it too thickly or haven’t mixed it thoroughly. Old or poor-quality brushes can also contribute to uneven coverage.
Thin your acrylic paints slightly with water before use, and apply multiple thin coats instead of one thick one. Ensure your brush is clean and has a good tip. Allow each layer to dry completely before adding the next.
My Miniature Looks Unrealistic
A lack of realism often stems from inconsistent scale, missing textures, or flat coloring. Miniatures need depth and subtle imperfections to feel authentic.
Revisit your reference images and check your scale measurements. Add textures using sculpting tools or by subtly layering materials. Incorporate weathering and shading techniques to give your miniature a more lived-in, realistic appearance.
Key Takeaways
- Choose a consistent scale early on and stick to it for all elements of your project.
- Precision in cutting and measuring is fundamental to creating convincing miniatures.
- Select materials appropriate for the object you’re replicating, considering their properties and workability.
- Use glues sparingly and allow ample drying time between steps for strong, clean bonds.
- Embrace fine details and intricate textures; they significantly enhance realism and visual interest.
- Practice patience and take your time; miniature crafting is a meticulous, rewarding process.
Frequently Asked Questions
What is the best material for beginners to start with?
Polymer clay is excellent for beginners because it’s easy to sculpt, holds detail well, and only hardens when baked. Paper and cardstock are also great for learning basic construction and assembly techniques, requiring minimal tools.
How do I make sure my miniature items are the correct size?
First, decide on your scale (e.g., 1:12). Then, measure the real-life item you want to miniaturize. Divide each dimension by your scale factor (e.g., divide by 12 for 1:12 scale) to get your miniature measurements. Always double-check your calculations.
Can I use household items to make miniatures?
Absolutely! Many everyday items can be repurposed. Cotton swabs can become tiny trees, bottle caps can be planters, and toothpicks are perfect for small details or structural supports. Look at objects with a fresh perspective to see their miniature potential.
How do I get very fine details and textures?
Achieving fine details requires small tools, a steady hand, and often magnification. Invest in fine-tipped sculpting tools, tweezers, and very small paint brushes. Practicing different techniques like dry brushing or stippling can help create realistic textures.
Our Top Recommended Finds
- Precision Craft Knife Set: Essential for clean, accurate cuts on a variety of materials. Look for one with interchangeable blades.
- Fine-Tipped Tweezers: Invaluable for picking up, positioning, and holding tiny components with accuracy.
- Polymer Clay Starter Kit: Offers a range of colors and basic sculpting tools, perfect for making miniature food or small accessories.
Shrink Your World, Expand Your Creativity
The journey of making miniature things is a testament to patience, precision, and boundless imagination. Every tiny object you create holds a piece of your dedication and artistic vision.
Don’t be afraid to experiment with different materials and techniques. Each project is a learning opportunity, bringing you closer to mastering this delightful craft.
Pick up your tools today and begin crafting your own enchanting miniature world. What tiny marvel will you bring to life first?