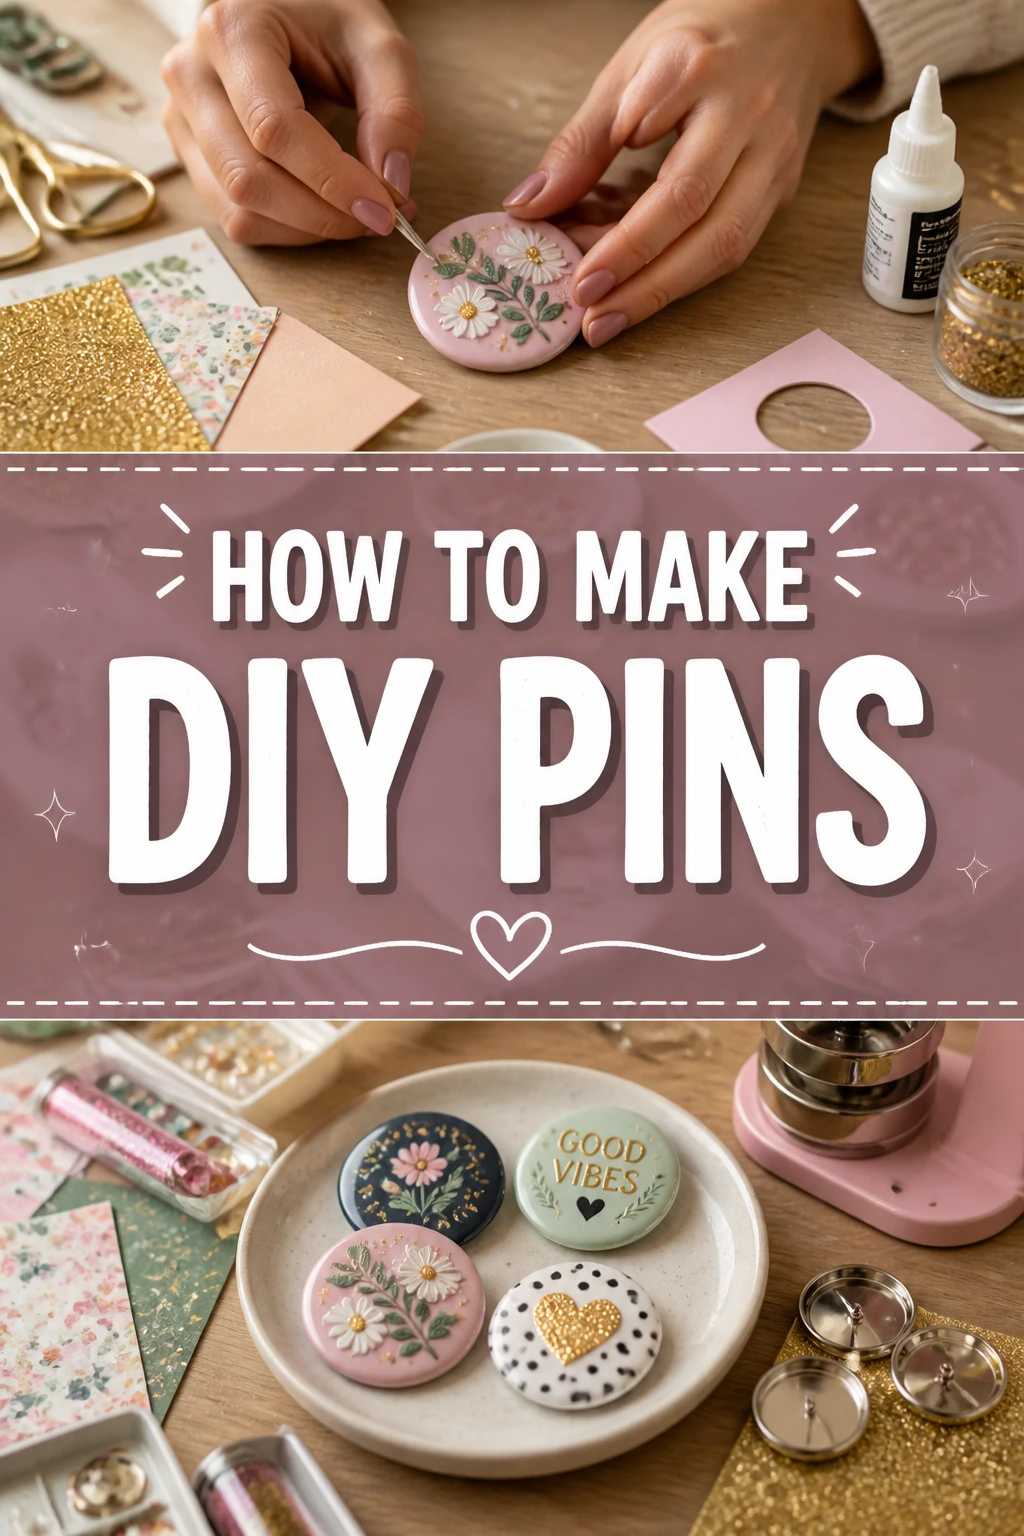
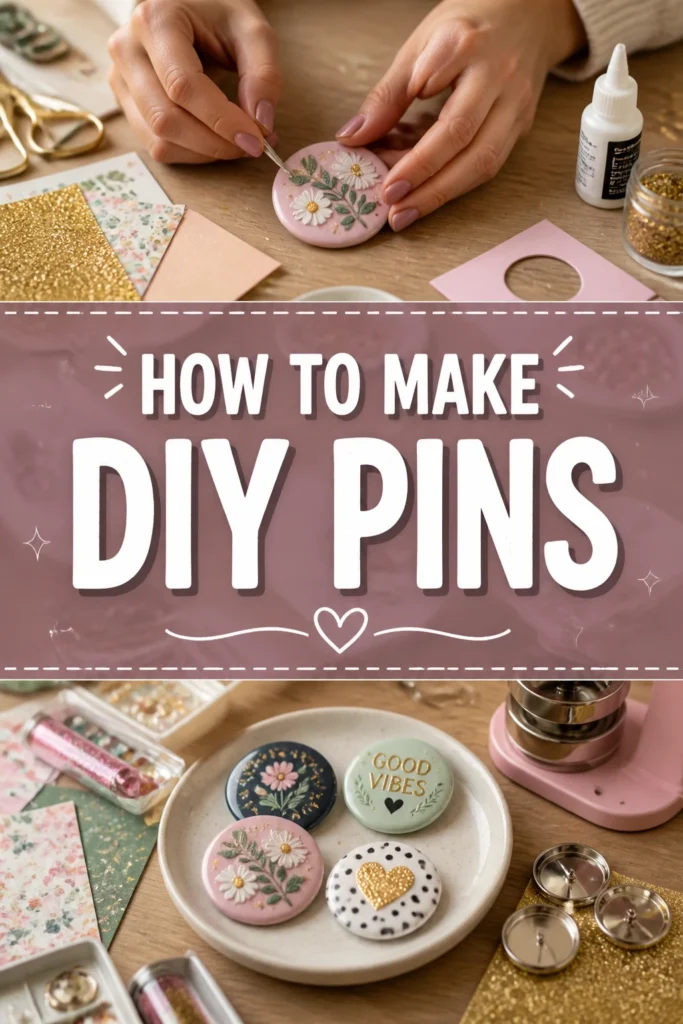
✨ How To Make DIY Pins
There’s something truly special about wearing a pin you’ve made yourself.
I remember making my first batch of custom pins for a craft fair; the joy of seeing people connect with my designs was incredible.
This guide will walk you through the entire process, sharing all my tips and tricks so you can create unique, wearable art with confidence.
Quick Overview
You’re about to embark on a fun, creative journey to make personalized pins that reflect your style or share your message. This method focuses on shrink plastic, offering endless design possibilities and satisfying results.
- Time needed: 2-3 hours (including design, baking, and cooling)
- Difficulty: Beginner-Intermediate
- What you’ll need: Shrink plastic sheets, permanent markers or colored pencils, scissors, hole punch, baking sheet, parchment paper, oven, pin backs, strong adhesive.
Step-by-Step Instructions
Step 1: Gather Your Materials
Before you begin, lay out all your necessary supplies. Having everything within reach makes the creative process smoother and more enjoyable.
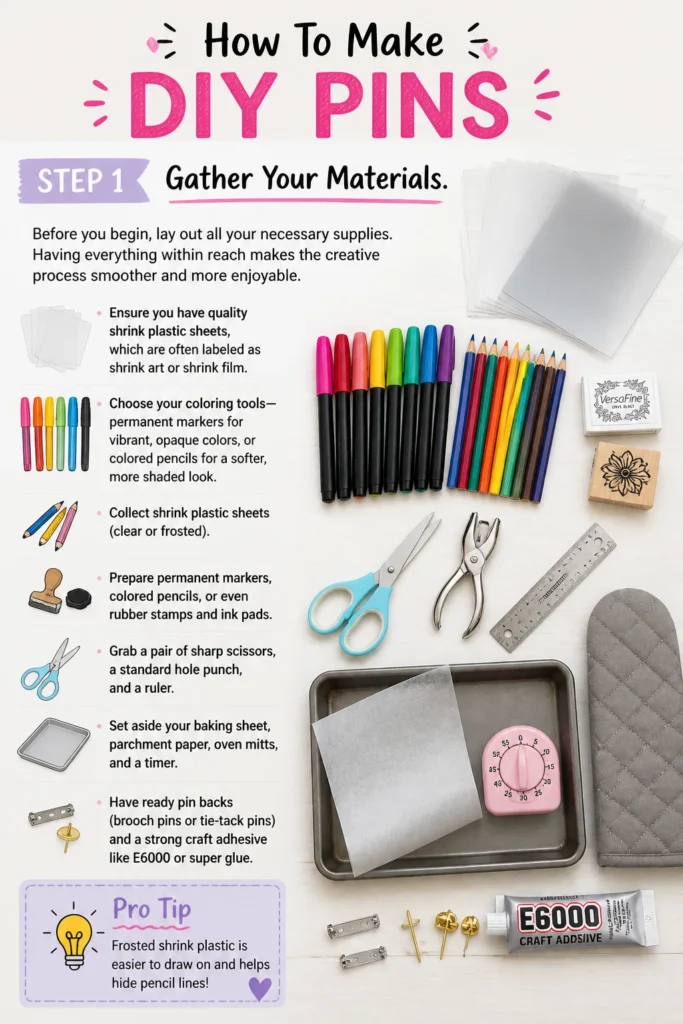
Ensure you have quality shrink plastic sheets, which are often labeled as “shrink art” or “shrink film.”
Choose your coloring tools: permanent markers for vibrant, opaque colors, or colored pencils for a softer, more shaded look.
- Collect shrink plastic sheets (clear or frosted).
- Prepare permanent markers, colored pencils, or even rubber stamps and ink pads.
- Grab a pair of sharp scissors, a standard hole punch, and a ruler.
- Set aside your baking sheet, parchment paper, oven mitts, and a timer.
- Have ready pin backs (brooch pins or tie-tack pins) and a strong craft adhesive like E6000 or super glue.
Pro Tip: Frosted shrink plastic is easier to draw on with colored pencils, while clear plastic works beautifully with permanent markers or alcohol inks. Experiment with both to find your preference!
Step 2: Design Your Pin Art
This is where your creativity truly shines! Think about what you want your pin to represent. It could be a favorite character, a witty phrase, an abstract pattern, or a miniature landscape.
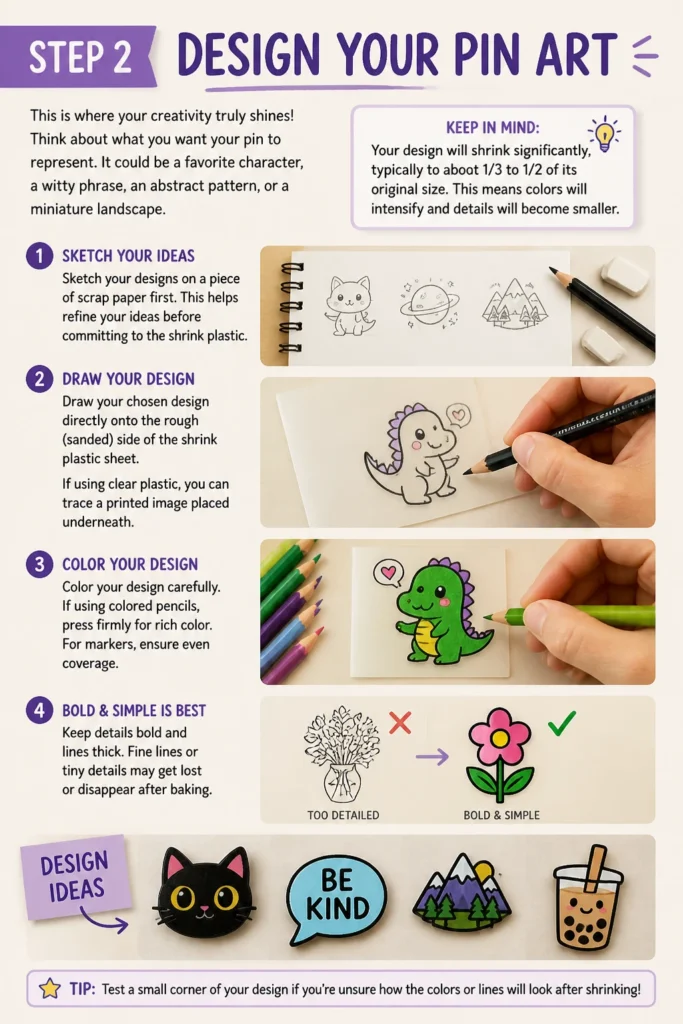
Remember that your design will shrink significantly, typically to about 1/3 to 1/2 of its original size. This means colors will intensify and details will become smaller.
- Sketch your designs on a piece of scrap paper first. This helps refine your ideas before committing to the shrink plastic.
- Draw your chosen design directly onto the rough (sanded) side of the shrink plastic sheet. If using clear plastic, you can trace a printed image placed underneath.
- Color your design carefully. If using colored pencils, press firmly for rich color. For markers, ensure even coverage.
- Keep details bold and lines thick. Very fine lines or tiny text might become illegible once shrunk.
Pro Tip: Because colors deepen during shrinking, choose slightly lighter shades than your desired final result. For example, a medium blue might become a deep navy.
Step 3: Cut Out Your Designs
Once your designs are colored, it’s time to carefully cut them out. Precision here will contribute to the overall finished look of your pins.
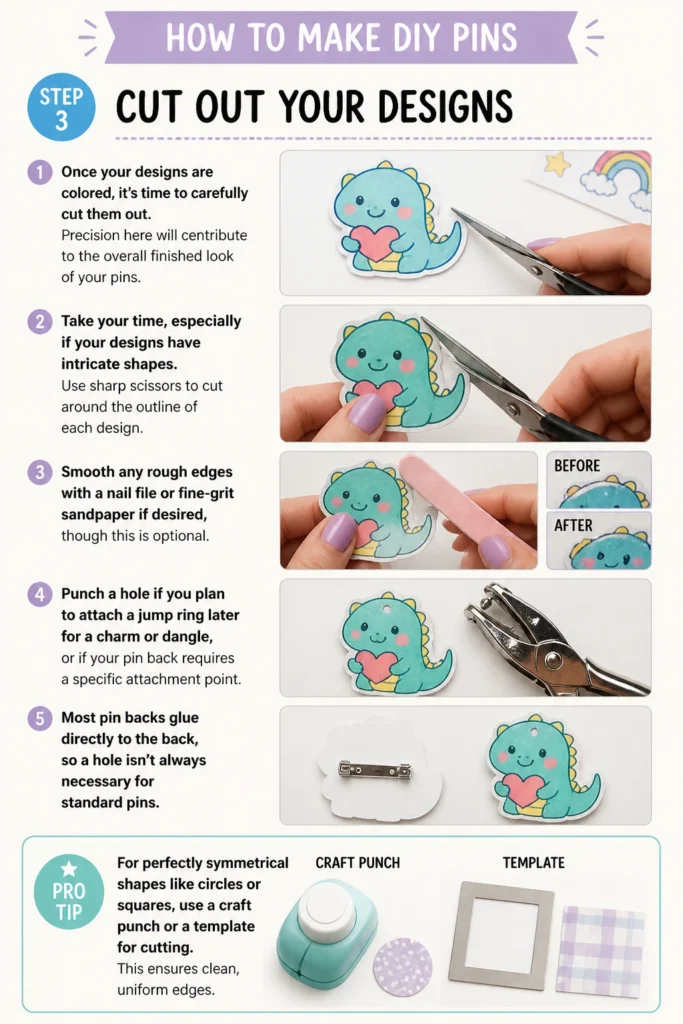
Take your time, especially if your designs have intricate shapes.
- Use sharp scissors to cut around the outline of each design.
- Smooth any rough edges with a nail file or fine-grit sandpaper if desired, though this is optional.
- Punch a hole if you plan to attach a jump ring later for a charm or dangle, or if your pin back requires a specific attachment point. Most pin backs glue directly to the back, so a hole isn’t always necessary for standard pins.
Pro Tip: For perfectly symmetrical shapes like circles or squares, use a craft punch or a template for cutting. This ensures clean, uniform edges.
Step 4: Prepare for Baking
The shrinking process is fascinating to watch, but proper oven preparation is key to success. This step ensures your pins shrink evenly and don’t stick to the baking sheet.
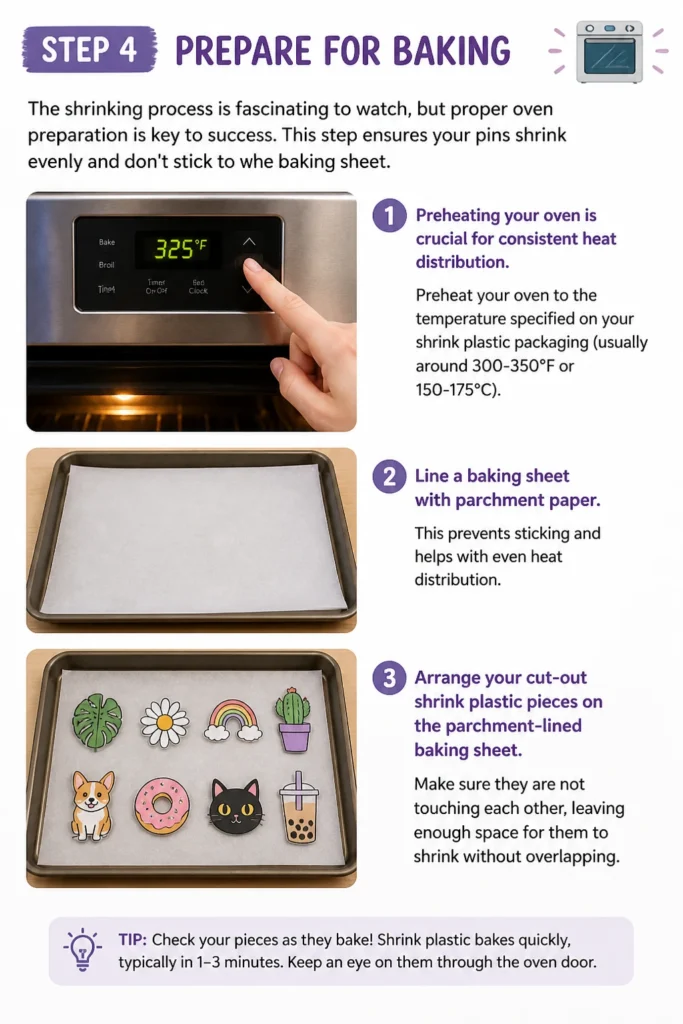
Preheating your oven is crucial for consistent heat distribution.
- Preheat your oven to the temperature specified on your shrink plastic packaging (usually around 300-350°F or 150-175°C).
- Line a baking sheet with parchment paper. This prevents sticking and helps with even heat distribution.
- Arrange your cut-out shrink plastic pieces on the parchment-lined baking sheet. Make sure they are not touching each other, leaving enough space for them to shrink without overlapping.
Step 5: Bake Your Pins
This is the magical part! Watch your designs curl, shrink, and then flatten out into thick, durable pieces.
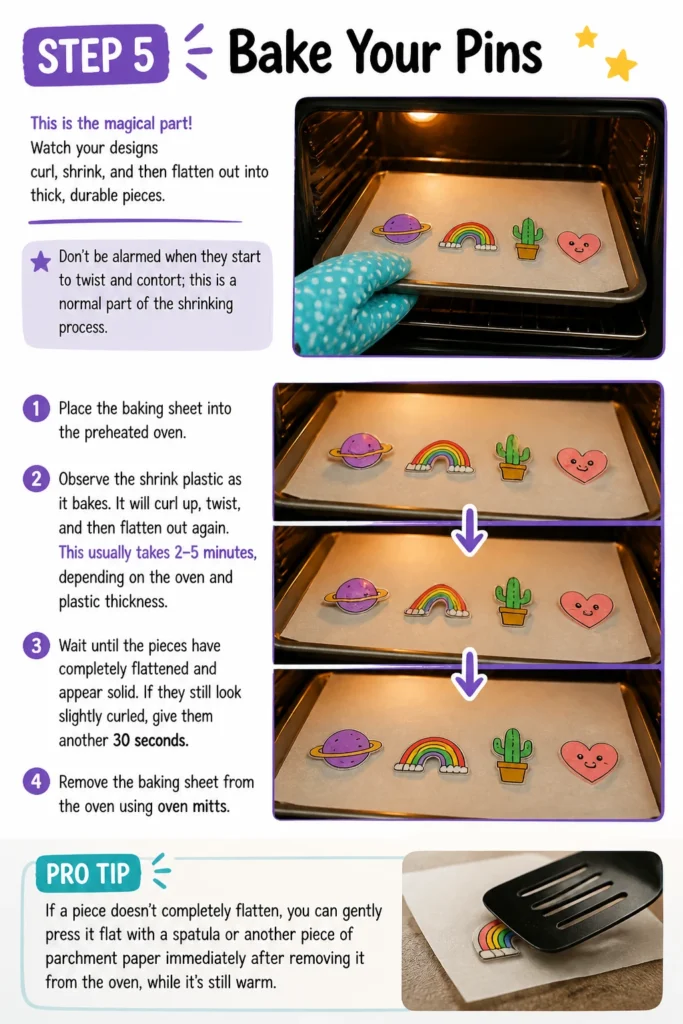
Don’t be alarmed when they start to twist and contort; this is a normal part of the shrinking process.
- Place the baking sheet into the preheated oven.
- Observe the shrink plastic as it bakes. It will curl up, twist, and then flatten out again. This usually takes 2-5 minutes, depending on the oven and plastic thickness.
- Wait until the pieces have completely flattened and appear solid. If they still look slightly curled, give them another 30 seconds.
- Remove the baking sheet from the oven using oven mitts.
Pro Tip: If a piece doesn’t completely flatten, you can gently press it flat with a spatula or another piece of parchment paper immediately after removing it from the oven, while it’s still warm and pliable. Be careful not to burn yourself.
Step 6: Cool and Harden
Once removed from the oven, your pins are still warm and slightly flexible. They need to cool completely to reach their final hard, shrunken state.
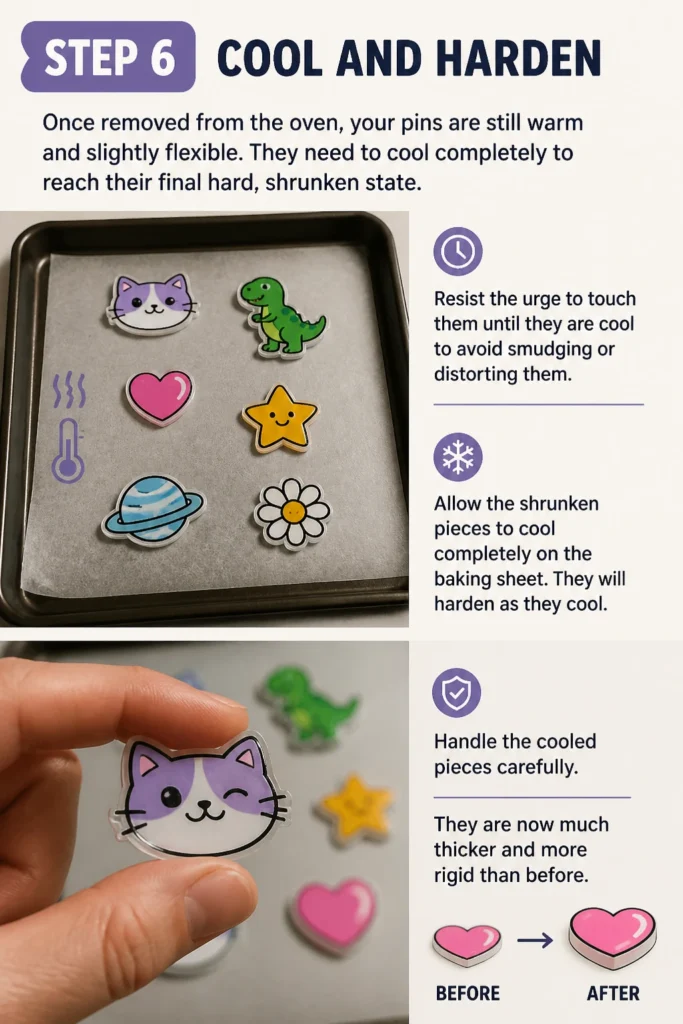
Resist the urge to touch them until they are cool to avoid smudging or distorting them.
- Allow the shrunken pieces to cool completely on the baking sheet. They will harden as they cool.
- Handle the cooled pieces carefully. They are now much thicker and more rigid than before.
Step 7: Attach Pin Backs
Your beautiful designs are now ready to become wearable pins. Choosing the right adhesive is crucial for durability.
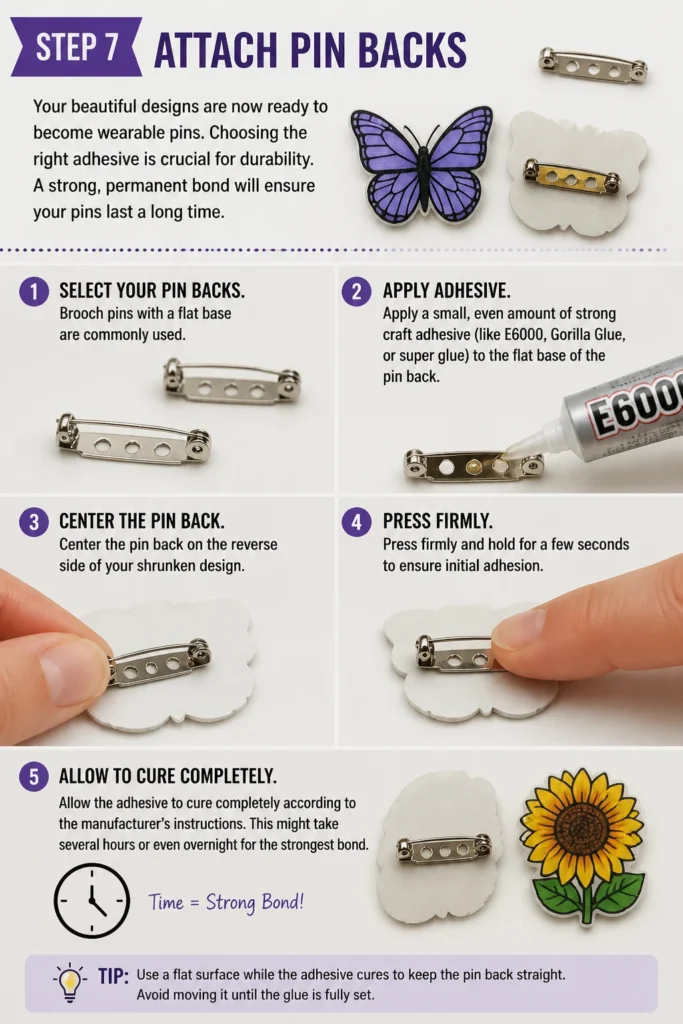
A strong, permanent bond will ensure your pins last a long time.
- Select your pin backs. Brooch pins with a flat base are commonly used.
- Apply a small, even amount of strong craft adhesive (like E6000, Gorilla Glue, or super glue) to the flat base of the pin back.
- Center the pin back on the reverse side of your shrunken design.
- Press firmly and hold for a few seconds to ensure initial adhesion.
- Allow the adhesive to cure completely according to the manufacturer’s instructions. This might take several hours or even overnight for the strongest bond.
Common Mistakes to Avoid
Not Preheating the Oven
Placing shrink plastic into a cold oven can lead to uneven shrinking. The plastic might not shrink uniformly, resulting in warped or distorted pins. Always ensure your oven is fully preheated to the recommended temperature before baking for consistent results.
Overcrowding the Baking Sheet
When pieces are too close together on the baking sheet, they can stick to each other as they curl and shrink. This can ruin multiple pins in one go. Give each piece ample space to move and shrink freely without touching its neighbors.
Ignoring Packaging Instructions
Different brands and types of shrink plastic can have slightly different baking temperatures and times. Using a generic temperature might lead to under-baked (still flexible) or over-baked (burnt or brittle) pins. Always check the specific instructions on your shrink plastic packaging for the best outcome.
Using Weak Adhesive
A beautiful pin is only as good as its attachment. Using standard school glue or a weak craft glue for pin backs will likely result in the pin detaching after minimal wear. Invest in a strong, permanent adhesive designed for crafting to ensure your pin backs stay firmly in place.
Troubleshooting
Pins Didn’t Shrink Completely Flat
Sometimes, a pin might come out of the oven slightly curled or domed. This often happens if the oven temperature wasn’t consistent or if the piece was removed too soon. Immediately after taking it out, while it’s still hot and pliable, place a piece of parchment paper over it and gently press it flat with a heavy, flat object like a book or a spatula for a few seconds. Be careful not to burn yourself.
Colors Look Dull or Washed Out
If your colors appear less vibrant than expected after shrinking, it could be due to not coloring boldly enough before baking. Remember that colors intensify as they shrink, so if you start with very pale colors, they might not achieve the desired depth. For colored pencils, press harder; for markers, ensure full saturation.
Pin Back Detaches Easily
A common issue is the pin back coming loose. This is almost always due to insufficient adhesive or not allowing enough curing time. Ensure you’re using a strong, permanent craft adhesive and apply enough to cover the entire flat base of the pin back. Always allow the glue to cure for the full recommended time, often 24-72 hours, before wearing or handling the pin extensively.
Key Takeaways
- Choose the right shrink plastic and coloring tools for your desired effect.
- Design with shrinkage in mind: bold lines and slightly lighter colors work best.
- Always preheat your oven and give pieces ample space on the baking sheet.
- Watch the shrinking process closely, ensuring pieces fully flatten before removal.
- Allow pins to cool completely to harden before handling.
- Use a strong, permanent adhesive for attaching pin backs and allow it to fully cure.
Frequently Asked Questions
Can I use regular paper instead of shrink plastic?
No, regular paper will burn or crisp in the oven and will not shrink or harden like shrink plastic. Shrink plastic is specifically designed for this process, changing its molecular structure with heat to become thicker and smaller.
How do I make my pins waterproof or more durable?
To add extra durability and a waterproof finish, you can seal your finished pins. Apply a clear sealant spray, a layer of clear epoxy resin, or even a clear topcoat nail polish over the design side. Ensure the sealant is completely dry before wearing or handling.
What if my pins curl up and don’t flatten in the oven?
If your pins curl excessively and don’t flatten, the oven temperature might be too low, or they haven’t been in long enough. Give them another 30-60 seconds. If they still don’t flatten, gently press them with a spatula immediately after removing them from the oven, as they are cooling.
Can I make pins without an oven?
While an oven provides the most consistent heat for shrink plastic, some people have success using a heat gun for smaller pieces. However, it requires more skill to achieve even shrinking and prevent warping compared to an oven.
Our Top Recommended Finds
- Grafix Shrink Film: A trusted brand for consistent shrinking and a wide variety of finishes.
- E6000 Craft Adhesive: Known for its industrial-strength bond, perfect for securely attaching pin backs.
- Posca Paint Markers: Offer opaque, vibrant colors that stand out beautifully on shrink plastic.
Your Pin-Making Adventure Awaits!
You now have all the knowledge and practical steps to start crafting your very own DIY pins.
Imagine the possibilities: creating unique gifts for friends, promoting your art, or simply expressing your personality.
Why wait? Gather your supplies today and transform your ideas into tangible, wearable works of art. Your creative journey is just beginning!