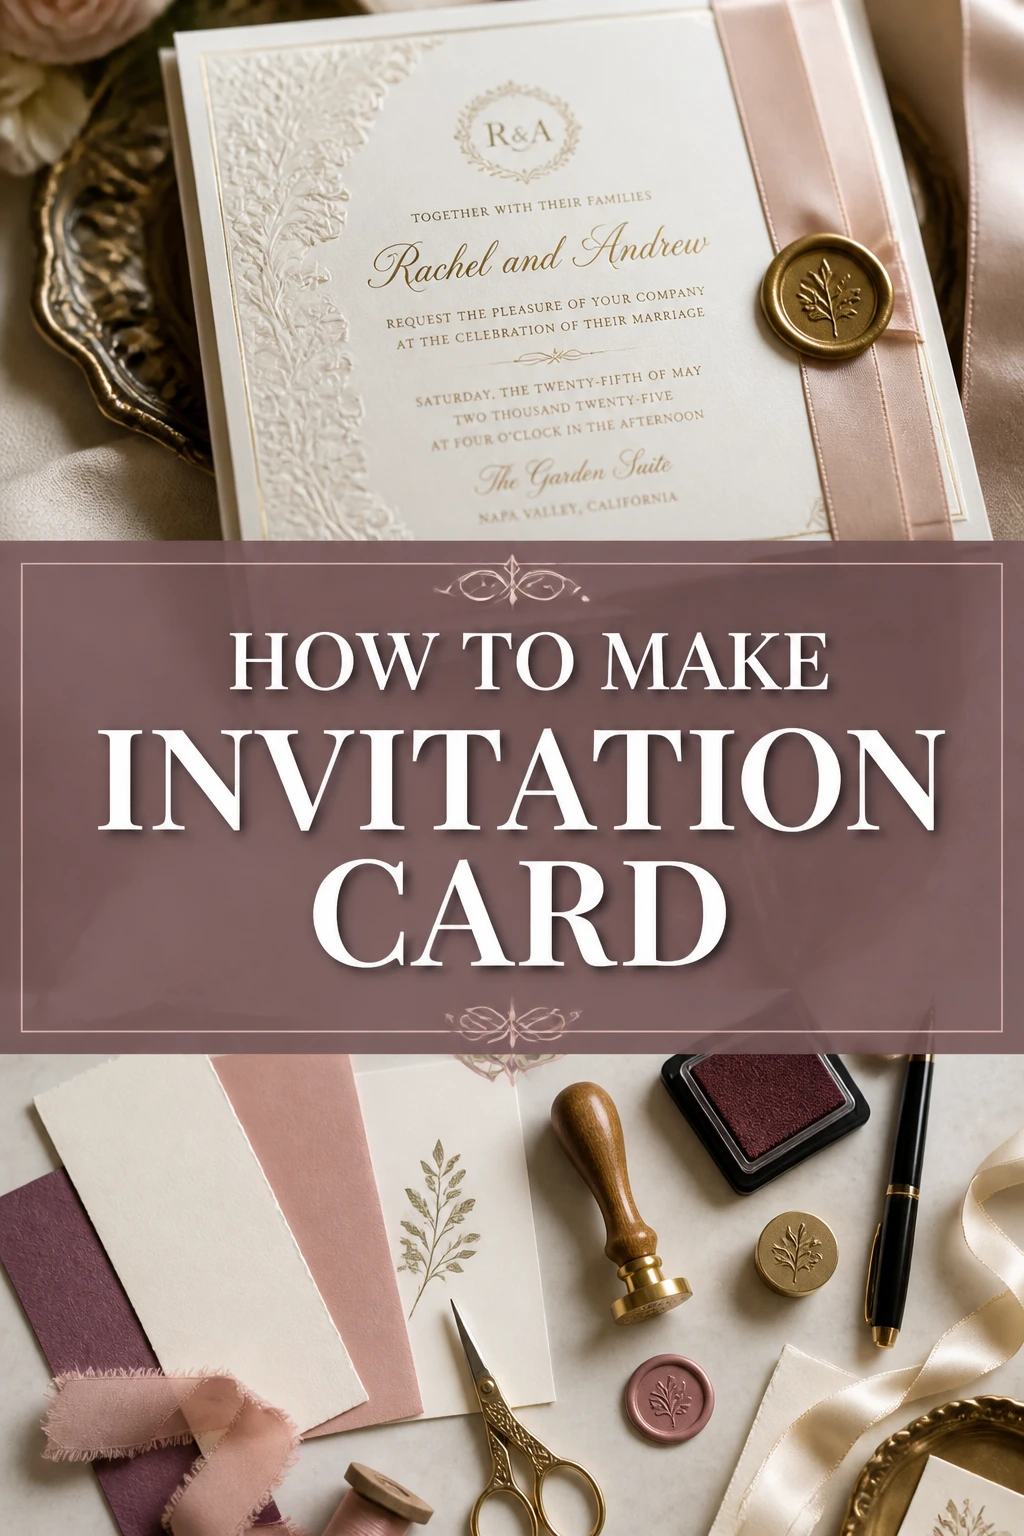
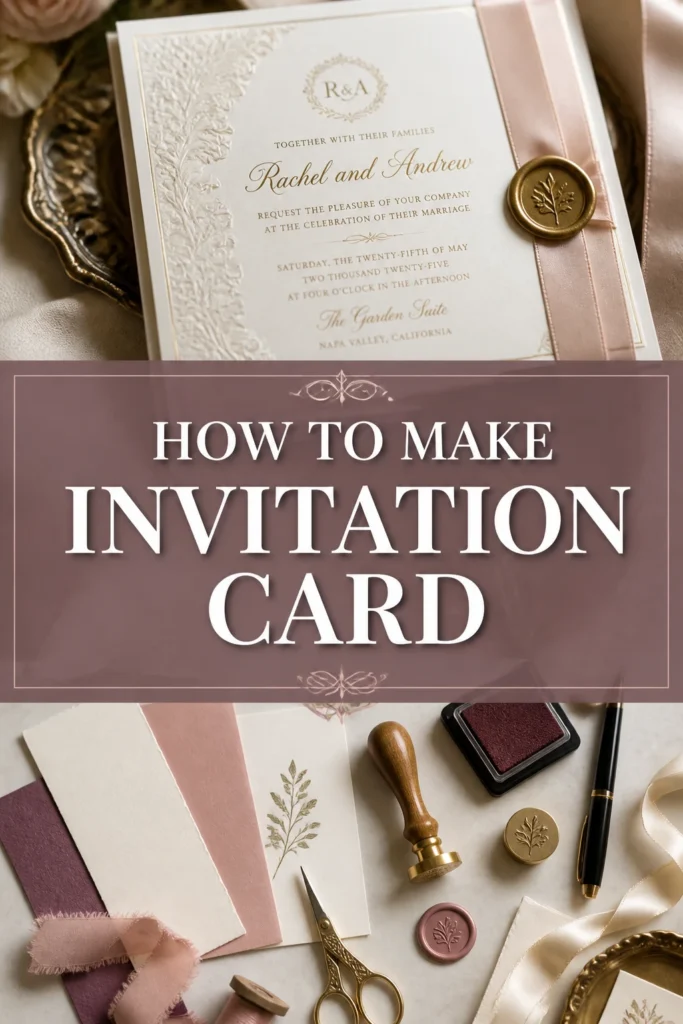
✉️ How To Make Invitation Card
Planning a special event is exciting, and the first impression often comes from your invitation card.
Creating your own invitations adds a personal touch that store-bought cards simply can’t match.
Having designed countless cards for family celebrations and community events, I’ve learned the secrets to making beautiful, professional-looking invitations right at home, and I’m eager to share them with you.
Quick Overview
This guide will walk you through the entire process of crafting stunning invitation cards, from initial concept to the final print. You’ll gain the skills to design unique cards for any occasion, impressing your guests before they even arrive.
- Time needed: 2-4 hours (design & print)
- Difficulty: Beginner
- What you’ll need: Computer, design software (free or paid), printer, cardstock, scissors or paper trimmer.
Step-by-Step Instructions
Step 1: Define Your Event and Theme
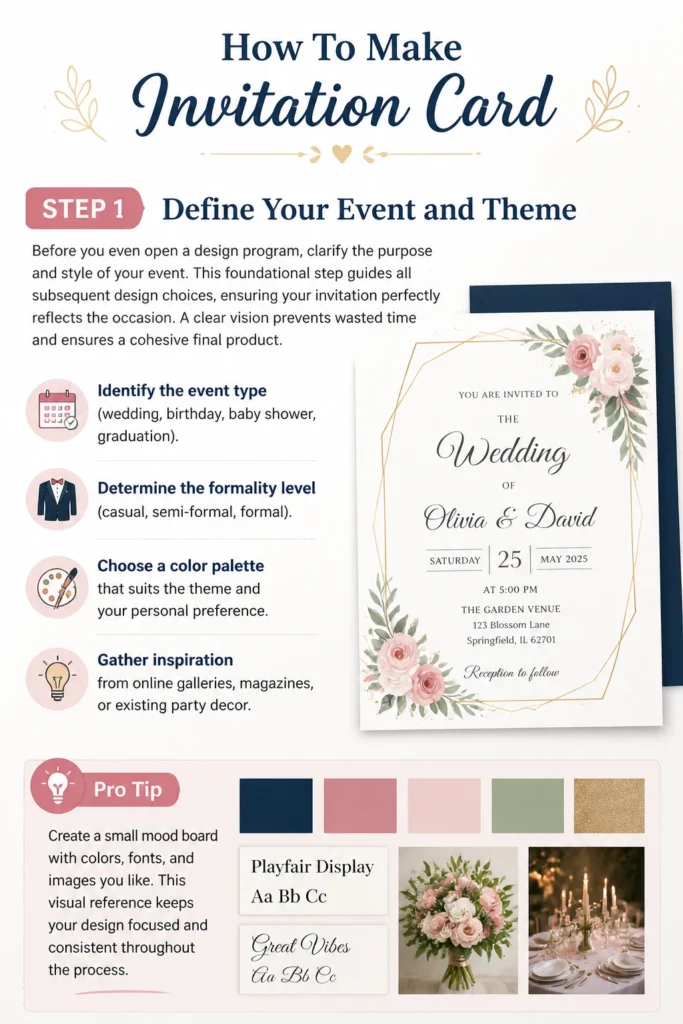
Before you even open a design program, clarify the purpose and style of your event. This foundational step guides all subsequent design choices, ensuring your invitation perfectly reflects the occasion. A clear vision prevents wasted time and ensures a cohesive final product.
- Identify the event type (wedding, birthday, baby shower, graduation).
- Determine the formality level (casual, semi-formal, formal).
- Choose a color palette that suits the theme and your personal preference.
- Gather inspiration from online galleries, magazines, or existing party decor.
Pro Tip: Create a small mood board with colors, fonts, and images you like. This visual reference keeps your design focused and consistent throughout the process.
Step 2: Gather Your Information
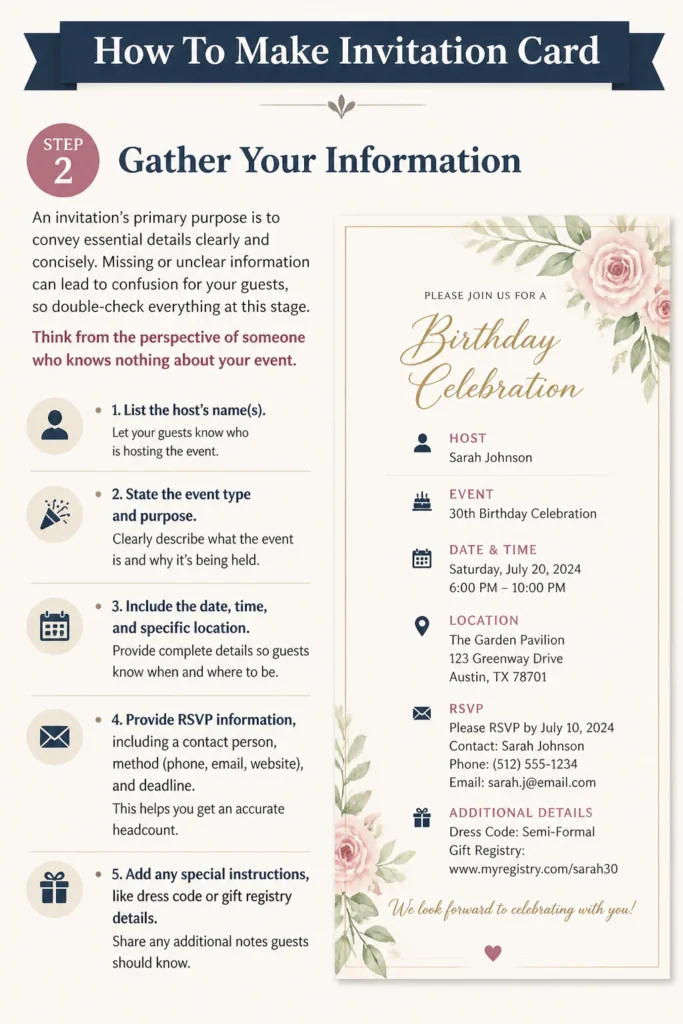
An invitation’s primary purpose is to convey essential details clearly and concisely. Missing or unclear information can lead to confusion for your guests, so double-check everything at this stage. Think from the perspective of someone who knows nothing about your event.
- List the host’s name(s).
- State the event type and purpose.
- Include the date, time, and specific location.
- Provide RSVP information, including a contact person, method (phone, email, website), and deadline.
- Add any special instructions, like dress code or gift registry details.
Step 3: Choose Your Design Tools
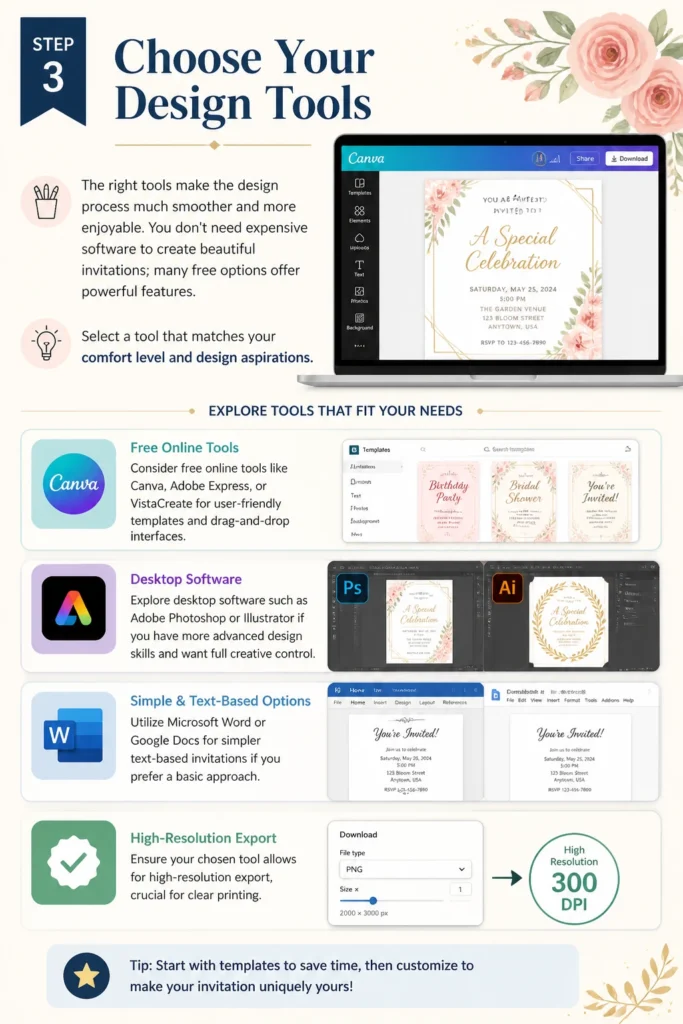
The right tools make the design process much smoother and more enjoyable. You don’t need expensive software to create beautiful invitations; many free options offer powerful features. Select a tool that matches your comfort level and design aspirations.
- Consider free online tools like Canva, Adobe Express, or VistaCreate for user-friendly templates and drag-and-drop interfaces.
- Explore desktop software such as Adobe Photoshop or Illustrator if you have more advanced design skills and want full creative control.
- Utilize Microsoft Word or Google Docs for simpler text-based invitations if you prefer a basic approach.
- Ensure your chosen tool allows for high-resolution export, crucial for clear printing.
Step 4: Design Your Invitation Layout
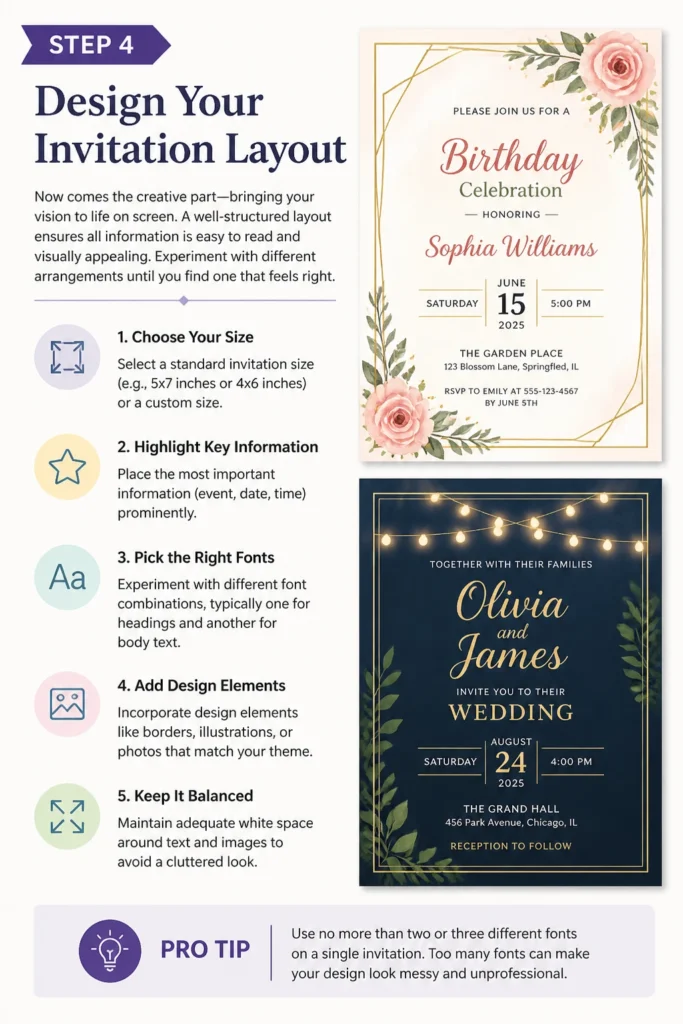
Now comes the creative part: bringing your vision to life on screen. A well-structured layout ensures all information is easy to read and visually appealing. Experiment with different arrangements until you find one that feels right.
- Select a standard invitation size (e.g., 5×7 inches or 4×6 inches) or a custom size.
- Place the most important information (event, date, time) prominently.
- Experiment with different font combinations, typically one for headings and another for body text.
- Incorporate design elements like borders, illustrations, or photos that match your theme.
- Maintain adequate white space around text and images to avoid a cluttered look.
Pro Tip: Use no more than two or three different fonts on a single invitation. Too many fonts can make your design look messy and unprofessional. Stick to complementary styles for the best readability.
Step 5: Refine Your Text and Visuals
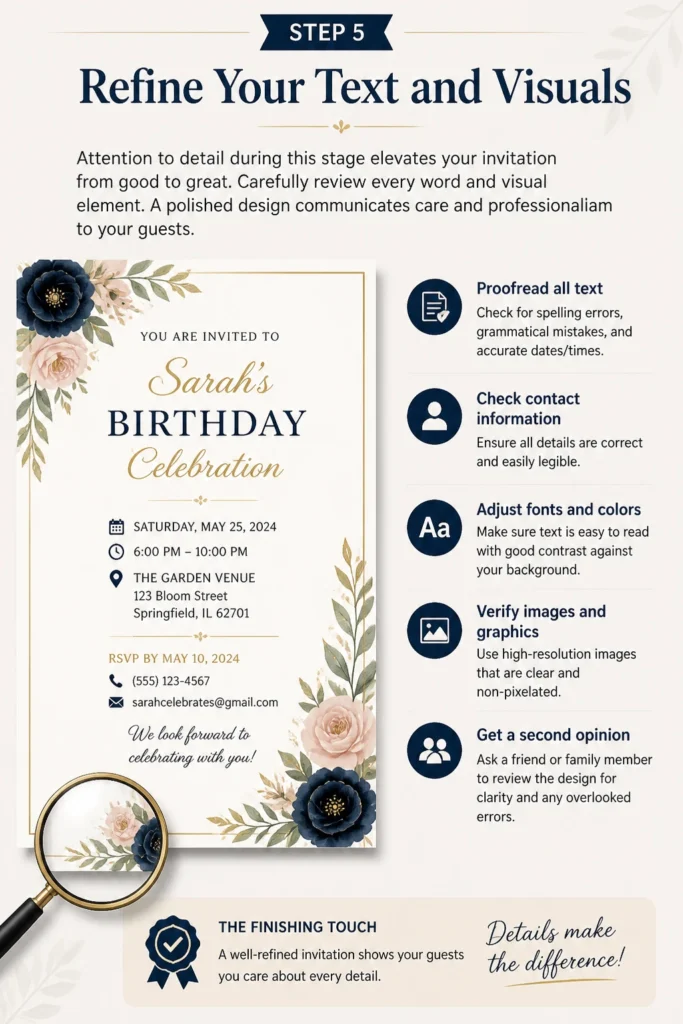
Attention to detail during this stage elevates your invitation from good to great. Carefully review every word and visual element. A polished design communicates care and professionalism to your guests.
- Proofread all text for spelling errors, grammatical mistakes, and accurate dates/times.
- Check that all contact information is correct and easily legible.
- Adjust font sizes and colors to ensure readability against your background.
- Verify that any images or graphics are high-resolution and don’t appear pixelated.
- Ask a friend or family member to review the design for clarity and any overlooked errors.
Step 6: Prepare for Printing
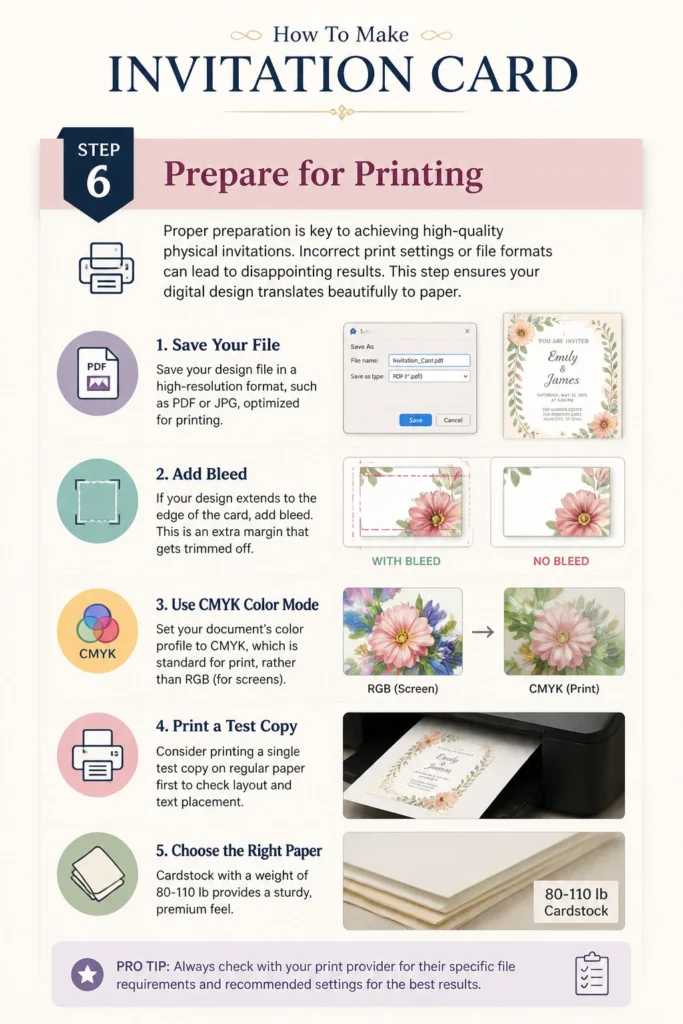
Proper preparation is key to achieving high-quality physical invitations. Incorrect print settings or file formats can lead to disappointing results. This step ensures your digital design translates beautifully to paper.
- Save your design file in a high-resolution format, such as PDF or JPG, optimized for printing.
- Add “bleed” if your design extends to the edge of the card. This is an extra margin that gets trimmed off.
- Set your document’s color profile to CMYK, which is standard for print, rather than RGB (for screens).
- Consider printing a single test copy on regular paper first to check layout and text placement.
- Choose the right paper: cardstock with a weight of 80-110 lb provides a sturdy, premium feel.
Step 7: Print and Finish Your Invitations
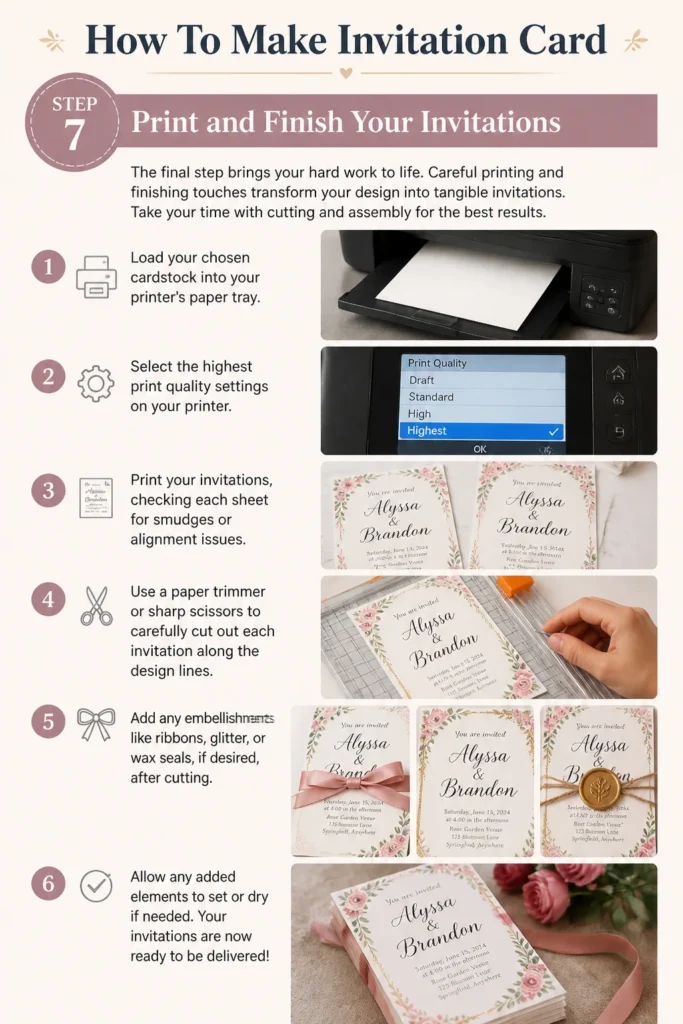
The final step brings your hard work to life. Careful printing and finishing touches transform your design into tangible invitations. Take your time with cutting and assembly for the best results.
- Load your chosen cardstock into your printer’s paper tray.
- Select the highest print quality settings on your printer.
- Print your invitations, checking each sheet for smudges or alignment issues.
- Use a paper trimmer or sharp scissors to carefully cut out each invitation along the design lines.
- Add any embellishments like ribbons, glitter, or wax seals, if desired, after cutting.
Common Mistakes to Avoid
Overcrowding the Design
Many people try to fit too much information or too many graphics onto a single card. This makes the invitation look cluttered and difficult to read, overwhelming the recipient. Focus on essential details and let your design breathe with ample white space.
Instead, prioritize key information like event type, date, time, and location. Use simple, clean layouts and select one or two main graphic elements. Less is often more when it comes to elegant invitation design.
Using Unreadable Fonts or Colors
Choosing overly decorative fonts or color combinations with low contrast can make your invitation hard to decipher. Guests shouldn’t have to struggle to read critical event details. Legibility is paramount for any invitation.
Always test your chosen fonts and colors for readability, especially for smaller text. Opt for clear, legible fonts for the main information and ensure there’s a strong contrast between your text and background colors.
Forgetting to Proofread
Skipping the proofreading step is a common pitfall that can lead to embarrassing errors. Typos in dates, times, or addresses can cause significant confusion or even prevent guests from attending. A fresh pair of eyes can spot mistakes you’ve overlooked.
Take the time to carefully read all text, ideally aloud, to catch any awkward phrasing or errors. Ask at least two other people to review your final design before printing to ensure accuracy.
Ignoring Print Quality
Designing a beautiful card only to print it poorly diminishes all your effort. Using low-resolution images, incorrect paper, or faulty printer settings results in pixelated, faded, or unprofessional-looking invitations. The final physical product is what your guests see.
Invest in good quality cardstock and ensure your printer settings are optimized for high-resolution output. If printing at home, clean your printer heads before starting. For larger batches, consider a professional printing service.
Troubleshooting
Printed Colors Don’t Match Screen Colors
This is a common issue due to the difference between screen (RGB) and print (CMYK) color profiles. What looks vibrant on your monitor might appear duller or slightly different when printed. Screen calibration and printer settings also play a role.
Try converting your design to a CMYK color profile before printing. Adjust your printer settings to “photo” or “best quality” and ensure color management options are correctly configured. Printing a test strip of colors can help you fine-tune.
Text Appears Blurry or Pixelated
Blurry text usually indicates that your design resolution is too low for printing, or the image quality of your text elements is poor. This often happens when scaling up small images or using low-resolution files.
Ensure your design software is set to a high resolution (at least 300 DPI) from the start. Use vector graphics for text and logos whenever possible, as they scale without losing quality. If using raster images, make sure they are high-resolution.
Cardstock Jams in the Printer
Thicker cardstock can sometimes cause issues with home printers not designed for heavy paper. Misaligned paper guides or a printer tray that’s too full can also lead to jamming. This can be frustrating and waste expensive paper.
Check your printer’s specifications for its maximum paper weight capacity. Feed cardstock one sheet at a time if necessary. Adjust the paper guides in the tray snugly against the edges of the cardstock to prevent skewing.
Key Takeaways
- Planning your event’s theme and details early guides all design choices effectively.
- Accurate and complete event information is crucial for clear communication with guests.
- Utilize free online design tools for user-friendly creation, or desktop software for advanced control.
- Prioritize readability by selecting appropriate fonts and ensuring sufficient contrast.
- Always proofread meticulously and have others review your design for any errors.
- Prepare your files for print by checking resolution, color profile, and adding bleed if needed.
- Use quality cardstock and proper printer settings for a professional, finished product.
Frequently Asked Questions
What’s the best paper to use for invitation cards?
For a professional feel, cardstock with a weight between 80 lb and 110 lb is ideal. This weight provides sturdiness and a premium feel without being too thick for most home printers. You can choose finishes like matte, glossy, or linen texture.
Can I make invitations without design software?
Yes, absolutely! Simple and elegant invitations can be created using word processing programs like Microsoft Word or Google Docs. You can also use online platforms like Canva, which offer intuitive drag-and-drop interfaces and pre-made templates, making design accessible for everyone.
How far in advance should I send out invitations?
The timing depends on the event type. For large events like weddings, send invitations 6-8 weeks in advance, or even earlier for destination weddings. For smaller or local events like birthdays or baby showers, 3-4 weeks is generally sufficient. Always factor in RSVP deadlines.
Is it okay to print invitations at home?
Printing invitations at home is perfectly fine, especially for smaller batches or if you have a good quality printer. It offers flexibility and saves costs. Just ensure you use high-resolution files, quality cardstock, and optimize your printer settings for the best results.
Our Top Recommended Finds
- Heavyweight Cardstock: Essential for sturdy, professional-feeling invitations. Look for 80-110 lb options in matte or linen finish.
- Paper Trimmer: Provides clean, straight cuts, far superior to scissors for a polished edge. A guillotine or rotary trimmer works well.
- Adhesive Roller or Double-Sided Tape: Perfect for attaching embellishments or creating layered invitations without messy glue.
Your Next Creative Step Awaits
You now have a complete toolkit to design and create beautiful, personalized invitation cards for any occasion. This process is not just about making a card; it’s about adding a piece of your heart to every celebration.
Don’t let the technical aspects intimidate you. Start with a simple design, experiment with colors and fonts, and watch your creative vision come to life. Your guests will undoubtedly appreciate the effort and personal touch. Now, go forth and create something wonderful!