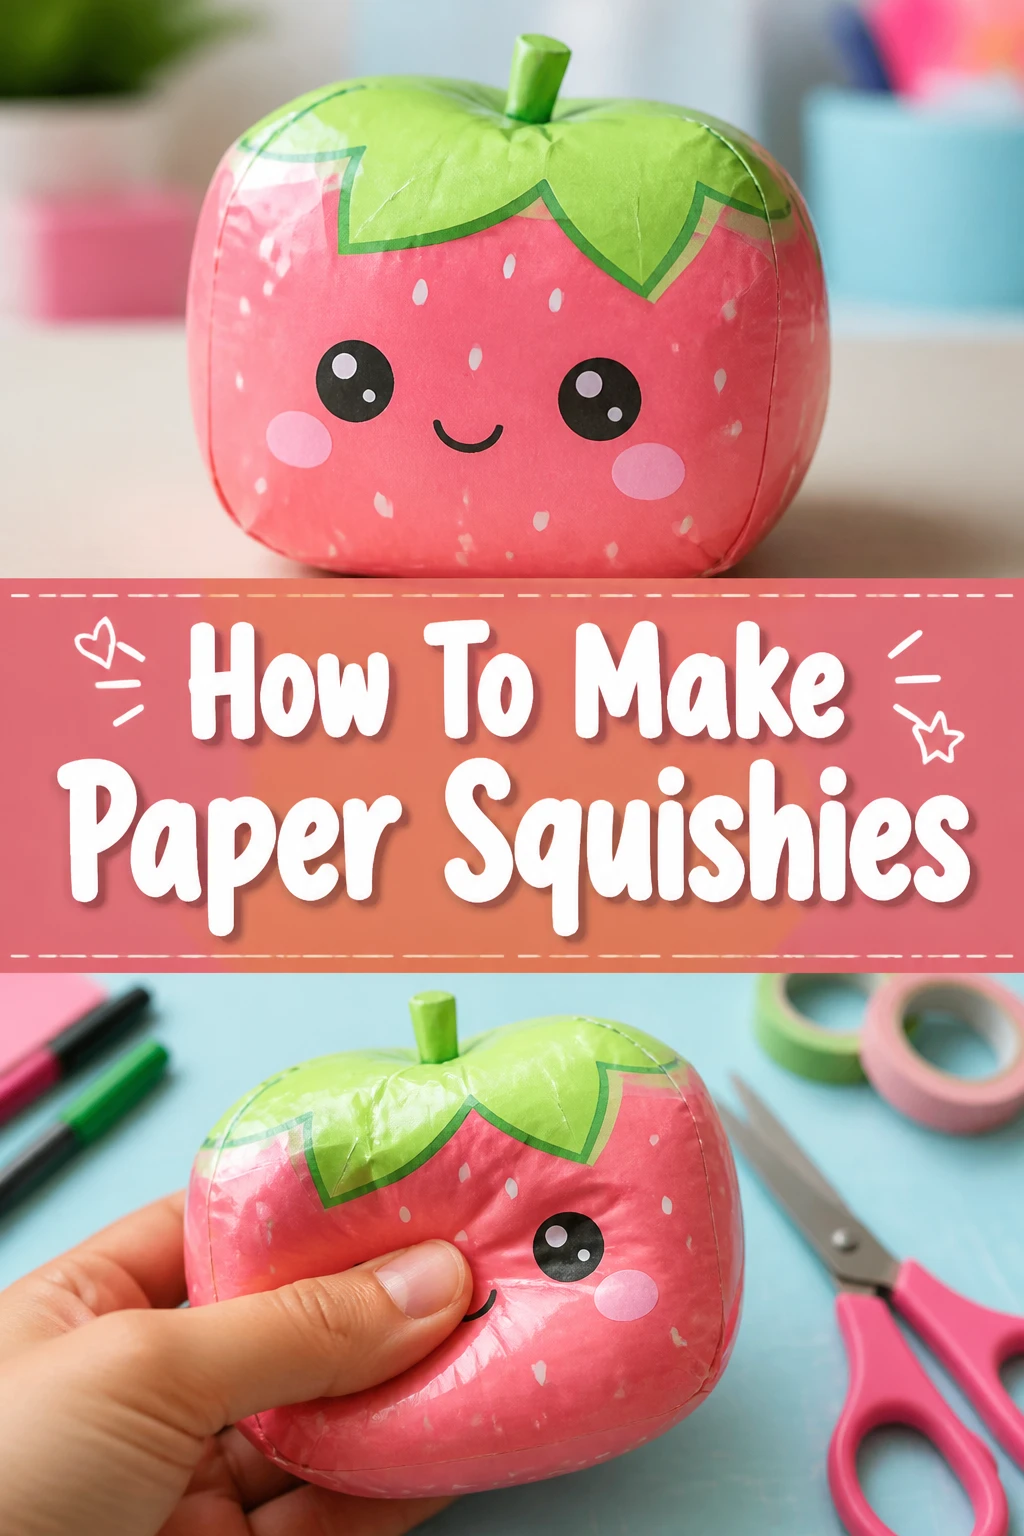
✂️ How To Make Paper Squishies
Ever tried to buy a squishy and found it wasn’t quite what you imagined? Making your own offers endless possibilities for creativity. I remember my first paper squishy, a clumsy but charming little avocado, and the pure joy of seeing my design come to life.
This guide will walk you through every step, ensuring your squishy-making journey is fun and rewarding. You’ll learn the secrets to a perfectly soft, durable, and uniquely yours paper squishy.
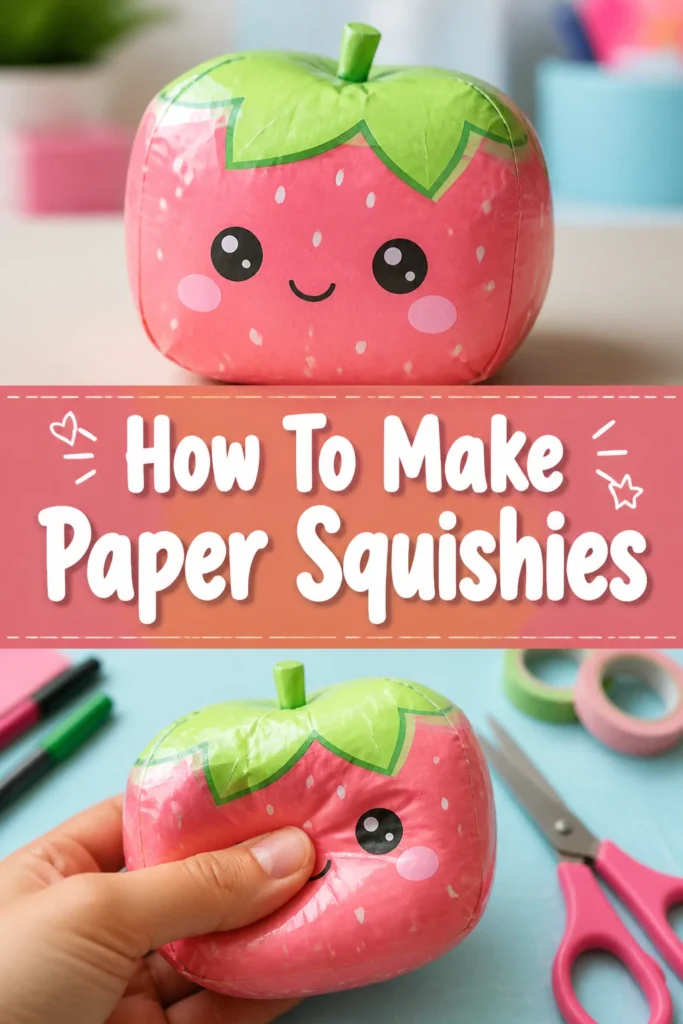
Quick Overview
You’re about to craft a custom paper squishy, a delightful and satisfying DIY project. This process combines art, engineering, and a touch of magic to create a squeezable toy.
It’s a fantastic way to express your creativity and end up with something truly unique.
- Time needed: 1-2 hours (depending on design complexity)
- Difficulty: Beginner
- What you’ll need: Paper, clear tape, scissors, markers/colored pencils, stuffing material
Step-by-Step Instructions
Step 1: Gather Your Materials
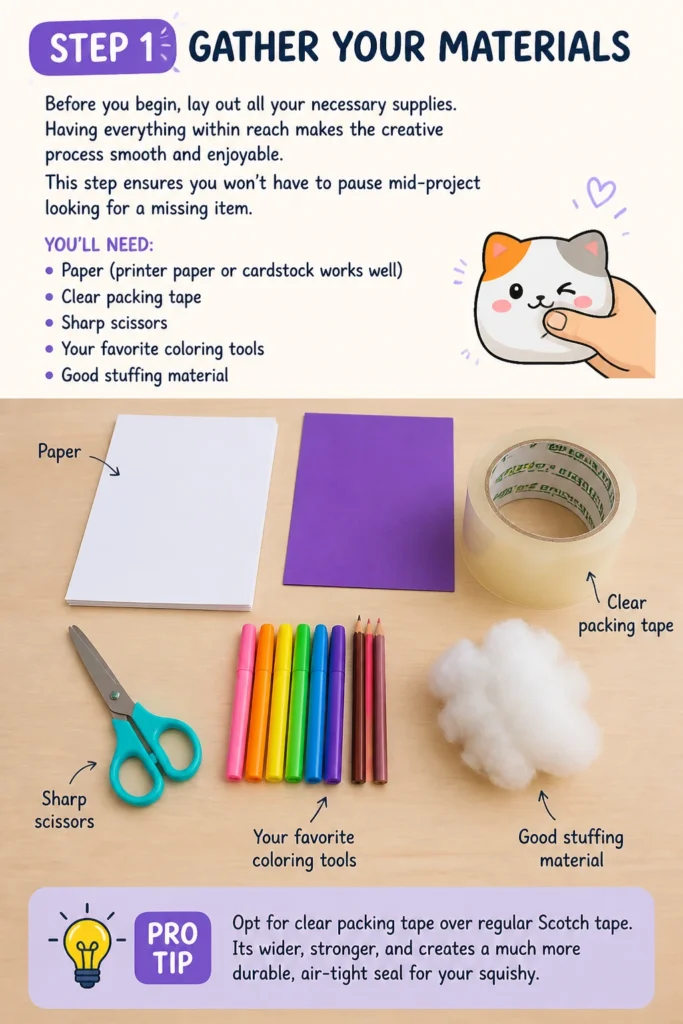
Before you begin, lay out all your necessary supplies. Having everything within reach makes the creative process smooth and enjoyable. This step ensures you won’t have to pause mid-project looking for a missing item.
You’ll need paper (printer paper or cardstock works well), clear packing tape, sharp scissors, your favorite coloring tools, and a good stuffing material. Take a moment to check your tape roll for plenty of tape.
Pro Tip: Opt for clear packing tape over regular Scotch tape. It’s wider, stronger, and creates a much more durable, air-tight seal for your squishy.
Step 2: Design Your Squishy Shape
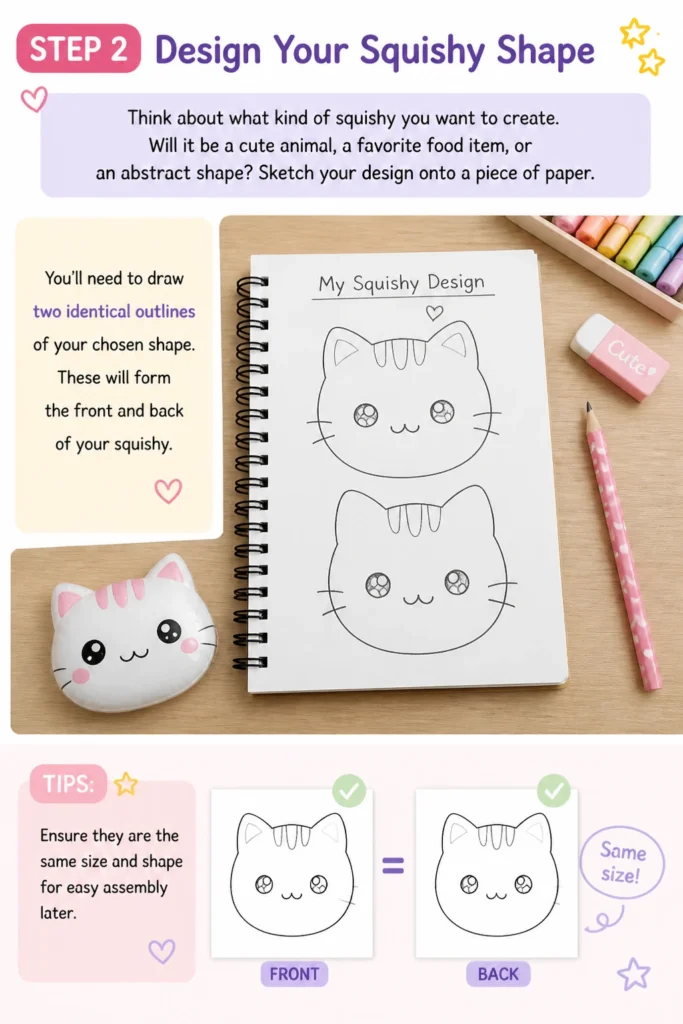
Think about what kind of squishy you want to create. Will it be a cute animal, a favorite food item, or an abstract shape? Sketch your design onto a piece of paper.
You’ll need to draw two identical outlines of your chosen shape. These will form the front and back of your squishy. Ensure they are the same size and shape for easy assembly later.
Step 3: Cut and Fold Your Design
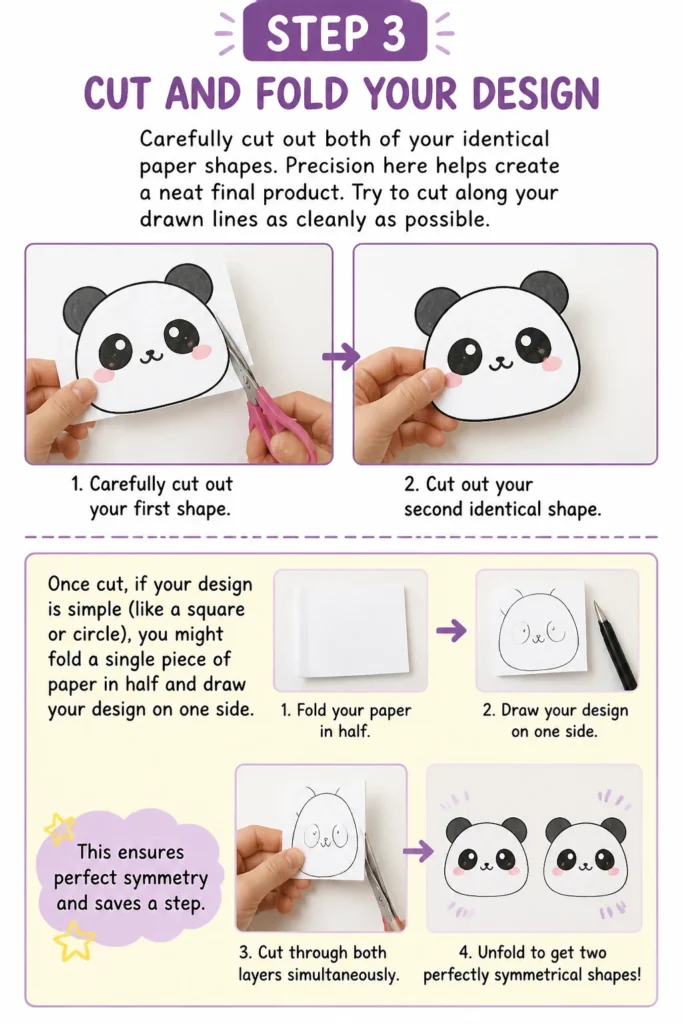
Carefully cut out both of your identical paper shapes. Precision here helps create a neat final product. Try to cut along your drawn lines as cleanly as possible.
Once cut, if your design is simple (like a square or circle), you might fold a single piece of paper in half and draw your design on one side. Then, cut through both layers simultaneously. This ensures perfect symmetry and saves a step.
Step 4: Decorate Your Squishy
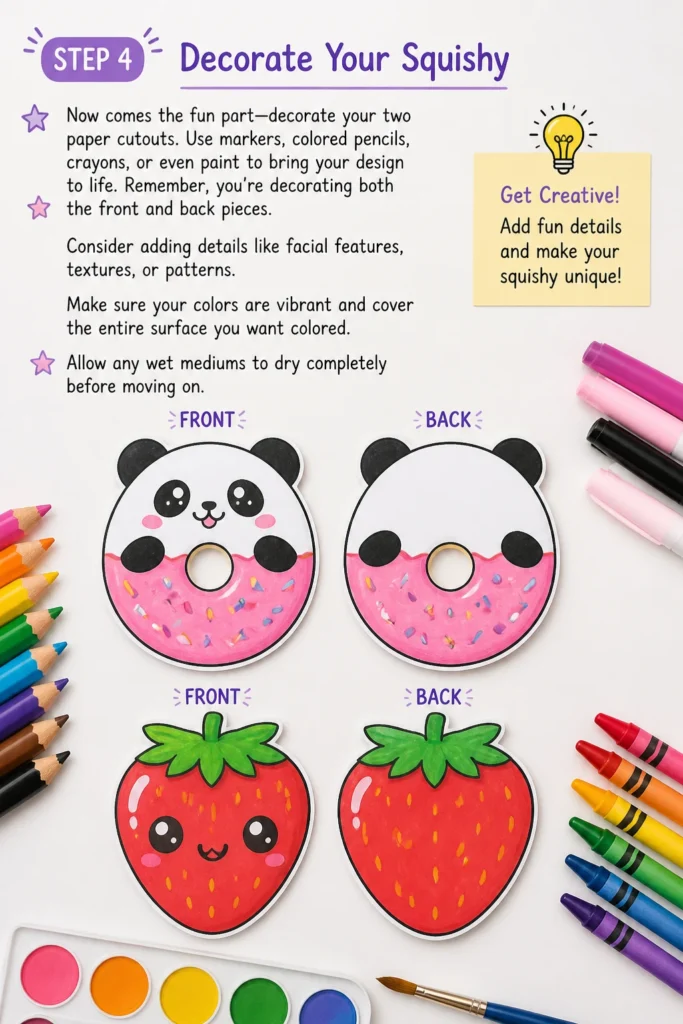
Now comes the fun part: decorate your two paper cutouts. Use markers, colored pencils, crayons, or even paint to bring your design to life. Remember, you’re decorating both the front and back pieces.
Consider adding details like facial features, textures, or patterns. Make sure your colors are vibrant and cover the entire surface you want colored. Allow any wet mediums to dry completely before moving on.
Step 5: Tape the Edges (Leaving a Gap)
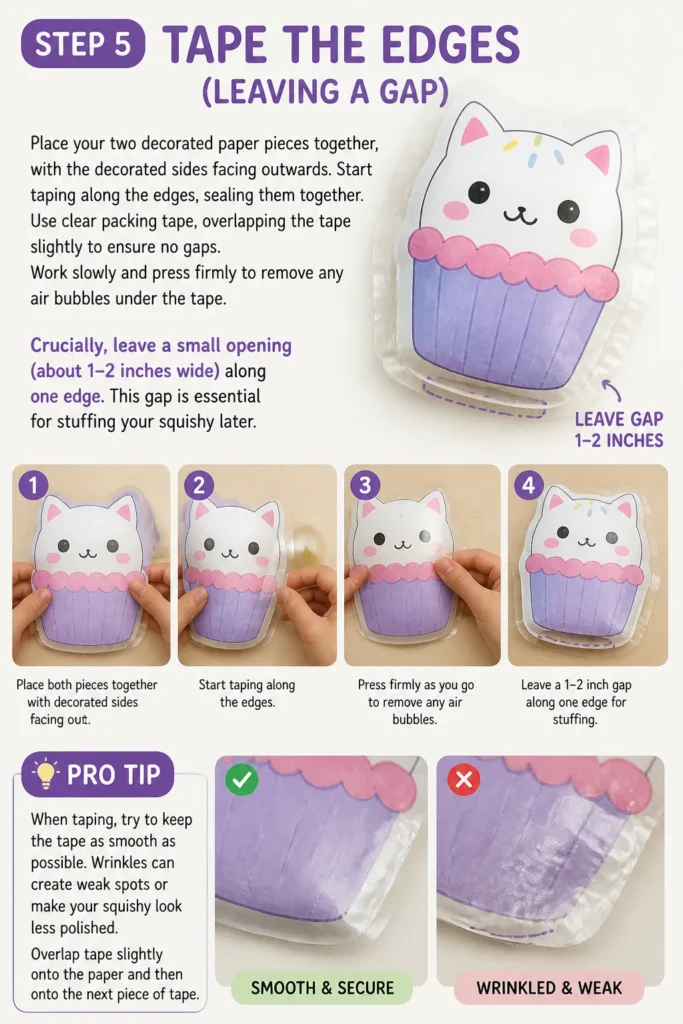
Place your two decorated paper pieces together, with the decorated sides facing outwards. Start taping along the edges, sealing them together. Use clear packing tape, overlapping the tape slightly to ensure no gaps.
Work slowly and press firmly to remove any air bubbles under the tape. Crucially, leave a small opening (about 1-2 inches wide) along one edge. This gap is essential for stuffing your squishy later.
Pro Tip: When taping, try to keep the tape as smooth as possible. Wrinkles can create weak spots or make your squishy look less polished. Overlap tape slightly onto the paper and then onto the next piece of tape.
Step 6: Stuff Your Squishy
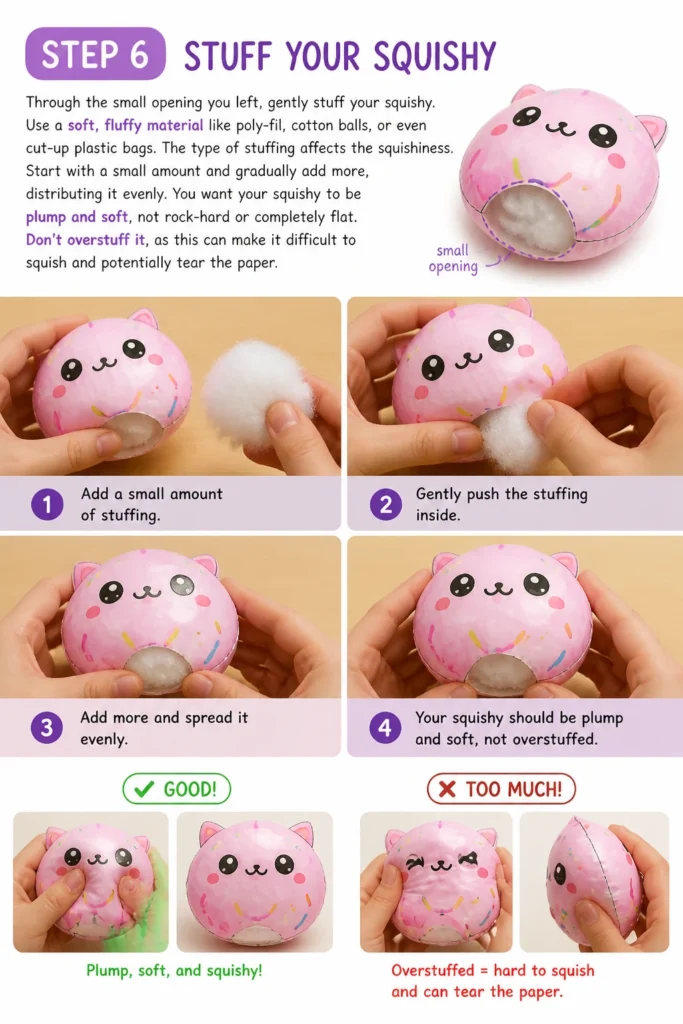
Through the small opening you left, gently stuff your squishy. Use a soft, fluffy material like poly-fil, cotton balls, or even cut-up plastic bags. The type of stuffing affects the squishiness.
Start with a small amount and gradually add more, distributing it evenly. You want your squishy to be plump and soft, not rock-hard or completely flat. Don’t overstuff it, as this can make it difficult to squish and potentially tear the paper.
Step 7: Seal It Up
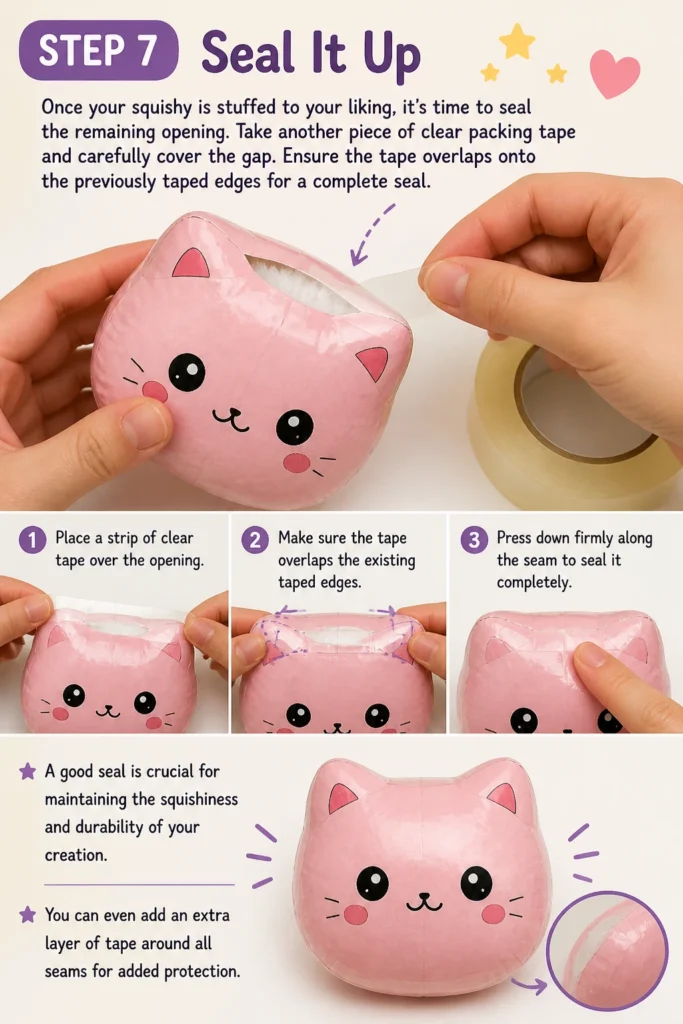
Once your squishy is stuffed to your liking, it’s time to seal the remaining opening. Take another piece of clear packing tape and carefully cover the gap. Ensure the tape overlaps onto the previously taped edges for a complete seal.
Press down firmly along the seam to ensure no air can escape or enter. A good seal is crucial for maintaining the squishiness and durability of your creation. You can even add an extra layer of tape around all seams for added protection.
Step 8: Test and Enjoy
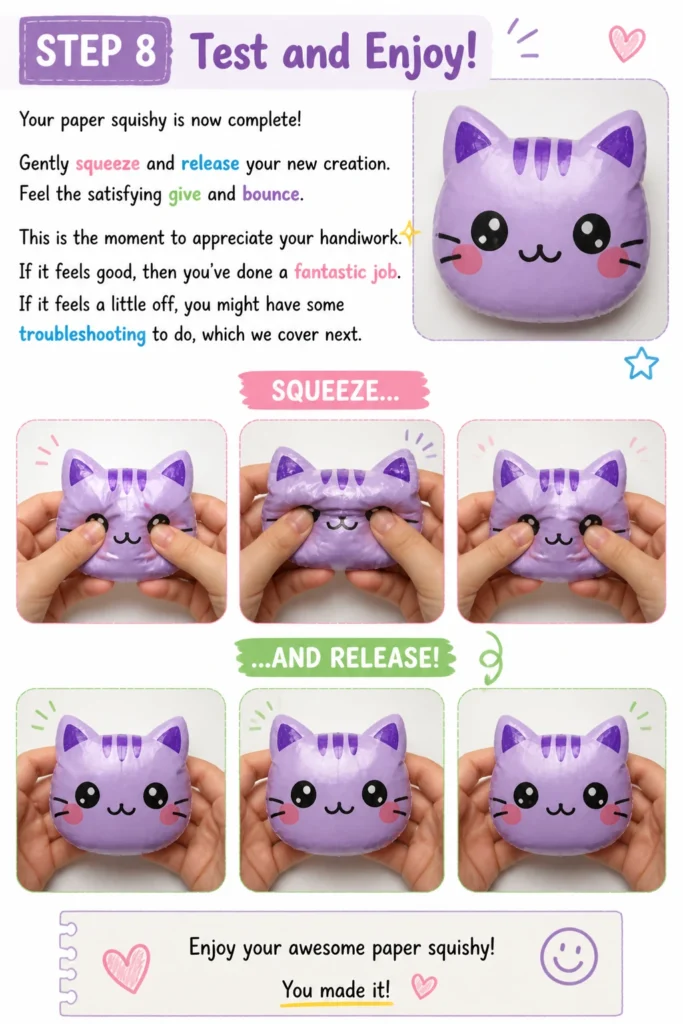
Your paper squishy is now complete! Gently squeeze and release your new creation. Feel the satisfying give and bounce. This is the moment to appreciate your handiwork.
If it feels good, then you’ve done a fantastic job. If it feels a little off, you might have some troubleshooting to do, which we cover next.
Common Mistakes to Avoid
Using the Wrong Tape
Many beginners use regular clear office tape, which is too narrow and not strong enough. This tape often peels off quickly, leading to air leaks and a squishy that loses its shape. Always opt for wide, clear packing tape for maximum durability and a secure seal.
Overstuffing or Understuffing
An overstuffed squishy will feel hard and won’t squish properly, putting too much strain on the seams and leading to tears. An understuffed squishy will feel flat and unsatisfying. Aim for a plump, soft feel that still has plenty of give when squeezed. Experiment with different amounts until you find your preferred texture.
Not Sealing Properly
Any small gap or wrinkle in your tape can allow air to escape, making your squishy deflate over time. Take your time taping all edges, overlapping pieces slightly, and pressing firmly to remove air bubbles. A complete and airtight seal is vital for a lasting squishy.
Rushing the Decoration
Skipping detailed decoration or not letting ink/paint dry completely can lead to smudged designs or a less appealing final product. Invest time in making your squishy visually appealing. A well-decorated squishy is much more satisfying to look at and squish.
Troubleshooting
Squishy Feels Too Hard/Soft
If your squishy is too hard, you likely overstuffed it. You’ll need to carefully unseal a small section of tape, remove some stuffing, and then re-seal it. For a squishy that’s too soft, unseal it and add more stuffing until you achieve the desired firmness.
Tape is Peeling Off
This usually happens if the surfaces weren’t clean, the tape wasn’t pressed firmly enough, or you used the wrong type of tape. Re-tape the peeling sections with fresh, wide packing tape, ensuring the surface is dry and you apply firm pressure. You might need to reinforce all seams with an extra layer.
Air Leaks
If your squishy loses its “squish” quickly, there’s an air leak. Carefully inspect all seams by gently squeezing the squishy and listening for a hiss or feeling for escaping air. Once you locate the leak, apply a small patch of clear packing tape over it, pressing down very firmly to create a new, airtight seal.
Key Takeaways
- Always use wide, clear packing tape for optimal durability and a strong seal.
- Take your time with design and decoration to create a visually appealing squishy.
- Cut your paper shapes precisely for easier assembly and a neater finish.
- Stuff your squishy to a medium firmness for the best squishing experience.
- Ensure all edges are completely sealed to prevent air leaks and maintain shape.
- Don’t be afraid to experiment with different shapes, sizes, and stuffing materials.
Frequently Asked Questions
What’s the best stuffing material for paper squishies?
Poly-fil (polyester fiberfill) is generally considered the best because it’s soft, fluffy, and provides excellent bounce-back. Cotton balls are a good alternative, and even clean, cut-up plastic bags can work in a pinch for a firmer squish.
Can I use glue instead of tape to seal the squishy?
While you technically could use glue, it’s not recommended for paper squishies. Glue can be messy, takes a long time to dry, and often doesn’t create as strong or airtight a seal as packing tape. Tape also allows for easier adjustments if you need to add or remove stuffing.
How long do paper squishies last?
The lifespan of a paper squishy depends heavily on how well it’s made and how often it’s used. A well-taped and properly stuffed squishy can last for weeks or even months with gentle use. Rough handling or poor sealing will shorten its life.
Can I make different shapes than just flat designs?
Absolutely! You can create 3D paper squishies by drawing multiple sides (like a cube or pyramid unfolded) and then taping them together. This adds another layer of complexity and creativity to your squishy projects.
Our Top Recommended Finds
- Clear Packing Tape: A bulk roll ensures you have plenty for multiple projects and strong seals.
- Soft Poly-Fil Stuffing: Provides the perfect balance of squishiness and bounce-back for a satisfying feel.
- Assorted Marker Set: Vibrant colors are essential for bringing your unique squishy designs to life.
Your Next Creative Adventure Awaits
You’ve now mastered the art of making paper squishies, transforming simple materials into a delightful, squeezable creation. This project is just the beginning of your crafting journey. Imagine the endless possibilities for personalization and design.
Why not try making a squishy for a friend, or perhaps a whole collection themed around your favorite things? Gather your supplies today and let your imagination lead the way. The joy of creating something with your own hands is truly unmatched.