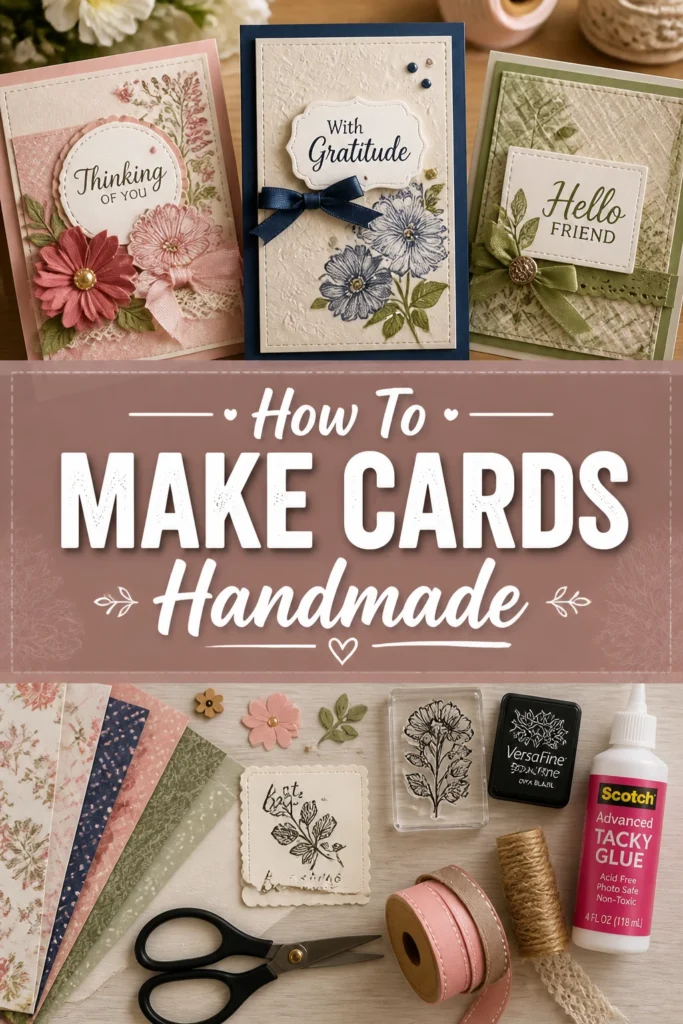
💌 How To Make Cards Handmade
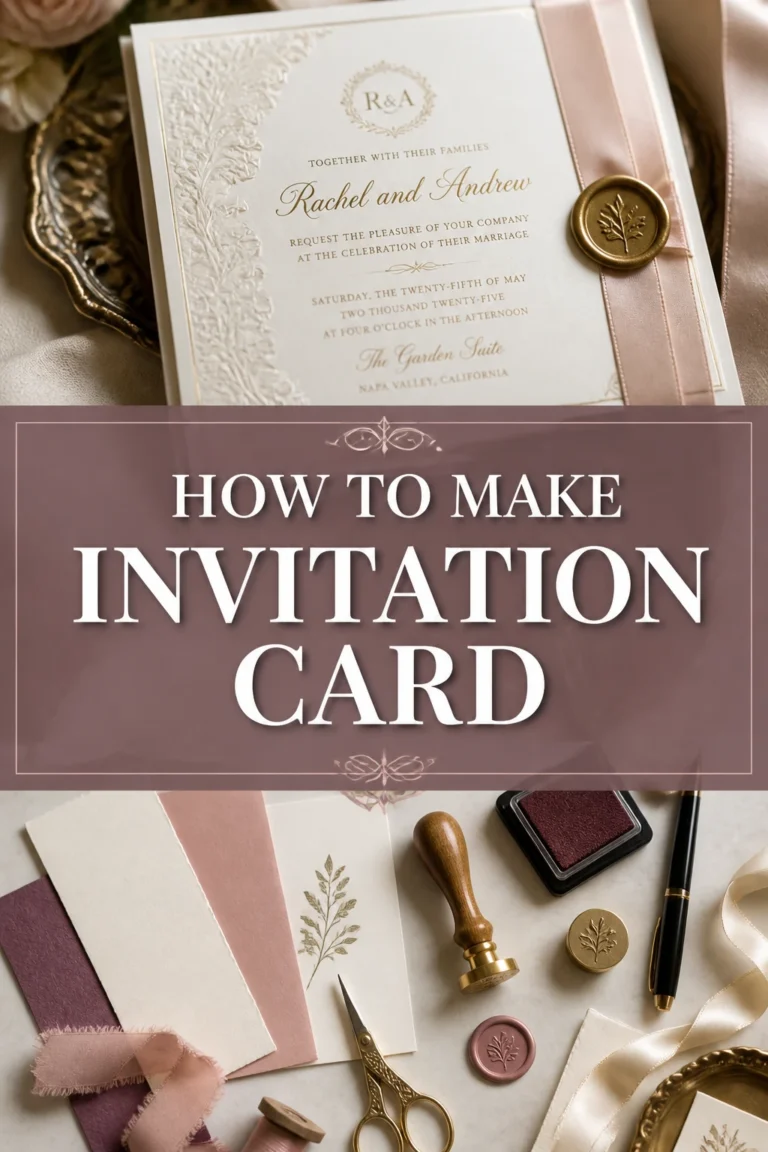
There’s something truly special about receiving a handmade card. It speaks volumes, showing effort, thought, and a personal touch that store-bought options just can’t match. As someone who’s spent countless hours crafting cards for every occasion, I’ve discovered the simple joy and rewarding process behind each creation, and I’m excited to share that journey with you.
Quick Overview
This guide will walk you through creating beautiful, personalized handmade cards from start to finish. You’ll learn essential techniques and tips to make your cards truly stand out.
- Time needed: 30 minutes to 2 hours (depending on complexity)
- Difficulty: Beginner
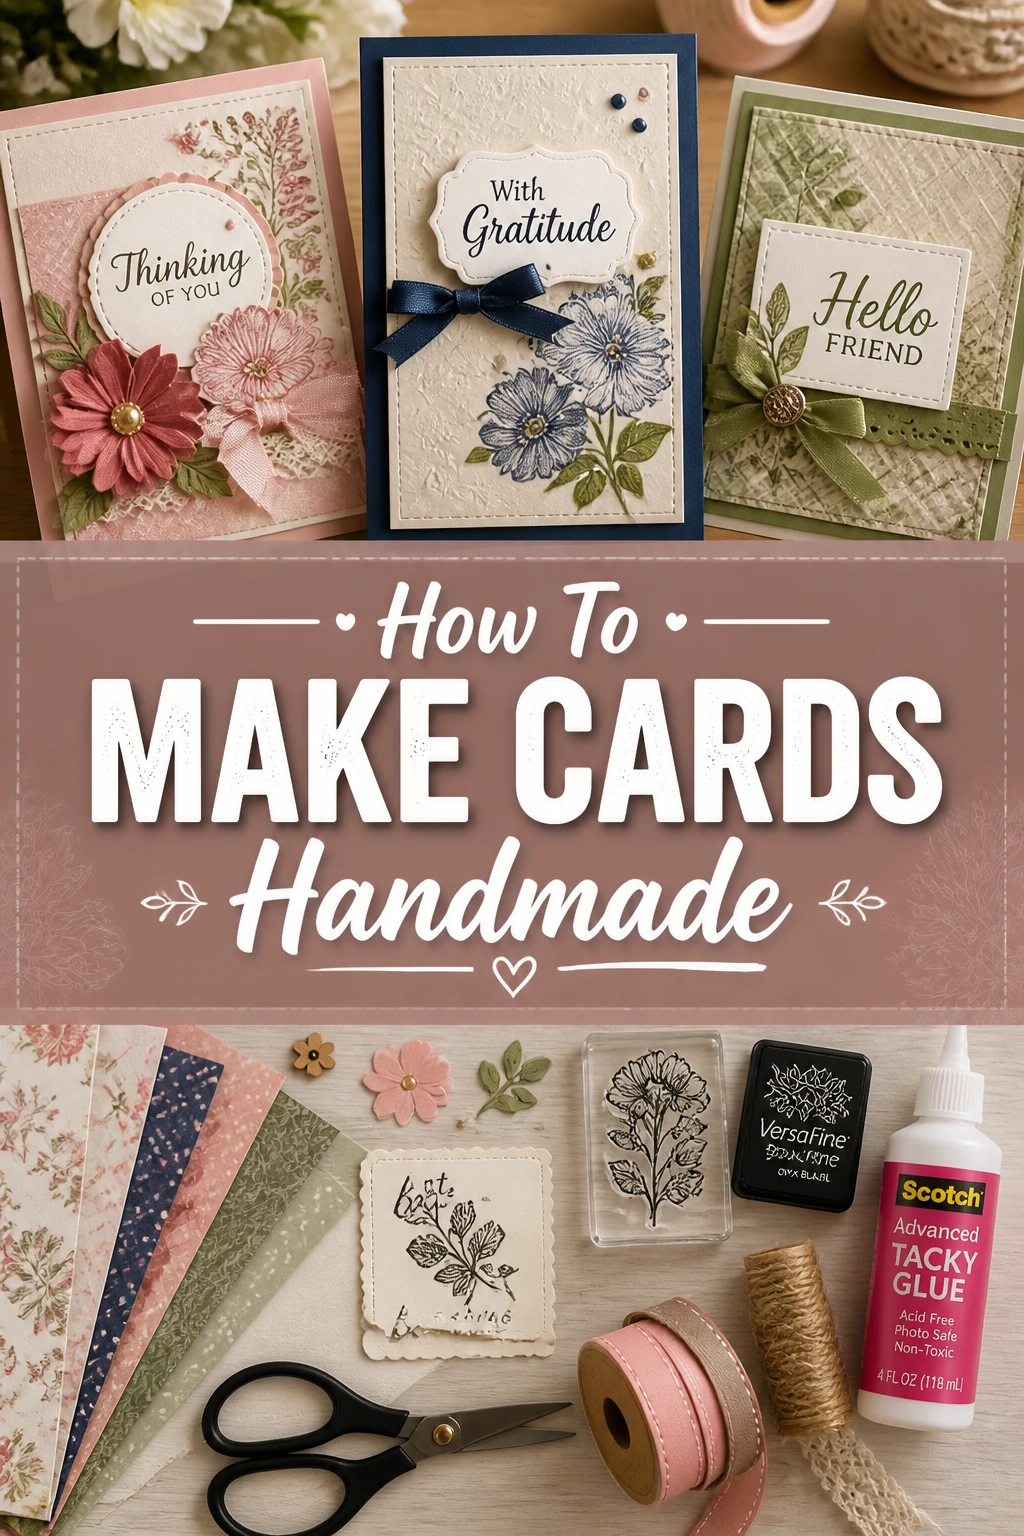
- What you’ll need: Paper, scissors, adhesive, and decorative elements.
Step-by-Step Instructions
Step 1: Gather Your Supplies
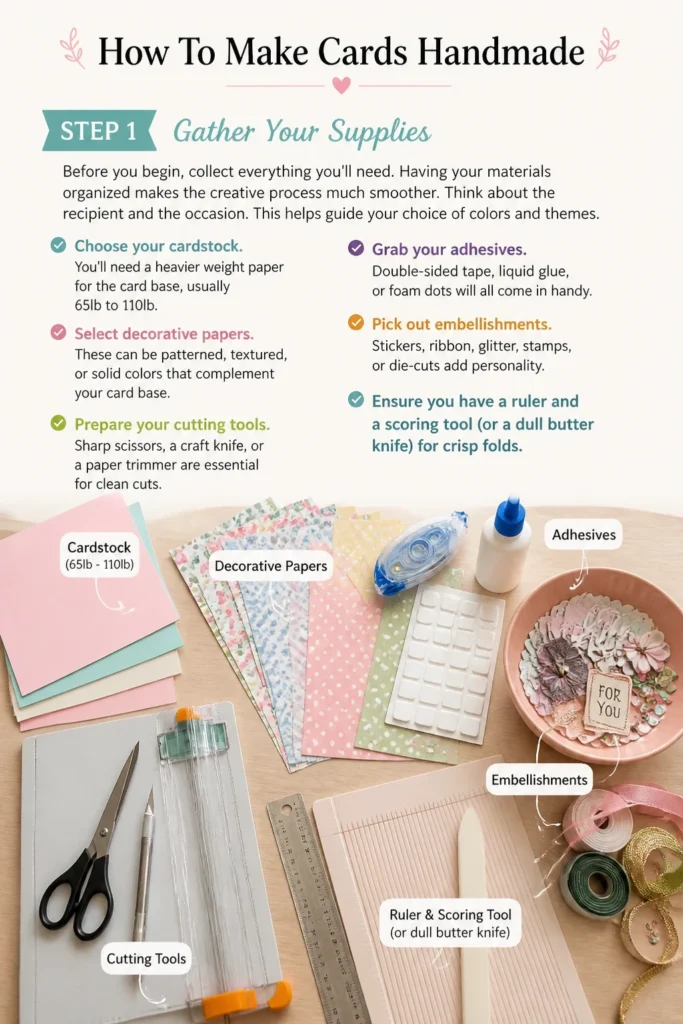
Before you begin, collect everything you’ll need. Having your materials organized makes the creative process much smoother.
Think about the recipient and the occasion. This helps guide your choice of colors and themes.
- Choose your cardstock. You’ll need a heavier weight paper for the card base, usually 65lb to 110lb.
- Select decorative papers. These can be patterned, textured, or solid colors that complement your card base.
- Prepare your cutting tools. Sharp scissors, a craft knife, or a paper trimmer are essential for clean cuts.
- Grab your adhesives. Double-sided tape, liquid glue, or foam dots will all come in handy.
- Pick out embellishments. Stickers, ribbon, glitter, stamps, or die-cuts add personality.
- Ensure you have a ruler and a scoring tool (or a dull butter knife) for crisp folds.
Pro Tip: Start with a basic kit. You don’t need every craft supply under the sun. A good quality cardstock, a few patterned papers, reliable glue, and sharp scissors are plenty to begin.
Step 2: Plan Your Design
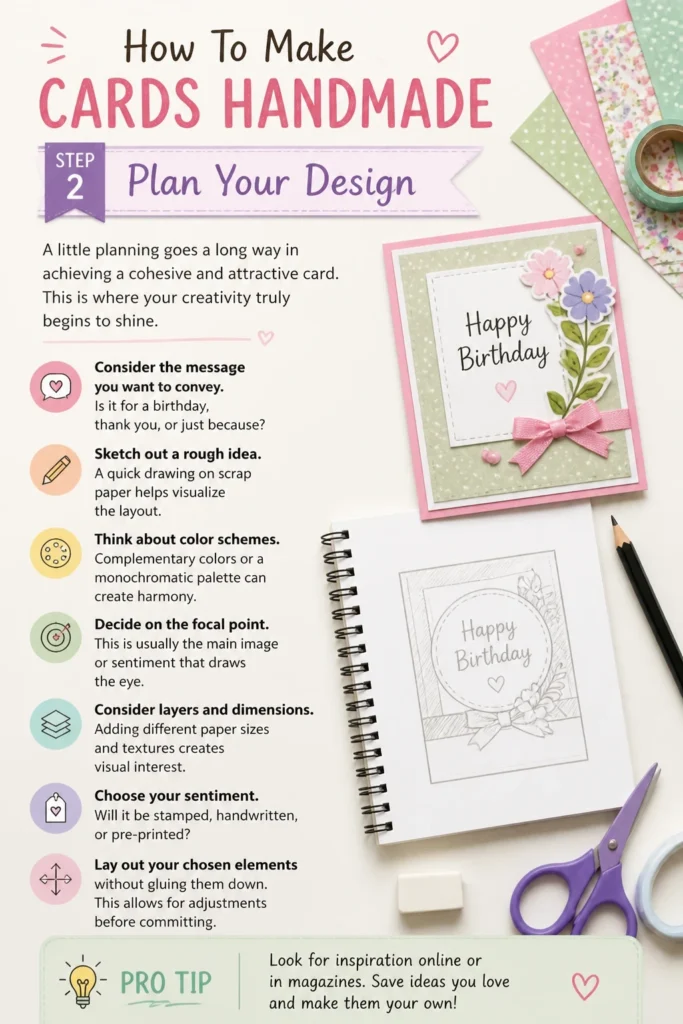
A little planning goes a long way in achieving a cohesive and attractive card. This is where your creativity truly begins to shine.
Consider the message you want to convey. Is it for a birthday, thank you, or just because?
- Sketch out a rough idea. A quick drawing on scrap paper helps visualize the layout.
- Think about color schemes. Complementary colors or a monochromatic palette can create harmony.
- Decide on the focal point. This is usually the main image or sentiment that draws the eye.
- Consider layers and dimensions. Adding different paper sizes and textures creates visual interest.
- Choose your sentiment. Will it be stamped, handwritten, or pre-printed?
- Lay out your chosen elements without gluing them down. This allows for adjustments before committing.
Pro Tip: Look for inspiration online or in craft magazines. Pinterest is a treasure trove of card designs that can spark your own unique ideas. Don’t be afraid to adapt elements you like.
Step 3: Prepare Your Card Base
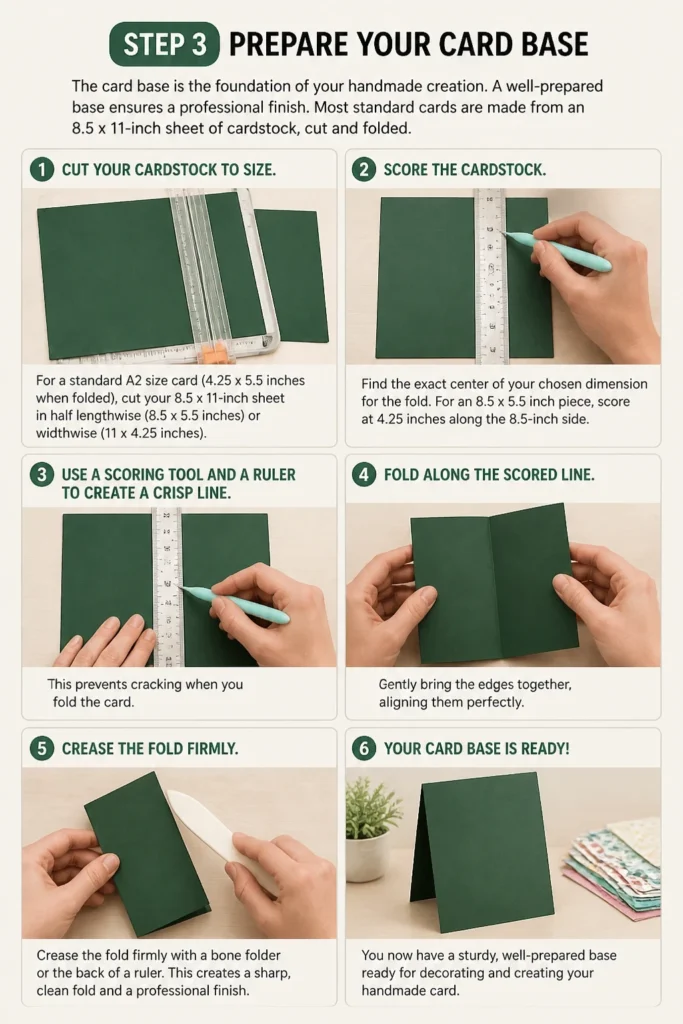
The card base is the foundation of your handmade creation. A well-prepared base ensures a professional finish.
Most standard cards are made from an 8.5 x 11-inch sheet of cardstock, cut and folded.
- Cut your cardstock to size. For a standard A2 size card (4.25 x 5.5 inches when folded), cut your 8.5 x 11-inch sheet in half lengthwise (8.5 x 5.5 inches) or widthwise (11 x 4.25 inches).
- Score the cardstock. Find the exact center of your chosen dimension for the fold. For an 8.5 x 5.5 inch piece, score at 4.25 inches along the 8.5-inch side.
- Use a scoring tool and a ruler to create a crisp line. This prevents cracking when you fold the card.
- Fold along the scored line. Gently bring the edges together, aligning them perfectly.
- Crease the fold firmly with a bone folder or the back of a ruler. This creates a sharp, professional edge.
Pro Tip: Always score your cardstock before folding, especially with thicker paper. This creates a clean, straight fold and prevents the paper fibers from tearing or looking messy.
Step 4: Cut and Layer Elements
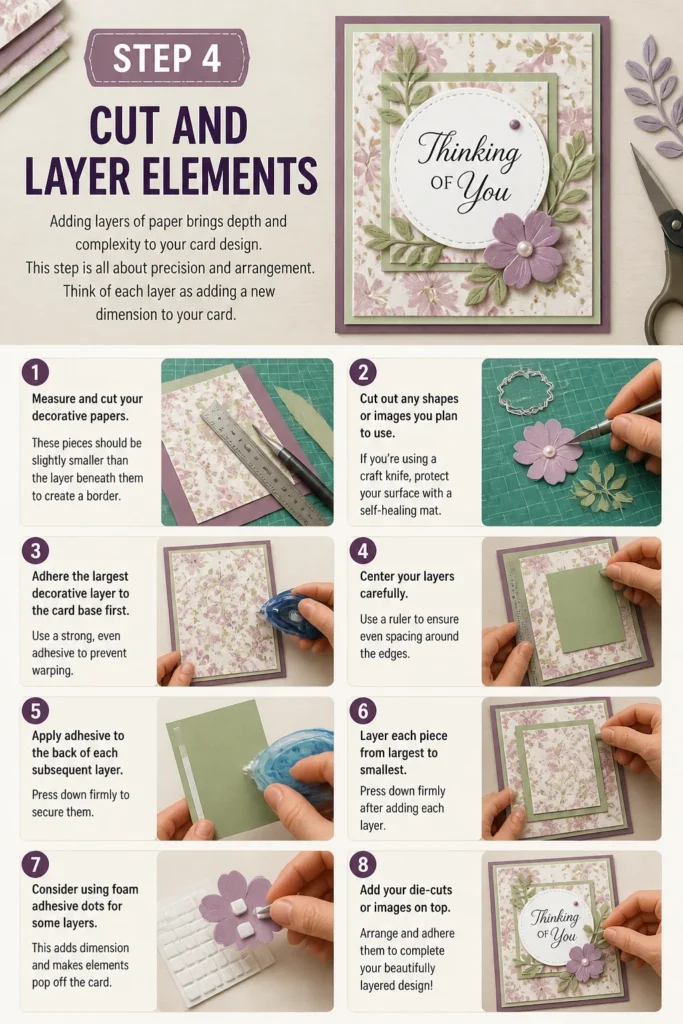
Adding layers of paper brings depth and complexity to your card design. This step is all about precision and arrangement.
Think of each layer as adding a new dimension to your card.
- Measure and cut your decorative papers. These pieces should be slightly smaller than the layer beneath them to create a border.
- Cut out any shapes or images you plan to use. If you’re using a craft knife, protect your surface with a self-healing mat.
- Adhere the largest decorative layer to the card base first. Use a strong, even adhesive to prevent warping.
- Center your layers carefully. Use a ruler to ensure even spacing around the edges.
- Apply adhesive to the back of each subsequent layer. Press down firmly to secure them.
- Consider using foam adhesive dots for some layers. This adds dimension and makes elements pop off the card.
Pro Tip: When adhering layers, start from the center of the piece and work your way out. This helps push out any air bubbles and ensures a smooth, flat application.
Step 5: Add Embellishments
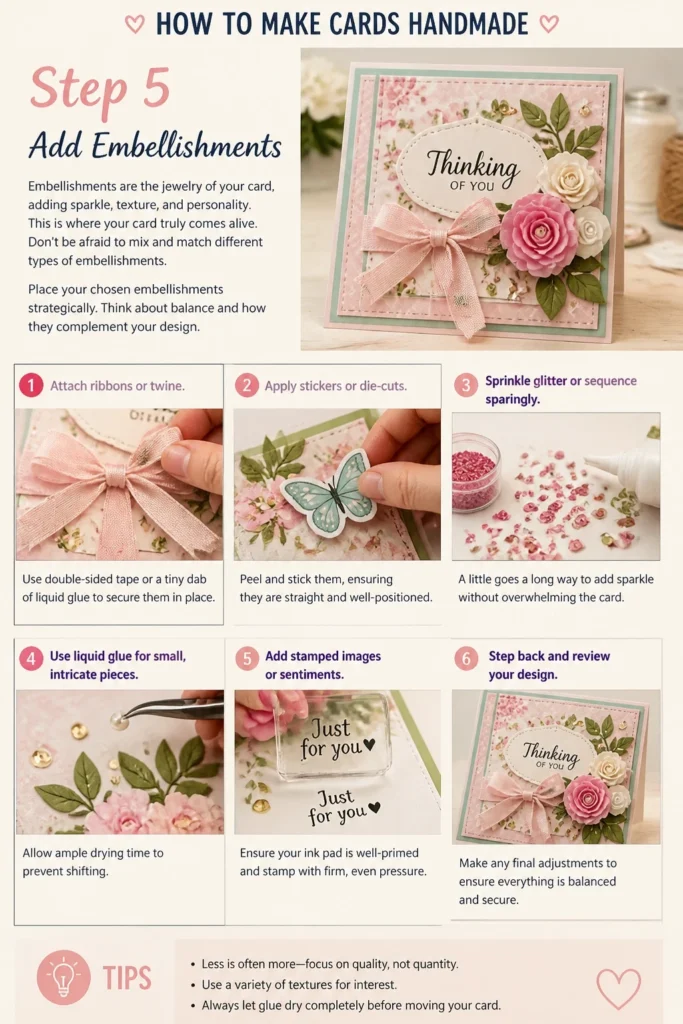
Embellishments are the jewelry of your card, adding sparkle, texture, and personality. This is where your card truly comes alive.
Don’t be afraid to mix and match different types of embellishments.
- Place your chosen embellishments strategically. Think about balance and how they complement your design.
- Attach ribbons or twine. Use double-sided tape or a tiny dab of liquid glue to secure them in place.
- Apply stickers or die-cuts. Peel and stick them, ensuring they are straight and well-positioned.
- Sprinkle glitter or sequence sparingly. A little goes a long way to add sparkle without overwhelming the card.
- Use liquid glue for small, intricate pieces. Allow ample drying time to prevent shifting.
- Add stamped images or sentiments. Ensure your ink pad is well-primed and stamp with firm, even pressure.
Pro Tip: Group small embellishments together in odd numbers (e.g., three pearls instead of two). This creates a more visually appealing and natural look, following the “rule of odds” in design.
Step 6: Write Your Message
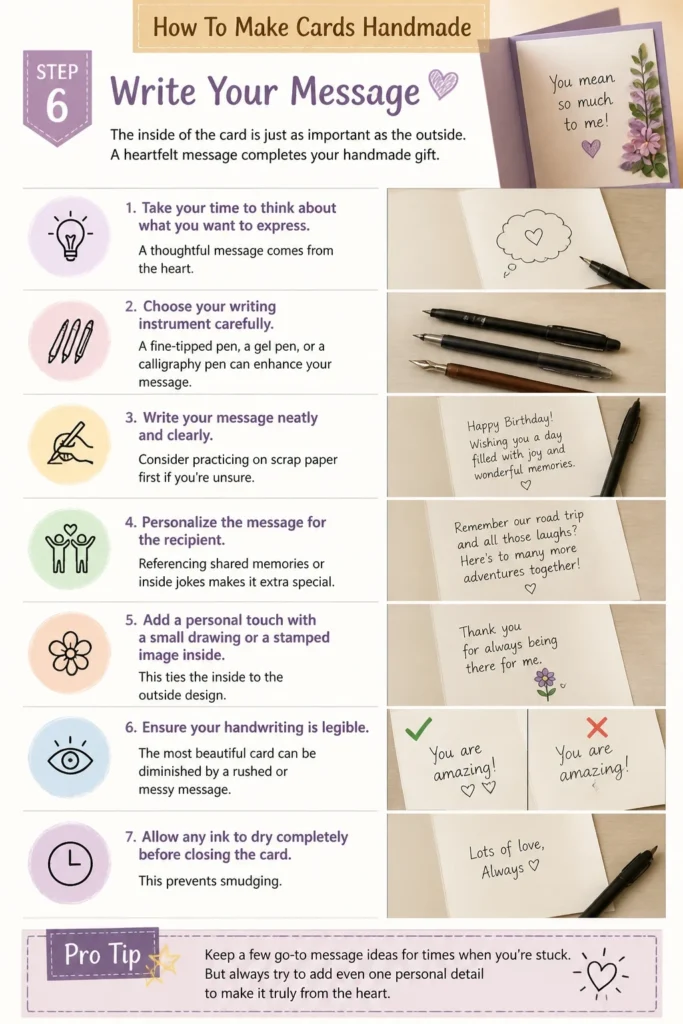
The inside of the card is just as important as the outside. A heartfelt message completes your handmade gift.
Take your time to think about what you want to express.
- Choose your writing instrument carefully. A fine-tipped pen, a gel pen, or a calligraphy pen can enhance your message.
- Write your message neatly and clearly. Consider practicing on scrap paper first if you’re unsure.
- Personalize the message for the recipient. Referencing shared memories or inside jokes makes it extra special.
- Add a personal touch with a small drawing or a stamped image inside. This ties the inside to the outside design.
- Ensure your handwriting is legible. The most beautiful card can be diminished by a rushed or messy message.
- Allow any ink to dry completely before closing the card. This prevents smudging.
Pro Tip: If you’re nervous about your handwriting, print your message on a separate piece of paper and adhere it inside the card. This ensures a clean, professional look while still being personal.
Step 7: Final Touches and Presentation
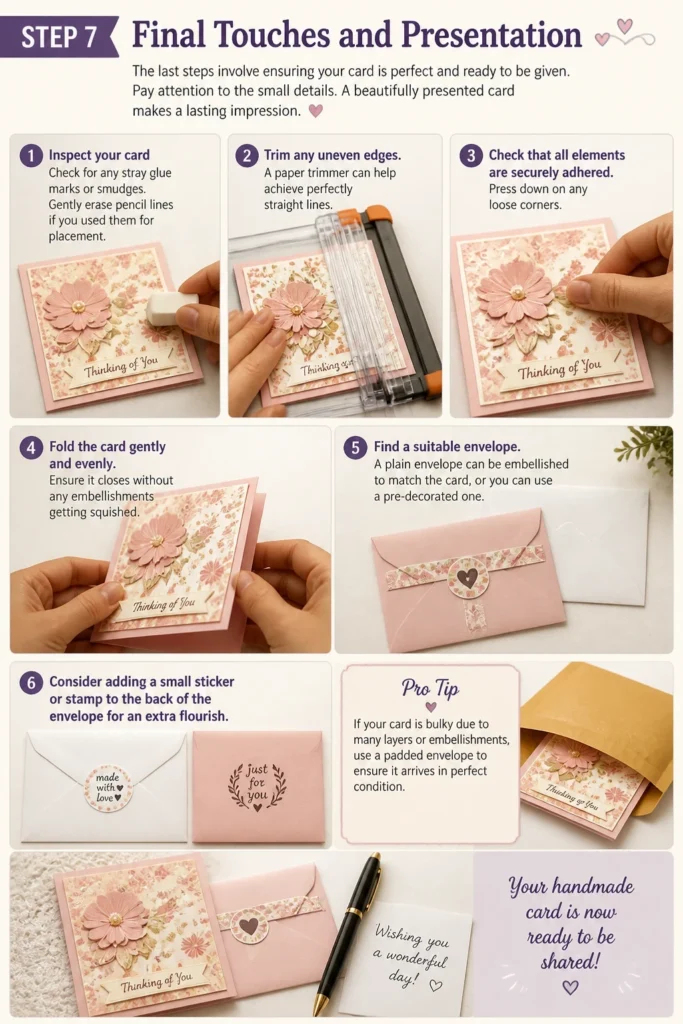
The last steps involve ensuring your card is perfect and ready to be given. Pay attention to the small details.
A beautifully presented card makes a lasting impression.
- Inspect your card for any stray glue marks or smudges. Gently erase pencil lines if you used them for placement.
- Trim any uneven edges. A paper trimmer can help achieve perfectly straight lines.
- Check that all elements are securely adhered. Press down on any loose corners.
- Fold the card gently and evenly. Ensure it closes without any embellishments getting squished.
- Find a suitable envelope. A plain envelope can be embellished to match the card, or you can use a pre-decorated one.
- Consider adding a small sticker or stamp to the back of the envelope for an extra flourish.
Pro Tip: If your card is bulky due to many layers or embellishments, you might need a larger envelope or one with extra padding to protect it during mailing or transport.
Common Mistakes to Avoid
Creating handmade cards is a learning process. Being aware of common pitfalls can save you frustration and improve your results.
Over-Embellishing
It’s tempting to add every beautiful sticker, ribbon, and glitter you own to one card. However, too many embellishments can make a card look cluttered and messy, detracting from the overall design. Focus on a few key elements that complement each other and enhance your chosen focal point, allowing the card to breathe.
Using Weak Adhesives
A card that falls apart before it reaches its recipient is disappointing. Using cheap or inappropriate glue can lead to elements peeling off or the card warping. Invest in quality adhesives like strong double-sided tape, liquid glue specifically for paper crafts, or foam dots for dimension, ensuring all pieces stay securely in place.
Skipping the Scoring Step
Folding cardstock without scoring it first often results in a jagged, uneven, or cracked fold. This gives your card an unprofessional and unfinished look. Always take the extra minute to score your card base precisely, creating a clean, crisp fold that looks polished and extends the card’s life.
Ignoring Balance and Proportion
Placing all your decorative elements on one side or using elements that are disproportionately large or small can make a card feel lopsided or awkward. Strive for visual balance by distributing elements evenly, considering their size and weight. Think about how the eye travels across the card and aim for a harmonious composition.
Troubleshooting
Even experienced crafters encounter issues. Here are solutions to common problems you might face.
My Paper is Warping After Gluing
This usually happens when you use too much liquid glue or a water-based adhesive on thin paper. To prevent this, use a thinner layer of liquid glue, opt for dry adhesives like double-sided tape or glue dots, or use a stronger, heavier cardstock for your base. If it’s already warped, try pressing the card under a heavy book for a few hours.
My Cuts Aren’t Straight
Uneven cuts often result from dull blades, rushing, or not using a guide. Ensure your scissors or craft knife blades are sharp. Always use a ruler or paper trimmer for straight lines, pressing firmly and moving slowly and deliberately. Practice makes perfect, so don’t be discouraged if your first few cuts aren’t flawless.
My Card Looks Flat and Uninteresting
A lack of dimension can make a card appear flat. To add interest, incorporate layers of different sizes and textures. Use foam adhesive dots under some elements to lift them off the card base, creating shadows and depth. Experiment with embossing folders or die-cuts to introduce textural elements and visual intrigue.
Key Takeaways
- Preparation is Key: Gather all your supplies before starting to ensure a smooth crafting session.
- Plan Your Design: A quick sketch or layout helps create a cohesive and attractive card.
- Score for Crisp Folds: Always score your cardstock before folding to achieve professional, clean creases.
- Layer for Dimension: Use different sizes and types of paper, along with foam dots, to add depth and interest.
- Don’t Overdo Embellishments: Less is often more; choose a few focal points to keep your design elegant.
- Personalize Your Message: A thoughtful, handwritten note makes your handmade card truly special.
Frequently Asked Questions
What is the best type of paper for card bases?
The best paper for card bases is cardstock, typically ranging from 65lb to 110lb (176gsm to 297gsm). Heavier weights provide more stability and a luxurious feel, making your card durable and professional-looking. Lighter weights might feel flimsy, especially with added embellishments.
How do I make sure my layers are centered?
To center layers accurately, use a ruler to measure the borders on all sides before adhering. Alternatively, you can use a grid mat or a T-square ruler for precise alignment. For a quick visual check, stand back and squint your eyes; any misalignment will often become more apparent.
Can I use regular glue for card making?
While you can use regular school glue, it’s often too wet and can cause paper to warp or buckle. It’s best to use adhesives specifically designed for paper crafting, such as acid-free liquid glue, double-sided tape, or glue dots. These options provide a strong hold without damaging your paper.
How do I store my handmade cards?
Store your handmade cards flat in a cool, dry place away from direct sunlight to prevent fading or warping. Clear plastic storage bins or large envelopes are excellent for protecting them from dust and damage. If cards have bulky embellishments, consider storing them individually or in deeper boxes.
Our Top Recommended Finds
- Heavyweight Cardstock Pack: A variety pack of 80lb or 110lb cardstock provides a sturdy base for any project.
- Precision Paper Trimmer: Essential for straight, clean cuts and accurate sizing of your paper layers.
- Craft Adhesive Variety Pack: Includes liquid glue, double-sided tape, and foam dots for all your layering and embellishing needs.
Unleash Your Inner Card Maker Today
You now have all the tools and knowledge to embark on your handmade card journey. Creating cards is a wonderful way to express yourself and show others you care. Each card you make will carry a piece of your heart.
Don’t wait for a special occasion. Grab your supplies, find a quiet moment, and start crafting your first personalized card. The joy of giving, and receiving, something truly unique is waiting for you. Dive into the world of paper crafts and let your imagination take flight.