🔗 How To Close A Bracelet
The seemingly simple act of closing a bracelet can often feel like a tiny, daily battle.
I’ve certainly spent my fair share of mornings twisting and turning, trying to connect a stubborn clasp with a tiny ring.
Years of wrestling with various wristwear have taught me some clever tricks, and I’m here to share them so you can conquer this common challenge with ease.
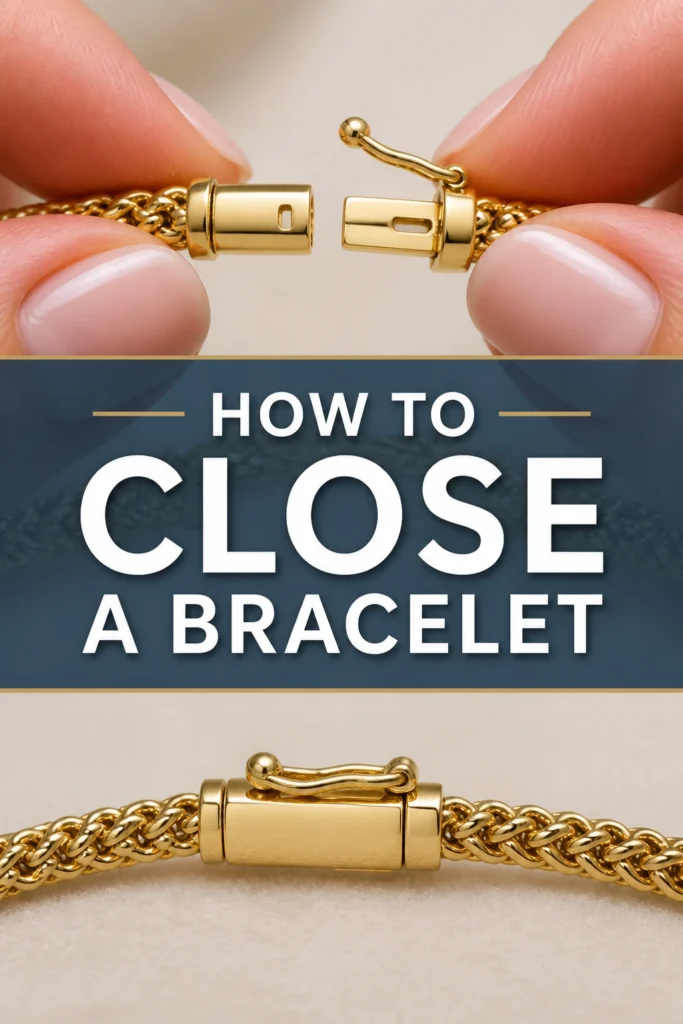
Quick Overview
This guide will equip you with the techniques to confidently close almost any bracelet, transforming a frustrating chore into a smooth, effortless action.
- Time needed: 5-10 minutes (initially), 1 minute (with practice)
- Difficulty: Beginner
- What you’ll need: Your bracelet, a flat surface, optional “third hand” tool or tape
Step-by-Step Instructions
Step 1: Prepare Your Workspace
Begin by finding a clear, well-lit area where you can comfortably work. A stable surface, like a table or desk, is ideal.
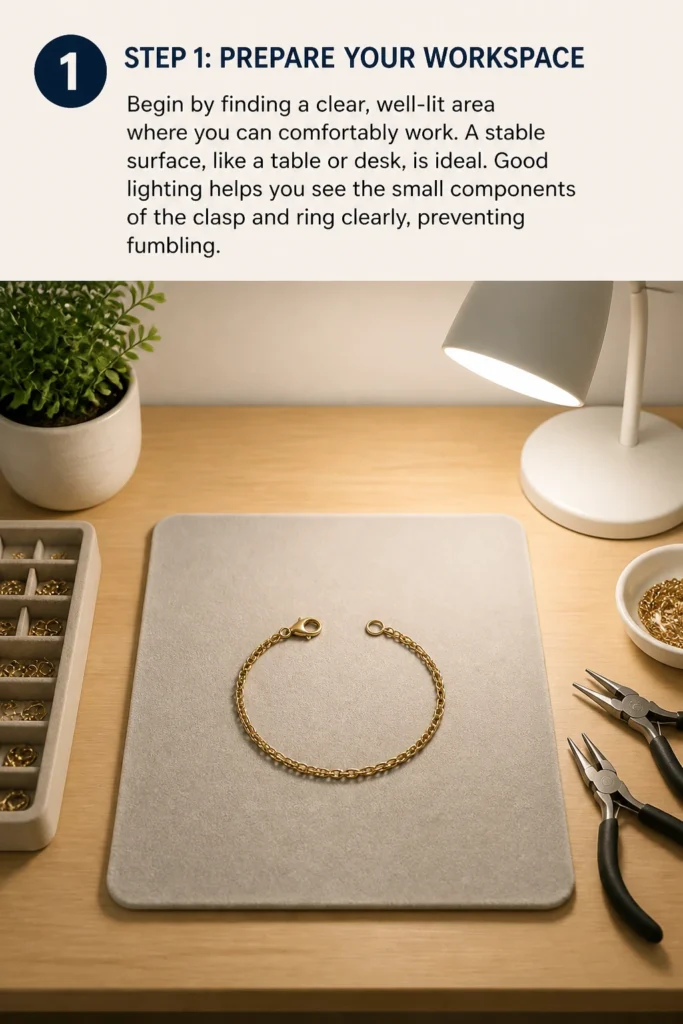
Good lighting helps you see the small components of the clasp and ring clearly, preventing fumbling.
Step 2: Understand Your Clasp Type
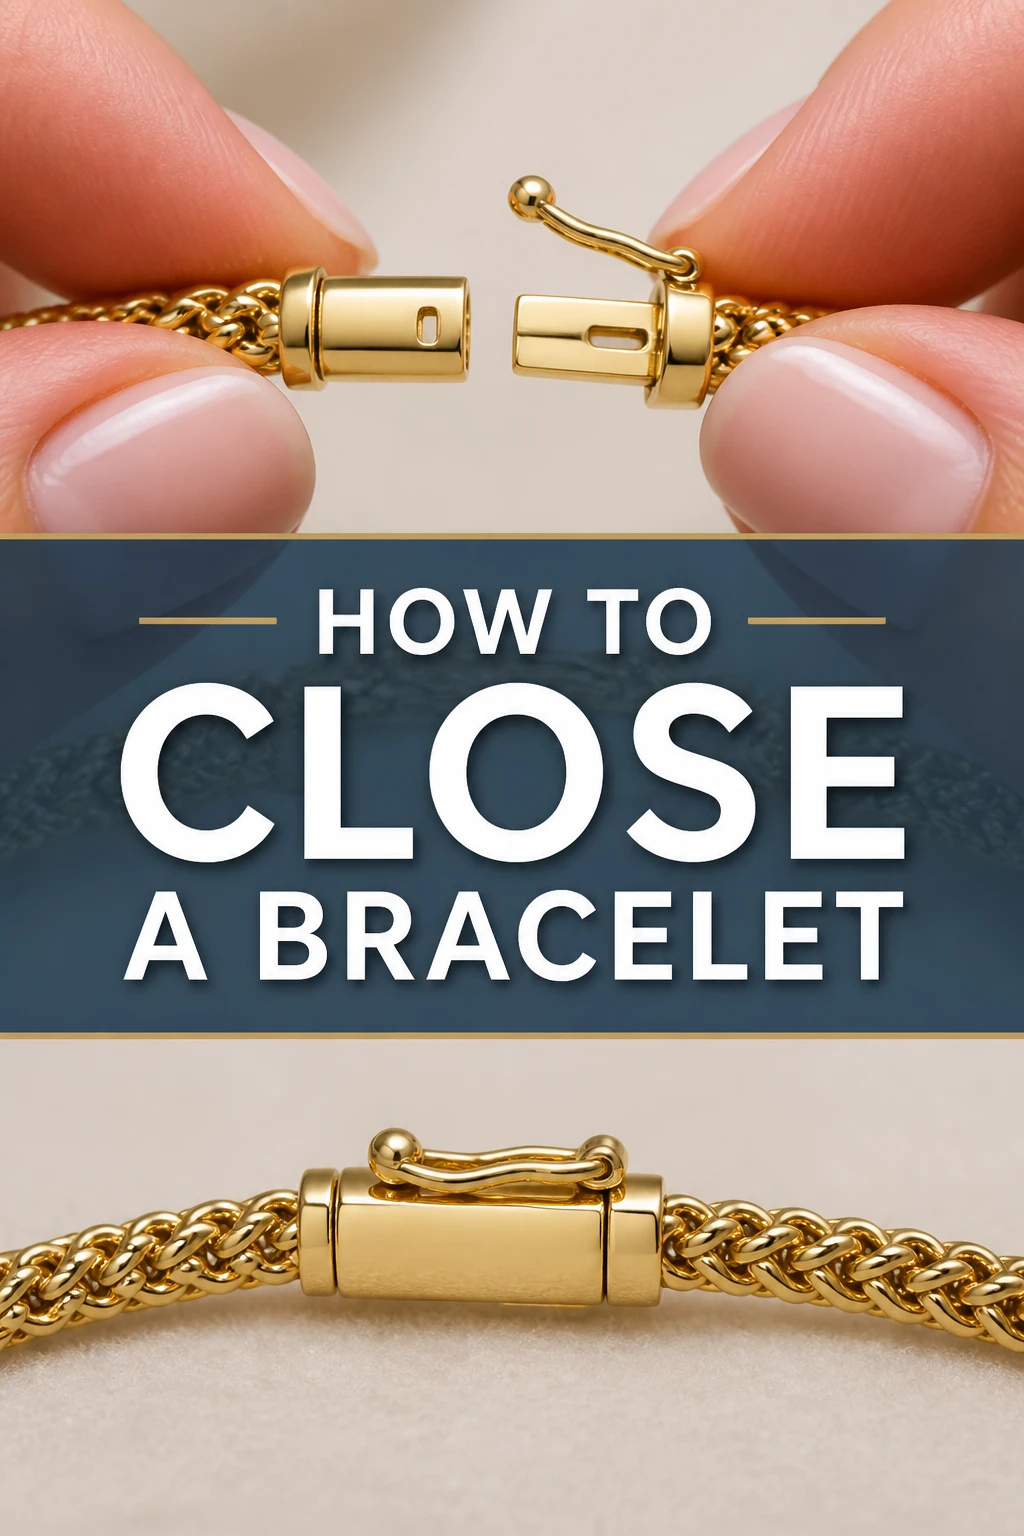
Before you even put the bracelet on, take a moment to examine its clasp. Common types include lobster clasps, spring rings, toggle clasps, and magnetic clasps.
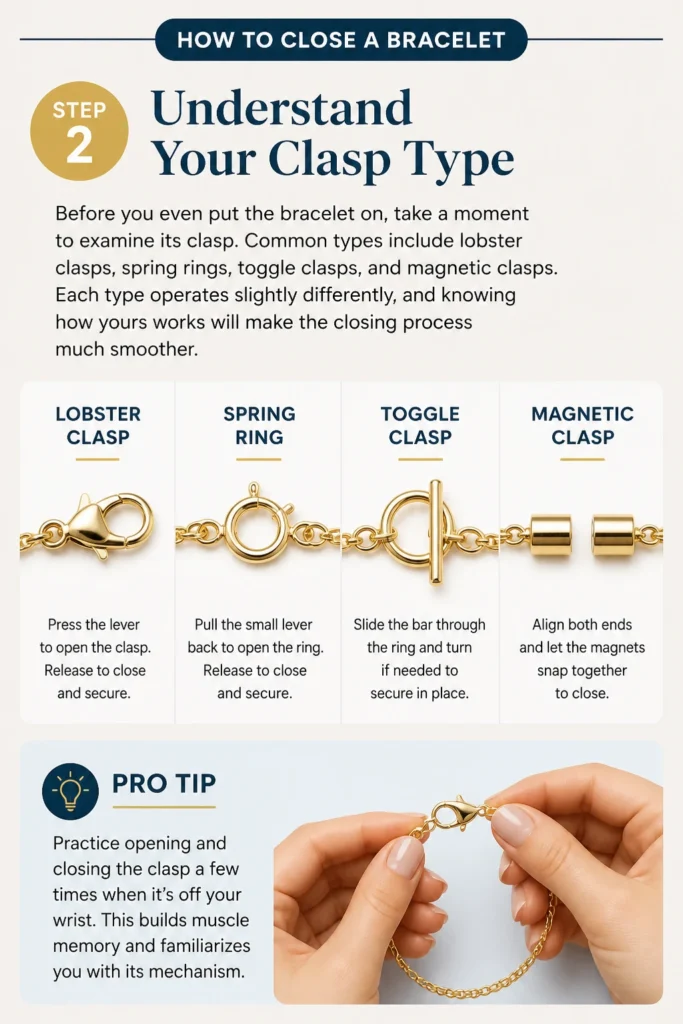
Each type operates slightly differently, and knowing how yours works will make the closing process much smoother.
Pro Tip: Practice opening and closing the clasp a few times when it’s off your wrist. This builds muscle memory and familiarizes you with its mechanism.
Step 3: Position the Bracelet on Your Wrist
Place the bracelet on your non-dominant wrist, with the clasp end facing outwards, towards your dominant hand. Ensure the bracelet isn’t twisted.
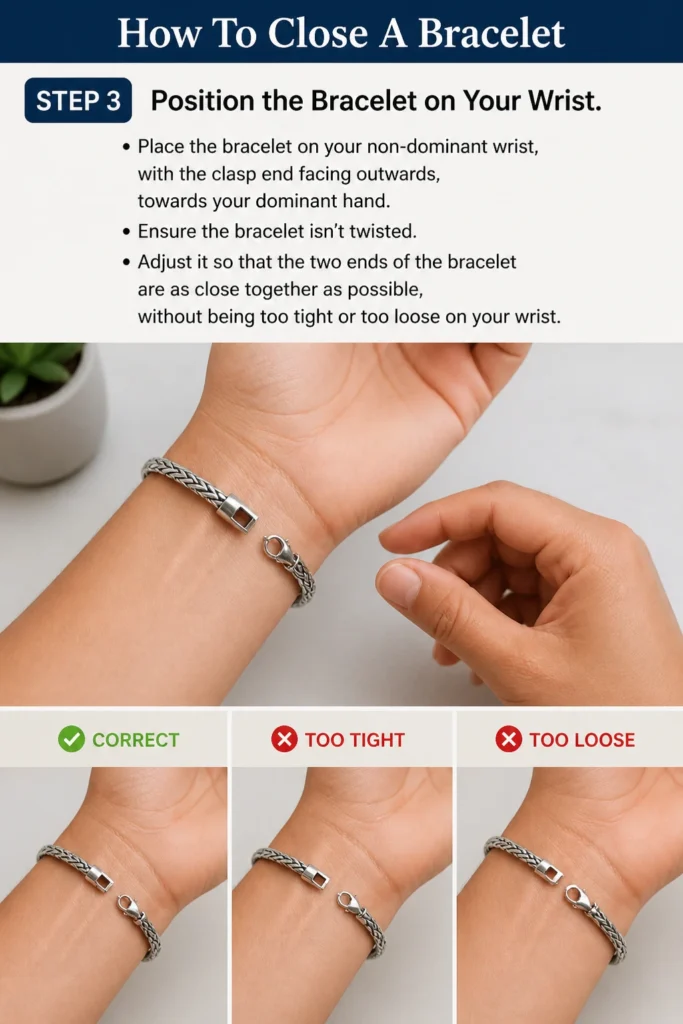
Adjust it so that the two ends of the bracelet are as close together as possible, without being too tight or too loose on your wrist.
Step 4: Stabilize the Fixed End
This is where many people struggle. Use your non-dominant thumb and forefinger to firmly hold the ring or loop end of the bracelet against your wrist.
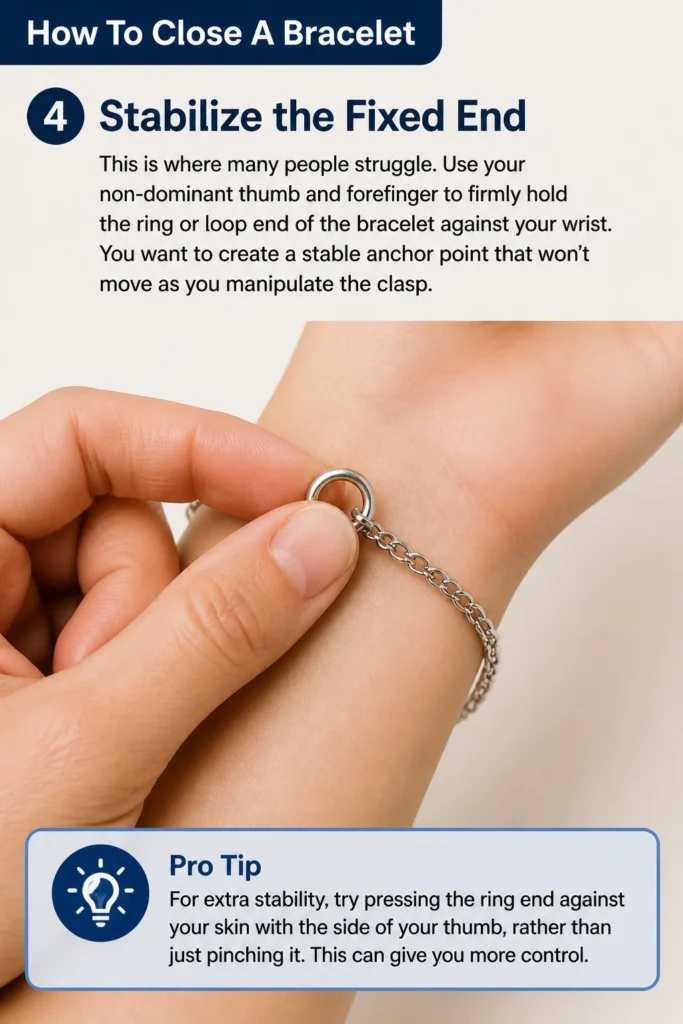
You want to create a stable anchor point that won’t move as you manipulate the clasp.
Pro Tip: For extra stability, try pressing the ring end against your skin with the side of your thumb, rather than just pinching it. This can give you more control.
Step 5: Grip the Clasp with Your Dominant Hand
With your dominant hand, pick up the clasp end of the bracelet. Position your fingers so you have a good grip on the clasp itself, not just the chain.
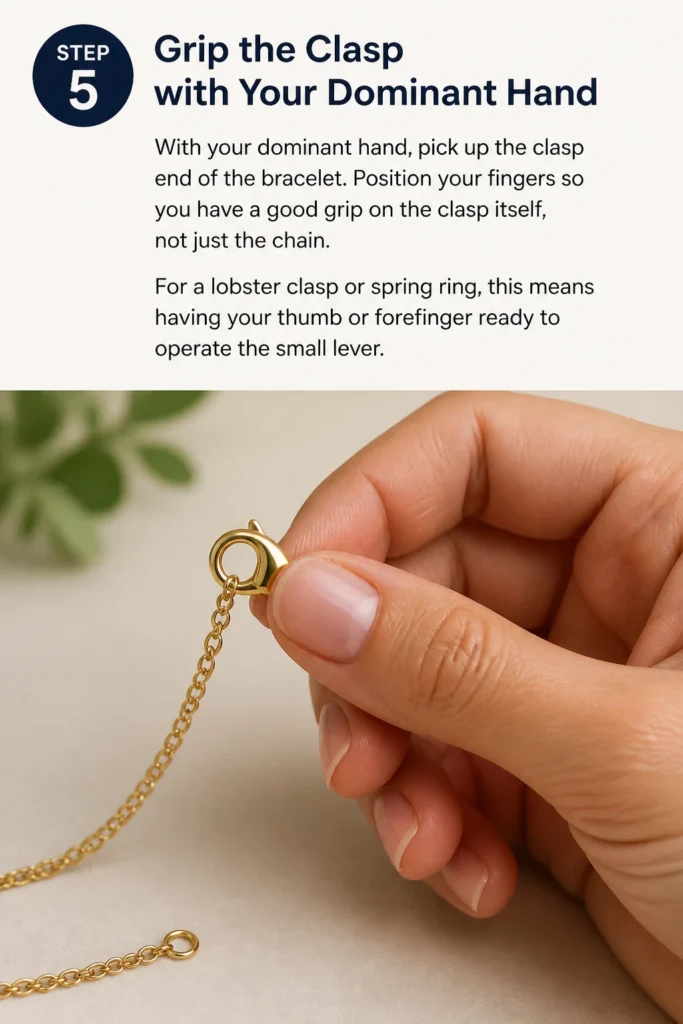
For a lobster clasp or spring ring, this means having your thumb or forefinger ready to operate the small lever.
Step 6: Bring the Clasp to the Ring
Carefully bring the clasp towards the ring you are stabilizing on your non-dominant wrist. Move slowly and deliberately.
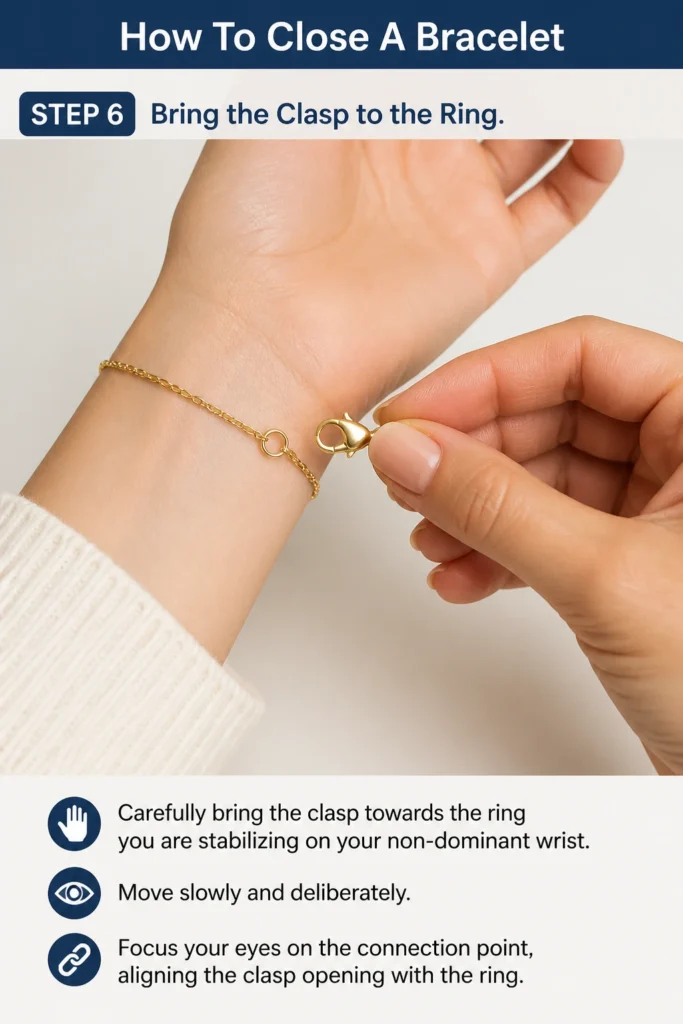
Focus your eyes on the connection point, aligning the clasp opening with the ring.
Step 7: Engage the Clasp
Now, execute the closing action specific to your clasp type.
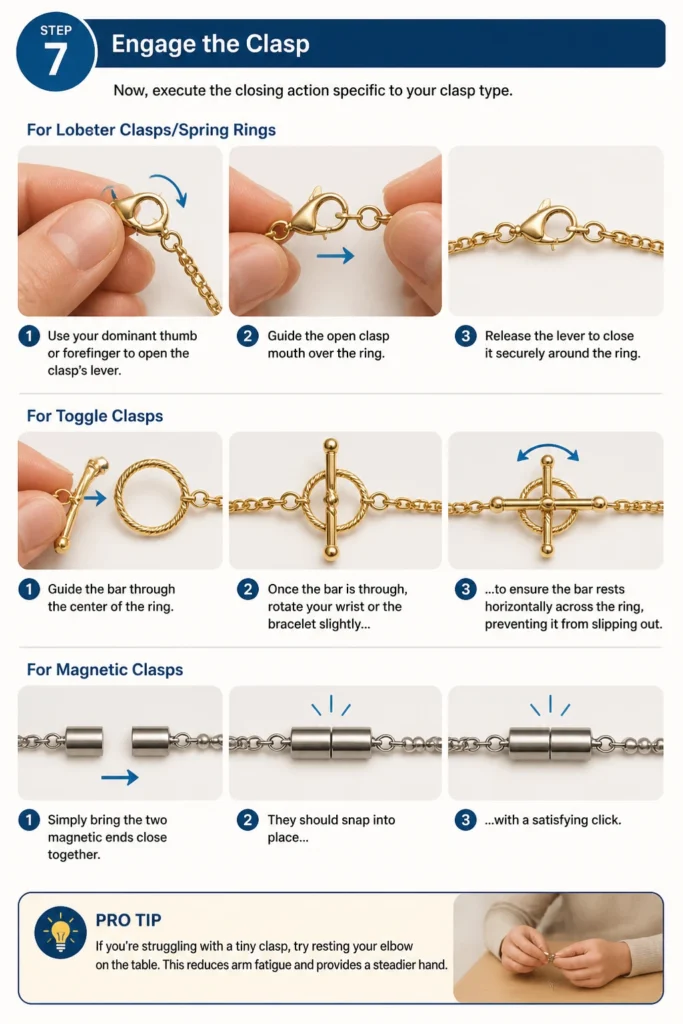
- For Lobster Clasps/Spring Rings: Use your dominant thumb or forefinger to open the clasp’s lever. Guide the open clasp mouth over the ring, then release the lever to close it securely around the ring.
- For Toggle Clasps: Guide the bar through the center of the ring. Once the bar is through, rotate your wrist or the bracelet slightly to ensure the bar rests horizontally across the ring, preventing it from slipping out.
- For Magnetic Clasps: Simply bring the two magnetic ends close together. They should snap into place with a satisfying click.
Pro Tip: If you’re struggling with a tiny clasp, try resting your elbow on the table. This reduces arm fatigue and provides a steadier hand.
Step 8: Check for Security
Once the clasp is engaged, gently tug on the bracelet to ensure it’s securely fastened. Give it a little wiggle test.
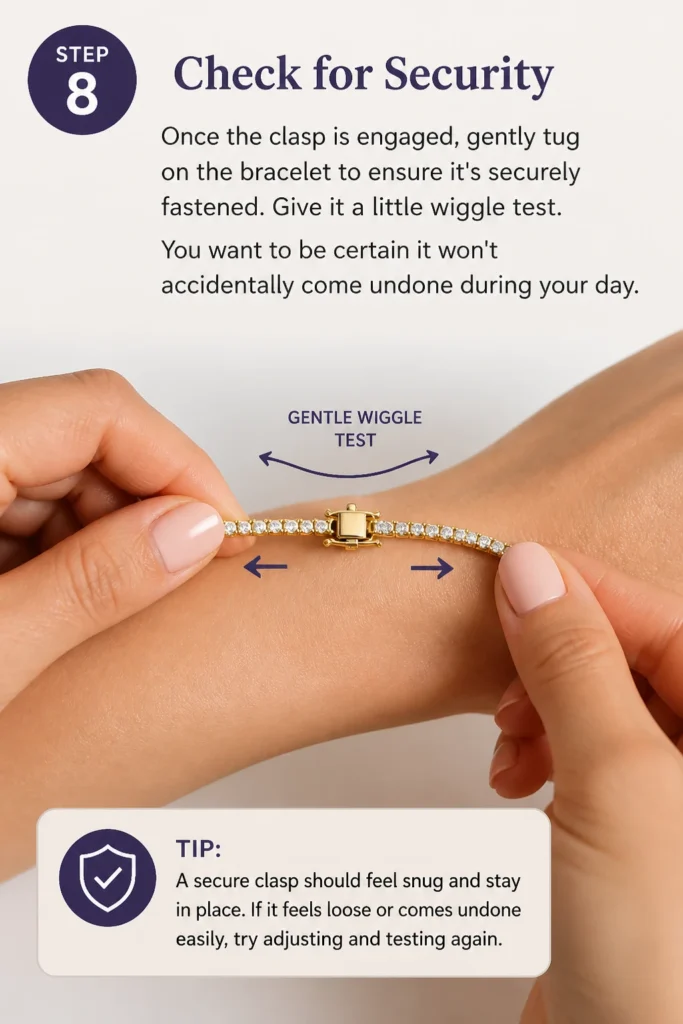
You want to be certain it won’t accidentally come undone during your day.
Step 9: Adjust for Comfort
Finally, adjust the bracelet so it sits comfortably on your wrist. Ensure it’s not too tight, which can be uncomfortable, or too loose, which risks it catching on things or slipping off.
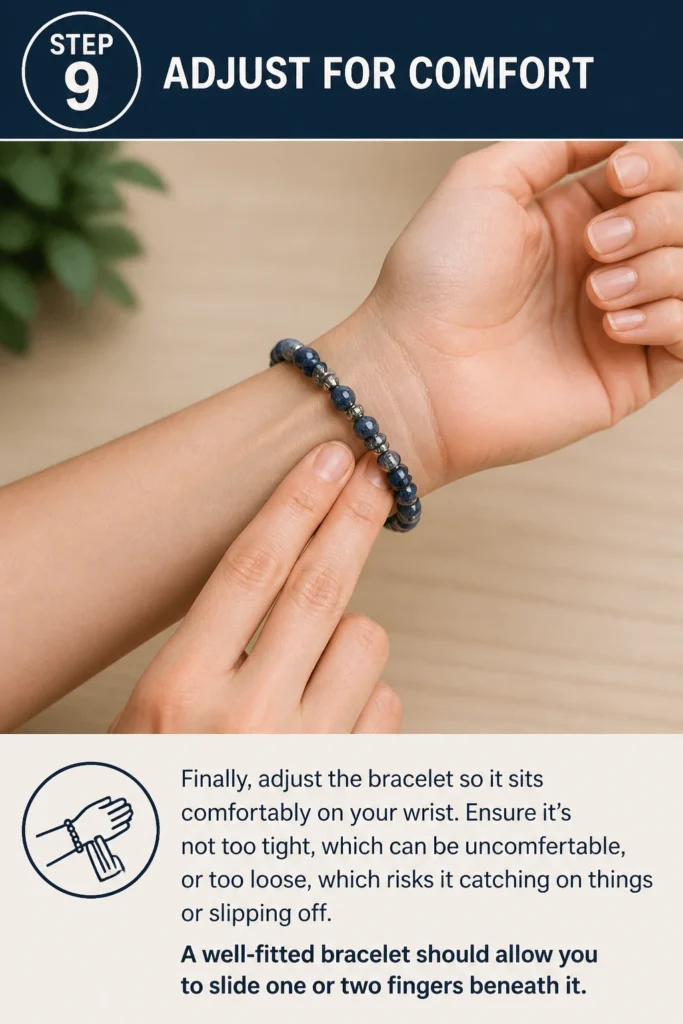
A well-fitted bracelet should allow you to slide one or two fingers beneath it.
Common Mistakes to Avoid
Rushing the Process
Trying to close a bracelet too quickly often leads to frustration and repeated attempts. Small clasps require precision, not speed.
Take a deep breath, slow down, and focus on each micro-movement. Patience is your best friend when dealing with intricate jewelry.
Improper Grip on the Clasp
Holding the clasp incorrectly can make it incredibly difficult to operate. If you’re gripping the chain instead of the clasp mechanism itself, you won’t have the leverage needed to open or close it.
Ensure your fingers are positioned directly on the clasp’s moving parts for optimal control.
Ignoring the Clasp Type
Each clasp has a specific way it’s meant to be secured. Trying to force a toggle clasp like a lobster clasp, or vice-versa, will only cause problems.
Always take a moment to identify your clasp and understand its unique closing method before attempting to fasten it.
Not Stabilizing the Bracelet
Allowing both ends of the bracelet to flop around freely makes it nearly impossible to connect them. The key to success is creating a stable anchor point.
Firmly hold the non-clasp end against your wrist with your non-dominant hand to provide the necessary stability for your dominant hand to work.
Troubleshooting
Clasp Won’t Open/Close Smoothly
Sometimes, clasps can become stiff or sticky. First, inspect it closely for any obvious damage or debris that might be jamming the mechanism.
A tiny drop of specialized jewelry lubricant or even a graphite pencil lead rubbed into the mechanism can sometimes help free up a stubborn clasp. If it’s bent, a jeweler can often repair or replace it.
Bracelet Keeps Falling Off
If your bracelet repeatedly comes undone, the clasp might be faulty or worn out. For lobster clasps and spring rings, the spring mechanism might be weak, causing the clasp to not fully close.
Magnetic clasps can lose their strength over time. It’s best to take the bracelet to a jeweler for a professional assessment and possible clasp replacement to prevent losing your cherished piece.
Difficulty with Small Clasps
Tiny clasps can be incredibly challenging, especially for those with less dexterity or larger fingers. Consider using a “third hand” tool specifically designed for this purpose.
These tools typically have a clamp to hold one end of the bracelet, freeing up both of your hands to manipulate the clasp. Alternatively, a piece of masking tape can temporarily hold one end to your wrist, offering similar assistance.
Key Takeaways
- Patience and a clear workspace are crucial for successful bracelet closing.
- Identify your clasp type to understand its unique closing mechanism.
- Stabilize one end of the bracelet firmly against your wrist to create an anchor.
- Use your dominant hand to carefully grip and operate the clasp.
- Always perform a quick security check to ensure the clasp is fully engaged.
- Consider using tools like a bracelet helper for difficult clasps or dexterity issues.
Frequently Asked Questions
Can I close a bracelet by myself?
Absolutely! While it can be tricky initially, with practice and the right techniques, closing a bracelet by yourself becomes a quick and easy task. This guide provides the exact steps you need to master it independently.
What if my clasp is too small?
Small clasps are a common challenge. Using a bracelet helper tool can provide invaluable assistance by holding one end steady. You can also try resting your elbow on a table for added stability, or using a magnifying glass for better visibility of the tiny components.
How do I clean my clasp?
Over time, dirt and oils can accumulate in clasps, making them stiff. For most metal clasps, a soft cloth dampened with mild soap and water can clean the surface. For intricate parts, a soft toothbrush can gently remove debris. Always dry thoroughly afterward to prevent tarnishing or rust.
Are there tools to help close a bracelet?
Yes, several tools are designed to assist. A “bracelet helper” or “third hand” tool typically has a long stick with a clip on one end. You clip the bracelet’s ring end to the tool, hold the tool in your non-dominant hand, and then use your dominant hand to attach the clasp. Jewelry pliers can also be used, but generally only for adjustments, not for the daily closing process itself.
Our Top Recommended Finds
- Bracelet Helper Tool: An invaluable aid for one-handed bracelet closing, securely holding one end for you.
- Microfiber Jewelry Polishing Cloth: Keep your clasps and bracelets sparkling clean and free of debris for smooth operation.
- Small Magnifying Glass: Extremely helpful for those tiny, intricate clasps, making it easier to see and connect the parts.
Mastering Your Bracelet Style
Closing a bracelet shouldn’t be a source of daily frustration. By applying these simple, practical steps, you’ll gain confidence and speed, making the process effortless.
No more struggling or asking for help; you’ll be able to adorn yourself with your favorite pieces in seconds.
Why not try out these techniques right now? Pick up your favorite bracelet and put your newfound skills to the test!