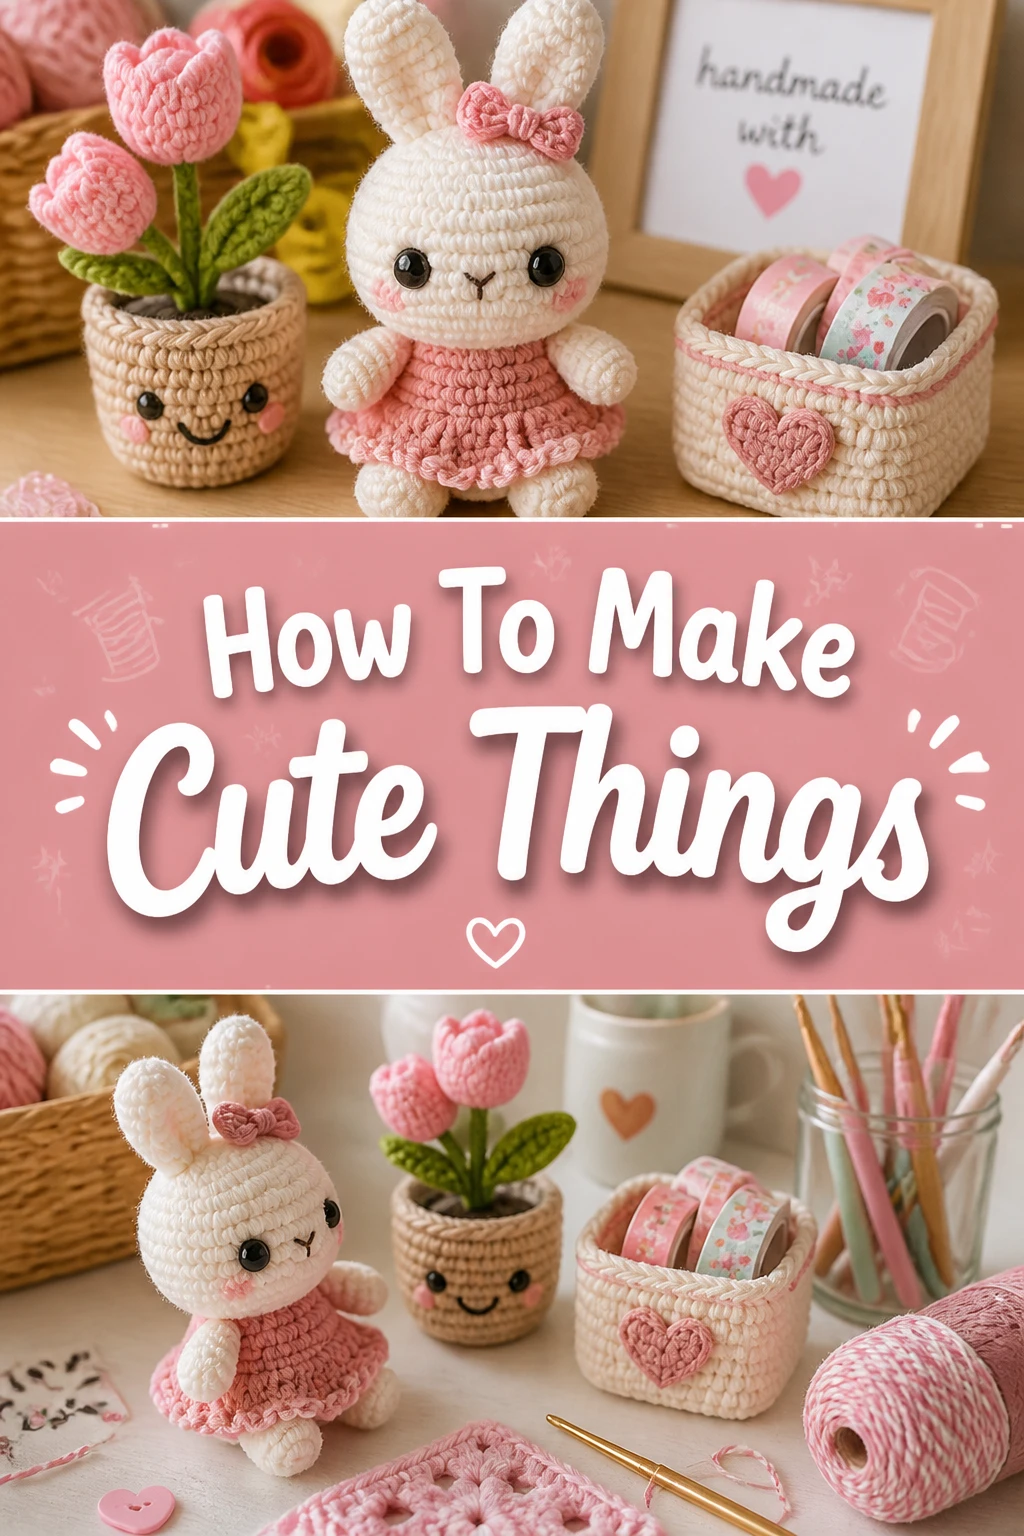
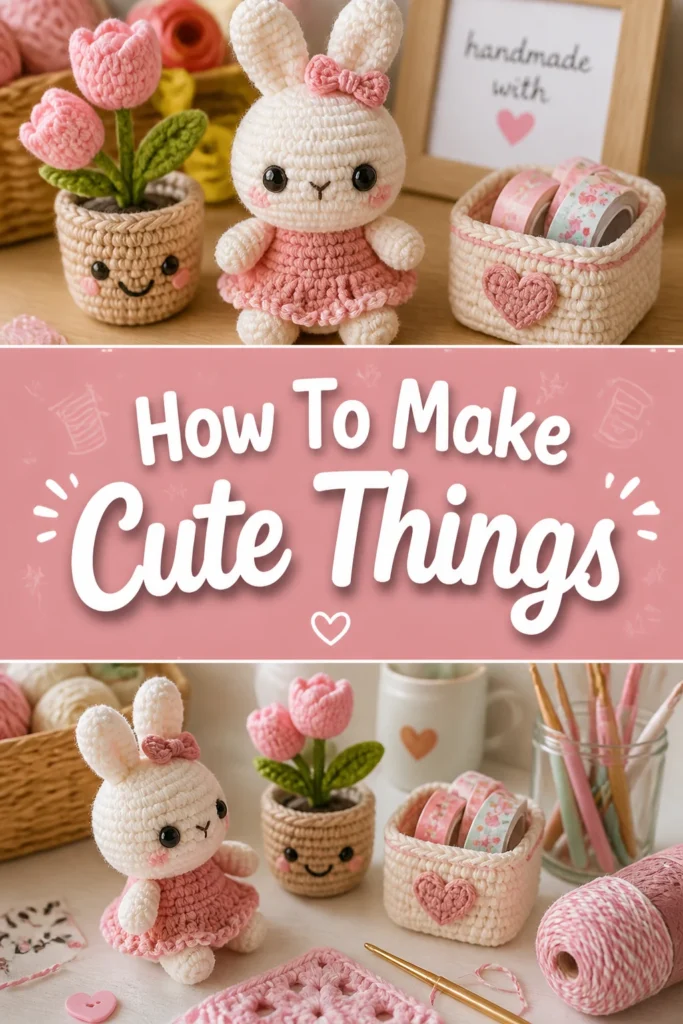
💖 How To Make Cute Things
Do you ever scroll through social media and wish you could create those adorable little treasures yourself?
I used to feel the same way, always admiring cute crafts but thinking I lacked the “talent” to make them.
This guide will share my secrets to transforming simple ideas into charming, heartwarming objects, proving anyone can tap into their inner crafter and make something truly sweet.
Quick Overview
This guide will equip you with the mindset and fundamental techniques to bring your cute ideas to life. You’ll learn how to find inspiration, simplify designs, choose materials, and add those special touches that make something irresistibly adorable.
- Time needed: 1-3 hours (per small project, depending on complexity and medium)
- Difficulty: Beginner
- What you’ll need: Basic craft supplies like paper, pencils, markers, polymer clay, felt scraps, or yarn, along with a good adhesive.
Step-by-Step Instructions
Step 1: Find Your Spark of Inspiration
Every cute creation begins with a little spark. Take a moment to observe the world around you, focusing on things that make you smile.
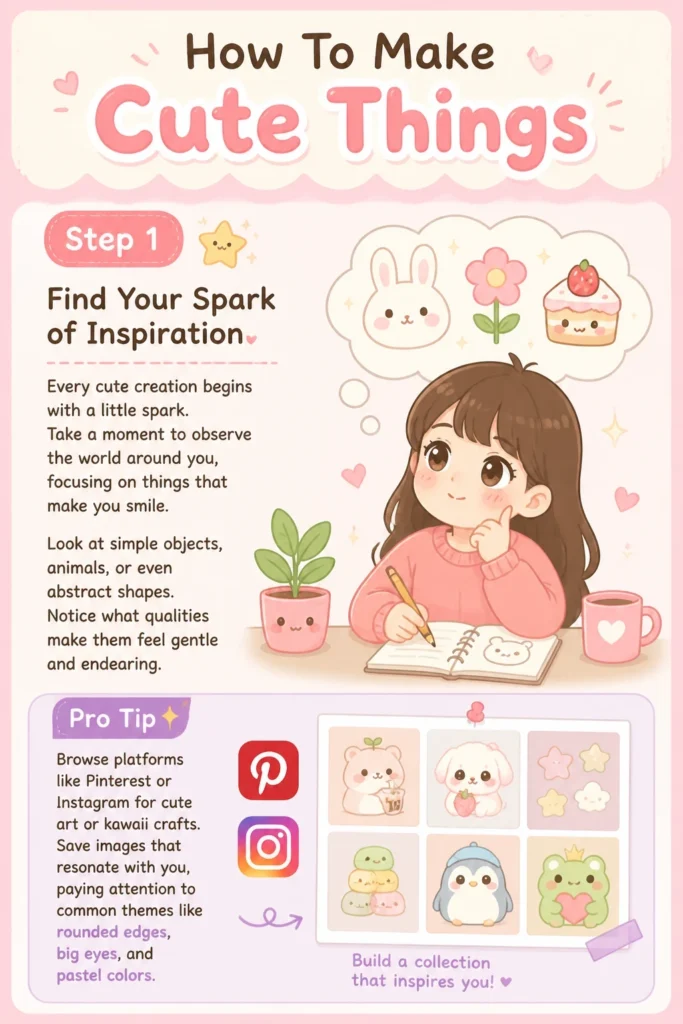
Look at simple objects, animals, or even abstract shapes. Notice what qualities make them feel gentle and endearing.
Pro Tip: Browse platforms like Pinterest or Instagram for “cute art” or “kawaii crafts.” Save images that resonate with you, paying attention to common themes like rounded edges, big eyes, and pastel colors.
Step 2: Sketch Your Sweet Idea
Once you have an idea, grab a pencil and paper. Don’t worry about drawing perfectly; these are just rough drafts.
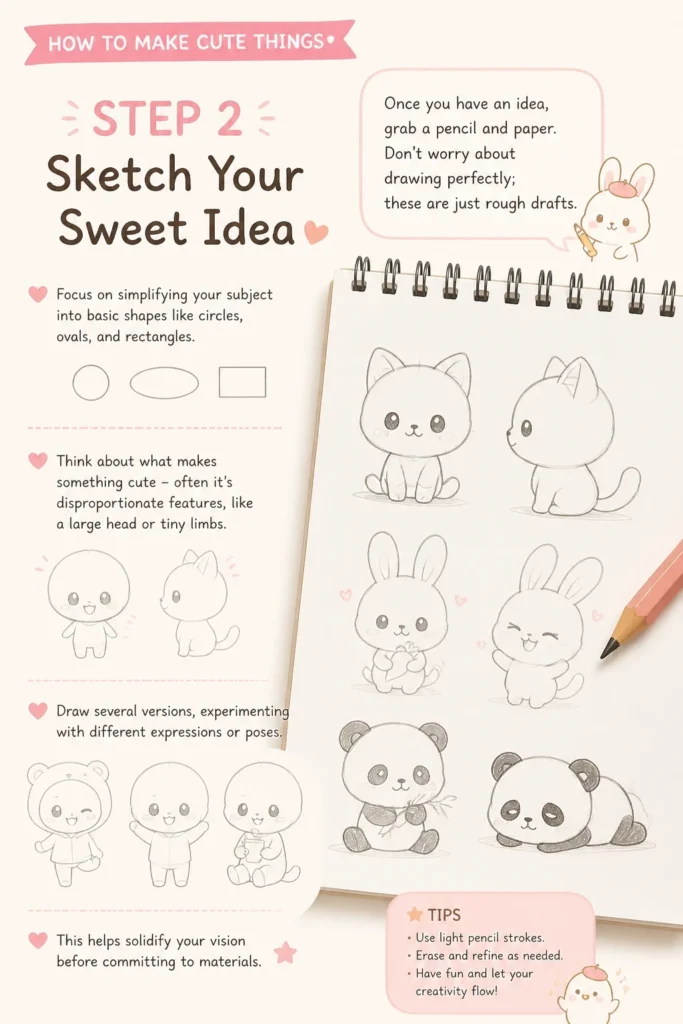
Focus on simplifying your subject into basic shapes like circles, ovals, and rectangles. Think about what makes something “cute” – often it’s disproportionate features, like a large head or tiny limbs.
Draw several versions, experimenting with different expressions or poses. This helps solidify your vision before committing to materials.
Step 3: Gather Your Gentle Materials
The choice of materials significantly impacts the “cuteness” factor. Think about textures and colors that evoke warmth and softness.
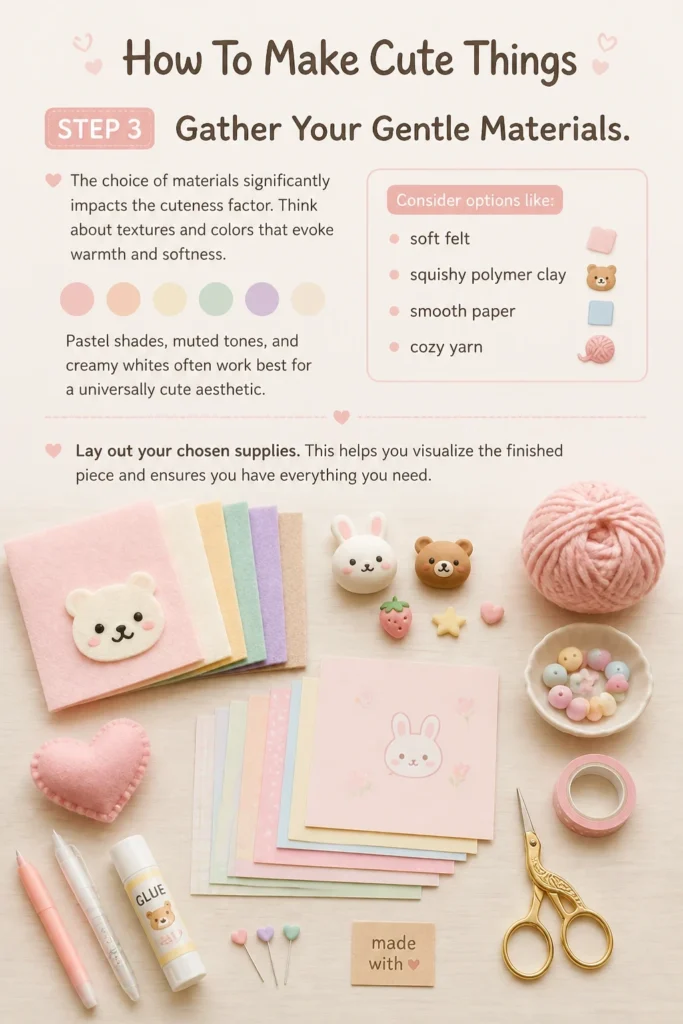
Consider options like soft felt, squishy polymer clay, smooth paper, or cozy yarn. Pastel shades, muted tones, and creamy whites often work best for a universally cute aesthetic.
Lay out your chosen supplies. This helps you visualize the finished piece and ensures you have everything you need.
Step 4: Shape with Care
Now it’s time to bring your sketch to life. If you’re using clay, gently mold your basic shapes, focusing on smooth, rounded forms.
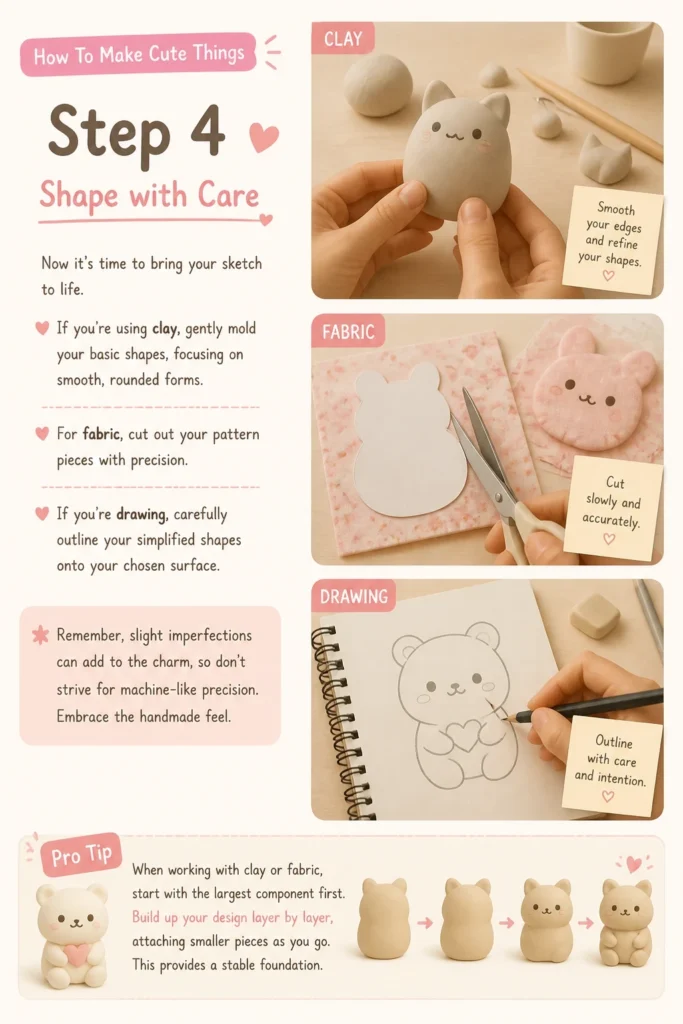
For fabric, cut out your pattern pieces with precision. If you’re drawing, carefully outline your simplified shapes onto your chosen surface.
Remember, slight imperfections can add to the charm, so don’t strive for machine-like precision. Embrace the handmade feel.
Pro Tip: When working with clay or fabric, start with the largest component first. Build up your design layer by layer, attaching smaller pieces as you go. This provides a stable foundation.
Step 5: Add Charming Details
This is where your creation truly comes alive. The right details can transform a simple shape into something adorable.
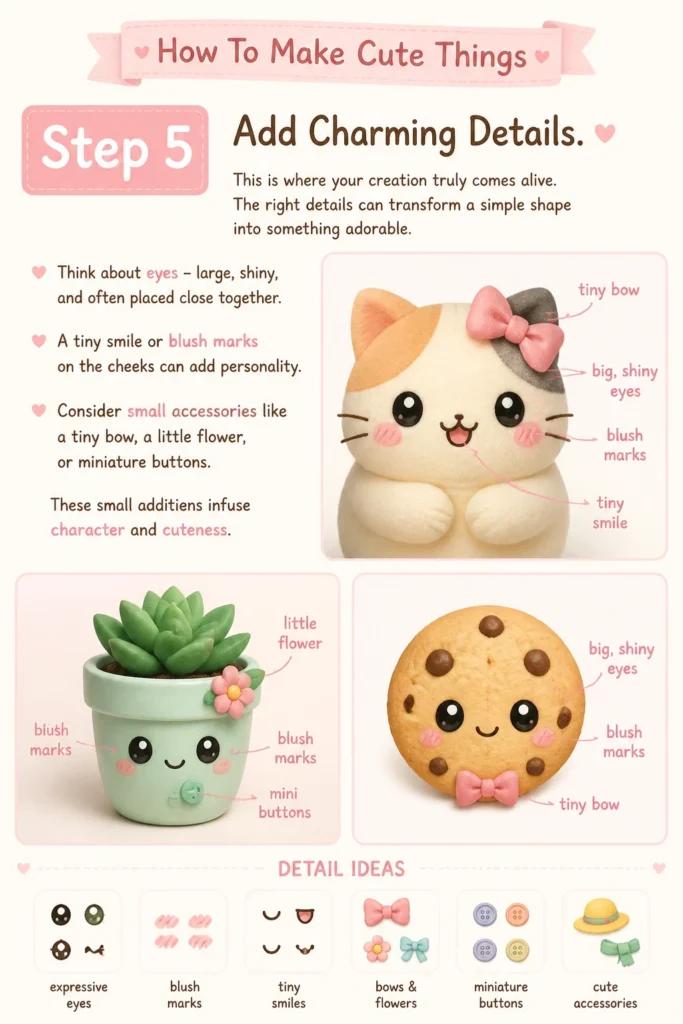
Think about eyes – large, shiny, and often placed close together. A tiny smile or blush marks on the cheeks can add personality.
Consider small accessories like a tiny bow, a little flower, or miniature buttons. These small additions infuse character and cuteness.
Step 6: Bring it to Life with Color
Color is powerful in conveying cuteness. Use soft, inviting hues that complement each other rather than clash.
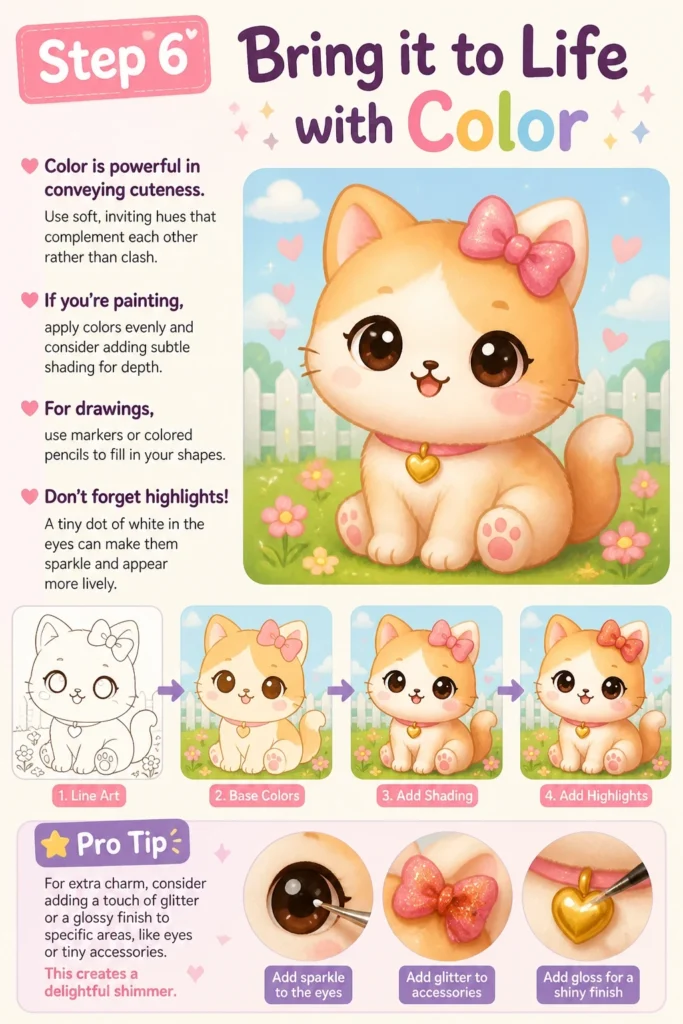
If you’re painting, apply colors evenly and consider adding subtle shading for depth. For drawings, use markers or colored pencils to fill in your shapes.
Don’t forget highlights! A tiny dot of white in the eyes can make them sparkle and appear more lively.
Pro Tip: For extra charm, consider adding a touch of glitter or a glossy finish to specific areas, like eyes or tiny accessories. This creates a delightful shimmer.
Step 7: Finish with Finesse
The final touches make all the difference. Ensure all pieces are securely attached, whether through glue, stitching, or baking (for clay).
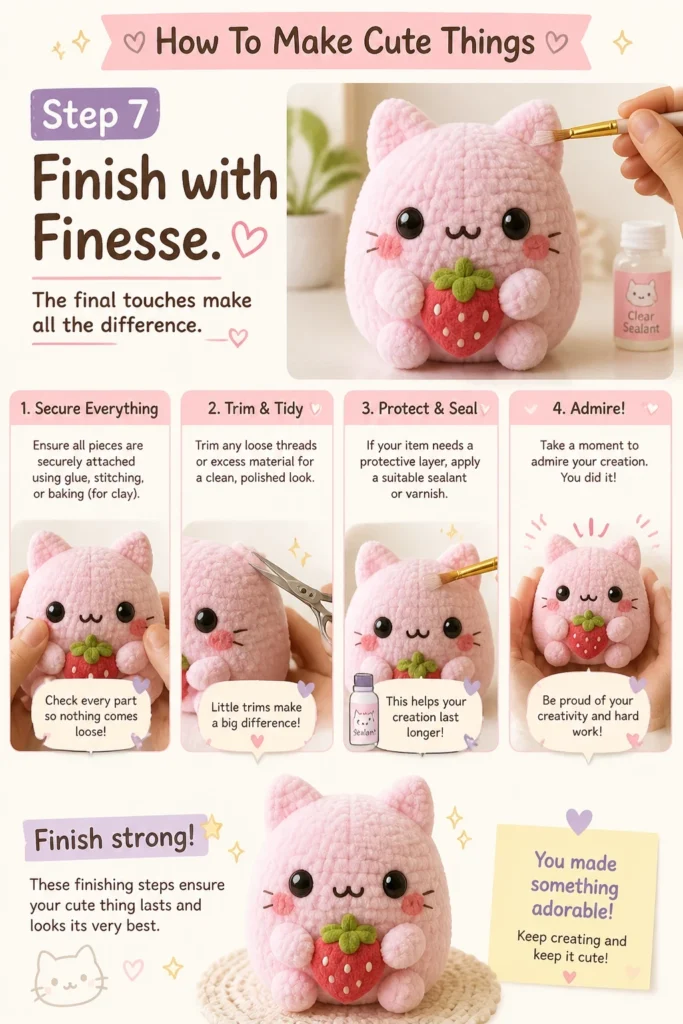
Trim any loose threads or excess material. If your item needs a protective layer, apply a suitable sealant or varnish.
Take a moment to admire your creation. These finishing steps ensure your cute thing lasts and looks its very best.
Common Mistakes to Avoid
Overcomplicating the Design
A common pitfall is trying to make a design too intricate or realistic. Cuteness often thrives on simplicity and abstraction.
Instead of adding too many features, focus on exaggerated, rounded shapes and minimal details. Less is often more when aiming for an adorable aesthetic.
Ignoring Color Harmony
Using a chaotic mix of bright, clashing colors can detract from the overall cute appeal. An unharmonious palette can make your creation feel busy or jarring.
Stick to a cohesive color scheme, often leaning towards pastels, muted tones, or a limited set of complementary colors. This creates a gentle and pleasing visual experience.
Rushing the Process
Impatience can lead to sloppy work, uneven finishes, and details that don’t quite align. Crafting cute things requires a gentle, deliberate touch.
Take your time with each step, from sketching to finishing. Enjoy the process, allowing yourself to make adjustments and refine details as you go.
Fear of “Not Good Enough”
Many beginners get discouraged if their first few attempts aren’t perfect. This fear can stifle creativity and prevent you from even starting.
Embrace imperfections as part of the handmade charm. Every creation is a learning experience, and each attempt helps you grow your skills and personal style.
Troubleshooting
My creation doesn’t look like my sketch.
It’s completely normal for a 3D object or a finished piece to differ from a 2D sketch. Materials behave differently than lines on paper.
Instead of seeing it as a failure, embrace the unique outcome. Sometimes, these unexpected twists lead to even cuter results. Adjust your expectations and appreciate the new charm your piece possesses.
The colors don’t pop.
If your colors feel dull, they might be too similar in value or lack enough contrast. A lack of highlights can also make things appear flat.
Try adding a small amount of a contrasting color, even just a tiny accent. White highlights, especially on eyes or shiny surfaces, can instantly make colors appear more vibrant and lively.
It feels unfinished.
Sometimes a piece just needs that little extra something to feel complete. It might lack a focal point or a final touch to tie everything together.
Consider adding a tiny accessory like a ribbon, a small painted detail, or a simple base if it’s a figurine. Even a clear protective coat can make a piece feel more polished and complete.
Key Takeaways
- Simplicity is Key: Embrace rounded shapes and minimal details for maximum cuteness.
- Color Matters: Choose soft, harmonious color palettes to evoke warmth and charm.
- Details Define: Small additions like expressive eyes or tiny accessories bring personality to your creations.
- Practice Makes Progress: Don’t fear imperfections; every attempt builds your skills and unique style.
- Enjoy the Process: Crafting cute things should be a joyful and relaxing experience.
- Be Inspired, Not Duplicated: Use inspiration as a springboard for your own original ideas.
Frequently Asked Questions
What’s the easiest cute thing to make for beginners?
Paper crafts are often the simplest starting point. You can make cute paper animals, cards, or even origami shapes. Drawing simple characters with markers is also very accessible and requires minimal tools.
How do I make my cute things look professional?
Focus on clean lines, smooth finishes, and consistent style. Use high-quality materials, take your time with details, and ensure all parts are securely attached. A final sealant or varnish can also give a polished look.
Can I sell the cute things I make?
Absolutely! Many crafters start by selling their cute creations online or at local markets. Begin by building a small portfolio, taking good photos, and sharing your work. Remember to price fairly for your time and materials.
Where can I find more ideas?
Beyond Pinterest, explore craft blogs, YouTube tutorials, and dedicated crafting communities. Visiting local craft stores or art markets can also spark new ideas and expose you to different mediums and styles.
Our Top Recommended Finds
- Polymer Clay Starter Kit: Perfect for sculpting small charms, figures, and accessories. It’s versatile, easy to bake at home, and comes in many cute colors.
- Fine-Tip Paint Pen Set: Essential for adding tiny details like eyes, blush, and small patterns to almost any surface – paper, clay, wood, or fabric.
- Assorted Felt Sheet Pack: Ideal for soft, cuddly plushies, keychains, or decorative patches. Felt is easy to cut, sew, and glue, making it very beginner-friendly.
Your Journey into Adorable Creations Begins Now
You now have the tools and inspiration to start making your own cute things. Don’t wait for the “perfect” moment or the “right” skill level.
Grab some simple supplies and begin today. Experiment with different materials and techniques, allowing your unique style to shine through.
The joy of creating something truly adorable with your own hands is an incredibly rewarding experience. Let your imagination lead the way, and prepare to fill your world with charming, handmade wonders.