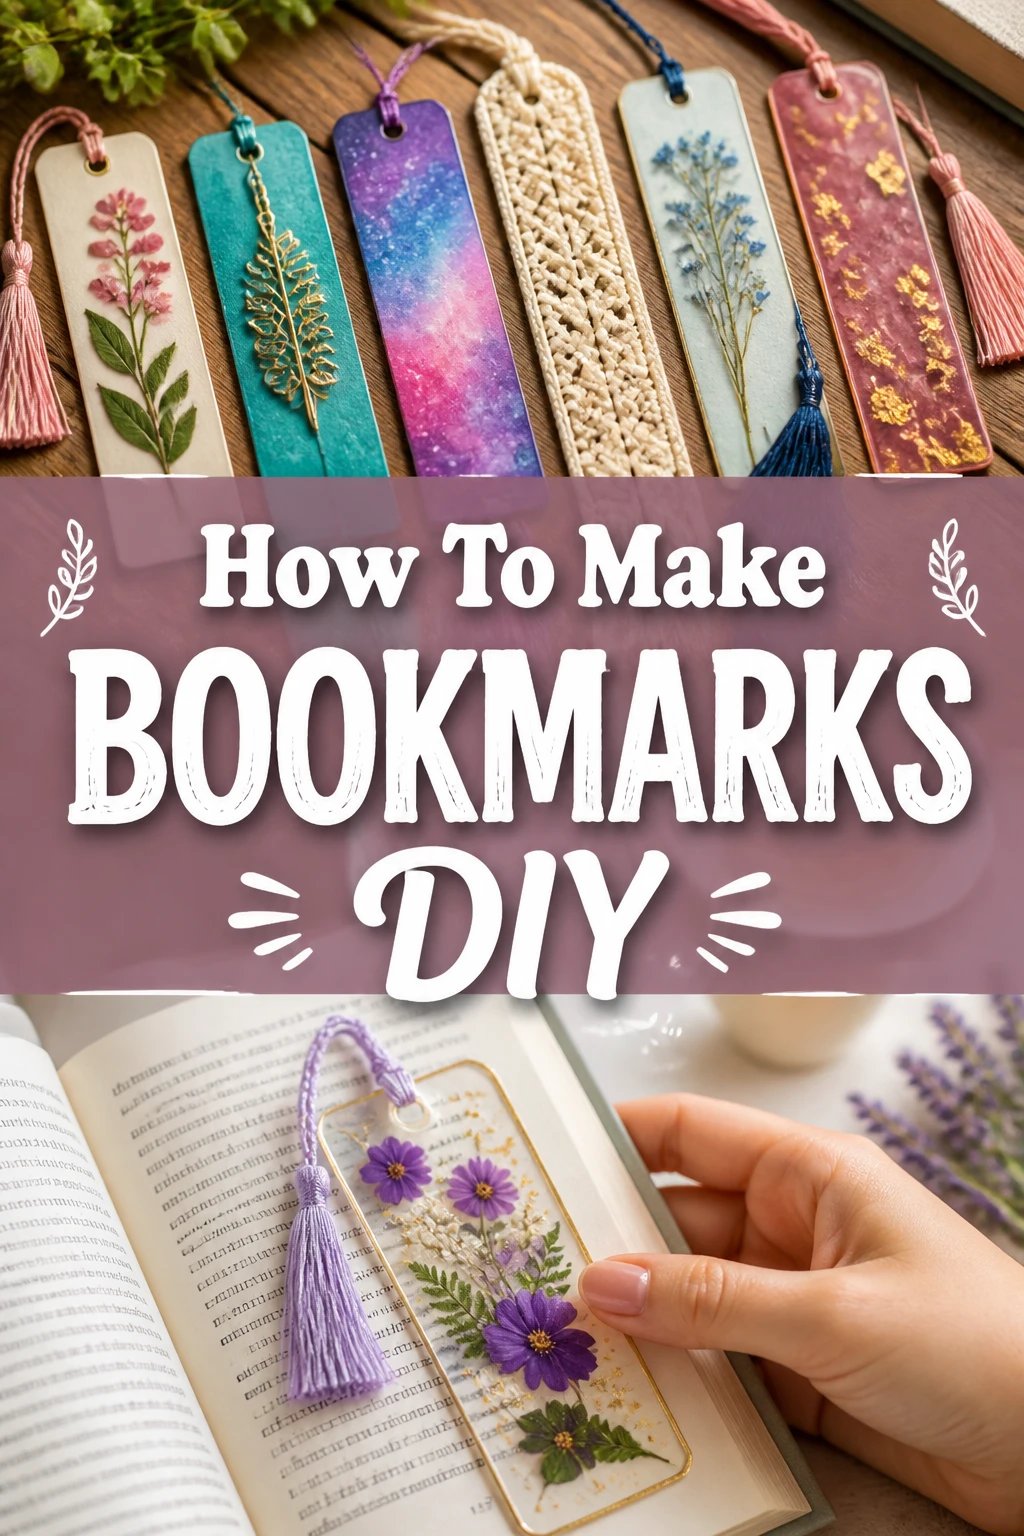
🔖 How To Make Bookmarks DIY
I remember the first bookmark I ever made. It was a simple piece of construction paper, hastily colored, but it held a special place in my favorite storybook. Crafting your own bookmarks is a wonderfully personal way to add joy to your reading. This guide will walk you through creating beautiful, functional bookmarks from scratch.
Quick Overview
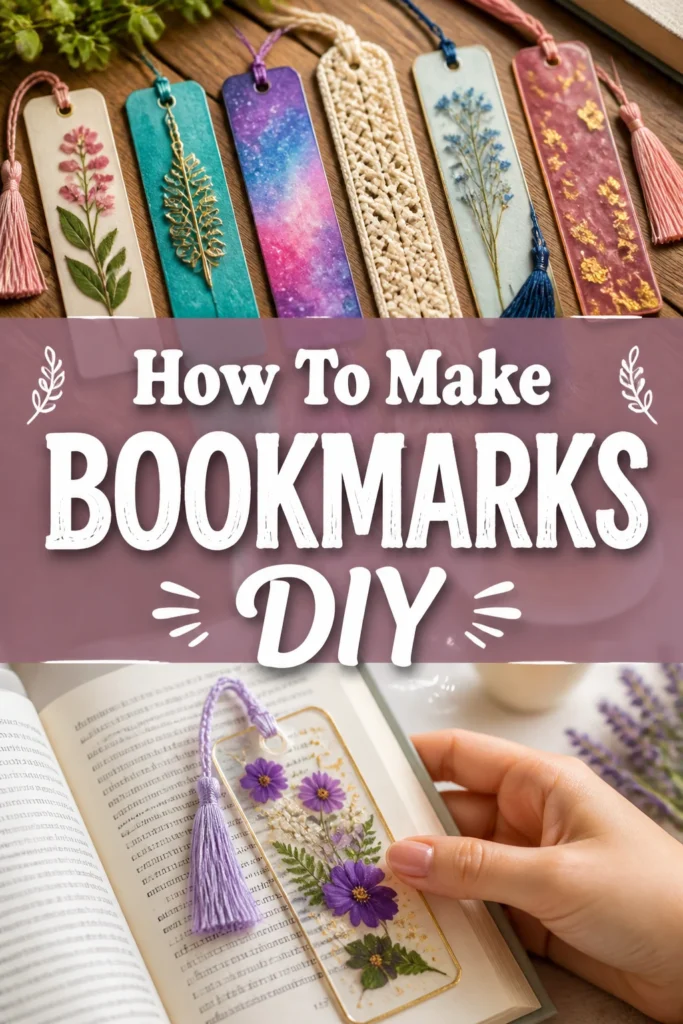
Making your own bookmarks is an incredibly satisfying and creative endeavor. You’ll finish this guide with several unique bookmarks, ready to mark your adventures in literature. It’s a fantastic project for all ages and skill levels.
- Time needed: 30 minutes to 2 hours (depending on complexity and drying time)
- Difficulty: Beginner
- What you’ll need: Paper, scissors, glue, decorative elements, and a dash of creativity.
Step-by-Step Instructions
Step 1: Gather Your Materials
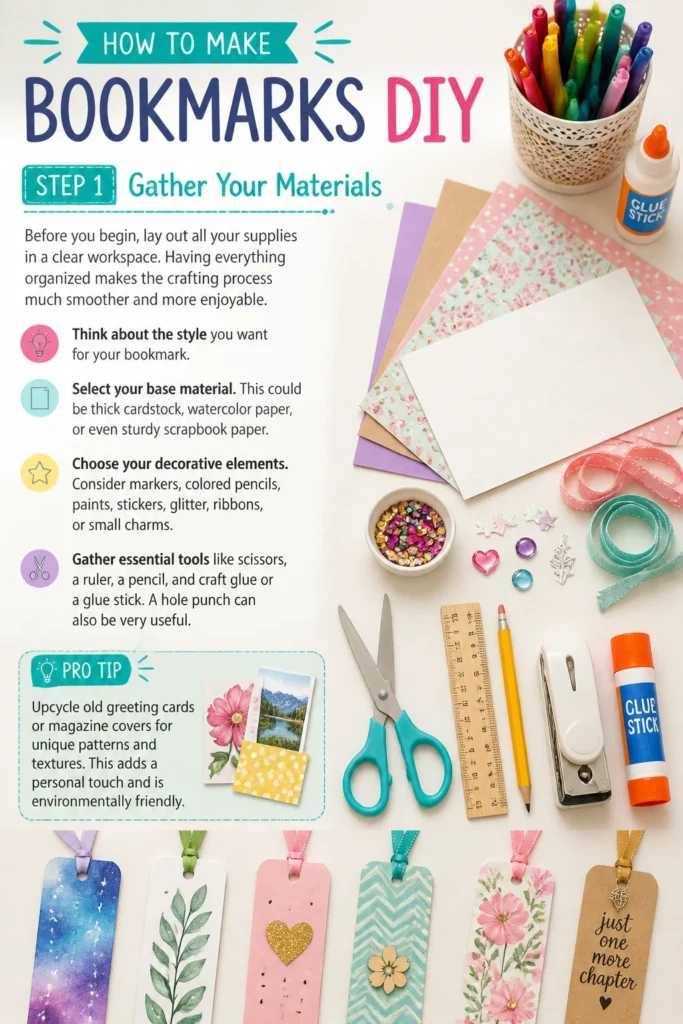
Before you begin, lay out all your supplies in a clear workspace. Having everything organized makes the crafting process much smoother and more enjoyable. Think about the style you want for your bookmark.
- Select your base material. This could be thick cardstock, watercolor paper, or even sturdy scrapbook paper.
- Choose your decorative elements. Consider markers, colored pencils, paints, stickers, glitter, ribbons, or small charms.
- Gather essential tools like scissors, a ruler, a pencil, and craft glue or a glue stick. A hole punch can also be very useful.
Pro Tip: Upcycle old greeting cards or magazine covers for unique patterns and textures. This adds a personal touch and is environmentally friendly.
Step 2: Prepare Your Bookmark Base
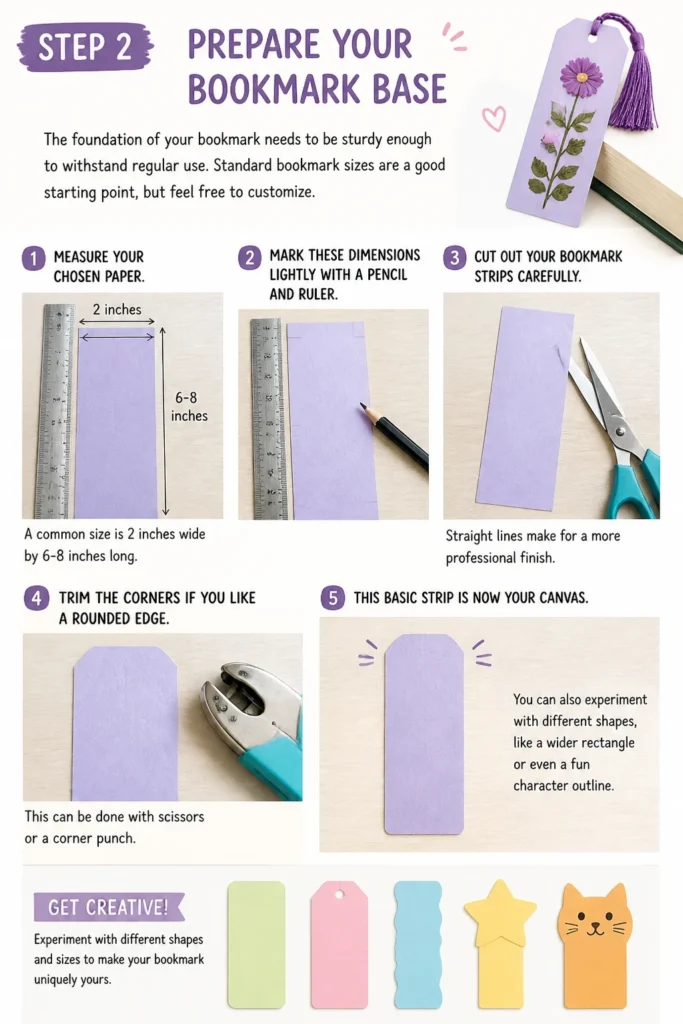
The foundation of your bookmark needs to be sturdy enough to withstand regular use. Standard bookmark sizes are a good starting point, but feel free to customize.
- Measure your chosen paper. A common size is 2 inches wide by 6-8 inches long.
- Mark these dimensions lightly with a pencil and ruler.
- Cut out your bookmark strips carefully. Straight lines make for a more professional finish.
- Trim the corners if you like a rounded edge. This can be done with scissors or a corner punch.
This basic strip is now your canvas. You can also experiment with different shapes, like a wider rectangle or even a fun character outline.
Step 3: Design Your Bookmark
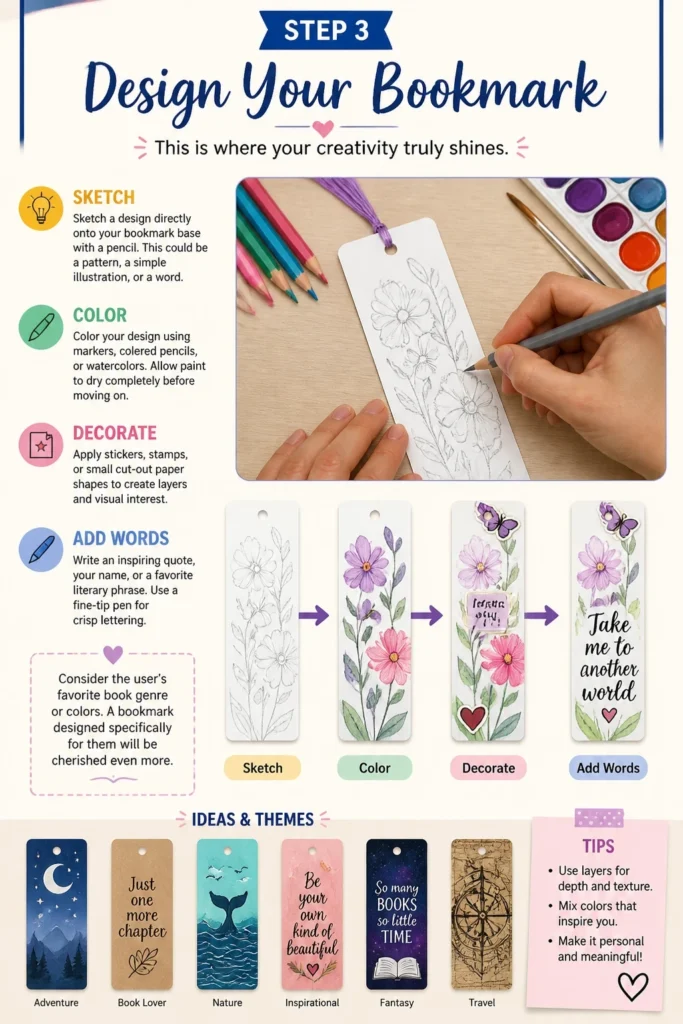
This is where your creativity truly shines. There are countless ways to personalize your bookmark. Think about themes, colors, and textures.
- Sketch a design directly onto your bookmark base with a pencil. This could be a pattern, a simple illustration, or a word.
- Color your design using markers, colored pencils, or watercolors. Allow paint to dry completely before moving on.
- Apply stickers, stamps, or small cut-out paper shapes to create layers and visual interest.
- Write an inspiring quote, your name, or a favorite literary phrase. Use a fine-tip pen for crisp lettering.
Consider the user’s favorite book genre or colors. A bookmark designed specifically for them will be cherished even more.
Step 4: Add Embellishments and Details
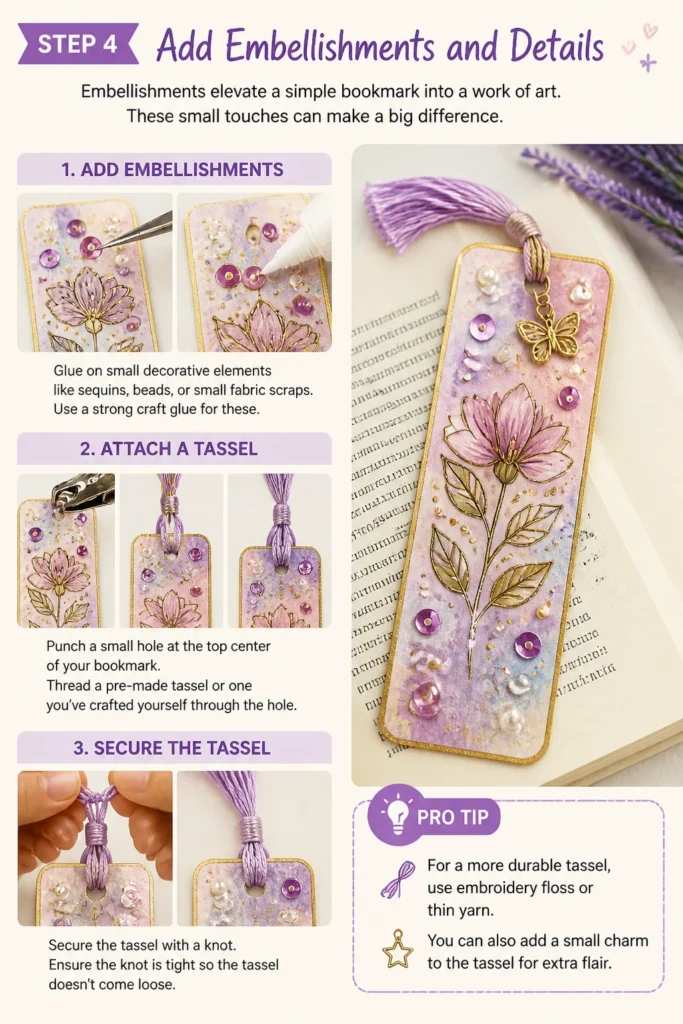
Embellishments elevate a simple bookmark into a work of art. These small touches can make a big difference.
- Glue on small decorative elements like sequins, beads, or small fabric scraps. Use a strong craft glue for these.
- Attach a tassel. Punch a small hole at the top center of your bookmark. Thread a pre-made tassel or one you’ve crafted yourself through the hole.
- Secure the tassel with a knot. Ensure the knot is tight so the tassel doesn’t come loose.
Pro Tip: For a more durable tassel, use embroidery floss or thin yarn. You can also add a small charm to the tassel for extra flair.
Step 5: Laminate for Durability (Optional)
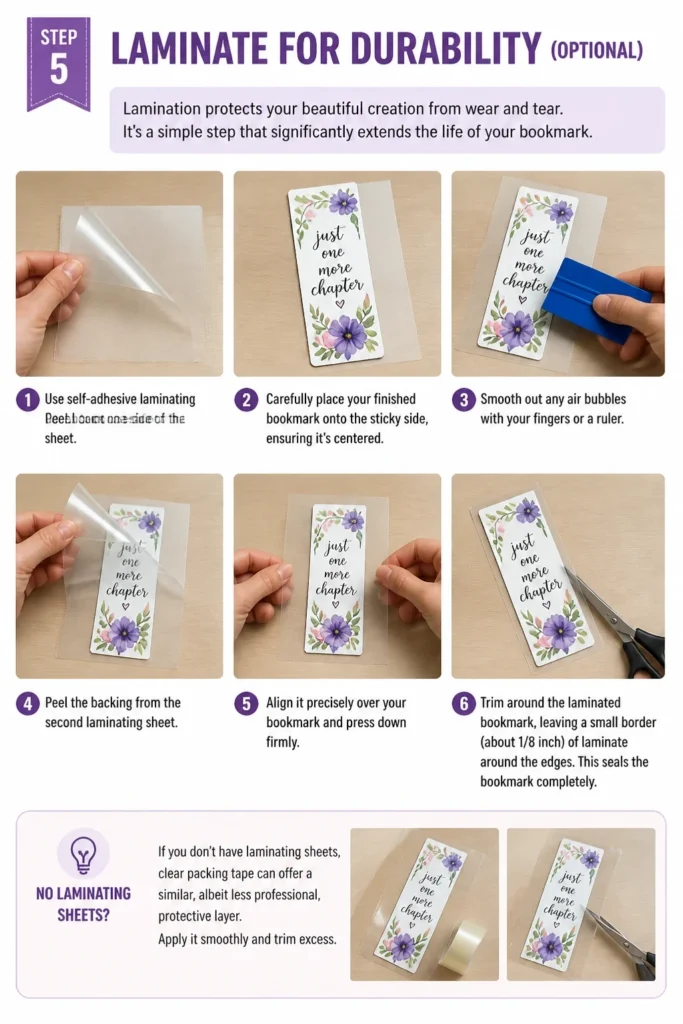
Lamination protects your beautiful creation from wear and tear. It’s a simple step that significantly extends the life of your bookmark.
- Use self-adhesive laminating sheets. Peel back one side of the sheet.
- Carefully place your finished bookmark onto the sticky side, ensuring it’s centered.
- Smooth out any air bubbles with your fingers or a ruler.
- Peel the backing from the second laminating sheet.
- Align it precisely over your bookmark and press down firmly.
- Trim around the laminated bookmark, leaving a small border (about 1/8 inch) of laminate around the edges. This seals the bookmark completely.
If you don’t have laminating sheets, clear packing tape can offer a similar, albeit less professional, protective layer. Apply it smoothly and trim excess.
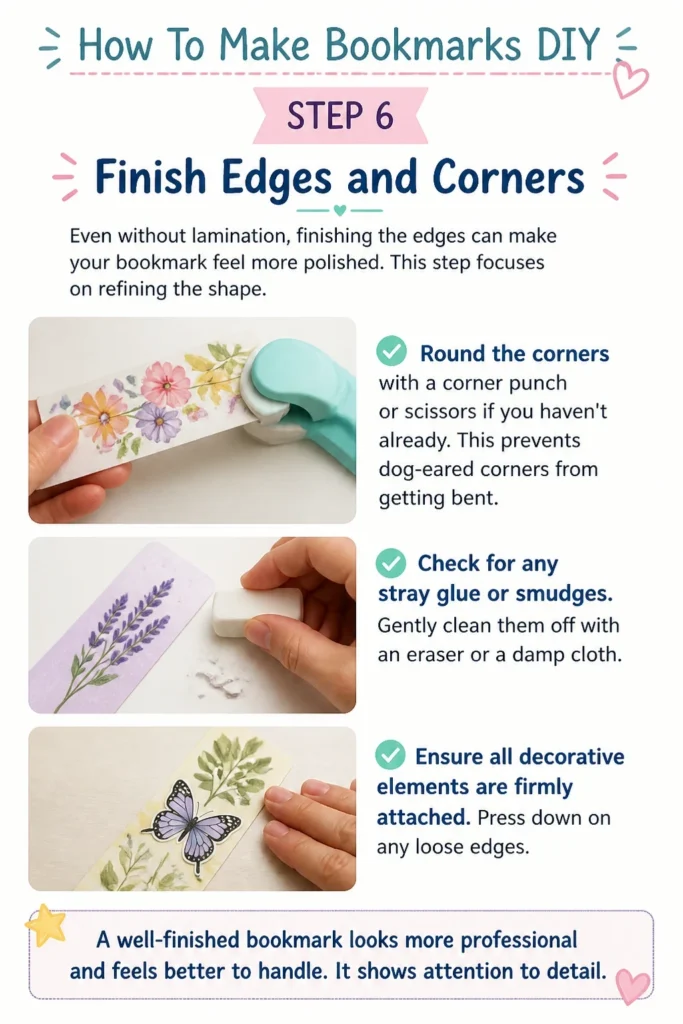
Step 6: Finish Edges and Corners
Even without lamination, finishing the edges can make your bookmark feel more polished. This step focuses on refining the shape.
- Round the corners with a corner punch or scissors if you haven’t already. This prevents dog-eared corners from getting bent.
- Check for any stray glue or smudges. Gently clean them off with an eraser or a damp cloth.
- Ensure all decorative elements are firmly attached. Press down on any loose edges.
A well-finished bookmark looks more professional and feels better to handle. It shows attention to detail.
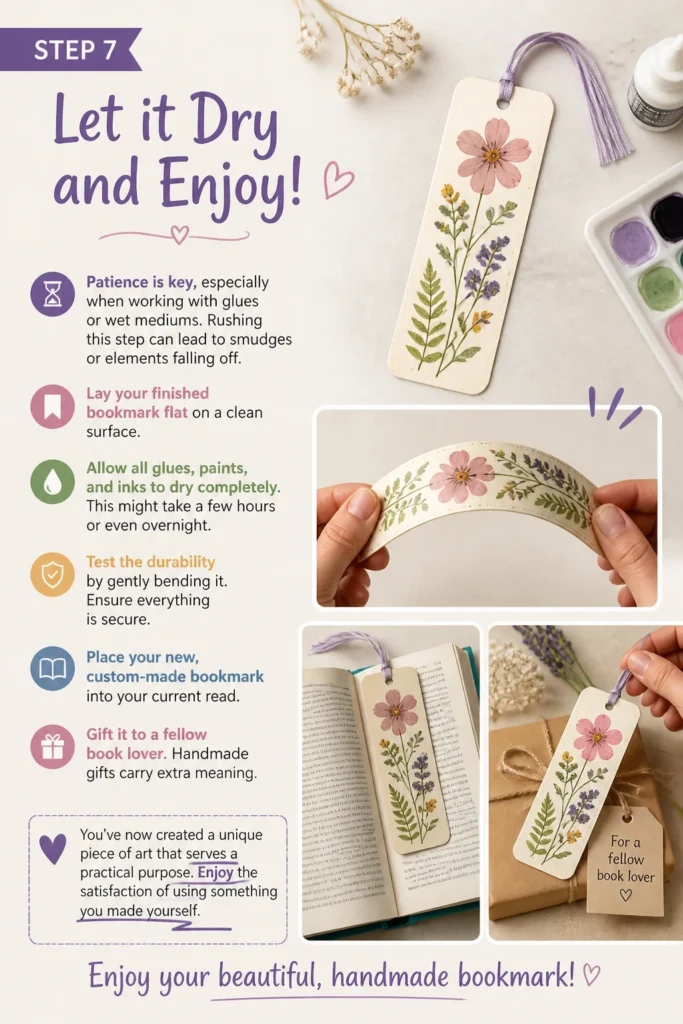
Step 7: Let it Dry and Enjoy!
Patience is key, especially when working with glues or wet mediums. Rushing this step can lead to smudges or elements falling off.
- Lay your finished bookmark flat on a clean surface.
- Allow all glues, paints, and inks to dry completely. This might take a few hours or even overnight.
- Test the durability by gently bending it. Ensure everything is secure.
- Place your new, custom-made bookmark into your current read.
- Gift it to a fellow book lover. Handmade gifts carry extra meaning.
You’ve now created a unique piece of art that serves a practical purpose. Enjoy the satisfaction of using something you made yourself.
Common Mistakes to Avoid
Using Too Thin Paper
Many beginners reach for standard printer paper because it’s readily available. However, thin paper tears easily and doesn’t hold up well to repeated use. Your beautiful design will quickly become crumpled and damaged. Always opt for cardstock, watercolor paper, or thick scrapbook paper for a durable base.
Overloading with Embellishments
While it’s fun to add many decorative elements, too much bulk can make your bookmark impractical. A bookmark that’s too thick can damage book spines or fall out easily. Choose a few key embellishments that enhance the design without creating excessive thickness. Think about balance and functionality.
Not Allowing Glue/Paint to Dry
Impatience is a common pitfall in crafting. If you don’t let glues or paints dry completely before handling or laminating, you risk smudging your design or having elements shift. This can ruin the entire piece. Always give your bookmark ample drying time, even if it means waiting overnight.
Uneven Cutting
Crooked edges or uneven shapes can make a handmade bookmark look less polished. While a rustic charm is fine, very uneven cuts can affect how the bookmark sits in a book. Take your time with a ruler and sharp scissors or a craft knife for clean, straight lines. A cutting mat can also be very helpful.
Troubleshooting
My Bookmark Feels Flimsy
If your bookmark feels too thin even after decorating, you can reinforce it. Glue a second piece of cardstock to the back of your finished bookmark. Use a strong, even layer of glue and press firmly. You can also laminate it, as this adds significant rigidity.
Embellishments Keep Falling Off
This usually happens if the wrong type of glue was used or if not enough was applied. For heavier embellishments like beads or charms, use a strong craft adhesive or even a hot glue gun (with care). For paper elements, a glue stick or liquid craft glue should suffice. Always press down firmly and allow adequate drying time.
My Bookmark Gets Bent Easily
A bent bookmark often means the base material wasn’t sturdy enough, or it wasn’t protected. The best solution is prevention: use thick cardstock from the start. If it’s already made, laminating it with self-adhesive sheets will add a protective, rigid layer. You can also store it flat when not in use.
Key Takeaways
- Choose sturdy base materials like cardstock for durable bookmarks.
- Plan your design and gather all materials before starting to streamline the process.
- Embellish thoughtfully, ensuring elements are securely attached and don’t add excessive bulk.
- Laminate your bookmarks for increased longevity and protection against wear and tear.
- Always allow glues, paints, and inks to dry completely to prevent smudges and damage.
- Experiment with different shapes, materials, and decorations to create truly unique pieces.
Frequently Asked Questions
What’s the best paper for bookmarks?
The best paper is cardstock, typically 65lb to 110lb, or watercolor paper. These papers are thick and durable enough to withstand regular handling without easily tearing or bending. They also provide a good surface for various art mediums.
Can kids make these bookmarks?
Absolutely! Making bookmarks is a fantastic craft for children of all ages. Younger children might need help with cutting, but they can fully participate in decorating with crayons, stickers, and simple glue. It’s a great way to encourage creativity and reading.
How can I make my bookmarks waterproof?
The easiest way to make your bookmarks waterproof is by laminating them. Use self-adhesive laminating sheets or send them to a print shop for professional lamination. Clear packing tape can also provide a basic waterproof layer, but it’s less durable.
How do I make a tassel for my bookmark?
To make a simple tassel, wrap embroidery floss or yarn around three fingers about 20-30 times. Slide it off your fingers. Tie a separate small piece of floss tightly around the top loop to form the tassel head. Cut the bottom loops to create the fringe. Trim to even out the ends.
Our Top Recommended Finds
- Heavyweight Cardstock: Provides a sturdy foundation for any bookmark design, ensuring durability. It’s essential for a long-lasting craft.
- Self-Adhesive Laminating Sheets: These sheets are perfect for protecting your finished bookmarks from spills and wear, making them last for years. They are easy to use at home.
- Craft Glue Variety Pack: A good set of glues, including a strong liquid adhesive and a glue stick, covers all your needs for attaching various embellishments securely.
Ready to Mark Your Next Adventure?
Now that you have all the steps, it’s time to unleash your inner artist. Dive into your craft supplies and begin transforming simple paper into functional works of art. Each bookmark you create will be a testament to your personal style and love for reading.
Why not make a set for your friends or family? A handmade bookmark is a thoughtful and cherished gift. Start crafting today and add a touch of handmade charm to every page you turn.