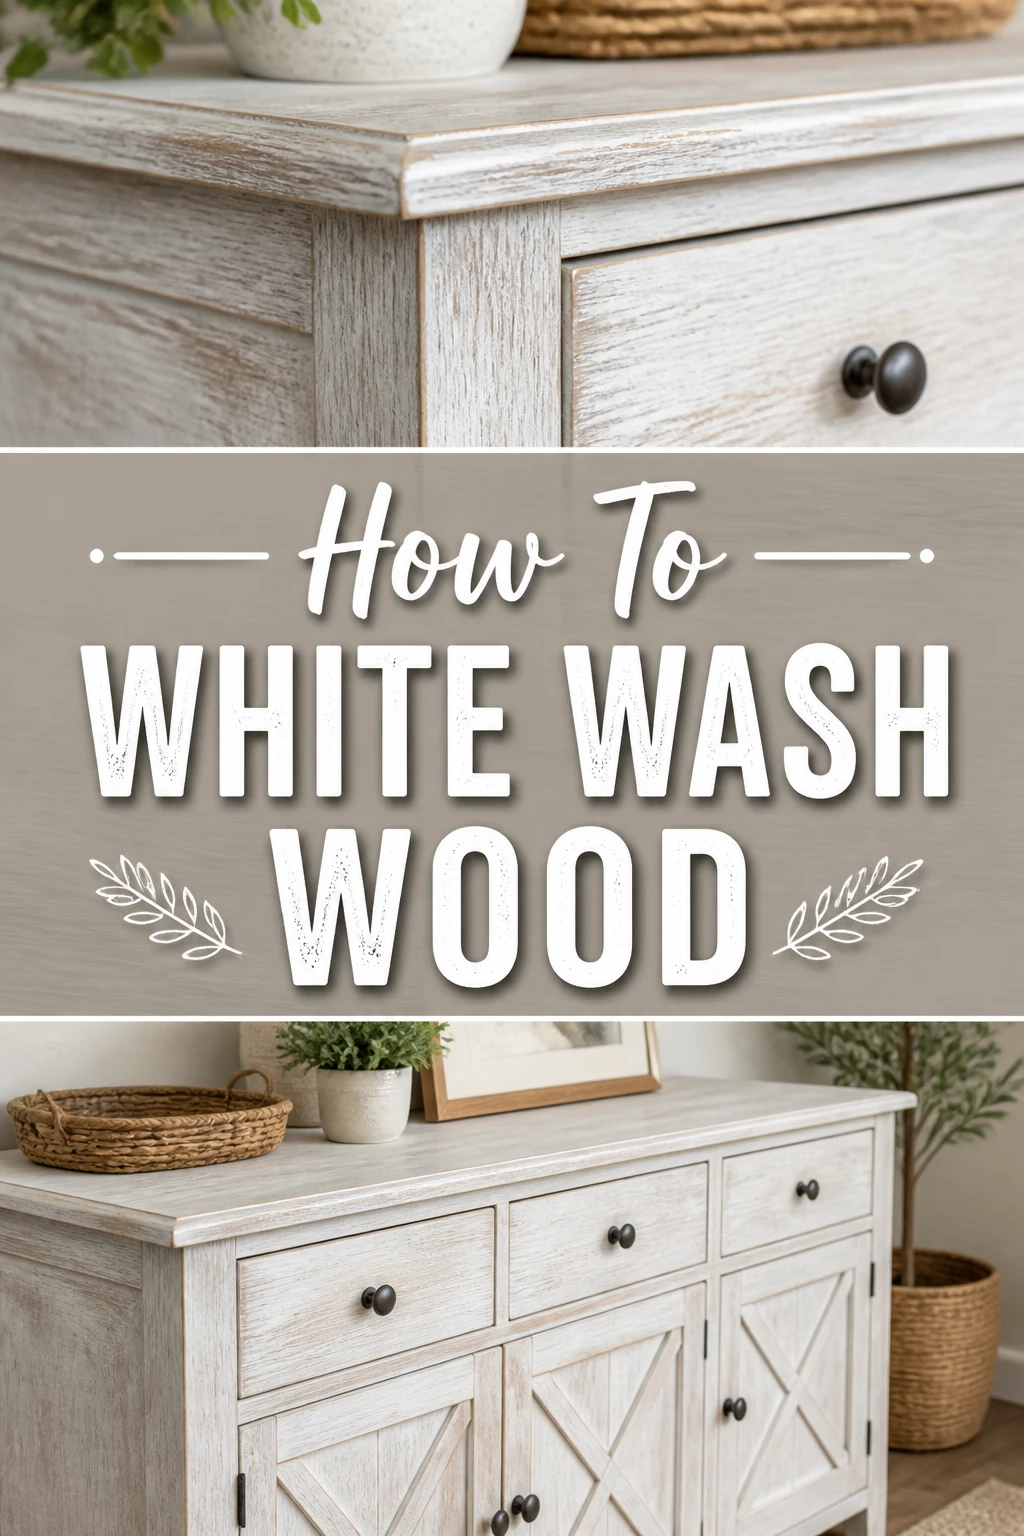
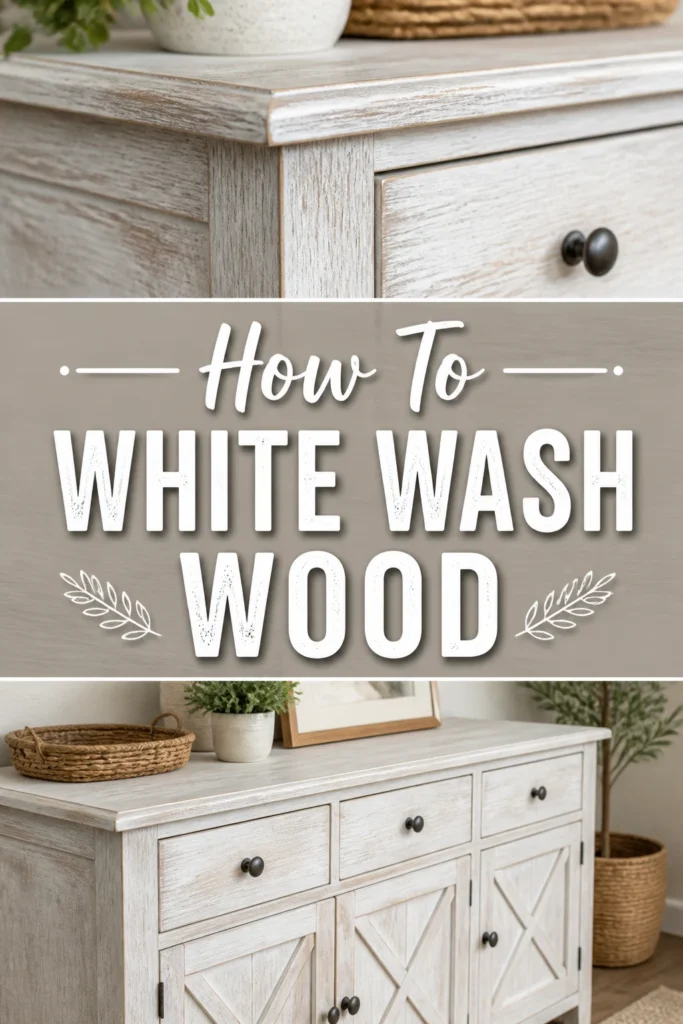
🎨 How To White Wash Wood
There’s a unique charm to whitewashed wood, transforming ordinary pieces into coastal, farmhouse, or shabby-chic treasures.
I’ve personally given new life to countless items, from old dressers to reclaimed barn wood, using this simple technique.
This guide will walk you through every detail, ensuring your project turns out beautifully.
Quick Overview
Whitewashing wood is a fantastic way to brighten a space and add character without completely obscuring the natural grain. It’s a process that involves diluting paint and applying it in a way that allows the wood’s texture and pattern to show through. You’ll create a soft, translucent finish that feels fresh and inviting.
- Time needed: 2-4 hours (drying time not included)
- Difficulty: Beginner
- What you’ll need: White paint, water, brushes, rags, sandpaper, drop cloth, stir sticks, protective gloves.
Step-by-Step Instructions
Step 1: Gather Your Materials
Before you begin, ensure you have everything within reach. A well-prepared workspace makes the entire process smoother and more enjoyable. Take a moment to lay out your tools and paints.
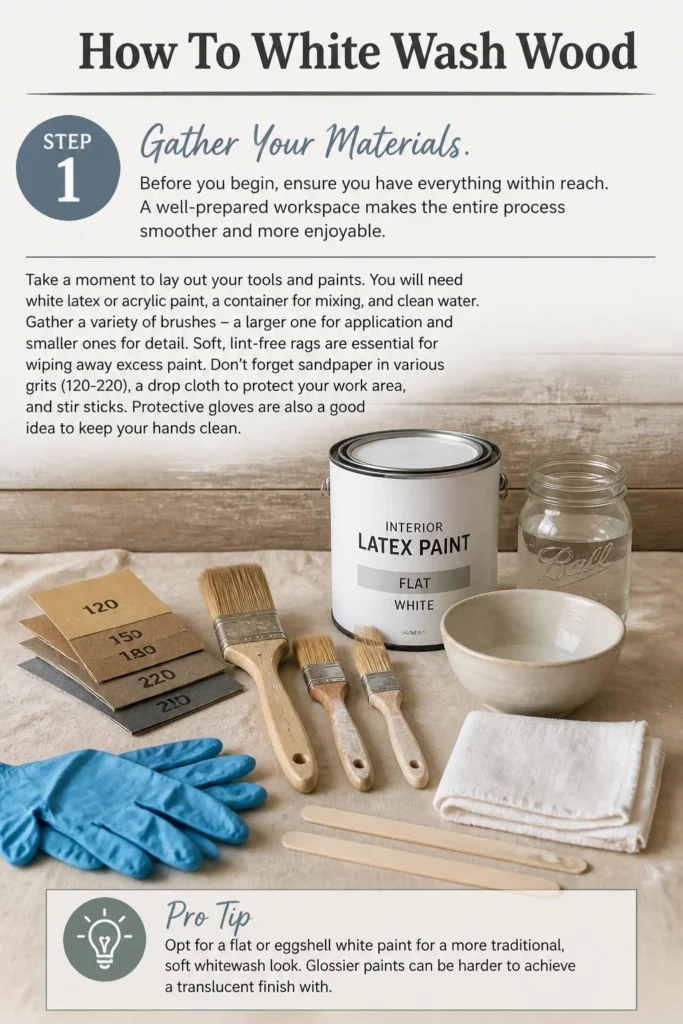
You will need white latex or acrylic paint, a container for mixing, and clean water. Gather a variety of brushes – a larger one for application and smaller ones for detail. Soft, lint-free rags are essential for wiping away excess paint.
Don’t forget sandpaper in various grits (120-220), a drop cloth to protect your work area, and stir sticks. Protective gloves are also a good idea to keep your hands clean.
Pro Tip: Opt for a flat or eggshell white paint for a more traditional, soft whitewash look. Glossier paints can be harder to achieve a translucent finish with.
Step 2: Prepare the Wood Surface
Proper surface preparation is crucial for a successful whitewash finish. Start by cleaning the wood thoroughly. Use a damp cloth to wipe away any dust, dirt, or grime.
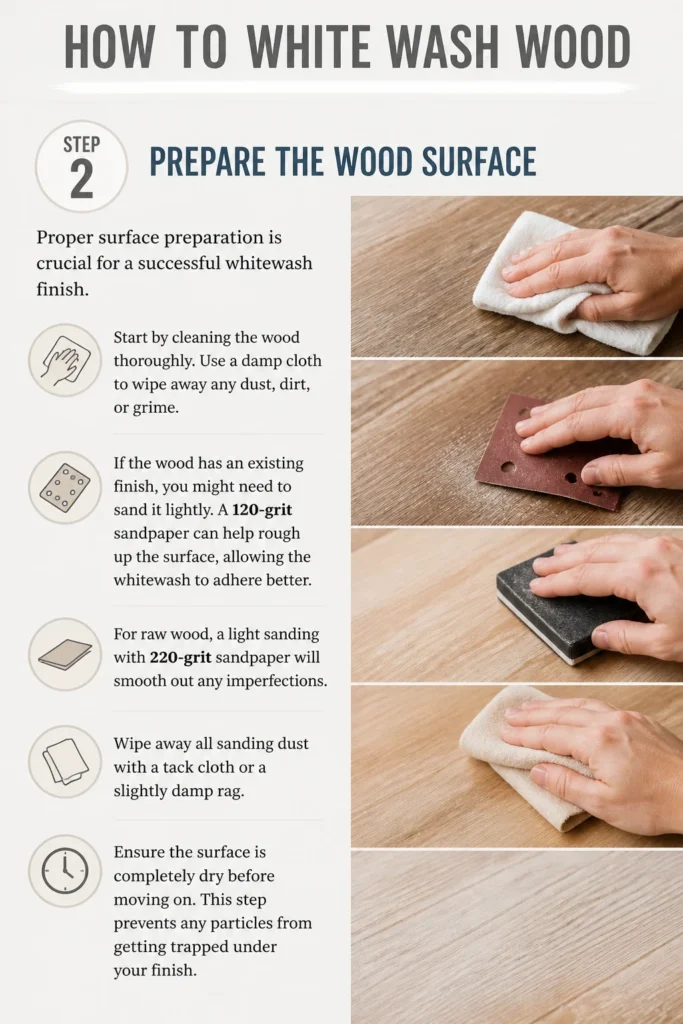
If the wood has an existing finish, you might need to sand it lightly. A 120-grit sandpaper can help rough up the surface, allowing the whitewash to adhere better. For raw wood, a light sanding with 220-grit sandpaper will smooth out any imperfections.
Wipe away all sanding dust with a tack cloth or a slightly damp rag. Ensure the surface is completely dry before moving on. This step prevents any particles from getting trapped under your finish.
Step 3: Dilute Your Paint
This is where the “wash” in whitewash comes from. You need to mix your white paint with water to create a translucent solution. The exact ratio depends on the desired opacity.
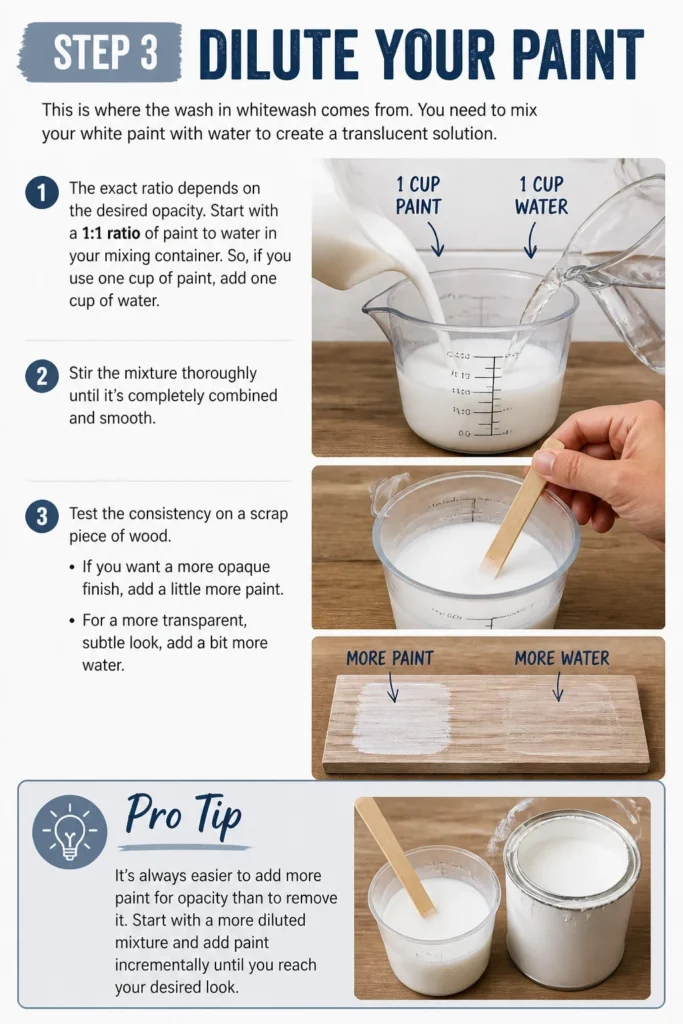
Start with a 1:1 ratio of paint to water in your mixing container. So, if you use one cup of paint, add one cup of water. Stir the mixture thoroughly until it’s completely combined and smooth.
Test the consistency on a scrap piece of wood. If you want a more opaque finish, add a little more paint. For a more transparent, subtle look, add a bit more water.
Pro Tip: It’s always easier to add more paint for opacity than to remove it. Start with a more diluted mixture and add paint incrementally until you reach your desired look.
Step 4: Apply the First Coat
Now it’s time to apply the whitewash. Dip your brush into the diluted paint mixture, making sure not to overload it. A little goes a long way with this technique.
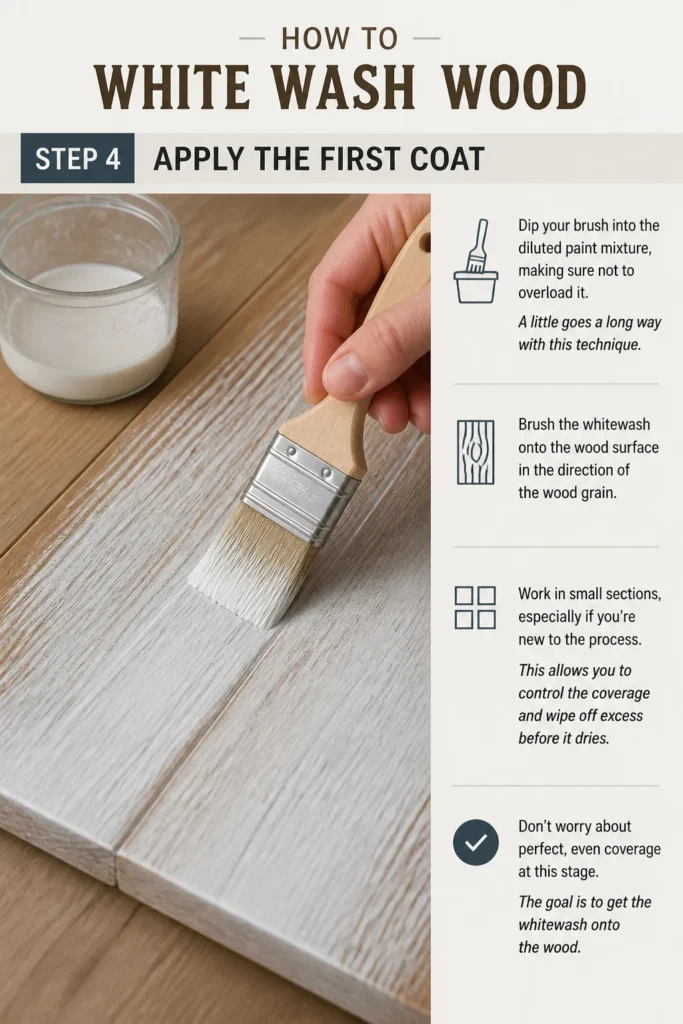
Brush the whitewash onto the wood surface in the direction of the wood grain. Work in small sections, especially if you’re new to the process. This allows you to control the coverage and wipe off excess before it dries.
Don’t worry about perfect, even coverage at this stage. The goal is to get the whitewash onto the wood.
Step 5: Wipe Away Excess
Immediately after applying the whitewash to a section, grab a clean, lint-free rag. Gently wipe away the excess paint from the surface. This is the step that reveals the wood grain and creates the signature whitewashed look.
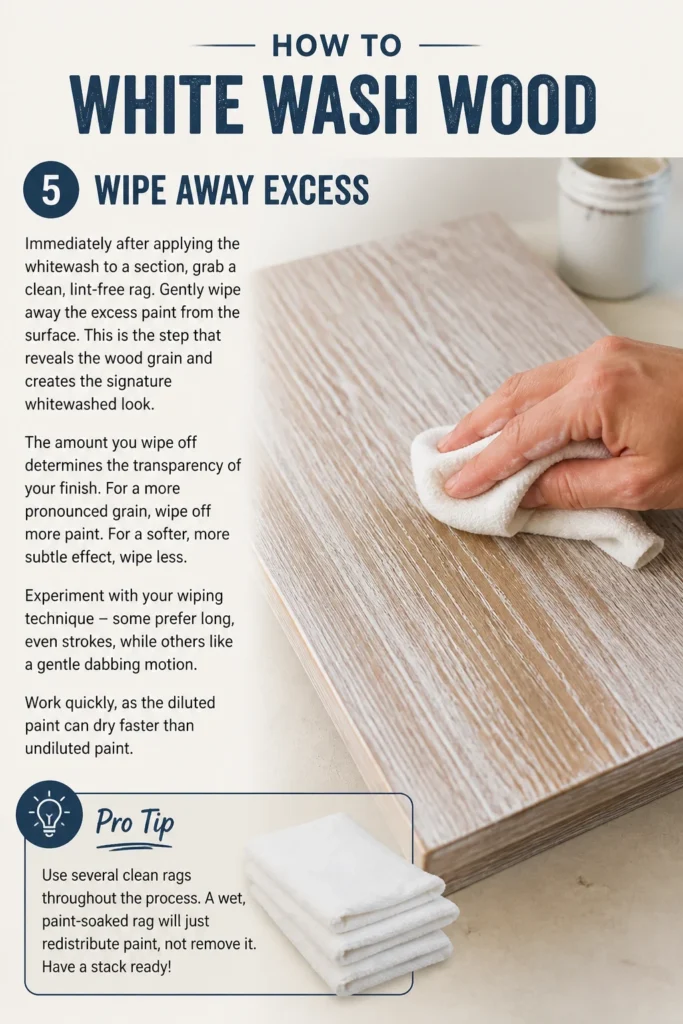
The amount you wipe off determines the transparency of your finish. For a more pronounced grain, wipe off more paint. For a softer, more subtle effect, wipe less.
Experiment with your wiping technique – some prefer long, even strokes, while others like a gentle dabbing motion. Work quickly, as the diluted paint can dry faster than undiluted paint.
Pro Tip: Use several clean rags throughout the process. A wet, paint-soaked rag will just redistribute paint, not remove it. Have a stack ready!
Step 6: Allow to Dry
Once you’ve applied and wiped the first coat, it’s essential to let it dry completely. Drying times can vary based on humidity, temperature, and the specific paint you used.
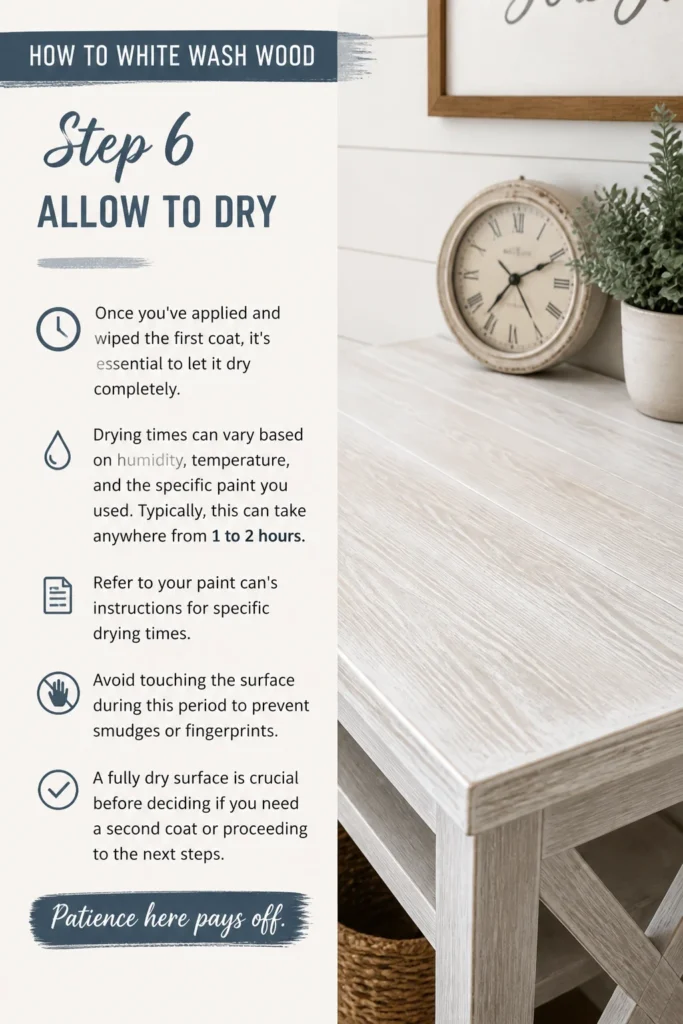
Typically, this can take anywhere from 1 to 2 hours. Refer to your paint can’s instructions for specific drying times. Avoid touching the surface during this period to prevent smudges or fingerprints.
A fully dry surface is crucial before deciding if you need a second coat or proceeding to the next steps. Patience here pays off.
Step 7: Assess and Apply Additional Coats (Optional)
After the first coat is completely dry, evaluate the finish. Do you want more coverage? A slightly brighter white? If so, you can apply a second coat.
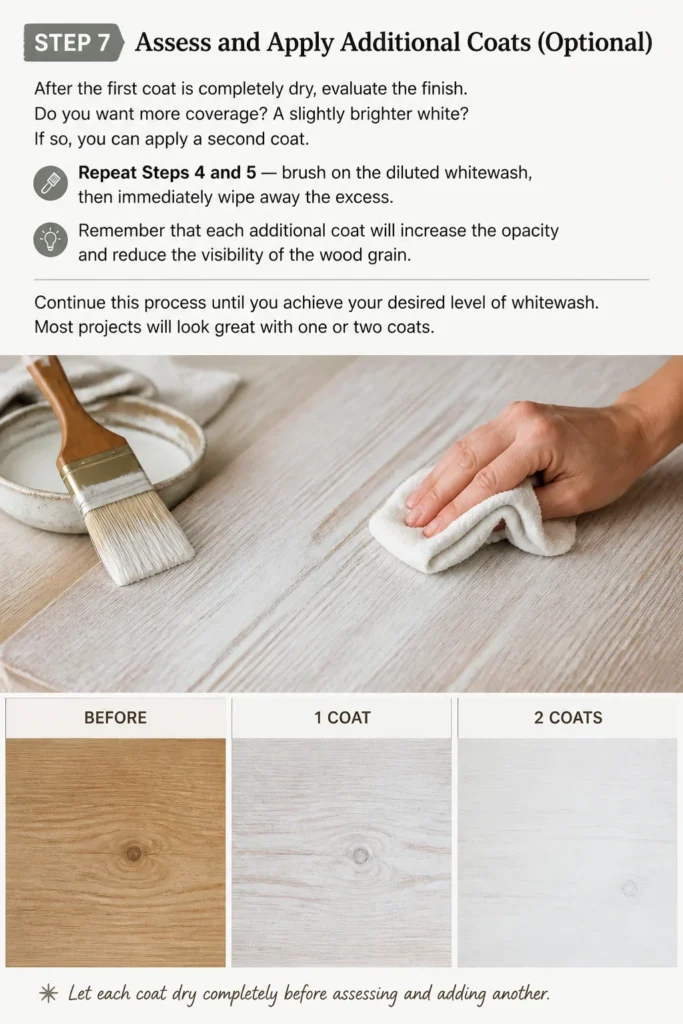
Repeat Steps 4 and 5: brush on the diluted whitewash, then immediately wipe away the excess. Remember that each additional coat will increase the opacity and reduce the visibility of the wood grain.
Continue this process until you achieve your desired level of whitewash. Most projects will look great with one or two coats.
Step 8: Consider Sealing (Optional but Recommended)
While whitewash is beautiful, it can be susceptible to wear and tear, especially on high-traffic items. Consider applying a topcoat or sealer to protect your finish.
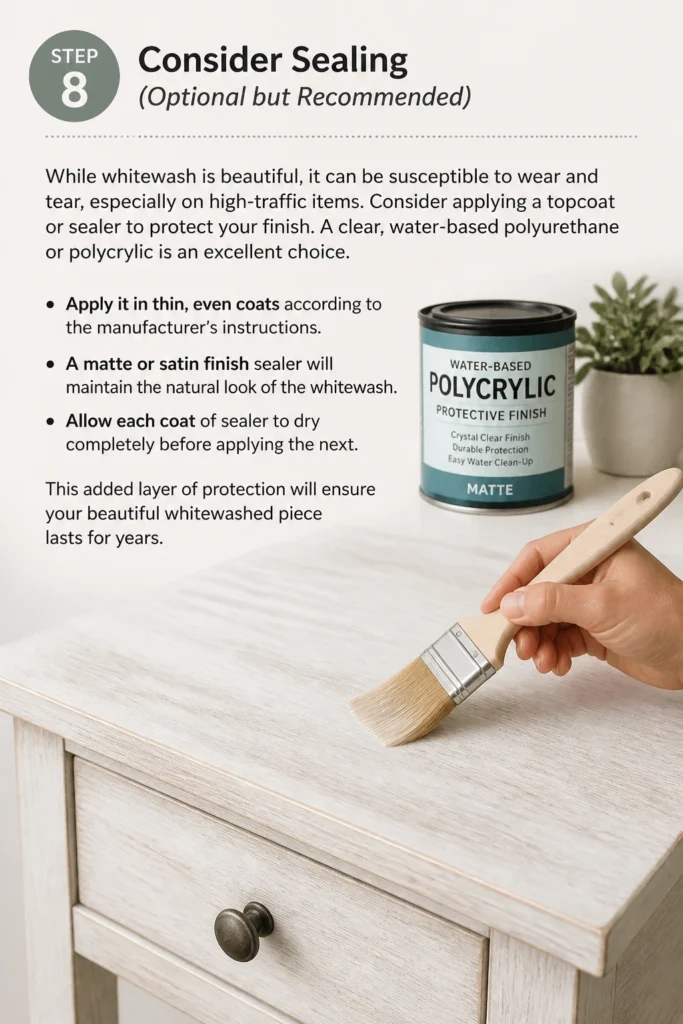
A clear, water-based polyurethane or polycrylic is an excellent choice. Apply it in thin, even coats according to the manufacturer’s instructions. A matte or satin finish sealer will maintain the natural look of the whitewash.
Allow each coat of sealer to dry completely before applying the next. This added layer of protection will ensure your beautiful whitewashed piece lasts for years.
Common Mistakes to Avoid
Not Preparing the Surface Properly
Skipping the cleaning and sanding steps can lead to a less than ideal finish. Dirt, grease, or old finishes can prevent the whitewash from adhering correctly, resulting in patchy coverage or peeling over time. Always take the time to clean and lightly sand, ensuring a smooth, receptive surface for your paint.
Using Undiluted Paint
The essence of whitewashing is its translucent quality, which allows the wood grain to show through. Applying undiluted paint will result in a solid, opaque white coat, essentially painting the wood rather than whitewashing it. Always dilute your paint with water, starting with a 1:1 ratio and adjusting as needed for your desired transparency.
Not Wiping Off Excess Quickly Enough
Diluted paint dries faster than you might expect, especially on porous wood. If you apply the whitewash to a large area and wait too long to wipe, the paint can dry and become difficult to remove evenly. This can leave streaks or an overly opaque finish. Work in small sections and wipe immediately after application to maintain control and achieve that characteristic soft, translucent look.
Applying Too Many Coats
While it’s tempting to add more coats for a brighter white, remember that each layer increases opacity. Applying too many coats will eventually obscure the wood grain entirely, defeating the purpose of a whitewash. Aim for one or two coats, assessing the look after each application to ensure you maintain the desired level of transparency.
Troubleshooting
Streaky or Uneven Finish
This often happens if the paint wasn’t wiped off quickly enough, or if the rag used was too saturated with paint. To fix this, you can lightly sand the streaky areas with fine-grit sandpaper (220-grit) to smooth them out. Then, reapply a very thin, diluted coat of whitewash to that section, wiping immediately and evenly. Ensure your rags are clean and dry when wiping.
Too Opaque, Not Enough Wood Grain Showing
If your whitewash looks too much like solid paint, you’ve likely applied too much paint or didn’t dilute it enough. To correct this, you can try gently sanding back some of the finish with fine-grit sandpaper. This will expose more of the wood underneath. Alternatively, for a more subtle correction, you can apply a very light “dry brush” technique with a clean, barely damp rag to gently rub away some of the surface paint.
Whitewash Not Adhering or Peeling
This usually points to improper surface preparation. If the wood was dirty, oily, or had a slick existing finish, the whitewash might struggle to stick. For peeling areas, you’ll need to sand down to the bare wood in those spots. Clean the area thoroughly, then reapply the whitewash following all the preparation steps. For areas where it’s just not adhering, a more thorough sanding to rough up the surface may be needed before reapplication.
Key Takeaways
- Proper surface preparation, including cleaning and light sanding, is vital for good adhesion.
- Always dilute your white paint with water to achieve the classic translucent whitewash effect.
- Work in small sections and wipe away excess paint immediately to control opacity and prevent streaks.
- Test your paint-to-water ratio on a scrap piece of wood to find your desired transparency.
- Allow each coat to dry completely before deciding on additional coats or applying a sealer.
- Consider a clear topcoat for added durability, especially on frequently used items.
Frequently Asked Questions
Can I whitewash any type of wood?
Yes, you can whitewash almost any type of wood, including raw, stained, or previously painted wood. The key is proper preparation. Raw wood will absorb the whitewash more readily, while previously finished wood may require more sanding to create a receptive surface.
What kind of paint is best for whitewashing?
Water-based latex or acrylic paint is generally best for whitewashing. It’s easy to dilute with water, dries quickly, and cleans up with soap and water. Flat or eggshell finishes tend to give the most natural-looking whitewash effect.
Do I need to sand off all the old finish before whitewashing?
Not necessarily. For a true whitewash where the grain shows through, you don’t need to sand down to bare wood if the old finish is sound. A light sanding to scuff up the surface (around 120-180 grit) will typically be enough to give the whitewash something to adhere to. If the old finish is peeling or chipping, then full removal in those areas is recommended.
How long does whitewash last?
The longevity of your whitewash depends on several factors, including the type of wood, the amount of wear and tear it receives, and whether you applied a protective topcoat. With proper sealing, a whitewashed piece can last for many years, maintaining its fresh look. Without a sealer, it might show signs of wear more quickly, especially in high-use areas.
Our Top Recommended Finds
- Zinsser Bulls Eye 1-2-3 Primer: Great for ensuring adhesion on tricky surfaces before whitewashing, especially if you’re not fully stripping an old finish.
- Wooster Shortcut Angle Sash Paintbrush: Its short handle and angled bristles offer excellent control for both application and getting into tighter spots.
- Minwax Polycrylic Protective Finish (Matte or Satin): A clear, water-based topcoat that protects your whitewash without yellowing or adding an unwanted sheen.
Transform Your Space Today
You now have all the tools and knowledge to embark on your whitewashing adventure. Imagine the light and character you can bring to an old bookshelf, a drab coffee table, or even a tired set of kitchen cabinets. This technique is incredibly versatile and forgiving, perfect for beginners and seasoned DIYers alike.
Don’t let that old piece of furniture sit forgotten in a corner. Grab your paint and brush, and start creating something beautiful. The satisfaction of transforming an item with your own hands is truly rewarding.