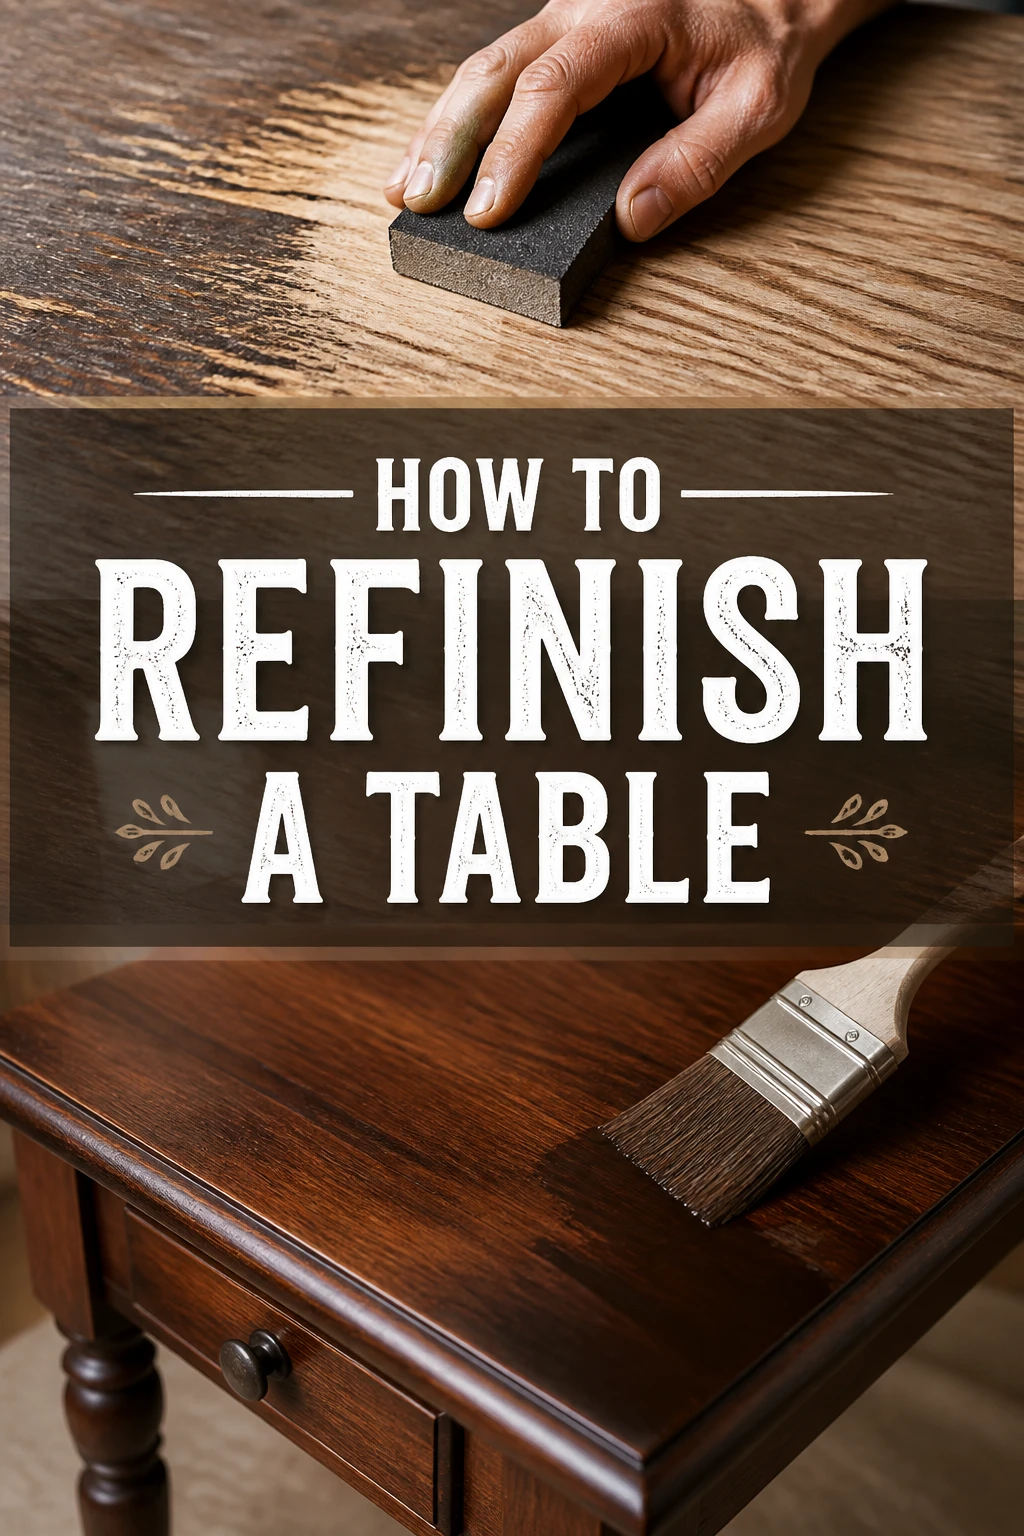
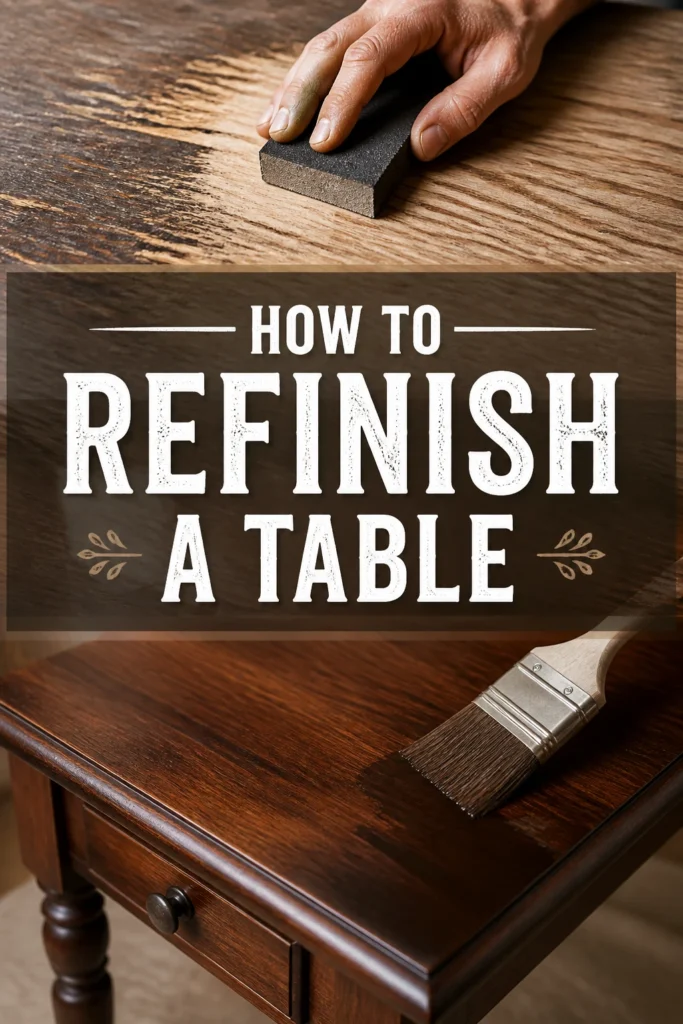
✨ How To Refinish A Table
There’s immense satisfaction in transforming an old, worn-out table into a beautiful centerpiece.
I’ve brought countless pieces of furniture back to life, and the process is more approachable than you might think.
This guide shares the practical steps and insights I’ve gathered to help you achieve professional-looking results right at home.
Quick Overview
Refinishing a table involves several stages, from preparing the surface to applying a protective finish. You’ll strip away the old, sand imperfections, and then apply a fresh stain or paint, followed by a durable topcoat. The reward is a custom piece that perfectly suits your space.
- Time needed: 1-3 days (allowing for drying/curing times)
- Difficulty: Intermediate
- What you’ll need: Safety gear, sandpaper, stripper (optional), wood filler, stain/paint, topcoat, brushes/applicators, cleaning supplies.
Step-by-Step Instructions
Step 1: Assess and Prepare Your Workspace
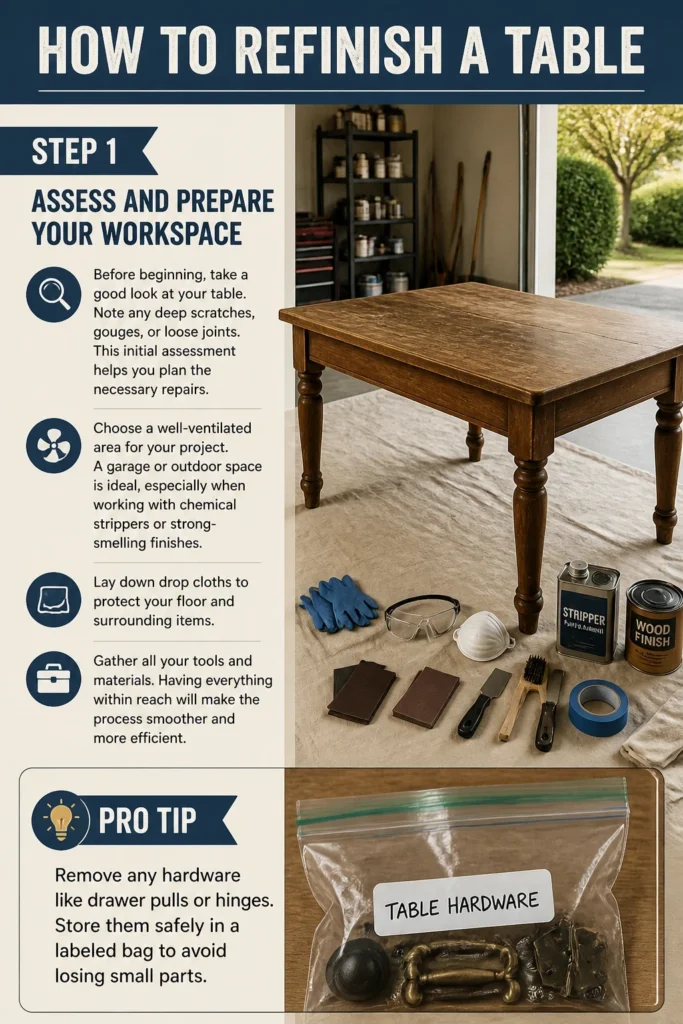
Before beginning, take a good look at your table. Note any deep scratches, gouges, or loose joints. This initial assessment helps you plan the necessary repairs.
Choose a well-ventilated area for your project. A garage or outdoor space is ideal, especially when working with chemical strippers or strong-smelling finishes. Lay down drop cloths to protect your floor and surrounding items.
Gather all your tools and materials. Having everything within reach will make the process smoother and more efficient.
Pro Tip: Remove any hardware like drawer pulls or hinges. Store them safely in a labeled bag to avoid losing small parts.
Step 2: Clean the Table Thoroughly
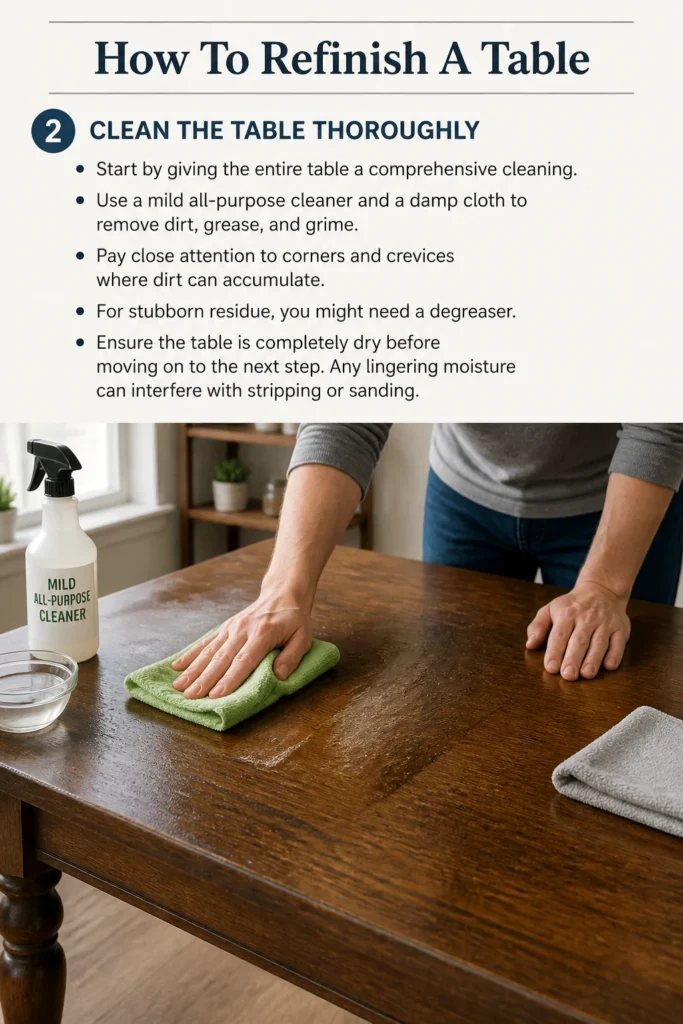
Start by giving the entire table a comprehensive cleaning. Use a mild all-purpose cleaner and a damp cloth to remove dirt, grease, and grime. Pay close attention to corners and crevices where dirt can accumulate.
For stubborn residue, you might need a degreaser. Ensure the table is completely dry before moving on to the next step. Any lingering moisture can interfere with stripping or sanding.
Step 3: Strip the Old Finish (If Necessary)
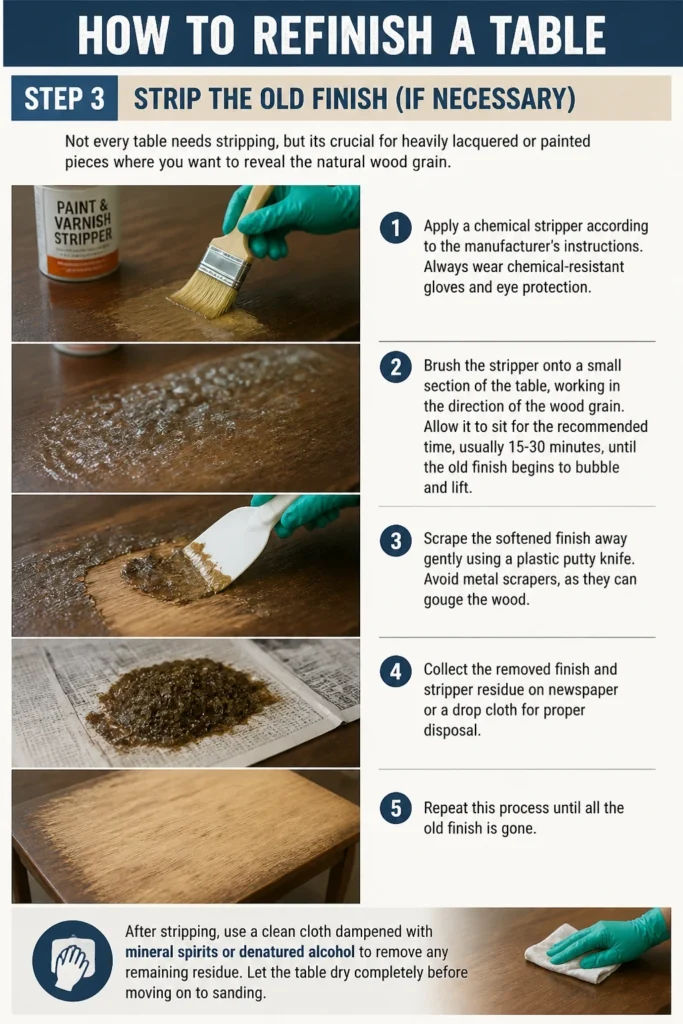
Not every table needs stripping, but it’s crucial for heavily lacquered or painted pieces where you want to reveal the natural wood grain. Apply a chemical stripper according to the manufacturer’s instructions. Always wear chemical-resistant gloves and eye protection.
Brush the stripper onto a small section of the table, working in the direction of the wood grain. Allow it to sit for the recommended time, usually 15-30 minutes, until the old finish begins to bubble and lift.
Scrape the softened finish away gently using a plastic putty knife. Avoid metal scrapers, as they can gouge the wood. Collect the removed finish and stripper residue on newspaper or a drop cloth for proper disposal. Repeat this process until all the old finish is gone.
After stripping, use a clean cloth dampened with mineral spirits or a stripper wash to remove any lingering residue. Let the wood dry completely.
Pro Tip: Work in small sections to prevent the stripper from drying out before you can remove it. For intricate details, use an old toothbrush or steel wool to get into tight spots.
Step 4: Sand the Surface Smooth
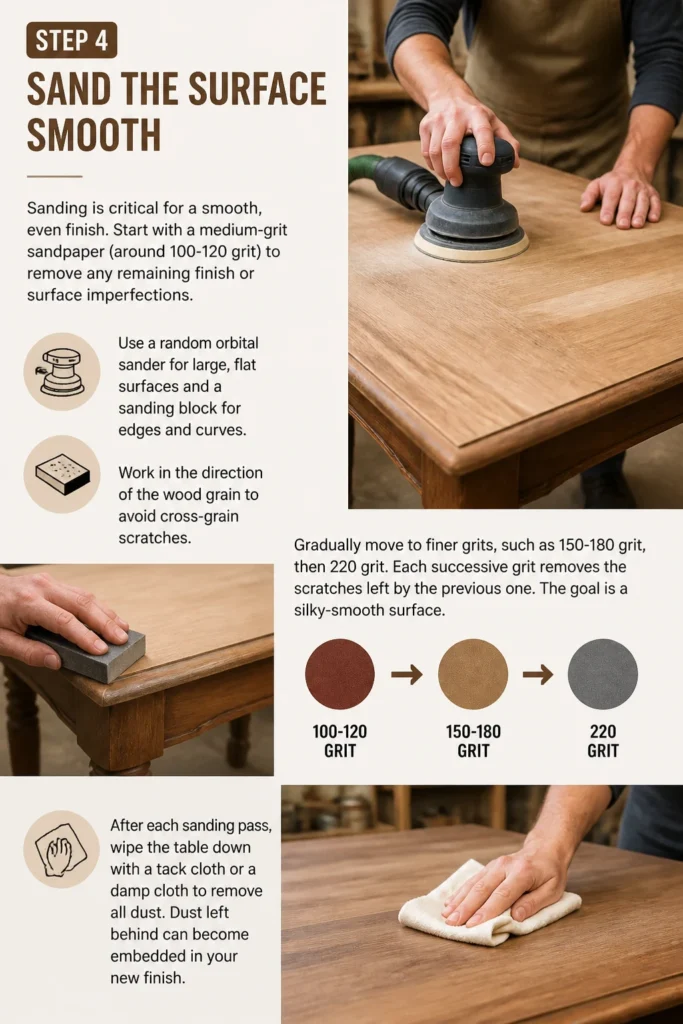
Sanding is critical for a smooth, even finish. Start with a medium-grit sandpaper (around 100-120 grit) to remove any remaining finish or surface imperfections. Use a random orbital sander for large, flat surfaces and a sanding block for edges and curves.
Work in the direction of the wood grain to avoid cross-grain scratches. Gradually move to finer grits, such as 150-180 grit, then 220 grit. Each successive grit removes the scratches left by the previous one. The goal is a silky-smooth surface.
After each sanding pass, wipe the table down with a tack cloth or a damp cloth to remove all dust. Dust left behind can become embedded in your new finish.
Step 5: Repair Imperfections
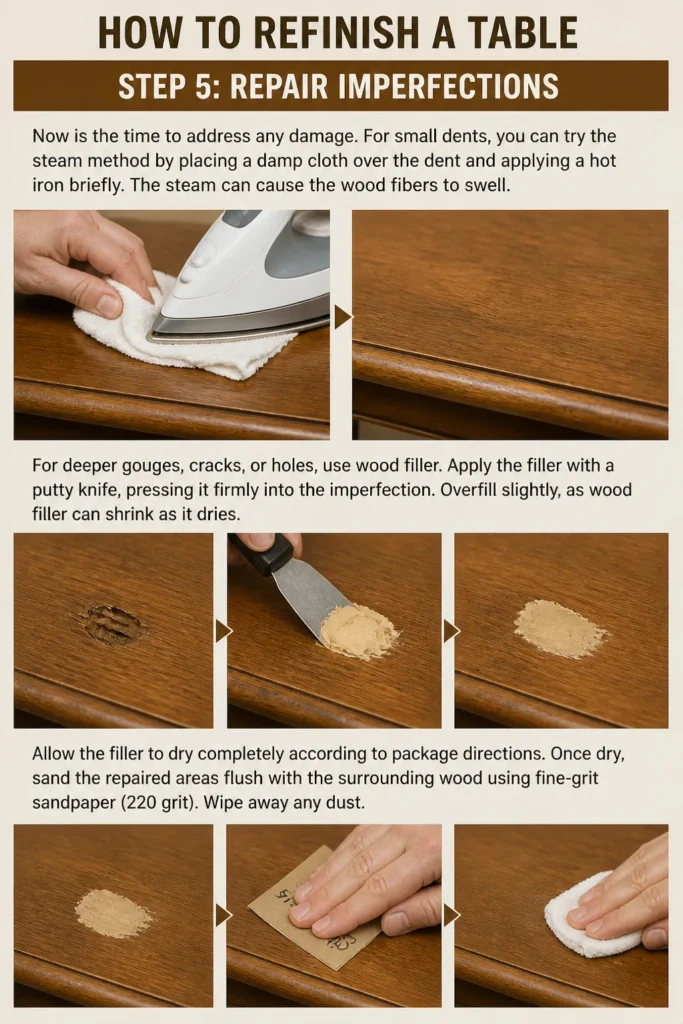
Now is the time to address any damage. For small dents, you can try the “steam method” by placing a damp cloth over the dent and applying a hot iron briefly. The steam can cause the wood fibers to swell.
For deeper gouges, cracks, or holes, use wood filler. Apply the filler with a putty knife, pressing it firmly into the imperfection. Overfill slightly, as wood filler can shrink as it dries.
Allow the filler to dry completely according to package directions. Once dry, sand the repaired areas flush with the surrounding wood using fine-grit sandpaper (220 grit). Wipe away any dust.
Step 6: Apply Stain or Paint
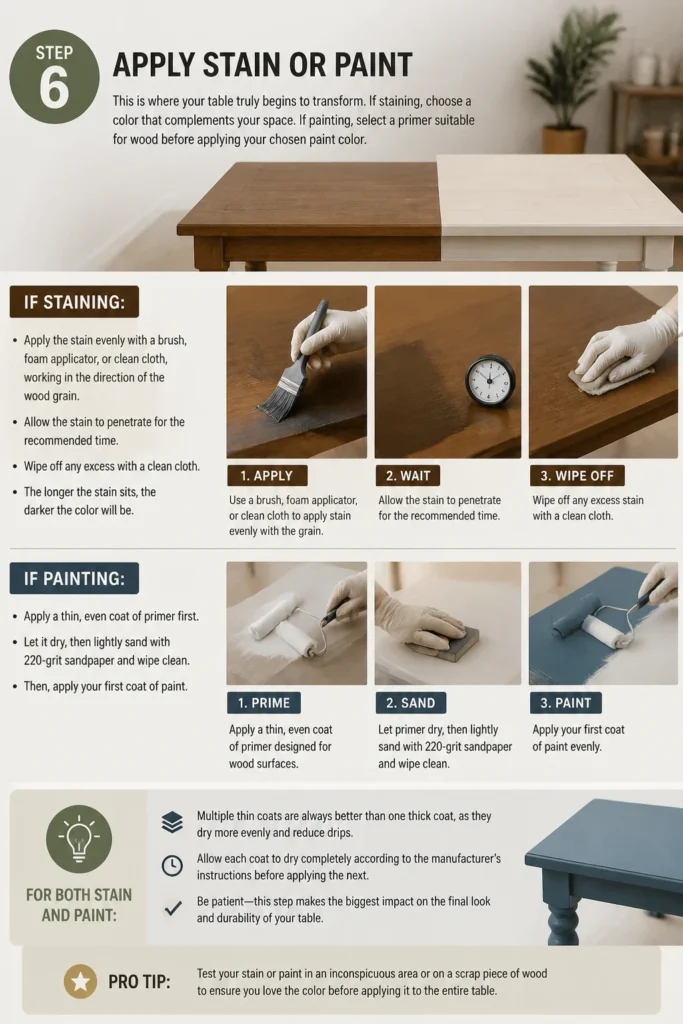
This is where your table truly begins to transform. If staining, choose a color that complements your space. If painting, select a primer suitable for wood before applying your chosen paint color.
If staining, apply the stain evenly with a brush, foam applicator, or clean cloth, working in the direction of the wood grain. Allow the stain to penetrate for the recommended time, then wipe off any excess with a clean cloth. The longer the stain sits, the darker the color will be.
If painting, apply a thin, even coat of primer first. Let it dry, then lightly sand with 220-grit sandpaper and wipe clean. Then, apply your first coat of paint. For both stain and paint, multiple thin coats are always better than one thick coat, as they dry more evenly and reduce drips.
Allow each coat to dry completely before applying the next. Lightly sand between coats of paint with 220-grit sandpaper for a smoother finish.
Pro Tip: Test your stain or paint color on an inconspicuous area of the table (like the underside) or on a scrap piece of the same wood before applying it to the entire surface. This ensures you like the color.
Step 7: Apply a Protective Topcoat
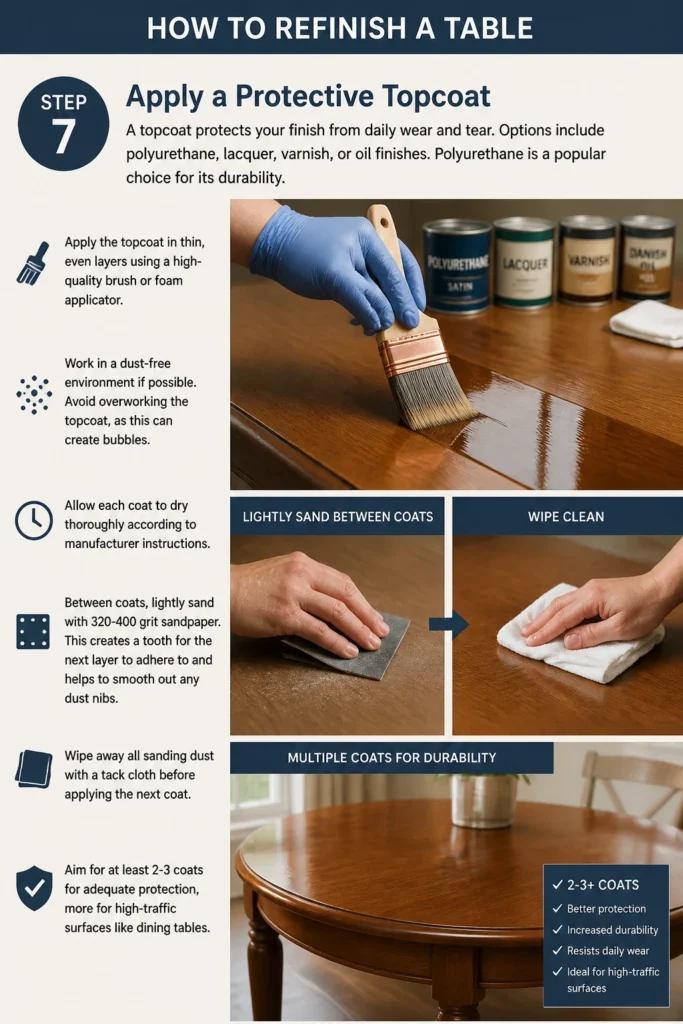
A topcoat protects your finish from daily wear and tear. Options include polyurethane, lacquer, varnish, or oil finishes. Polyurethane is a popular choice for its durability.
Apply the topcoat in thin, even layers using a high-quality brush or foam applicator. Work in a dust-free environment if possible. Avoid overworking the topcoat, as this can create bubbles.
Allow each coat to dry thoroughly according to manufacturer instructions. Between coats, lightly sand with 320-400 grit sandpaper. This creates a “tooth” for the next layer to adhere to and helps to smooth out any dust nibs.
Wipe away all sanding dust with a tack cloth before applying the next coat. Aim for at least 2-3 coats for adequate protection, more for high-traffic surfaces like dining tables.
Step 8: Cure and Care
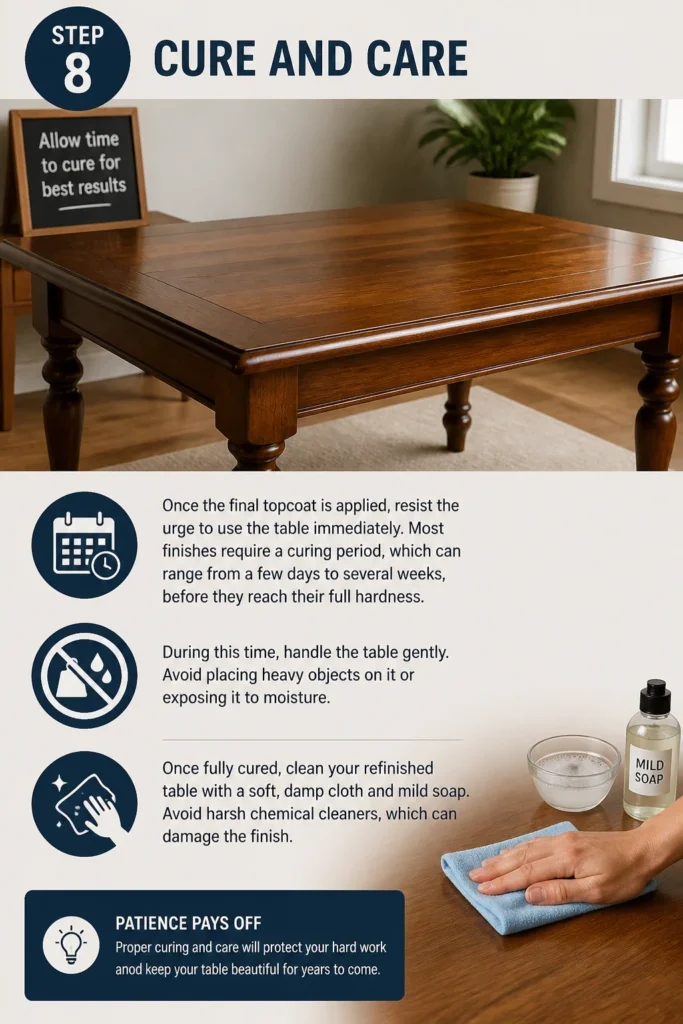
Once the final topcoat is applied, resist the urge to use the table immediately. Most finishes require a “curing” period, which can range from a few days to several weeks, before they reach their full hardness.
During this time, handle the table gently. Avoid placing heavy objects on it or exposing it to moisture. Once fully cured, clean your refinished table with a soft, damp cloth and mild soap. Avoid harsh chemical cleaners, which can damage the finish.
Common Mistakes to Avoid
Skipping Proper Surface Preparation
Many people rush through cleaning and sanding, but these steps are foundational. Neglecting to thoroughly clean can trap dirt and grease under your new finish, leading to poor adhesion and an uneven appearance. Skipping grits during sanding leaves visible scratches that become magnified once stain or paint is applied. Always take your time to prepare the surface meticulously.
Applying Too Much Product at Once
Whether it’s stripper, stain, paint, or topcoat, applying thick layers is a common error. Thick applications dry unevenly, can lead to drips, bubbles, and a tacky finish, and increase drying times significantly. Always apply thin, even coats and allow each layer to dry completely before adding the next. Patience is key to a professional-looking result.
Ignoring Safety Precautions
Working with chemical strippers, sanding dust, and solvent-based finishes requires attention to safety. Failing to wear gloves, eye protection, or a respirator can lead to skin irritation, eye damage, or respiratory issues. Always work in a well-ventilated area and follow the safety guidelines on product labels to protect your health.
Not Allowing Adequate Drying/Curing Time
The biggest mistake is often impatience. Rushing to apply the next coat or use the table before the finish has fully dried or cured can lead to smudges, fingerprints, or a soft, easily damaged surface. Always consult the manufacturer’s instructions for drying and curing times, which can vary significantly based on temperature and humidity. Giving the finish ample time to harden ensures its durability.
Troubleshooting
Sticky or Tacky Finish
If your finish remains sticky or tacky, it’s often due to insufficient drying time between coats, applying too thick a layer, or issues with humidity. Ensure your workspace is well-ventilated and within the recommended temperature range for your product. If the tackiness persists, a light sanding with fine-grit paper (e.g., 400 grit) and applying a very thin, fresh topcoat might help. In severe cases, you may need to strip and reapply.
Bubbles in the Finish
Bubbles typically occur from shaking the can too vigorously, applying the finish too quickly, or overworking the brush. To prevent them, stir your finish gently instead of shaking. Apply thin coats and avoid brushing back and forth excessively. If bubbles appear, you can often pop them with a fine-tipped tool while the finish is still wet. Once dry, lightly sand the affected area and apply another thin coat.
Uneven Stain Absorption
Uneven stain absorption, resulting in blotchy areas, is common with certain wood types like pine or maple. This happens because some areas of the wood are more porous than others. To prevent this, apply a pre-stain wood conditioner before staining. This helps the wood absorb the stain more uniformly. If blotchiness is already present, you might need to sand down to bare wood and reapply with conditioner.
Key Takeaways
- Thorough surface preparation, including cleaning and proper sanding, is essential for a high-quality refinish.
- Always work in a well-ventilated area and wear appropriate safety gear when handling chemicals or creating dust.
- Apply thin, even coats of stain, paint, and topcoat, allowing each layer to dry completely before proceeding.
- Patience is crucial; rushing drying and curing times can compromise the durability and appearance of your finish.
- Test your chosen stain or paint on an inconspicuous area or scrap wood before applying it to the entire piece.
- A protective topcoat is vital for extending the life and maintaining the beauty of your refinished table.
Frequently Asked Questions
Can I refinish a laminate or veneer table?
Refinishing laminate or veneer tables is different from solid wood. You cannot strip or sand them deeply without damaging the surface. For laminate, you’ll typically need to clean thoroughly, lightly sand (scuff sand) to create a “tooth,” and then use a bonding primer before painting. Veneer can sometimes be lightly sanded and stained, but extreme caution is needed to avoid sanding through the thin veneer layer.
How do I choose the right grit sandpaper?
Start with a coarser grit (like 80-100) for heavy material removal or to strip stubborn finishes. Move to medium grits (120-150) to smooth the surface and remove scratches from the coarser paper. Finish with fine grits (180-220 for staining, up to 320-400 for painting/topcoats) for a silky-smooth surface ready for finishing. Always progress through grits, never skipping more than one.
What’s the difference between oil-based and water-based finishes?
Oil-based finishes, like traditional polyurethane, are very durable and offer a warm, amber tone. They have longer drying times and require mineral spirits for cleanup. Water-based finishes dry faster, have lower VOCs (volatile organic compounds), clean up with water, and typically dry clear, making them suitable for light-colored woods or paints where you don’t want an amber tint. They are generally less durable than oil-based but still offer good protection.
How long should I wait before using my refinished table?
While a finish may feel dry to the touch in hours, it takes much longer to “cure” and reach its full hardness. Most finishes require 7-30 days to fully cure, depending on the product, temperature, and humidity. It’s best to handle the table gently during this period, avoiding heavy use, hot items, or spills until the full curing time has passed.
Our Top Recommended Finds
- Random Orbital Sander: Essential for efficient and even sanding of large, flat surfaces without leaving swirl marks.
- Good Quality Synthetic Paint Brushes: Crucial for smooth application of paint and topcoats, reducing brush marks and achieving a professional finish.
- Tack Cloths: Inexpensive but invaluable for picking up fine dust particles after sanding, ensuring a clean surface for your next coat.
Bring Your Vision to Life
Refinishing a table is more than just a DIY project; it’s an opportunity to breathe new life into a cherished piece and add personalized style to your home. The satisfaction of seeing your old table transformed is truly rewarding.
Don’t let the initial effort deter you. Each step builds towards a stunning final result. Take your time, follow these guidelines, and you’ll soon have a beautifully refinished table to admire. Now, gather your tools and start planning your next furniture revival!