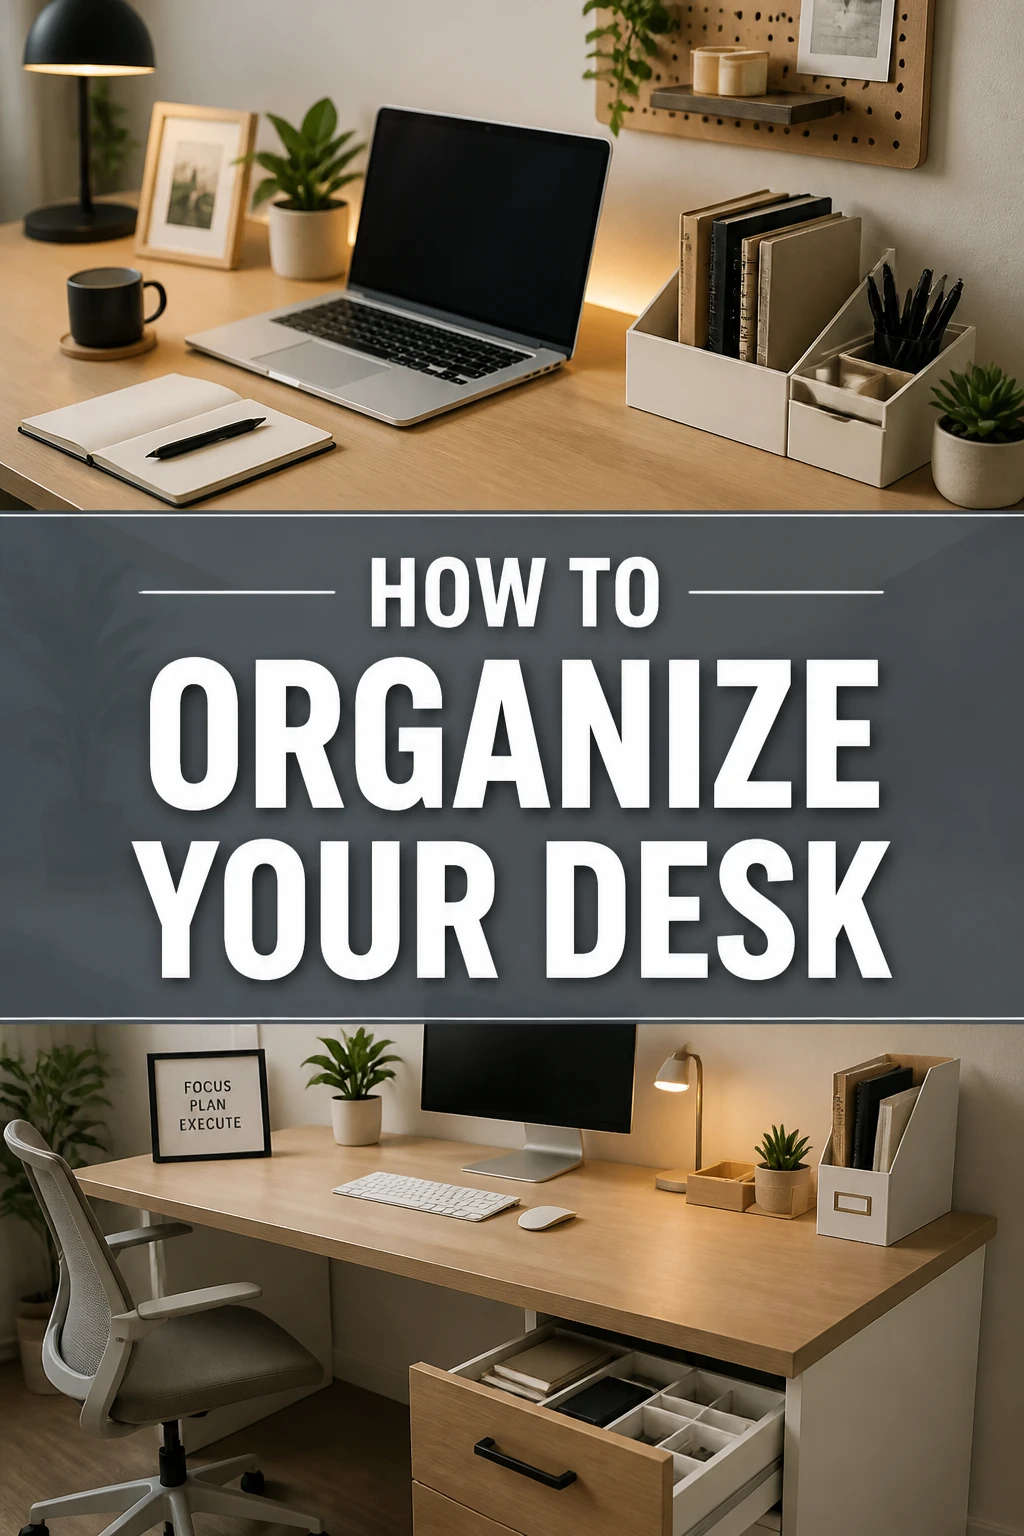
🧹 How To Organize Your Desk
Is your desk a magnet for clutter, slowly burying your productivity and peace of mind?
I’ve personally navigated the chaos of a disorganized workspace more times than I can count, transforming it into a functional hub where ideas flow.
This guide distills years of trial and error into simple, actionable steps, helping you reclaim your desk and boost your focus.
Quick Overview
You’re about to transform your cluttered desk into an organized, inspiring workspace. This process helps you identify essentials, discard distractions, and create a system that supports your daily tasks.
- Time needed: 1-3 hours (depending on current clutter level)
- Difficulty: Beginner
- What you’ll need: Trash bags, cleaning supplies, a few empty boxes or bins, labels, basic organizational containers (optional)
Step-by-Step Instructions
Step 1: Prepare Your Workspace and Mindset
Before you touch a single item, take a moment to prepare. Clear the floor around your desk for temporary piles. Gather your cleaning supplies, a few empty boxes, and a large trash bag.
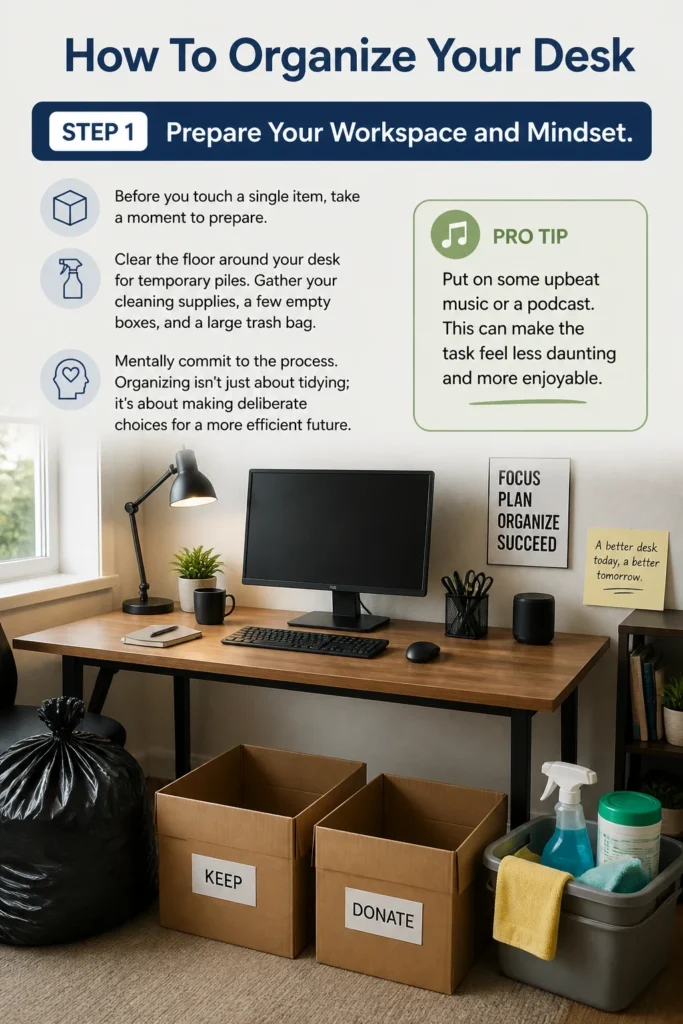
Mentally commit to the process. Organizing isn’t just about tidying; it’s about making deliberate choices for a more efficient future.
Pro Tip: Put on some upbeat music or a podcast. This can make the task feel less daunting and more enjoyable.
Step 2: Clear Everything Off Your Desk
This step might feel drastic, but it’s crucial. Remove every single item from your desk surface. Place monitors, keyboards, lamps, and all other belongings onto the floor or a nearby clear surface.
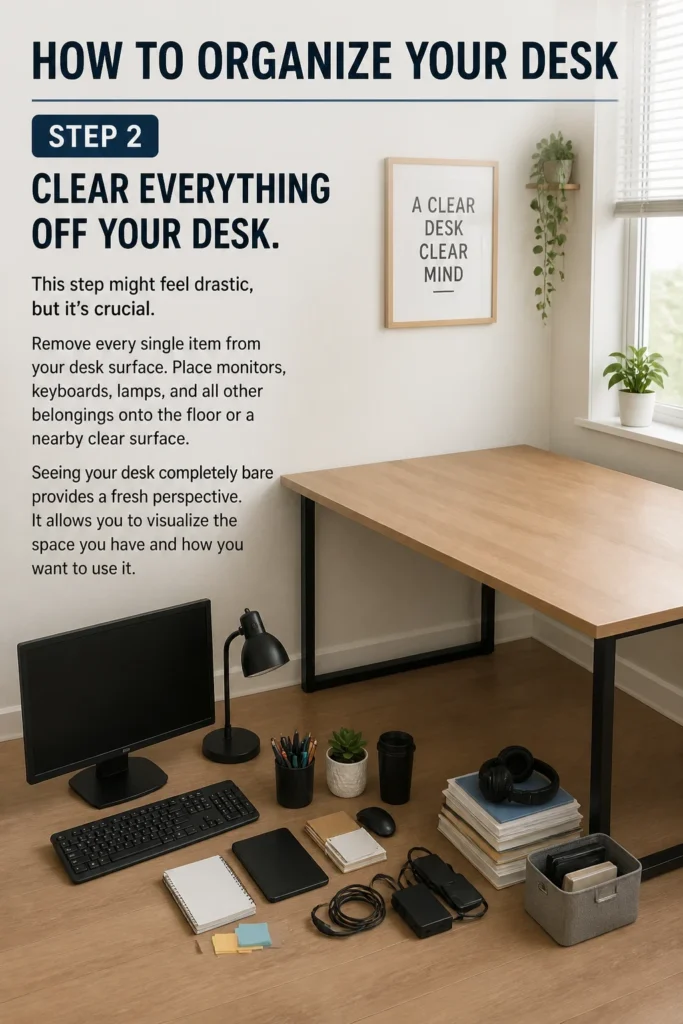
Seeing your desk completely bare provides a fresh perspective. It allows you to visualize the space you have and how you want to use it.
Step 3: Sort and Declutter Ruthlessly
Now, go through every item you removed. Pick up each one and make a quick decision. Create three distinct piles: Keep, Donate/Recycle, and Trash.
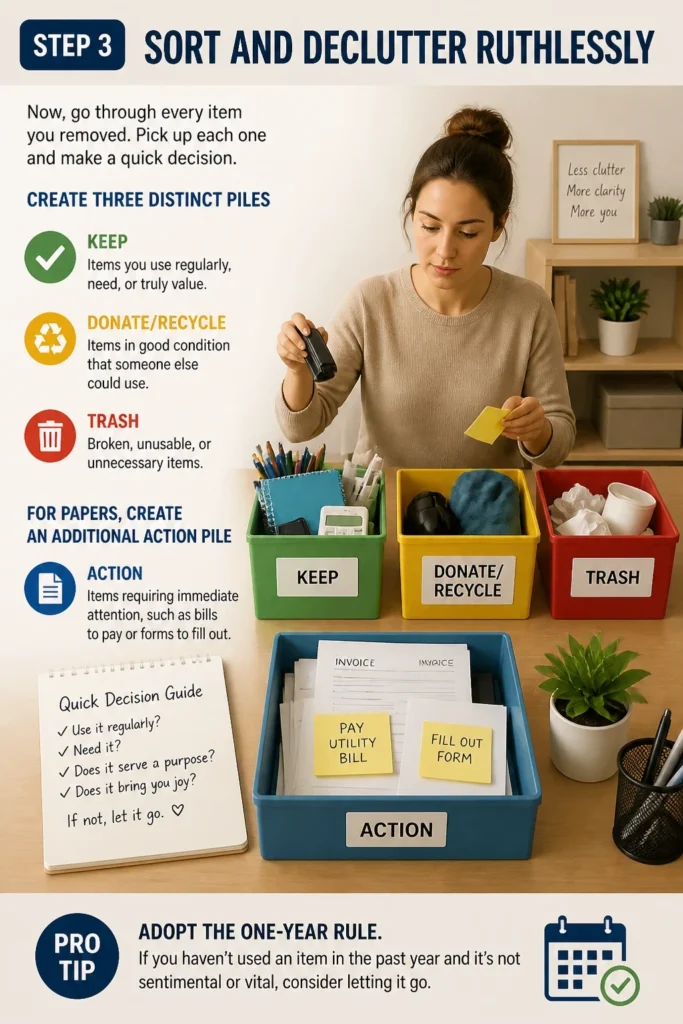
Be honest with yourself. If you haven’t used something in months, or if it doesn’t serve a clear purpose or bring you joy, it likely belongs in the Donate/Recycle or Trash pile.
For papers, create an additional “Action” pile for items requiring immediate attention. This might include bills to pay or forms to fill out.
Pro Tip: Adopt the “one-year rule.” If you haven’t used an item in the past year and it’s not sentimental or vital, consider letting it go.
Step 4: Deep Clean Your Desk
With your desk surface completely empty, it’s the perfect time for a thorough clean. Wipe down every surface with an all-purpose cleaner.
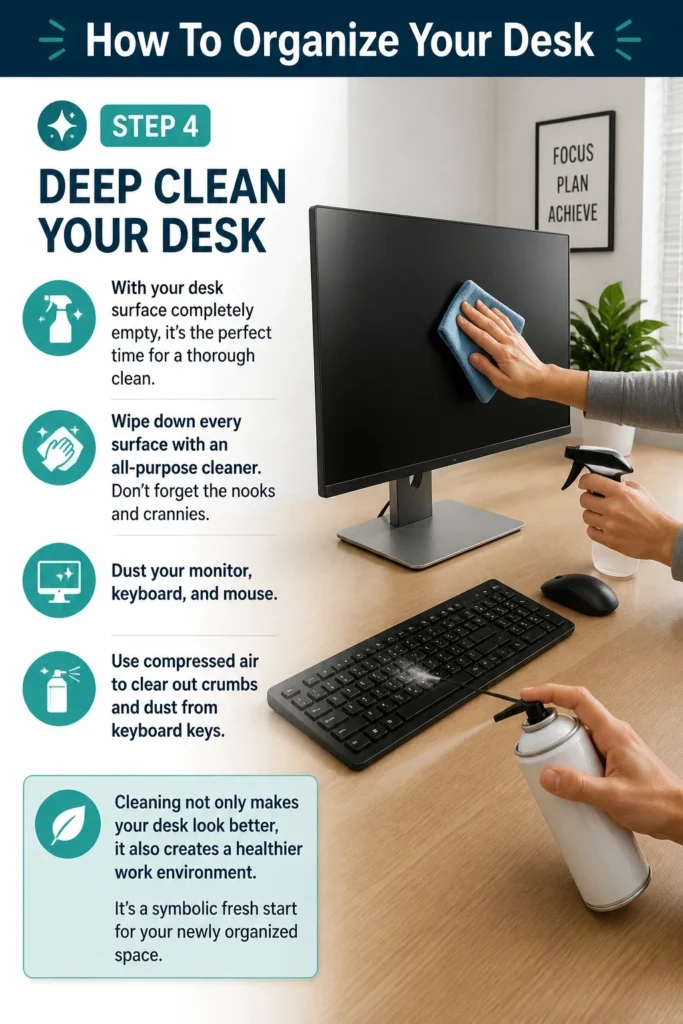
Don’t forget the nooks and crannies. Dust your monitor, keyboard, and mouse. Use compressed air to clear out crumbs and dust from keyboard keys.
Cleaning not only makes your desk look better, it also creates a healthier work environment. It’s a symbolic fresh start for your newly organized space.
Step 5: Categorize and Contain Your Essentials
Now, look at your “Keep” pile. Group similar items together. All pens go together, all notepads, all charging cables.
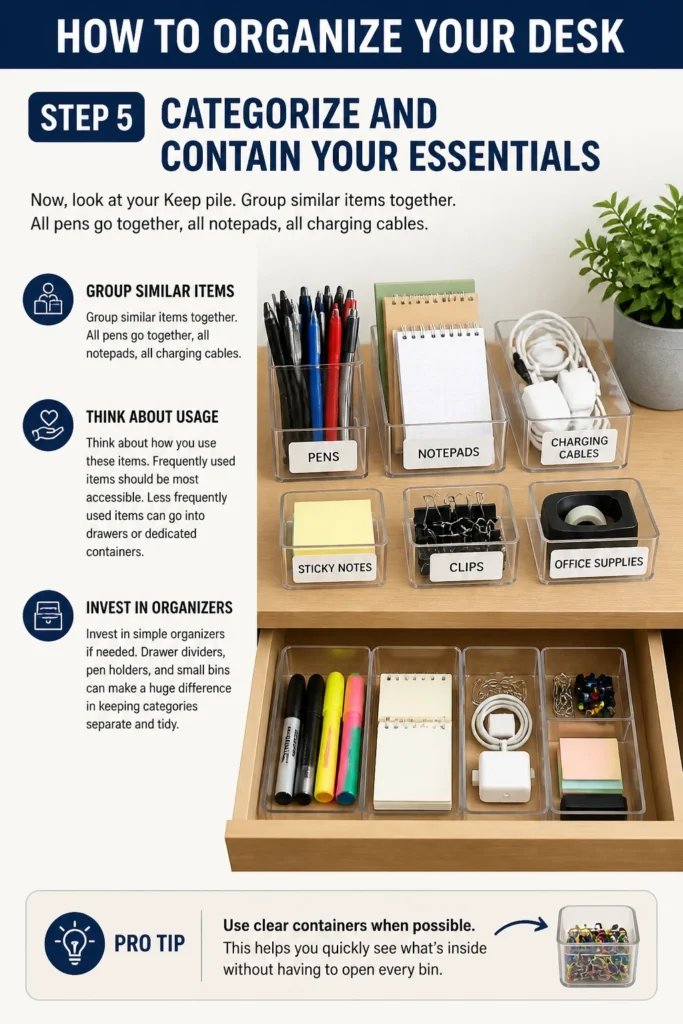
Think about how you use these items. Frequently used items should be most accessible. Less frequently used items can go into drawers or dedicated containers.
Invest in simple organizers if needed. Drawer dividers, pen holders, and small bins can make a huge difference in keeping categories separate and tidy.
Pro Tip: Use clear containers when possible. This helps you quickly see what’s inside without having to open every bin.
Step 6: Optimize Your Desk Layout
Begin placing your items back onto the desk, but with intention. Position your monitor at eye level to support good posture. Your keyboard and mouse should be comfortable to use.
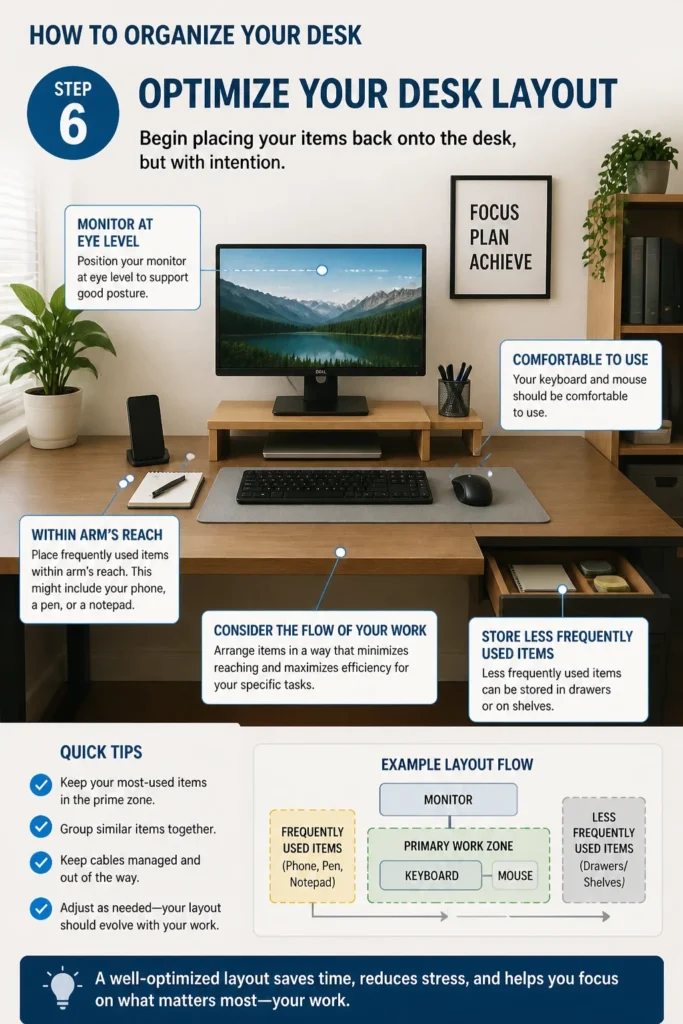
Place frequently used items within arm’s reach. This might include your phone, a pen, or a notepad. Less frequently used items can be stored in drawers or on shelves.
Consider the flow of your work. Arrange items in a way that minimizes reaching and maximizes efficiency for your specific tasks.
Step 7: Master Cable Management
Messy cables are a major source of visual clutter and can be a tripping hazard. Bundle similar cables together using cable ties, Velcro straps, or cable sleeves.
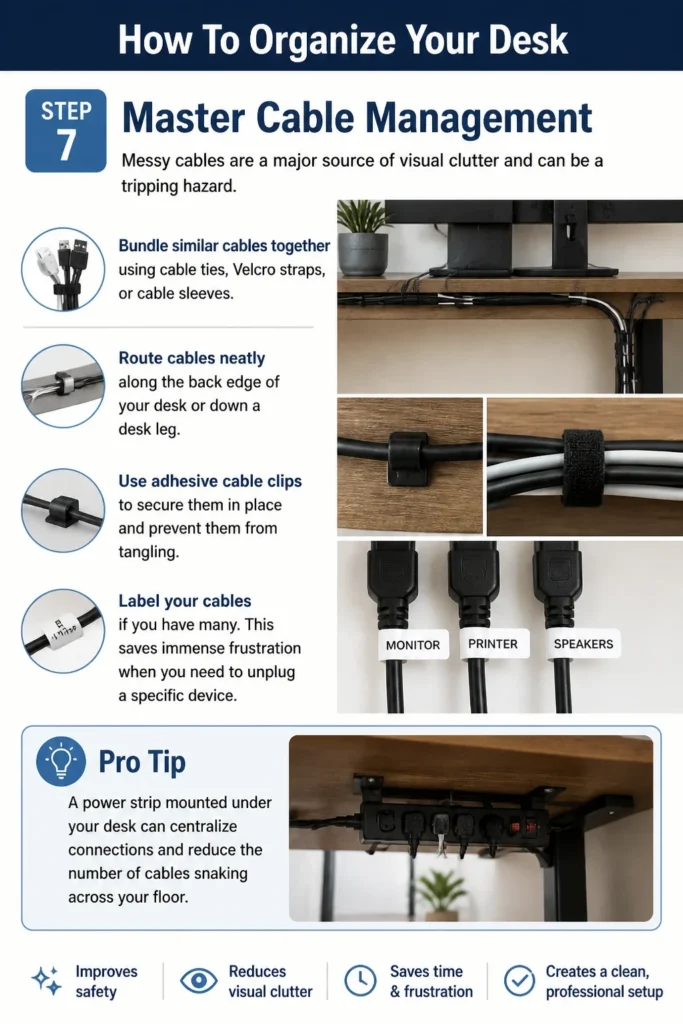
Route cables neatly along the back edge of your desk or down a desk leg. Use adhesive cable clips to secure them in place and prevent them from tangling.
Label your cables if you have many. This saves immense frustration when you need to unplug a specific device.
Pro Tip: A power strip mounted under your desk can centralize connections and reduce the number of cables snaking across your floor.
Step 8: Personalize Mindfully
A desk shouldn’t be sterile, but personal items need to be curated. Choose one or two meaningful items—a small plant, a framed photo, or a decorative object—to add warmth.
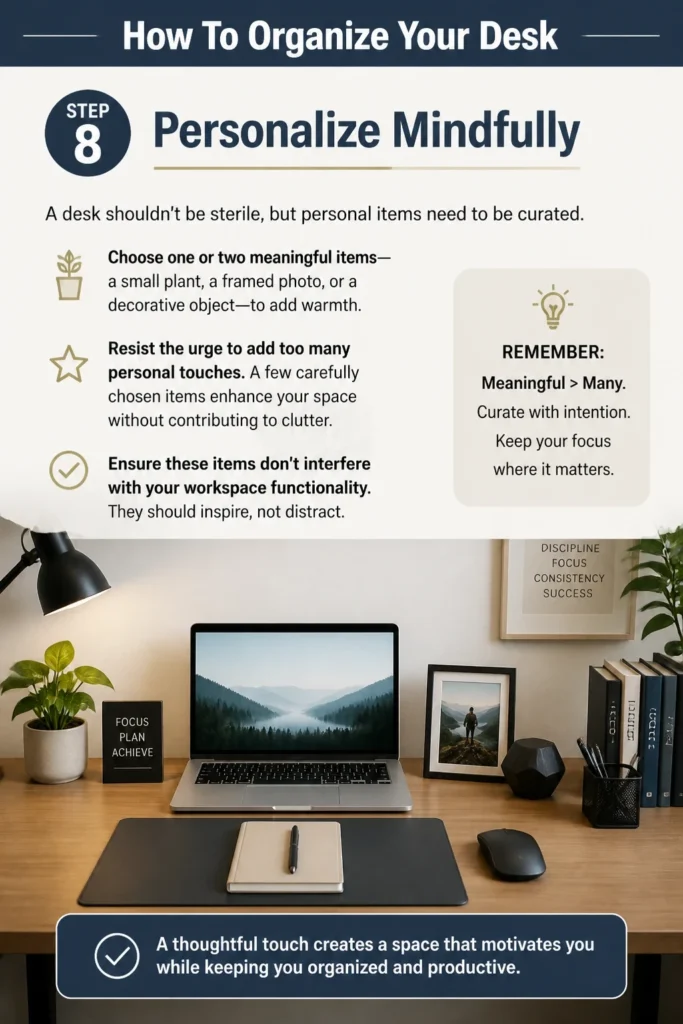
Resist the urge to add too many personal touches. A few carefully chosen items enhance your space without contributing to clutter.
Ensure these items don’t interfere with your workspace functionality. They should inspire, not distract.
Step 9: Establish a Maintenance Routine
Organization is an ongoing process, not a one-time event. Dedicate 5-10 minutes at the end of each workday to a quick tidy-up.
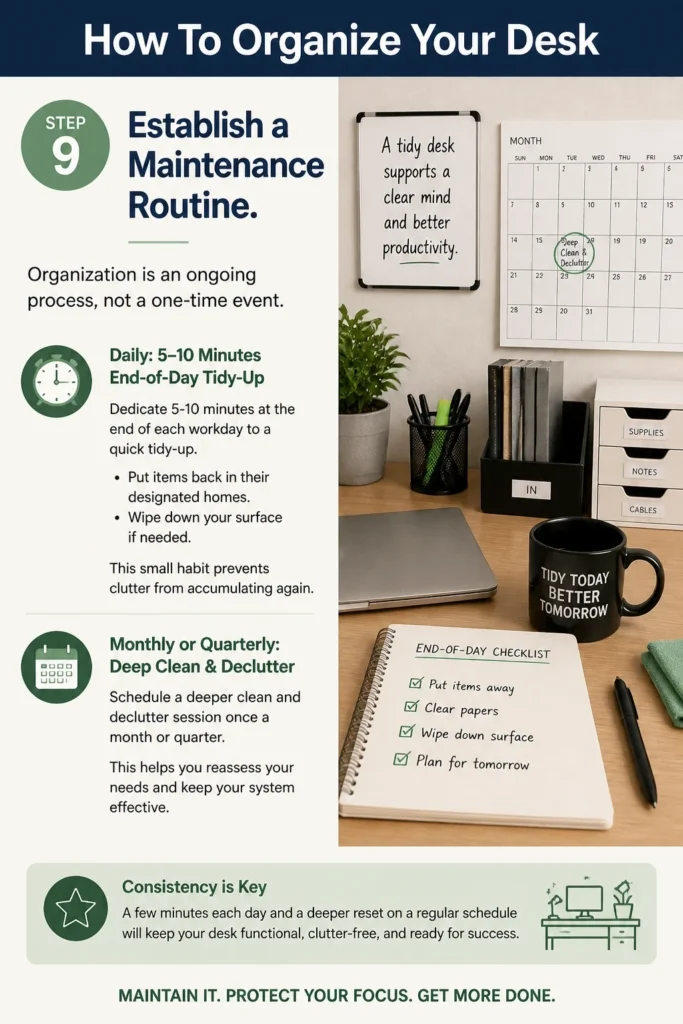
Put items back in their designated homes. Wipe down your surface if needed. This small habit prevents clutter from accumulating again.
Schedule a deeper clean and declutter session once a month or quarter. This helps you reassess your needs and keep your system effective.
Common Mistakes to Avoid
Buying Storage Before Decluttering
Many people rush to buy fancy organizers before they’ve even sorted through their belongings. This often leads to buying the wrong items or simply having more places to store unnecessary clutter. Always declutter first to understand what you truly need to store and what type of storage will best suit those items.
Ignoring Vertical Space
The desk surface itself is valuable real estate. Overlooking vertical storage solutions means you’re missing out on significant organizational potential. Consider shelves, monitor stands with drawers, or wall-mounted organizers to elevate items and free up your primary workspace.
Over-Personalizing
While personal touches can make your desk feel more inviting, too many can quickly lead to clutter and distraction. Resist the urge to display every memento or decorative item. Choose a select few pieces that genuinely bring you joy or inspiration without impeding your work.
Not Having a “Home” for Everything
If an item doesn’t have a designated spot, it will inevitably end up sitting on your desk surface. Take the time to assign a specific “home” for every item you decide to keep. This makes tidying up quick and easy, as you’ll always know exactly where things belong.
Troubleshooting
Desk Clutters Up Again Quickly
If your desk seems to revert to its cluttered state soon after organizing, it often means your daily habits need adjustment. Revisit Step 9: Establish a Maintenance Routine. Implement a quick 5-minute tidy-up at the end of each workday, putting items back in their designated spots. Also, reassess if your current organization system truly supports your workflow; perhaps some “homes” aren’t intuitive enough.
Not Enough Storage Space
Feeling like you simply don’t have enough space? First, ensure you’ve been ruthless enough in your decluttering. Many people hold onto items they rarely use. If space is still an issue, look for creative solutions. Utilize vertical space with shelves or stacking organizers. Consider under-desk drawers or a rolling cart for items you need but don’t want on your main surface. Sometimes, a small amount of off-site storage for truly infrequent items is also a good option.
Feeling Overwhelmed by the Process
Organizing can feel daunting, especially if your desk is very messy. Break the process down into smaller chunks. Instead of tackling everything at once, dedicate 15-30 minutes to just one step, like “Clear Everything Off” or “Sort and Declutter Papers.” Take breaks and celebrate small victories. Remember, any progress is good progress, and you don’t have to complete it all in one sitting.
Key Takeaways
- Always declutter first before attempting to organize or buy new storage.
- Give every item a designated “home” to make daily tidying simple and effective.
- Utilize vertical space to maximize your desk’s functionality without adding surface clutter.
- Implement a short daily maintenance routine to prevent clutter from accumulating again.
- Personalize your space thoughtfully, choosing a few inspiring items rather than many distracting ones.
- Cable management significantly reduces visual clutter and improves safety.
Frequently Asked Questions
How often should I organize my desk?
A quick tidy-up should happen daily, ideally at the end of your workday, taking just 5-10 minutes. For a deeper declutter and clean, aim for once a month or quarterly. This schedule helps maintain your system and prevents significant clutter from building up again.
What if I have limited space?
Limited space requires extra diligence in decluttering and smart storage solutions. Focus on vertical organization, like shelves, monitor risers with storage, or wall-mounted pockets. Consider multi-functional items, such as a desk lamp with a built-in charging pad, to minimize individual items.
Is it okay to have personal items on my desk?
Absolutely, personal items can make your workspace more inviting and inspiring. The key is moderation. Choose one or two meaningful items that genuinely make you happy or motivated, rather than cluttering the space with too many trinkets. Ensure they don’t interfere with your work.
Should I go paperless?
Going paperless can significantly reduce desk clutter, but it’s not for everyone. Assess your needs: do you truly need physical copies of documents, or can they be scanned and stored digitally? Gradually transitioning to digital files, using cloud storage, and setting up a clear digital filing system can be highly effective for many.
Our Top Recommended Finds
- Drawer Organizer Trays: Perfect for keeping pens, paper clips, and small office supplies neatly separated within your desk drawers.
- Cable Management Sleeves: These bundles multiple cables into one neat sleeve, drastically reducing visual clutter behind your monitor and under your desk.
- Monitor Stand with Storage: Elevates your screen for better ergonomics while providing convenient cubbies or drawers underneath for notebooks, external drives, or other essentials.
Create Your Productive Haven Today
Your desk isn’t just a surface; it’s a launchpad for ideas, tasks, and accomplishments. A well-organized desk can reduce stress, enhance focus, and even spark creativity.
Don’t let clutter dictate your day. Take these steps, one by one, and witness the transformation of your workspace and, by extension, your productivity.
Start small, stay consistent, and enjoy the clarity that comes with a perfectly organized desk.
Consider exploring guides on digital file organization or time management next, to complement your newly optimized physical space.