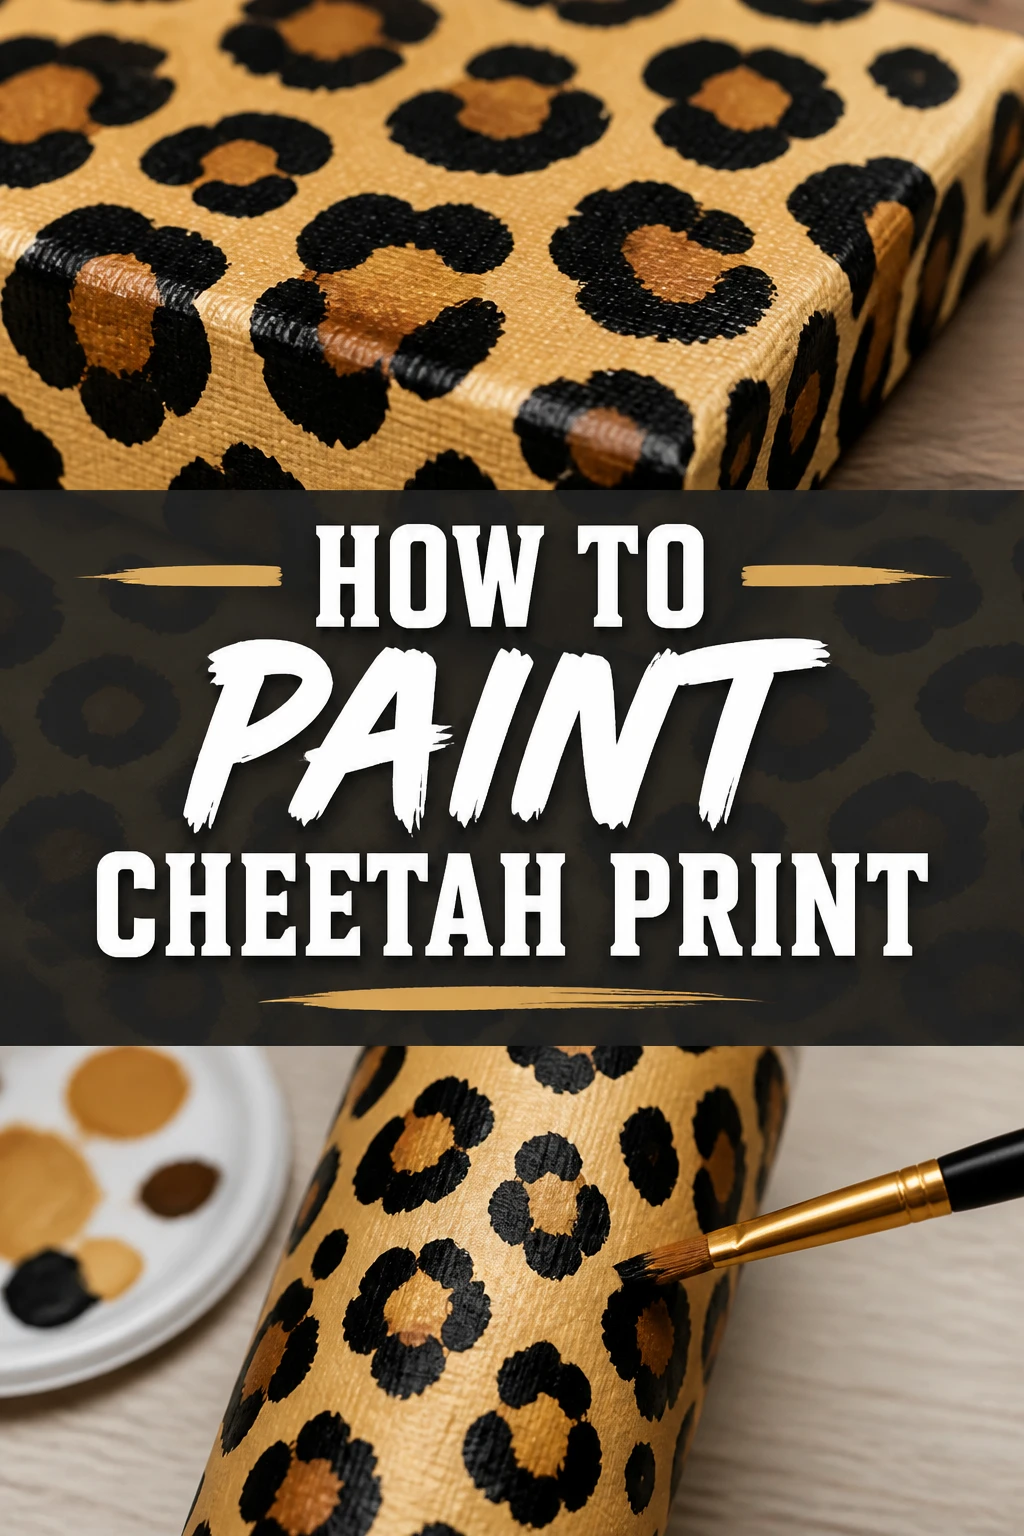
💡 How To Paint Cheetah Print
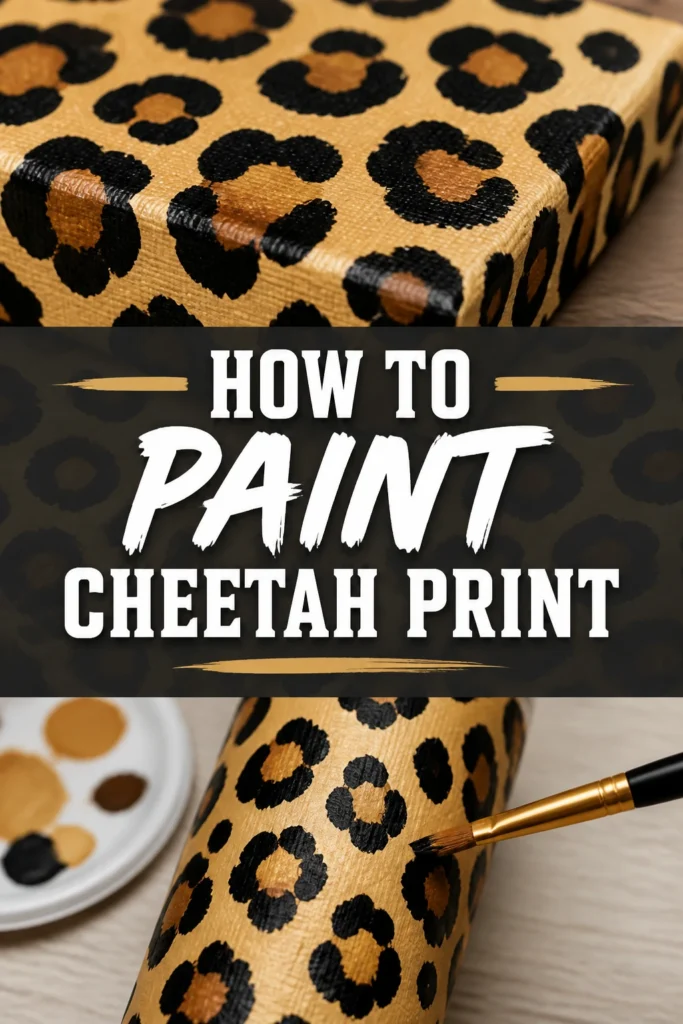
Learning to paint cheetah print is a fantastic way to add a touch of wild style to almost anything. I’ve personally transformed everything from old furniture to plain canvas shoes with this iconic pattern. This guide shares my techniques to help you achieve stunning results every time.
Quick Overview
Get ready to transform your chosen item with a bold and beautiful cheetah print design. You’ll learn the essential steps from surface preparation to sealing your finished artwork. This guide will equip you with the skills to create a professional-looking pattern, whether you’re a beginner or looking to refine your technique.
- Time needed: 2-4 hours (including drying time)
- Difficulty: Beginner to Intermediate
- What you’ll need: Base coat paint, spot color paint, outline color paint, various brushes, sealant, cleaning supplies.
Step-by-Step Instructions
Step 1: Gather Your Materials
Before you begin, make sure you have all your tools and paints ready. This prevents interruptions once you start the creative process. A well-organized workspace makes painting much more enjoyable and efficient.
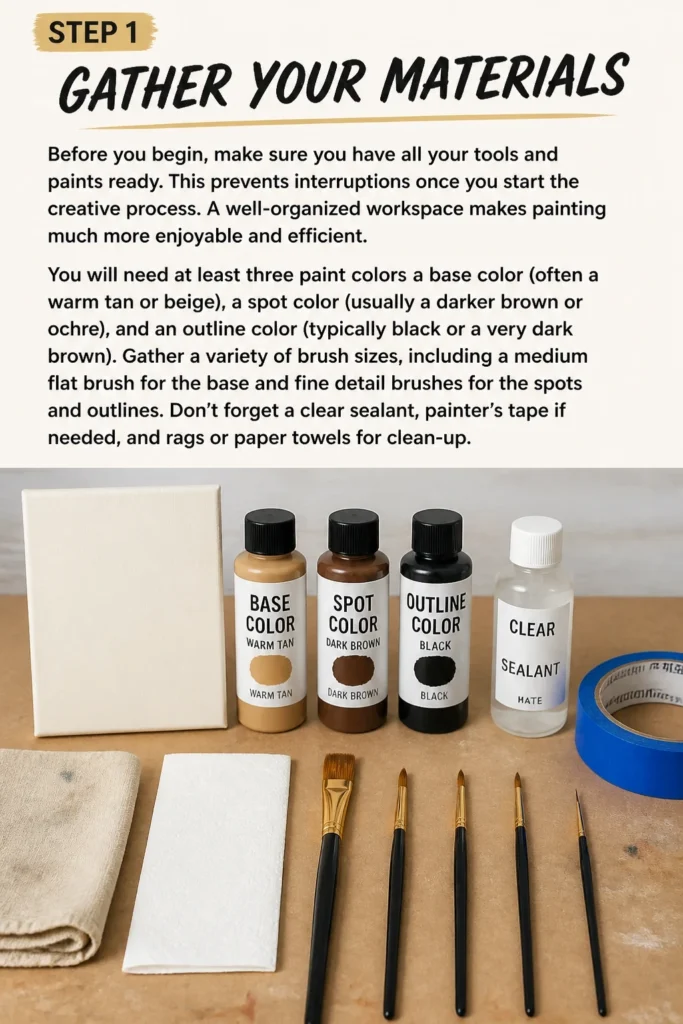
You will need at least three paint colors: a base color (often a warm tan or beige), a spot color (usually a darker brown or ochre), and an outline color (typically black or a very dark brown). Gather a variety of brush sizes, including a medium flat brush for the base and fine detail brushes for the spots and outlines. Don’t forget a clear sealant, painter’s tape if needed, and rags or paper towels for clean-up.
Step 2: Prepare Your Surface
A clean and smooth surface is the foundation of any great paint job. Take your time with this crucial first step to ensure your cheetah print adheres properly and looks its best. Different surfaces require different preparation methods.
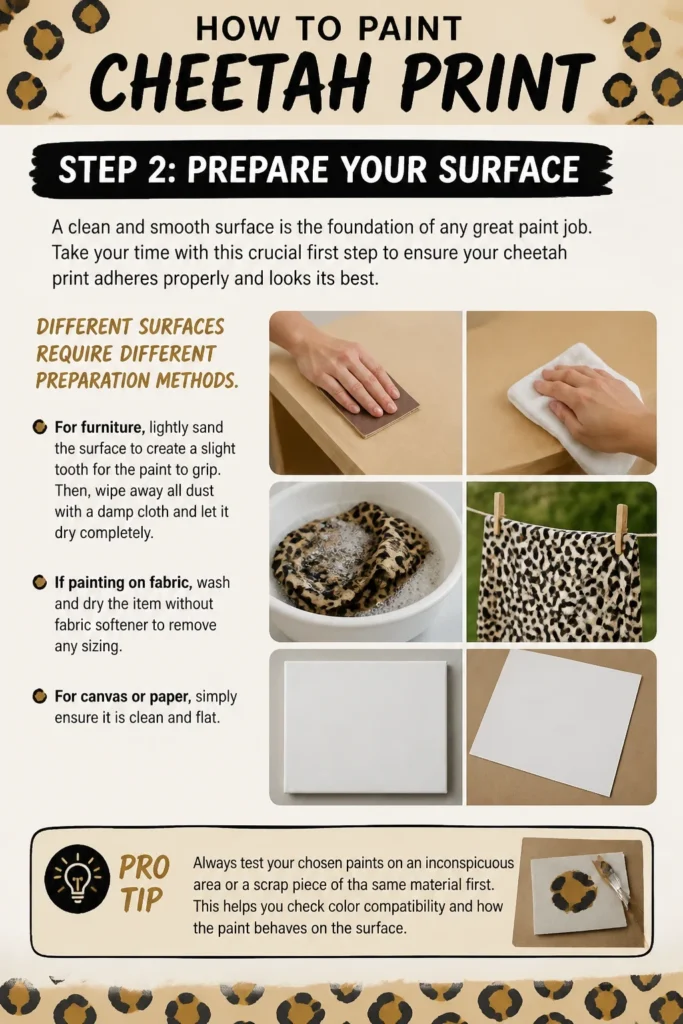
For furniture, lightly sand the surface to create a slight “tooth” for the paint to grip. Then, wipe away all dust with a damp cloth and let it dry completely. If painting on fabric, wash and dry the item without fabric softener to remove any sizing. For canvas or paper, simply ensure it is clean and flat.
Pro Tip: Always test your chosen paints on an inconspicuous area or a scrap piece of the same material first. This helps you check color compatibility and how the paint behaves on the surface.
Step 3: Apply the Base Color
The base color sets the stage for your entire cheetah print. This is the background against which your spots will pop. Choose a warm, inviting shade that complements your desired aesthetic.
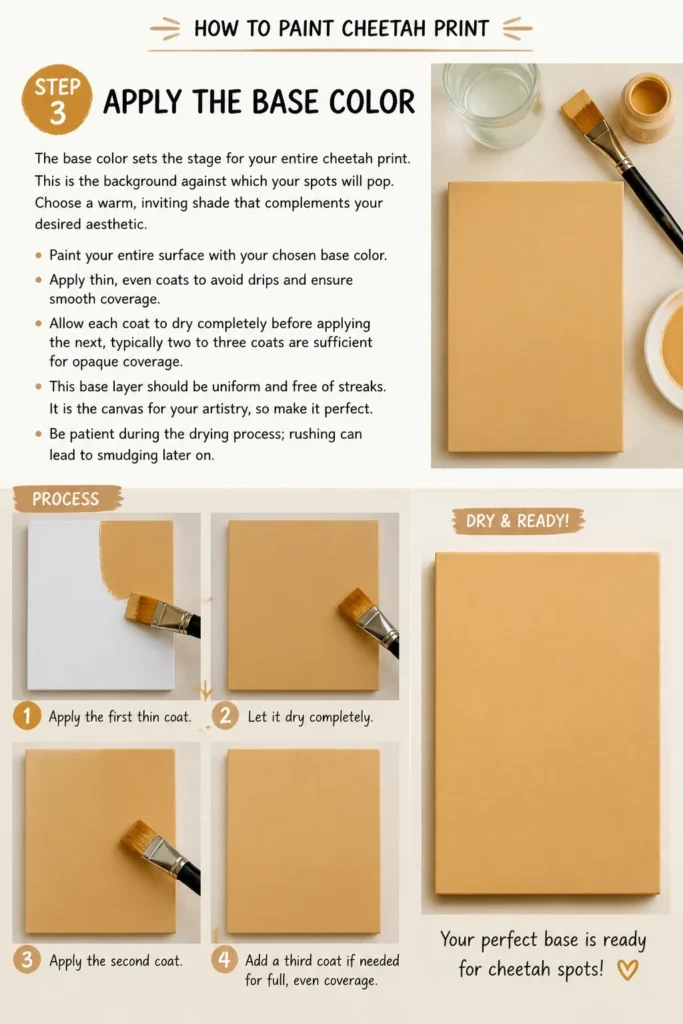
Paint your entire surface with your chosen base color. Apply thin, even coats to avoid drips and ensure smooth coverage. Allow each coat to dry completely before applying the next, typically two to three coats are sufficient for opaque coverage.
This base layer should be uniform and free of streaks. It is the canvas for your artistry, so make it perfect. Be patient during the drying process; rushing can lead to smudging later on.
Step 4: Map Out Your Spots
Now comes the fun part: creating the distinctive cheetah spots. The key here is irregularity and natural variation, not perfect circles. Think organic shapes that are somewhat rounded but never identical.
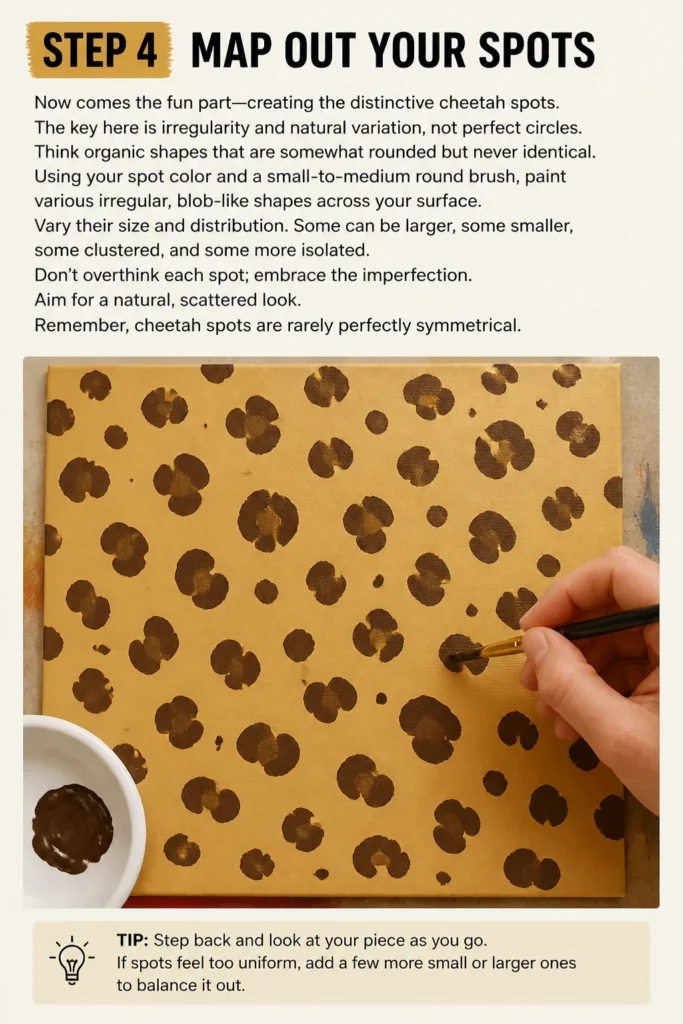
Using your spot color and a small-to-medium round brush, paint various irregular, blob-like shapes across your surface. Vary their size and distribution. Some can be larger, some smaller, some clustered, and some more isolated.
Don’t overthink each spot; embrace the imperfection. Aim for a natural, scattered look. Remember, cheetah spots are rarely perfectly symmetrical.
Step 5: Fill in the Centers
Cheetah spots are unique because they aren’t solid; they have a distinct, lighter center. This step gives them that characteristic appearance. This contrast is what makes the pattern truly recognizable.
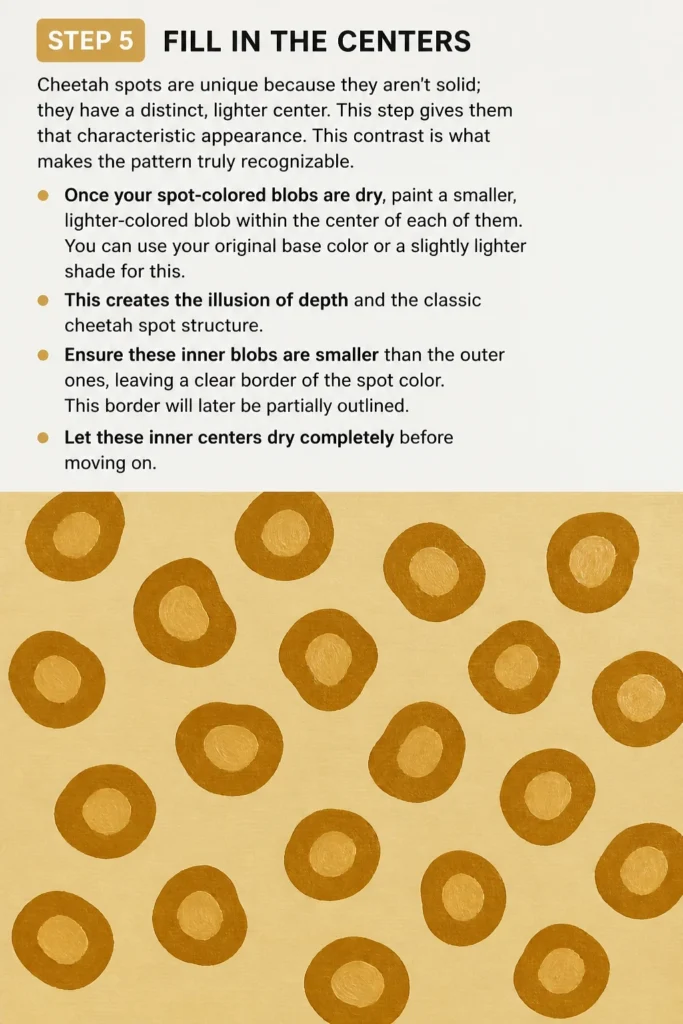
Once your spot-colored blobs are dry, paint a smaller, lighter-colored blob within the center of each of them. You can use your original base color or a slightly lighter shade for this. This creates the illusion of depth and the classic cheetah spot structure.
Ensure these inner blobs are smaller than the outer ones, leaving a clear border of the spot color. This border will later be partially outlined. Let these inner centers dry completely before moving on.
Step 6: Outline with Definition
This is where the cheetah print truly comes to life, as the outlines give the spots their iconic fragmented look. The black or dark brown outline defines the edges and adds visual interest. This step requires a steady hand and a fine brush.
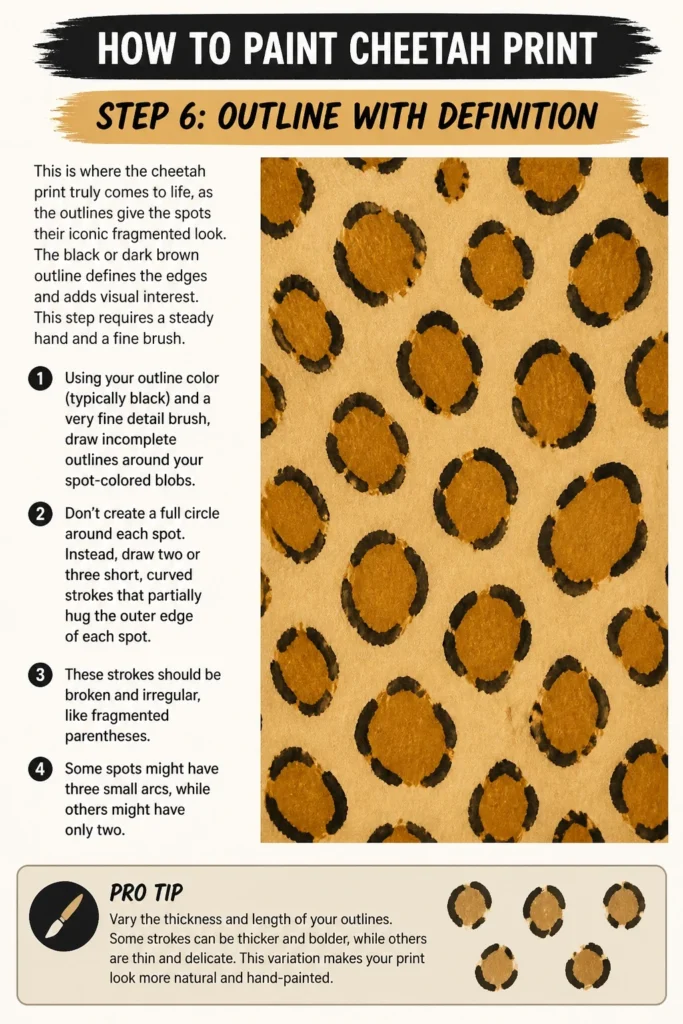
Using your outline color (typically black) and a very fine detail brush, draw incomplete outlines around your spot-colored blobs. Don’t create a full circle around each spot. Instead, draw two or three short, curved strokes that partially hug the outer edge of each spot.
These strokes should be broken and irregular, like fragmented parentheses. Some spots might have three small arcs, while others might have only two. This broken outline is what distinguishes a cheetah print from other feline patterns.
Pro Tip: Vary the thickness and length of your outline strokes. This adds to the organic, natural look of the pattern and prevents it from appearing too uniform or stenciled. Practice these strokes on a scrap piece first.
Step 7: Add Detail and Texture
To enhance the realism and depth of your cheetah print, add a few extra touches. These small details make a big difference in the overall impact. Think about the subtle variations found in real animal coats.
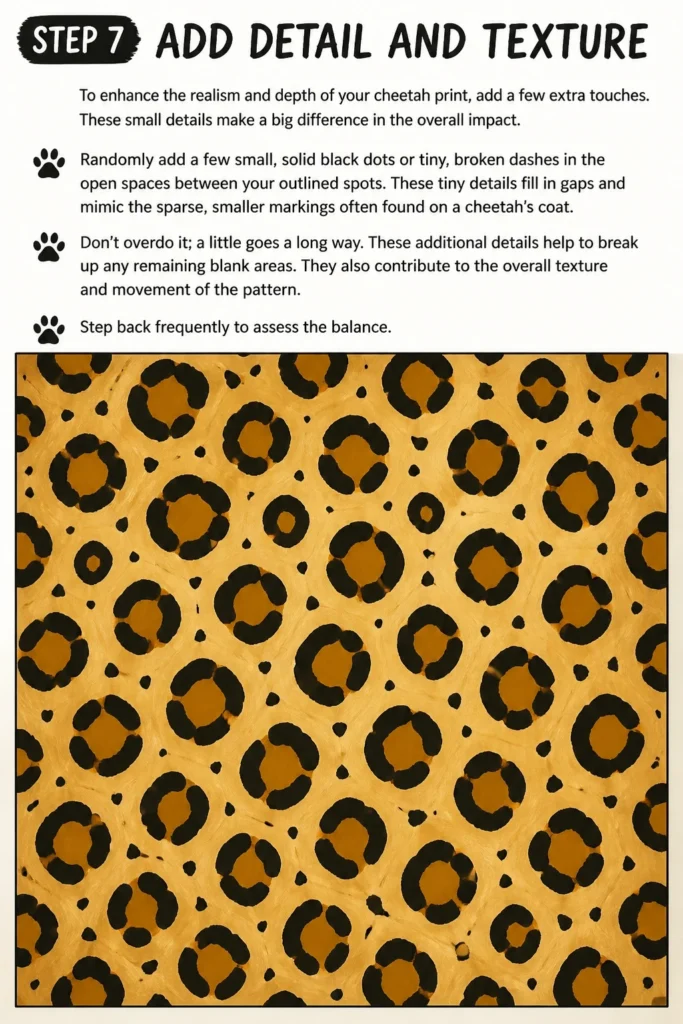
Randomly add a few small, solid black dots or tiny, broken dashes in the open spaces between your outlined spots. These tiny details fill in gaps and mimic the sparse, smaller markings often found on a cheetah’s coat. Don’t overdo it; a little goes a long way.
These additional details help to break up any remaining blank areas. They also contribute to the overall texture and movement of the pattern. Step back frequently to assess the balance.
Step 8: Allow for Ample Drying
Patience is a virtue, especially in painting. Rushing the drying process can ruin all your hard work. Ensure every layer is fully dry before proceeding to the next stage.
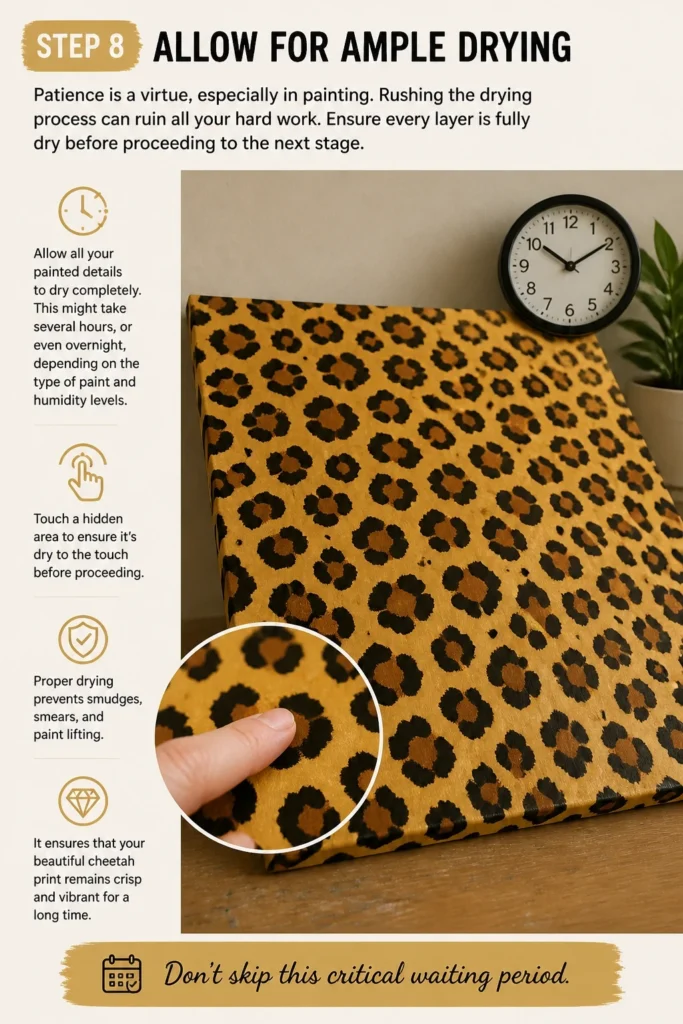
Allow all your painted details to dry completely. This might take several hours, or even overnight, depending on the type of paint and humidity levels. Touch a hidden area to ensure it’s dry to the touch before proceeding.
Proper drying prevents smudges, smears, and paint lifting. It ensures that your beautiful cheetah print remains crisp and vibrant for a long time. Don’t skip this critical waiting period.
Step 9: Seal Your Masterpiece
Sealing your artwork protects it from wear, moisture, and UV damage. This final step locks in your design and ensures its longevity. Choose a sealant appropriate for your surface and desired finish.
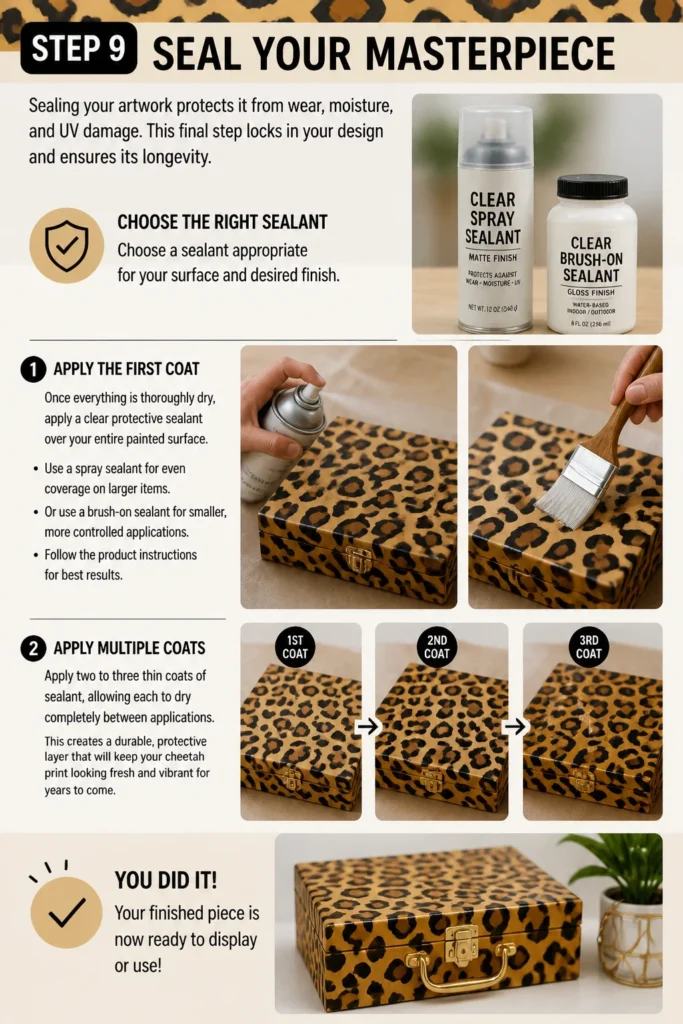
Once everything is thoroughly dry, apply a clear protective sealant over your entire painted surface. Use a spray sealant for even coverage on larger items, or a brush-on sealant for smaller, more controlled applications. Follow the product instructions for best results.
Apply two to three thin coats of sealant, allowing each to dry completely between applications. This creates a durable, protective layer that will keep your cheetah print looking fresh and vibrant for years to come. Your finished piece is now ready to display or use!
Common Mistakes to Avoid
Rushing the Drying Time
Attempting to paint over wet layers is a common pitfall. This leads to muddy colors, smudges, and an overall messy appearance. Each layer, especially the base coat and the spot centers, needs to be completely dry to prevent color bleeding and ensure crisp lines. Always allow ample time for drying, even if it means stepping away from your project for a while.
Inconsistent Spot Shapes and Sizes
While cheetah spots are irregular, they shouldn’t look haphazard or too uniform. A common mistake is making all spots the same size or shape, which looks unnatural. Conversely, making them wildly different without any flow can also look jarring. Aim for a natural variety of irregular, somewhat rounded shapes, ensuring a good distribution across your surface.
Too Much Outline
The defining characteristic of a cheetah spot is its broken, incomplete outline. Over-outlining every spot with a full circle or making the outlines too thick can make the pattern look heavy and less authentic. Remember to use fragmented strokes, leaving parts of the spot undefined, to achieve that true cheetah look. Less is often more when it comes to the outline.
Ignoring the Base Color
The base color isn’t just a background; it’s an integral part of the cheetah print. Choosing a base that’s too stark, too dark, or not complementary to your spot and outline colors can throw off the entire aesthetic. A warm, natural tan or beige typically works best, providing a soft contrast that allows the spots to stand out beautifully.
Troubleshooting
Spots Look Too Uniform
If your spots appear too much like perfect circles or are too evenly spaced, they can lose their natural appeal. To fix this, you can go back in with your base color and paint over parts of some spots to create more irregular edges. Then, add a few smaller, more elongated spots in between the existing ones. This will break up the uniformity and introduce more organic variation.
Paint Bleeding Under the Edges
Bleeding usually occurs if your paint is too thin or if the surface isn’t properly prepared. If you experience bleeding, let the paint dry completely. Then, use a fine detail brush and your base color to carefully clean up the blurred edges. In the future, ensure your paint consistency is not too watery and that your surface is smooth and free of debris.
Color Not Vibrant Enough
If your colors, especially the base or spot color, appear dull or transparent, it’s often due to insufficient coats. To enhance vibrancy, allow your current paint to dry fully. Then, apply an additional thin, even coat of the desired color. Sometimes, a white primer underneath the base color can also help colors appear brighter, especially on darker surfaces.
Key Takeaways
- Surface preparation is essential for a lasting and professional-looking cheetah print.
- Embrace irregularity in spot shapes and sizes for a natural, authentic look.
- The broken, incomplete outline is key to distinguishing cheetah print from other feline patterns.
- Allow ample drying time between each paint layer to prevent smudging and bleeding.
- A good quality sealant will protect your finished artwork and ensure its longevity.
- Practice on scrap materials before tackling your main project to build confidence.
Frequently Asked Questions
Can I paint cheetah print on fabric?
Yes, you absolutely can! For fabric projects, use acrylic fabric paints or mix a fabric medium with regular acrylic paints. After painting, follow the fabric paint’s instructions for heat-setting the design. This will make it washable and durable.
What if I don’t have a stencil?
You don’t need a stencil for cheetah print! The beauty of this pattern lies in its organic, freehand nature. Follow the steps for creating irregular blobs and broken outlines. Practicing on paper first will build your confidence for freehand application.
How do I clean my brushes after painting?
Immediately after use, rinse your brushes thoroughly with warm water and a mild soap. Gently work the soap into the bristles to remove all paint residue. Rinse again until the water runs clear, then reshape the bristles and let them air dry flat or hanging down.
Can I use different color combinations?
Absolutely! While traditional cheetah print uses warm browns and black, feel free to experiment. Pink and black, blue and white, or even metallic colors can create a unique and stylish interpretation. Just ensure there’s enough contrast between your base, spot, and outline colors.
Our Top Recommended Finds
- Artist’s Acrylic Paint Set: A versatile set with a good range of colors, perfect for base coats and spot creation. Look for sets with good pigment saturation.
- Fine Detail Brush Set: Essential for those delicate outlines and small accent dots. A set with various tip sizes will give you precision control.
- Clear Matte or Gloss Sealant Spray: Provides a durable protective finish without brush strokes. Choose matte for a subtle look or gloss for a vibrant sheen.
Unleash Your Creative Roar
Now that you have the step-by-step knowledge and confidence, it’s time to bring your cheetah print vision to life. Don’t be afraid to experiment with colors and surfaces. Every brushstroke is an opportunity to express your unique style.
Perhaps you’ll start with a small decorative box, or maybe you’re ready to tackle a statement piece of furniture. The possibilities are endless once you master this captivating pattern. Go ahead, gather your supplies, and start painting your own wild design today!