☃️ How To Make A Snowman
There’s a unique joy that comes with fresh snowfall, beckoning us outdoors to play.
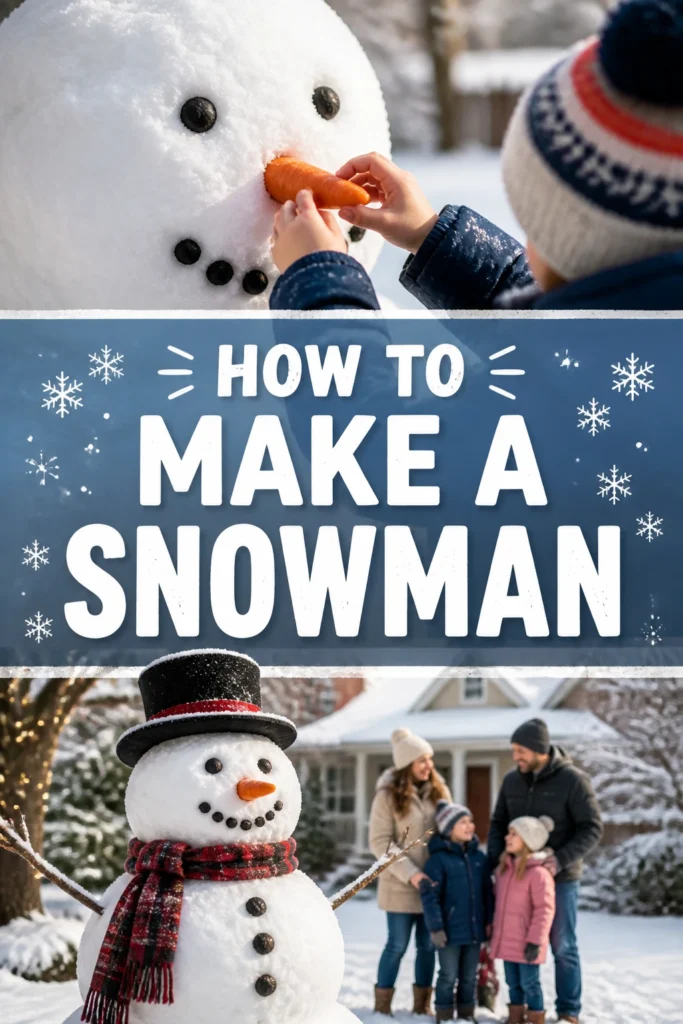
One of winter’s most cherished traditions is undoubtedly crafting a friendly snowman.
Having built countless snowy figures since childhood, I’m excited to share the secrets to creating a truly magnificent one.
Quick Overview
This guide will walk you through every step, from choosing the perfect snow to adding the final, charming touches.
You’ll learn how to build a sturdy, delightful snowman that stands proudly in your yard, ready to greet visitors.
- Time needed: 1-3 hours (depending on size and detail)
- Difficulty: Beginner
- What you’ll need: Fresh snow, warm clothes, a shovel (optional), and various decorative items
Step-by-Step Instructions
Step 1: Choose Your Perfect Spot
Select a flat, visible area in your yard for your snowman’s home.
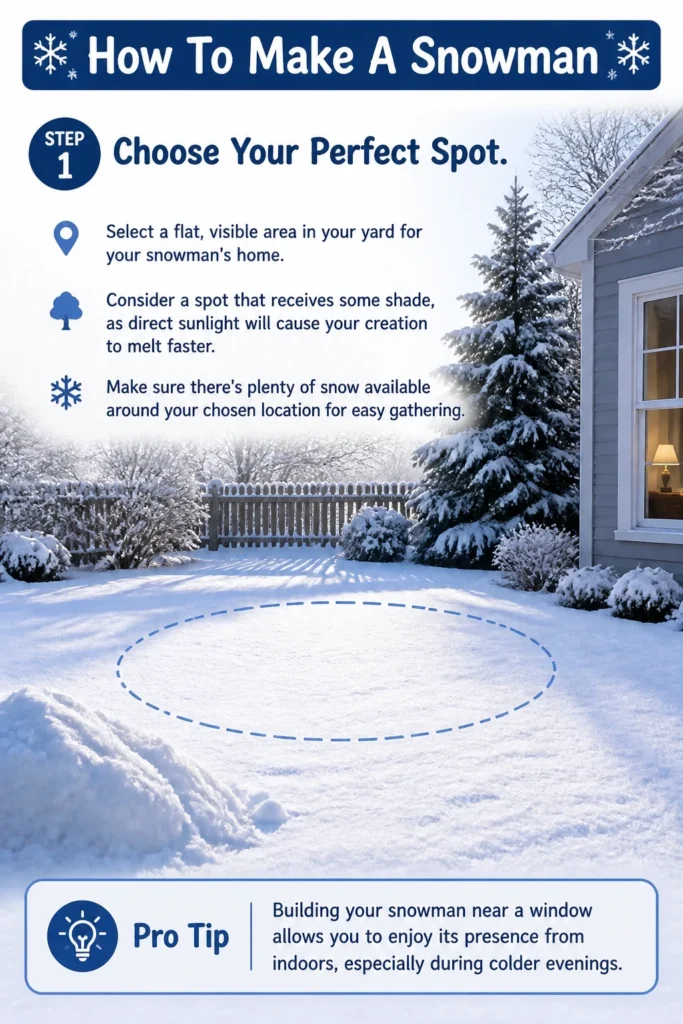
Consider a spot that receives some shade, as direct sunlight will cause your creation to melt faster.
Make sure there’s plenty of snow available around your chosen location for easy gathering.
Pro Tip: Building your snowman near a window allows you to enjoy its presence from indoors, especially during colder evenings.
Step 2: Gather Your Snow
Check the quality of your snow. The ideal snow for building is wet and sticky, often described as “packing snow.”
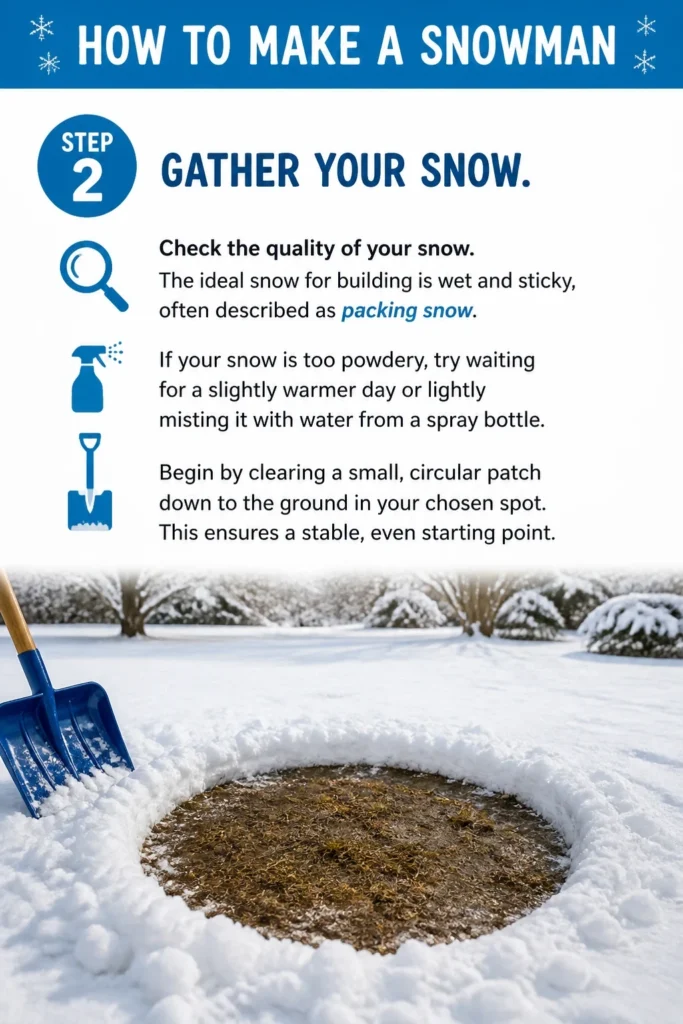
If your snow is too powdery, try waiting for a slightly warmer day or lightly misting it with water from a spray bottle.
Begin by clearing a small, circular patch down to the ground in your chosen spot. This ensures a stable, even starting point.
Step 3: Roll the Base
Start with a small handful of snow, pressing it firmly into a compact snowball.
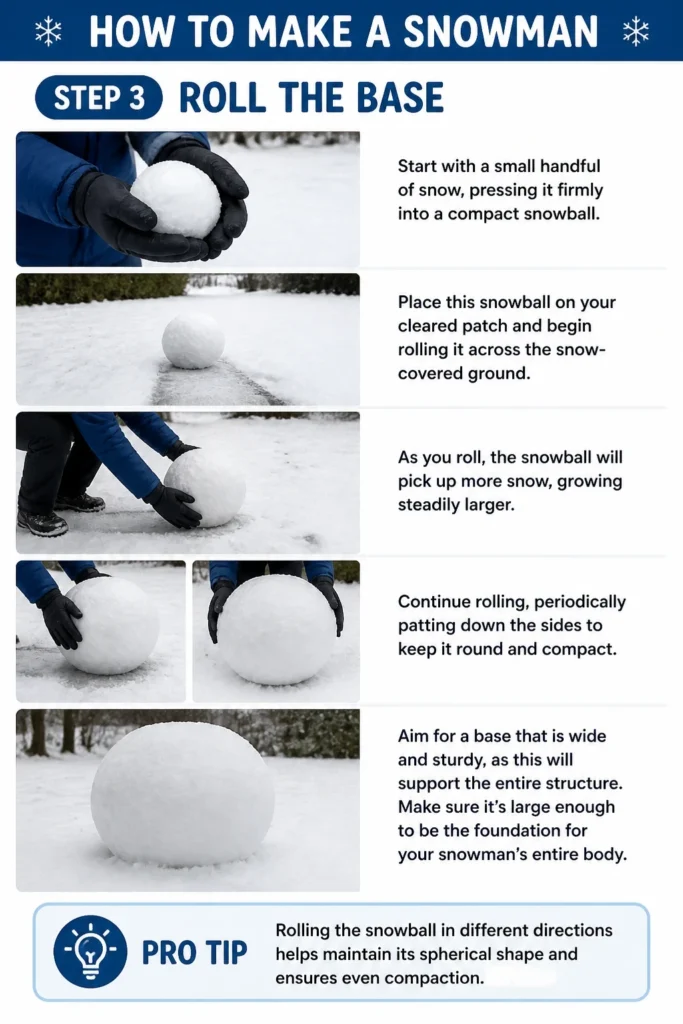
Place this snowball on your cleared patch and begin rolling it across the snow-covered ground.
As you roll, the snowball will pick up more snow, growing steadily larger.
Continue rolling, periodically patting down the sides to keep it round and compact.
Aim for a base that is wide and sturdy, as this will support the entire structure.
Make sure it’s large enough to be the foundation for your snowman’s entire body.
Pro Tip: Rolling the snowball in different directions helps maintain its spherical shape and ensures even compaction.
Step 4: Build the Mid-Section
Create the second snow ball for your snowman’s mid-section.
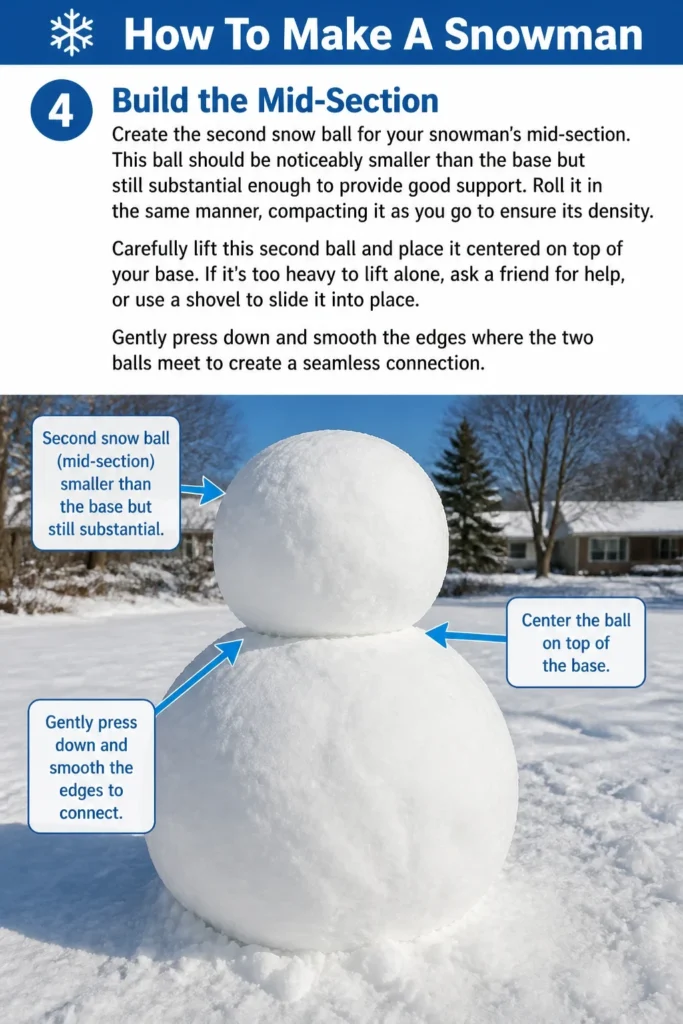
This ball should be noticeably smaller than the base but still substantial enough to provide good support.
Roll it in the same manner, compacting it as you go to ensure its density.
Carefully lift this second ball and place it centered on top of your base.
If it’s too heavy to lift alone, ask a friend for help, or use a shovel to slide it into place.
Gently press down and smooth the edges where the two balls meet to create a seamless connection.
Step 5: Create the Head
Form the smallest of the three snow balls for the snowman’s head.
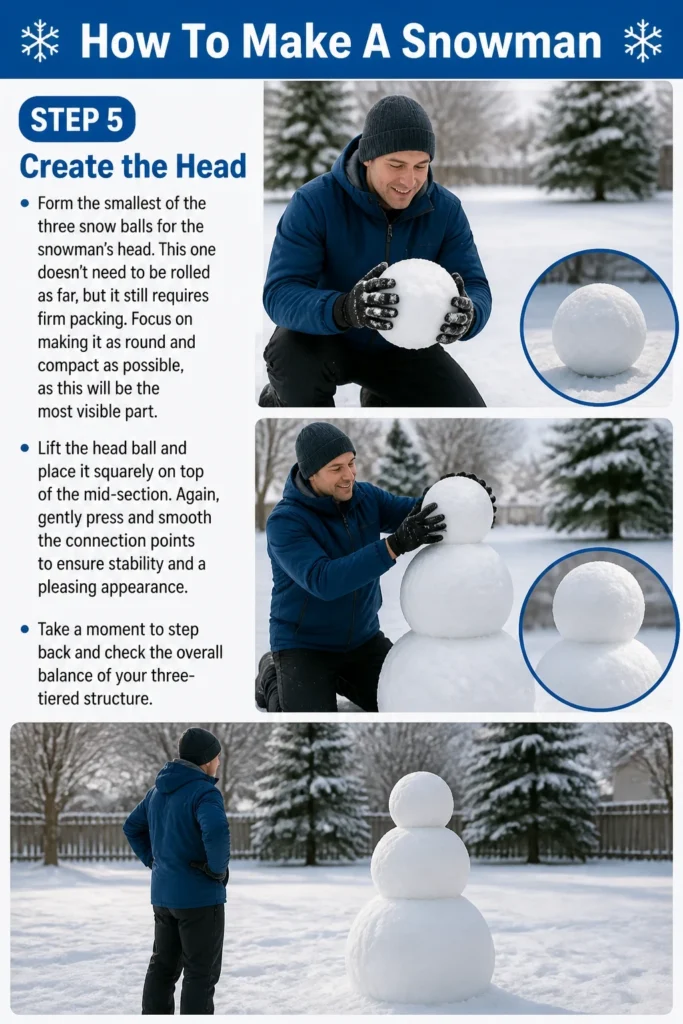
This one doesn’t need to be rolled as far, but it still requires firm packing.
Focus on making it as round and compact as possible, as this will be the most visible part.
Lift the head ball and place it squarely on top of the mid-section.
Again, gently press and smooth the connection points to ensure stability and a pleasing appearance.
Take a moment to step back and check the overall balance of your three-tiered structure.
Step 6: Connect the Sections Securely
Reinforce the connections between your snow sections for added stability.
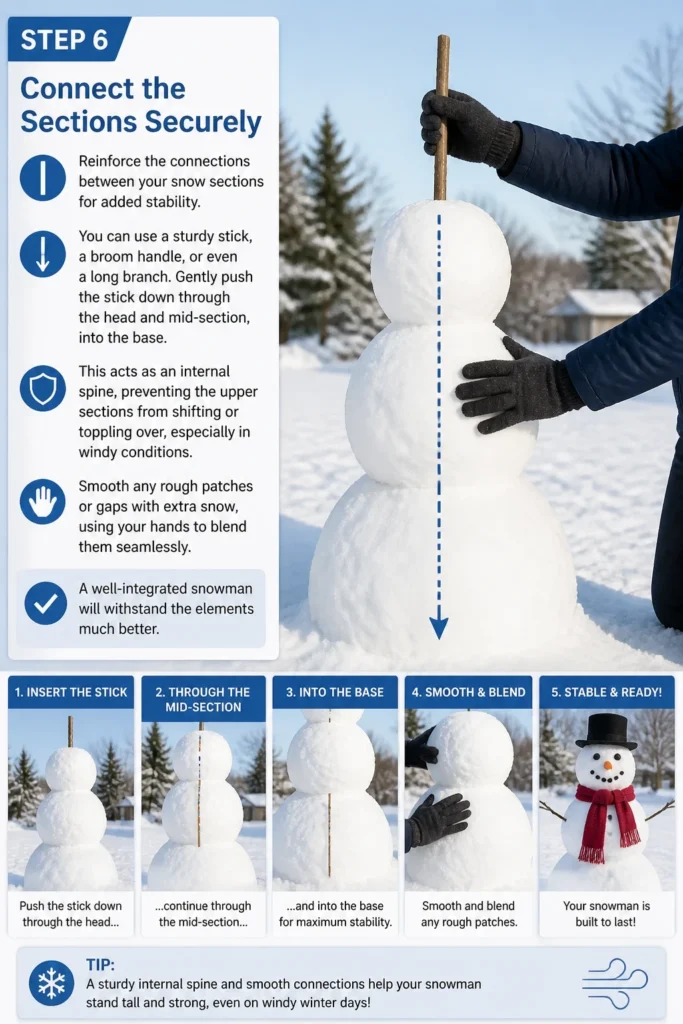
You can use a sturdy stick, a broom handle, or even a long branch.
Gently push the stick down through the head and mid-section, into the base.
This acts as an internal spine, preventing the upper sections from shifting or toppling over, especially in windy conditions.
Smooth any rough patches or gaps with extra snow, using your hands to blend them seamlessly.
A well-integrated snowman will withstand the elements much better.
Step 7: Add Arms and Features
Gather two suitable sticks for arms. Look for branches that are roughly symmetrical and have a nice ‘Y’ shape if possible.
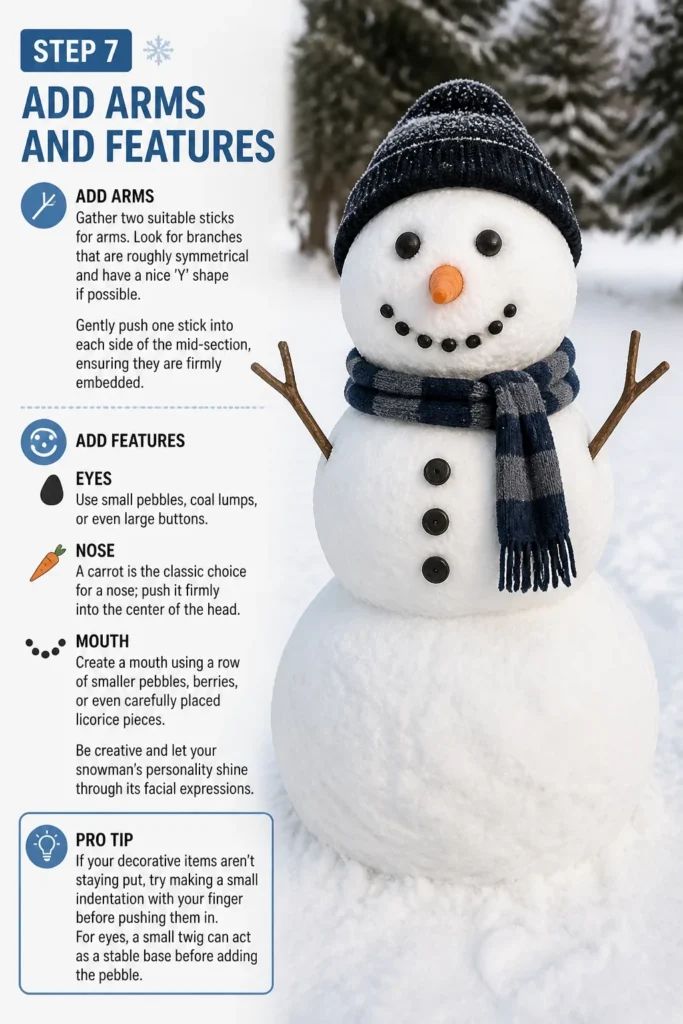
Gently push one stick into each side of the mid-section, ensuring they are firmly embedded.
For eyes, use small pebbles, coal lumps, or even large buttons.
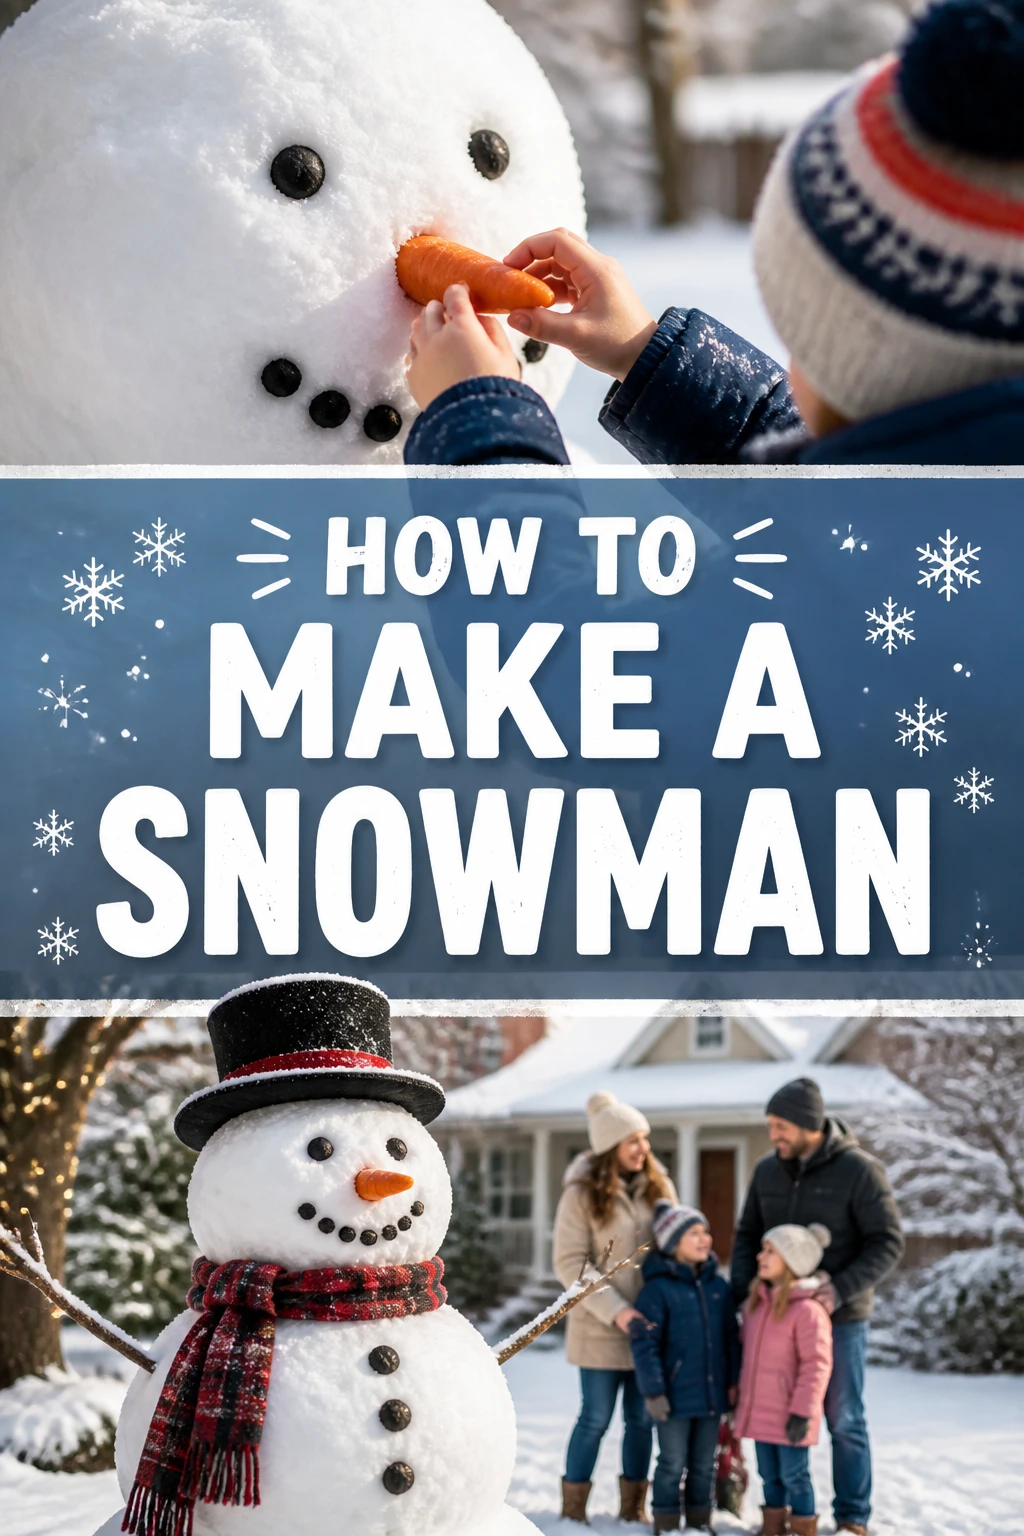
A carrot is the classic choice for a nose; push it firmly into the center of the head.
Create a mouth using a row of smaller pebbles, berries, or even carefully placed licorice pieces.
Be creative and let your snowman’s personality shine through its facial expressions.
Pro Tip: If your decorative items aren’t staying put, try making a small indentation with your finger before pushing them in. For eyes, a small twig can act as a stable base before adding the pebble.
Step 8: Dress Your Snowman
Complete your snowman’s look with classic winter attire.
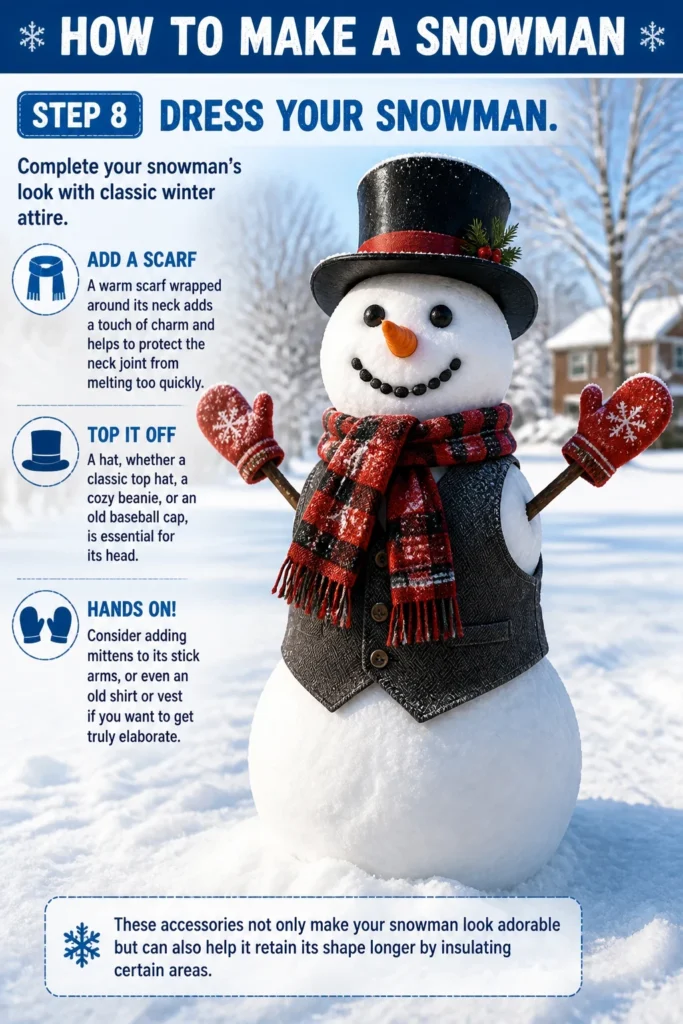
A warm scarf wrapped around its neck adds a touch of charm and helps to protect the neck joint from melting too quickly.
A hat, whether a classic top hat, a cozy beanie, or an old baseball cap, is essential for its head.
Consider adding mittens to its stick arms, or even an old shirt or vest if you want to get truly elaborate.
These accessories not only make your snowman look adorable but can also help it retain its shape longer by insulating certain areas.
Step 9: Step Back and Admire
Take a moment to appreciate your hard work and creativity.
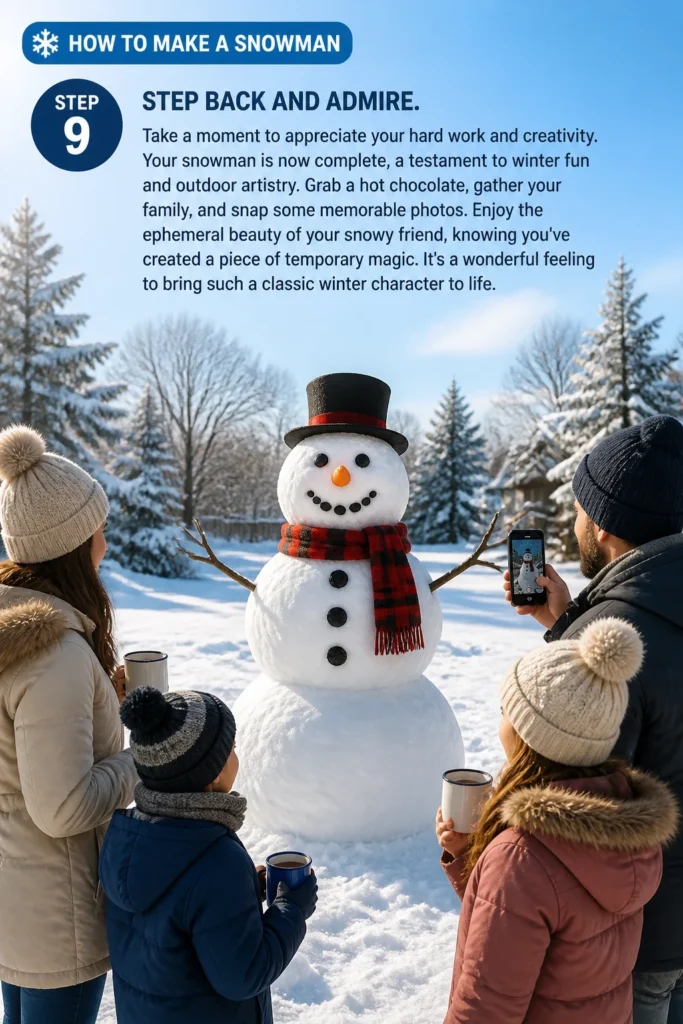
Your snowman is now complete, a testament to winter fun and outdoor artistry.
Grab a hot chocolate, gather your family, and snap some memorable photos.
Enjoy the ephemeral beauty of your snowy friend, knowing you’ve created a piece of temporary magic.
It’s a wonderful feeling to bring such a classic winter character to life.
Common Mistakes to Avoid
Using Dry, Powdery Snow
Attempting to build with dry, powdery snow is a common pitfall. This type of snow simply won’t compact or stick together, leading to frustration and a collapsing snowman.
Always wait for snow that is wet and sticky, perfect for packing. If the snow is too dry, a light misting with water can sometimes improve its consistency, but often patience is the best approach.
Ignoring the Foundation
Many builders rush to stack snowballs without properly compacting the base or ensuring a level starting point. A weak or uneven foundation is a recipe for disaster.
Spend extra time on your first snowball, making it as wide, dense, and level as possible. This robust base will provide the necessary stability for the entire structure, preventing leans and collapses.
Rushing the Assembly
When stacking the snowballs, some people try to lift and place them too quickly, or without properly securing the connections. This can lead to the upper sections sliding off or creating unsightly gaps.
Take your time with each placement. Gently press and smooth the snow where the sections meet. Consider using a central stick for reinforcement, especially for larger snowmen, to ensure everything stays perfectly aligned and secure.
Over-Decorating or Using Heavy Items
While enthusiasm for decorating is great, sometimes people add too many heavy items, especially to the head or arms. This can cause structural stress, leading to parts falling off or the snowman becoming top-heavy.
Choose lightweight accessories for the most part. If an item is heavy, ensure it’s firmly embedded or supported. Remember, less can often be more, allowing the snowman’s form to be the star.
Troubleshooting
Snowman Keeps Leaning/Falling
If your snowman starts to lean or portions detach, it often indicates insufficient compaction or a weak connection point.
Gently push the leaning section back into place and firm up the snow around the base of that joint. If possible, add a central support stick through all sections for greater stability.
Snow Isn’t Sticking Well
This is usually a sign that your snow is too cold or too dry. Ideal snowman snow is slightly above freezing and wet.
Try rolling your snowballs in areas where the snow might be slightly warmer or has been exposed to a bit more sunlight. You can also lightly spray the snow with water to increase its stickiness, though be careful not to make it slushy.
Features Keep Falling Off
If your carrot nose or pebble eyes aren’t staying put, they might not be embedded deeply enough or the snow around them is too loose.
Make a slightly deeper hole with your finger or a stick before inserting the feature. Pack a small amount of extra snow around the base of the item to help secure it in place. For very loose snow, a small dab of water can sometimes help create a temporary bond as it refreezes.
Key Takeaways
- Choose the Right Snow: Wet, packing snow is essential for a sturdy snowman.
- Build a Strong Foundation: A wide, dense base prevents leaning and collapse.
- Compact Each Section: Firmly pack each snowball to ensure density and durability.
- Secure Connections: Smooth joints and consider internal supports for stability.
- Get Creative with Decor: Use various household items to give your snowman personality.
- Enjoy the Process: Building a snowman is about fun, creativity, and embracing winter.
Frequently Asked Questions
How long will my snowman last?
The lifespan of your snowman depends entirely on the weather. In consistently freezing temperatures, a well-built snowman can last for weeks. However, above-freezing temperatures, direct sunlight, and rain will cause it to melt much faster, sometimes in just a day or two.
Can I use artificial snow to make a snowman?
Artificial snow, while fun for indoor decorations, typically lacks the cohesive properties needed to build a structural snowman. It won’t compact or stick together in the same way real snow does, making it unsuitable for this project.
What if I don’t have traditional accessories like a carrot or coal?
Don’t worry about traditional items! Creativity is key. Use apples or oranges for a nose, bottle caps or large buttons for eyes, and twigs or leaves for a mouth. Scarves, old hats, or even colorful ribbons make excellent clothing. Look around your home for anything that sparks inspiration.
Is there a best time of day to build a snowman?
Building on a cloudy day, or during the cooler parts of the day, is often ideal. This prevents rapid melting from direct sunlight, giving you more time to perfect your creation. If the snow is perfect, any time can work, but avoid the brightest, warmest part of the day if you want it to last.
Our Top Recommended Finds
- Kid-Friendly Snow Shovel: Perfect for gathering snow and helping little ones participate safely in the building process.
- Snowman Decorating Kit: These kits often include reusable plastic eyes, buttons, and a carrot nose, making decoration easy and consistent.
- Warm, Waterproof Gloves/Mittens: Essential for keeping hands dry and comfortable while working with snow for extended periods.
Your Snowy Masterpiece Awaits
Building a snowman is more than just stacking snowballs; it’s an invitation to embrace the magic of winter.
It’s a chance to step outside, breathe in the crisp air, and create something beautiful with your own hands.
So, pull on your warmest gear, step out into the glistening snow, and start crafting your very own winter friend today.
Once you’ve mastered the classic snowman, perhaps you’ll try building snow forts or even a whole snow sculpture garden!