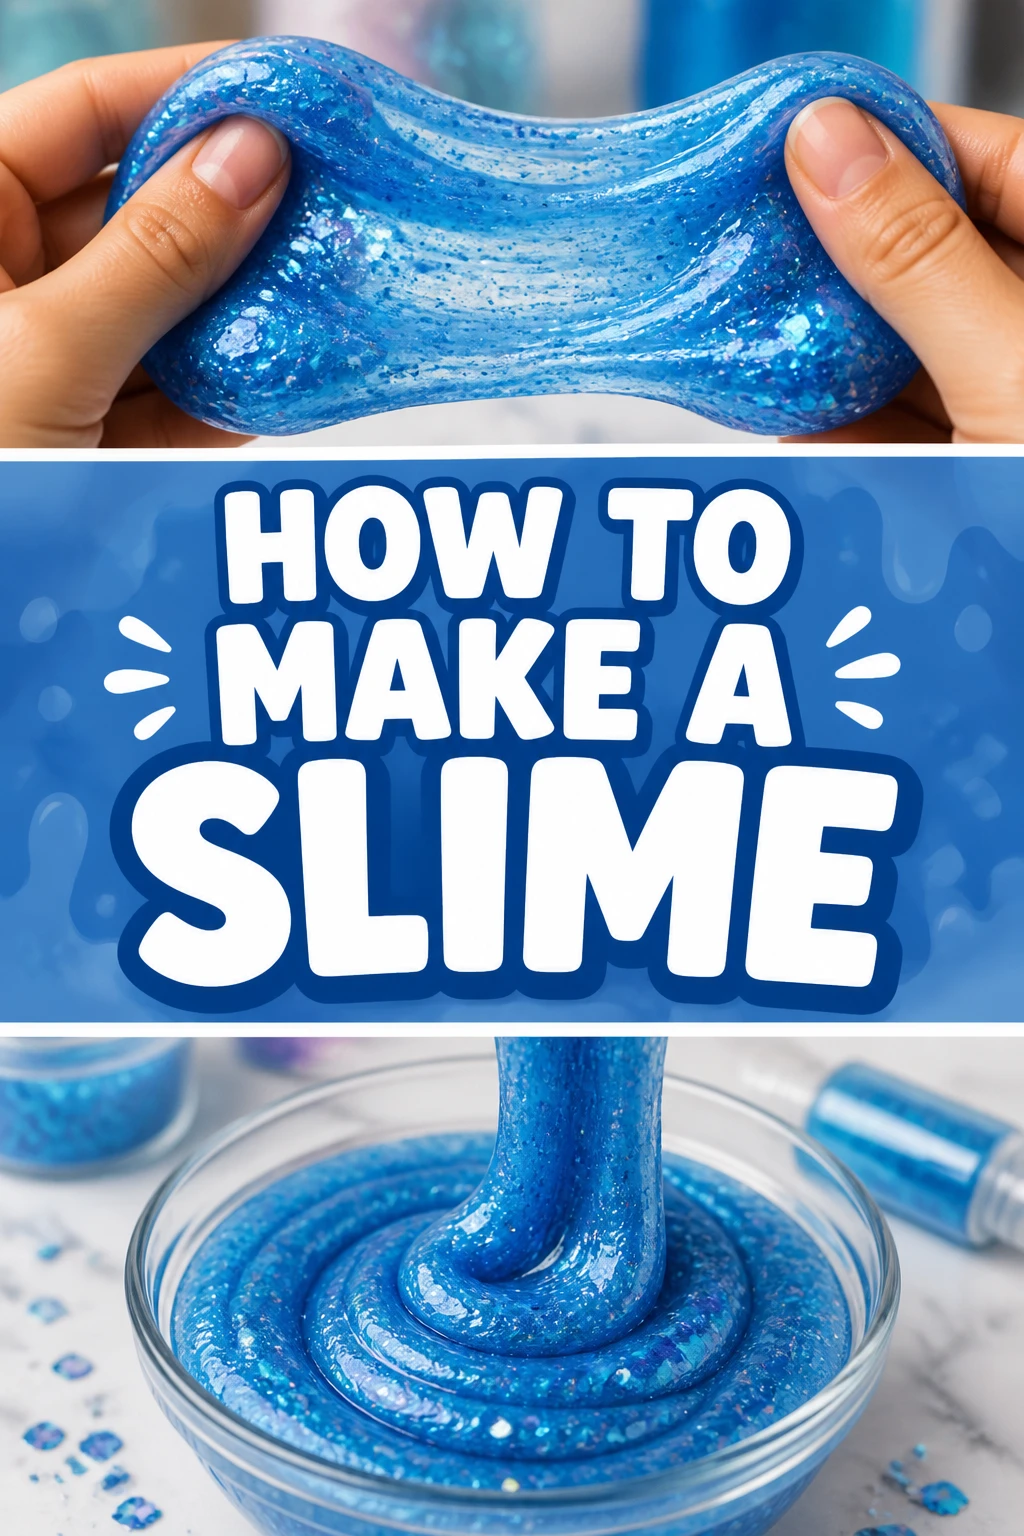
🥣 How To Make A Slime
I remember the first time I tried to make slime in my kitchen, and it ended up being a sticky, watery mess that wouldn’t come off my hands.
After years of experimenting with different glue brands and activator ratios, I finally found the perfect formula that works every single time.
This guide is built on those trials and errors to ensure you get that perfect, stretchy consistency without the frustration.
Quick Overview
Making slime is a fun way to explore basic chemistry while creating a satisfying sensory toy.
- Time needed: 15 to 20 minutes
- Difficulty: Beginner
- What you’ll need: Washable school glue, water, borax powder, mixing bowls, and optional food coloring.
Step 1: Prepare Your Workspace
Clear a flat surface like a kitchen table or a craft desk before you start.
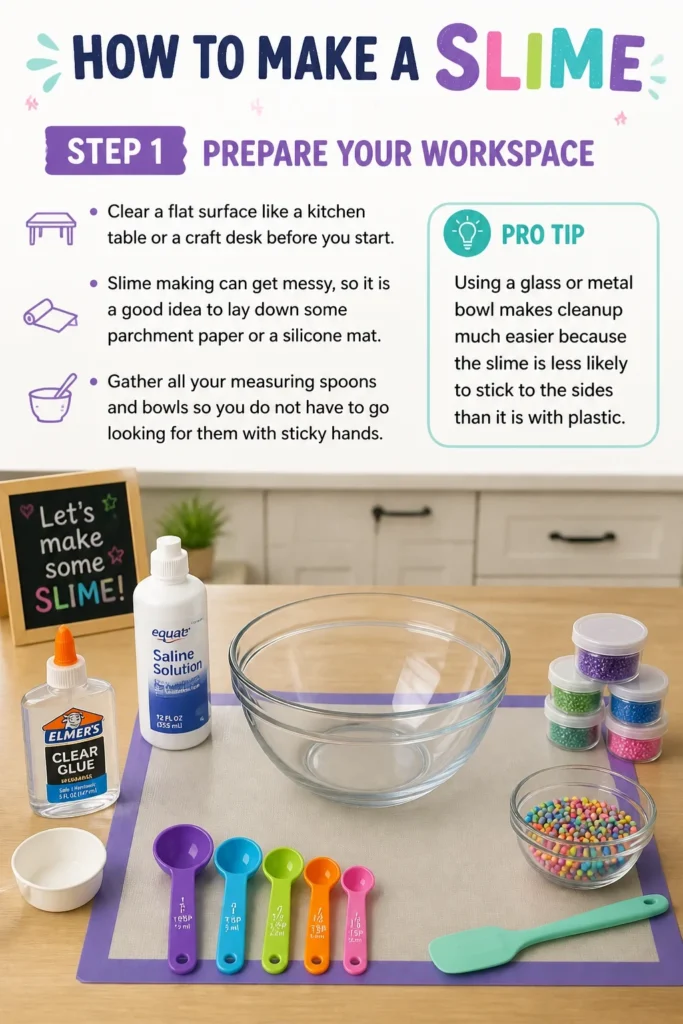
Slime making can get messy, so it is a good idea to lay down some parchment paper or a silicone mat.
Gather all your measuring spoons and bowls so you do not have to go looking for them with sticky hands.
Pro Tip: Using a glass or metal bowl makes cleanup much easier because the slime is less likely to stick to the sides than it is with plastic.
Step 2: Measure Your Glue Base
Pour exactly 4 ounces (about half a cup) of washable school glue into your primary mixing bowl.
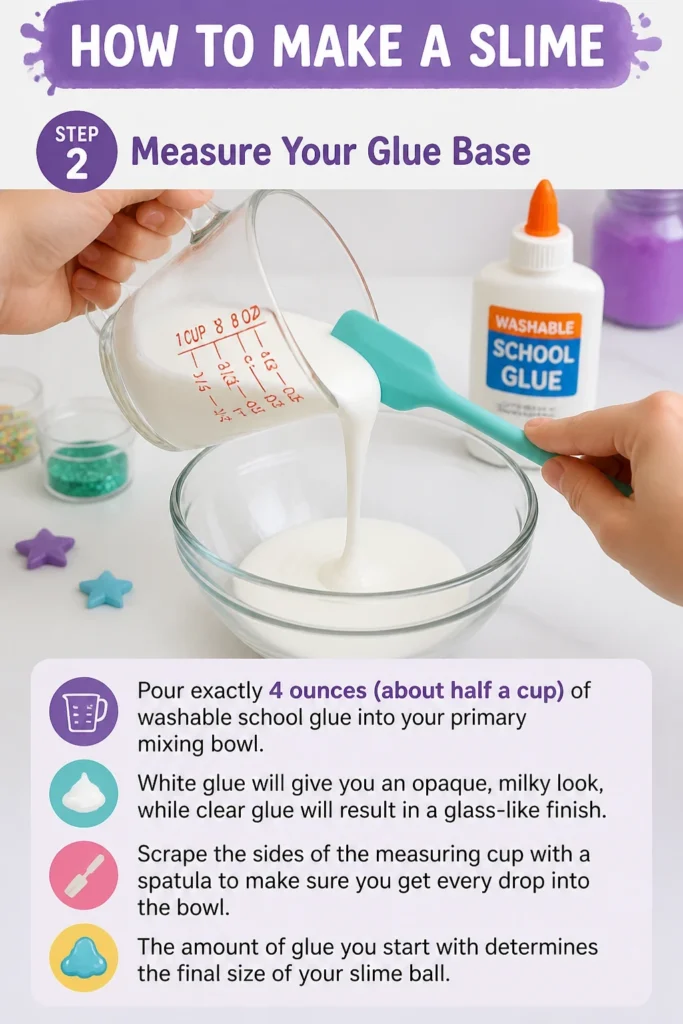
White glue will give you an opaque, milky look, while clear glue will result in a glass-like finish.
Scrape the sides of the measuring cup with a spatula to make sure you get every drop into the bowl.
The amount of glue you start with determines the final size of your slime ball.
Step 3: Incorporate Water For Stretch
Add half a cup of room-temperature water directly into the glue.
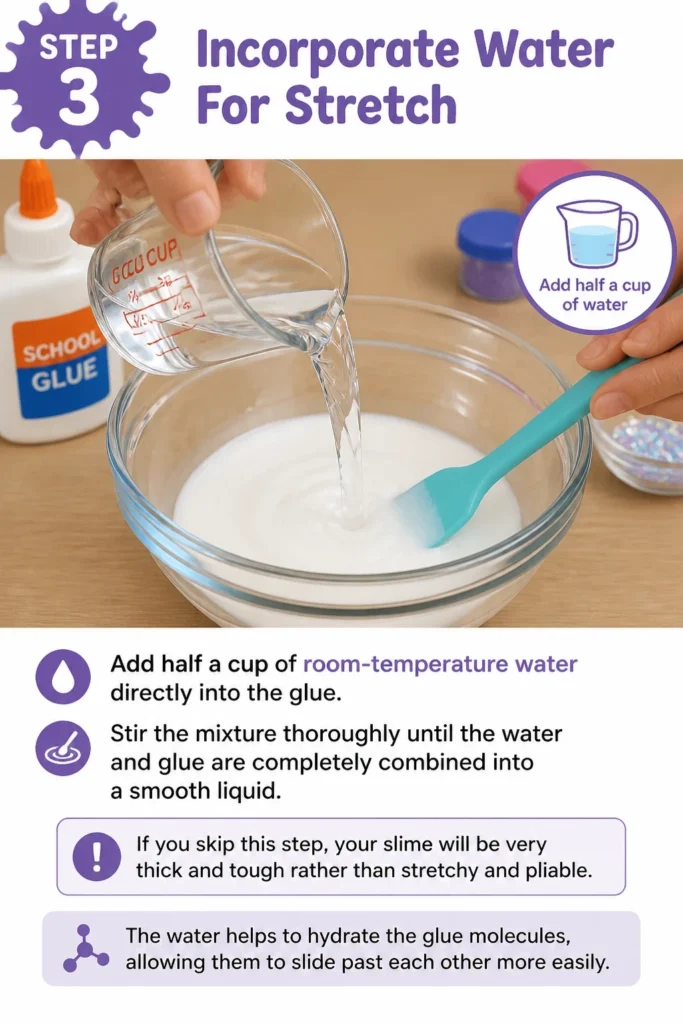
Stir the mixture thoroughly until the water and glue are completely combined into a smooth liquid.
If you skip this step, your slime will be very thick and tough rather than stretchy and pliable.
The water helps to hydrate the glue molecules, allowing them to slide past each other more easily.
Step 4: Customize With Color And Texture
Drip two or three drops of food coloring or liquid pigment into the glue mixture.
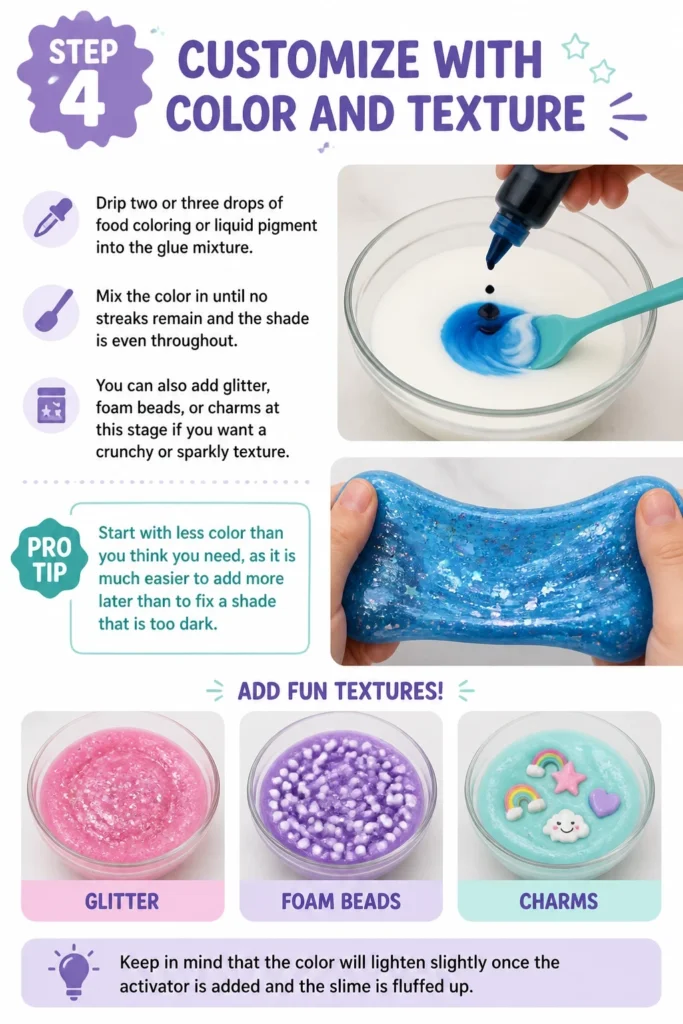
Mix the color in until no streaks remain and the shade is even throughout.
You can also add glitter, foam beads, or charms at this stage if you want a crunchy or sparkly texture.
Keep in mind that the color will lighten slightly once the activator is added and the slime is fluffed up.
Pro Tip: Start with less color than you think you need, as it is much easier to add more later than to fix a shade that is too dark.
Step 5: Create The Activator Solution
Measure one cup of warm water into a separate, smaller container.
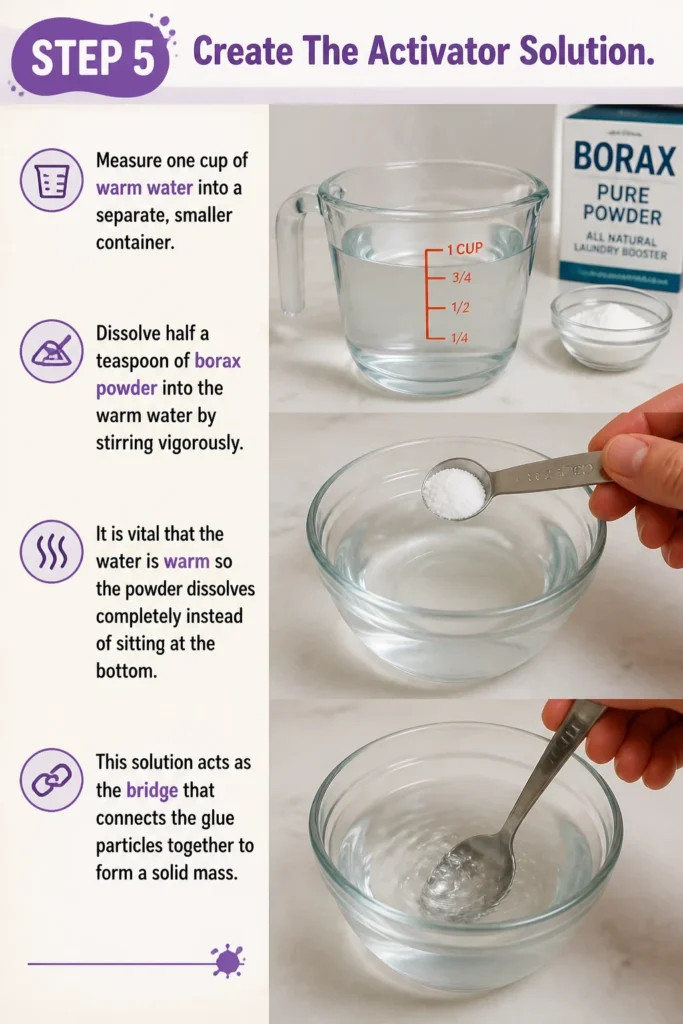
Dissolve half a teaspoon of borax powder into the warm water by stirring vigorously.
It is vital that the water is warm so the powder dissolves completely instead of sitting at the bottom.
This solution acts as the bridge that connects the glue particles together to form a solid mass.
Step 6: Combine The Mixtures Slowly
Pour a small amount of the borax solution—about one tablespoon—into your glue bowl.
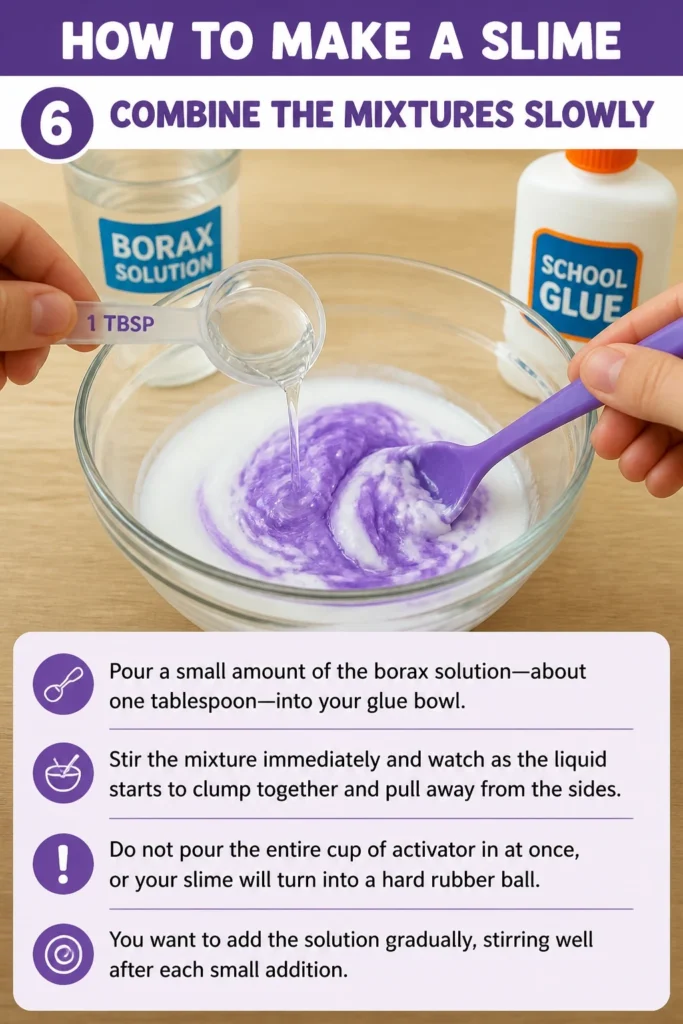
Stir the mixture immediately and watch as the liquid starts to clump together and pull away from the sides.
Do not pour the entire cup of activator in at once, or your slime will turn into a hard rubber ball.
You want to add the solution gradually, stirring well after each small addition.
Step 7: Transition To Hand Kneading
Lift the slime out of the bowl once it becomes too thick to stir with a spoon.
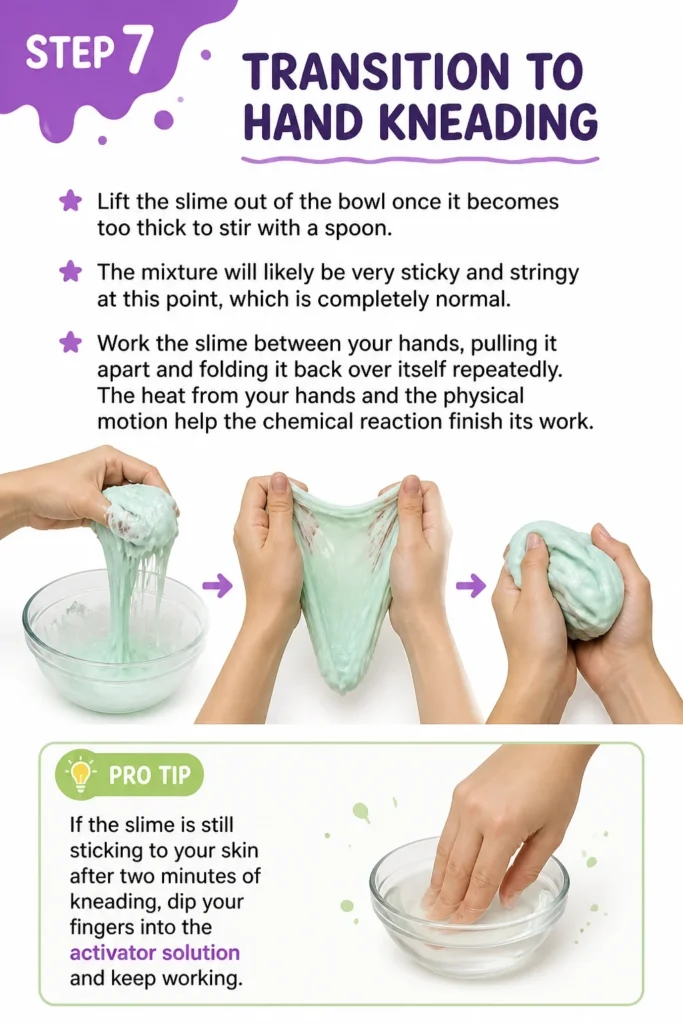
The mixture will likely be very sticky and “stringy” at this point, which is completely normal.
Work the slime between your hands, pulling it apart and folding it back over itself repeatedly.
The heat from your hands and the physical motion help the chemical reaction finish its work.
Pro Tip: If the slime is still sticking to your skin after two minutes of kneading, dip your fingers into the activator solution and keep working.
Step 8: Final Texture Adjustments
Test the stretch by pulling the slime slowly to see how far it goes before snapping.
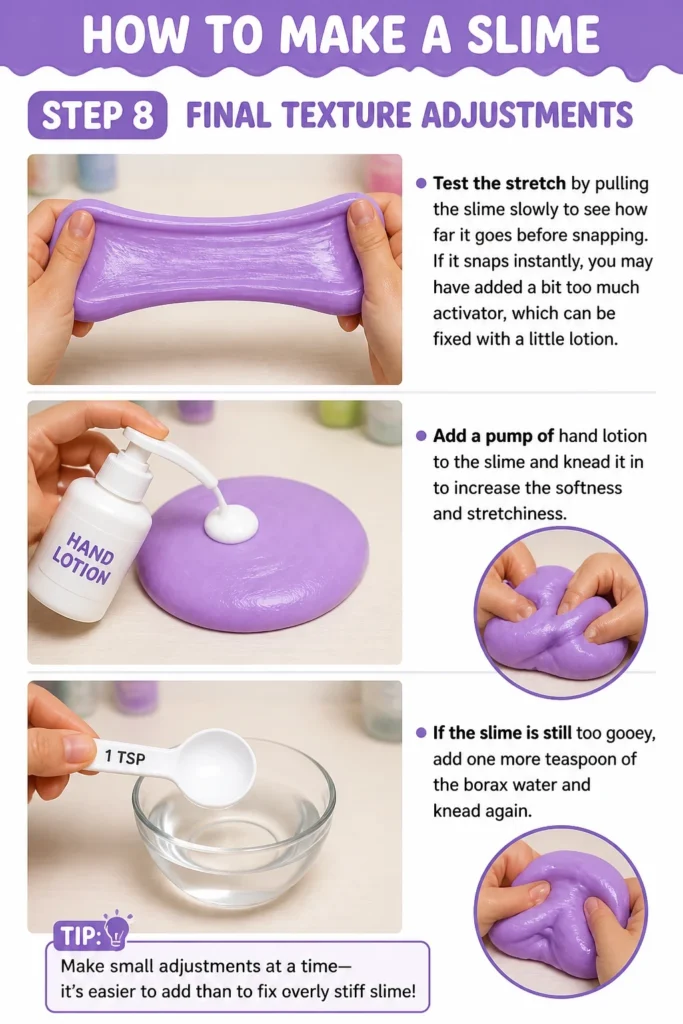
If it snaps instantly, you may have added a bit too much activator, which can be fixed with a little lotion.
Add a pump of hand lotion to the slime and knead it in to increase the softness and stretchiness.
If the slime is still too gooey, add one more teaspoon of the borax water and knead again.
Step 9: Store Your Creation Properly
Place your finished slime in an airtight container or a heavy-duty zip-top bag.
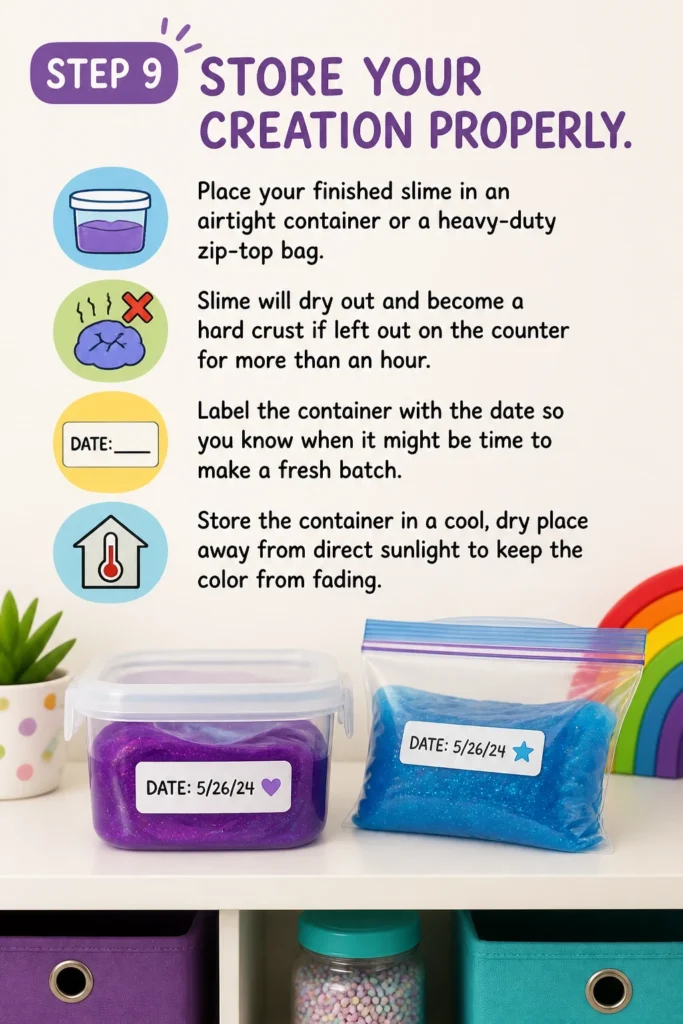
Slime will dry out and become a hard crust if left out on the counter for more than an hour.
Label the container with the date so you know when it might be time to make a fresh batch.
Store the container in a cool, dry place away from direct sunlight to keep the color from fading.
Common Mistakes to Avoid
Using Non-Washable Glue
Many people try to use permanent craft glue or wood glue for this project.
These types of glue do not contain the specific polymers needed to react with the activator.
Always look for “washable school glue” or “PVA glue” on the label to ensure success.
Adding Activator Too Quickly
Dumping the entire cup of borax water into the glue is the fastest way to ruin a batch.
This causes the glue to “over-activate,” resulting in a chunky, wet mess that breaks instead of stretches.
Patience is the most important ingredient when you reach the mixing stage.
Neglecting the Kneading Phase
Some beginners stop stirring as soon as the slime looks wet and lumpy.
They assume the recipe failed because it is still sticky to the touch.
Kneading is what actually organizes the molecules, so you must keep working it with your hands for at least five minutes.
Troubleshooting
The Slime Is Too Sticky
If the slime is clinging to your fingers like spiderwebs, it needs more activator.
Add the borax solution one teaspoon at a time and knead thoroughly after each addition.
Be careful not to overdo it, as the line between “perfect” and “hard” is very thin.
The Slime Is Hard and Brittle
This usually happens when too much borax was used or if the slime got too cold.
Try soaking the slime in a bowl of warm water for 30 seconds, then kneading it.
Alternatively, adding a few pumps of hair conditioner can help break down the bonds and make it stretchy again.
The Slime Is Rubbery and Snaps
When slime snaps rather than stretches, it often lacks moisture.
You can fix this by kneading in a small amount of warm water or a bit of clear hair gel.
Work the additive in slowly until the slime regains its flow.
Key Takeaways
- Always use PVA-based glue (washable school glue) for the chemical reaction to work.
- Dilute your glue with water before adding activator to ensure a soft, stretchy texture.
- Mix your activator (borax) with warm water to ensure it dissolves completely.
- Add activator in very small increments to avoid making the slime too hard.
- Knead the slime by hand for several minutes to finalize the consistency.
- Store the slime in an airtight container to prevent it from drying out.
Frequently Asked Questions
Is borax safe for making slime?
Borax is safe for most people when used in small, diluted amounts for slime making.
However, you should always wash your hands after playing with slime and avoid touching your face during the process.
If you have sensitive skin, you might want to wear gloves or try a contact lens solution recipe instead.
How long will my slime last?
If stored in an airtight container, slime can last anywhere from two to four weeks.
Over time, the bacteria from your hands will cause the slime to break down or develop an odor.
If the slime starts to look cloudy, smells strange, or becomes excessively watery, it is time to toss it out.
Can I make slime without borax?
Yes, you can use liquid laundry starch or contact lens solution (containing boric acid) as substitutes.
The process remains largely the same, but the ratios of the activator might change slightly.
Liquid starch is often the easiest alternative for younger children to handle.
Why did my clear slime turn cloudy?
Clear slime often turns cloudy immediately after mixing because of the millions of tiny air bubbles trapped inside.
If you let the slime sit in a sealed container for two or three days, the bubbles will rise to the top.
After the bubbles escape, the slime will become crystal clear again.
Our Top Recommended Finds
- Gallon of White School Glue: Buying glue in bulk is much cheaper than buying individual 4-ounce bottles if you plan to make multiple batches.
- Silicone Mixing Spatulas: These are excellent for scraping every bit of glue out of the bowl and are very easy to peel clean once the slime dries.
- Airtight Plastic Deli Containers: These stackable containers are perfect for keeping your slime fresh and organized on a shelf.
Get Creative With Your New Hobby
Now that you have mastered the basic recipe, you can start experimenting with different textures and scents.
Try adding essential oils for a scented experience or mixing in “snow powder” to create a cloud slime texture.
The possibilities are endless once you understand the basic science of how glue and activators interact.
Grab your bowls and start mixing your first batch today to see just how satisfying the process can be.