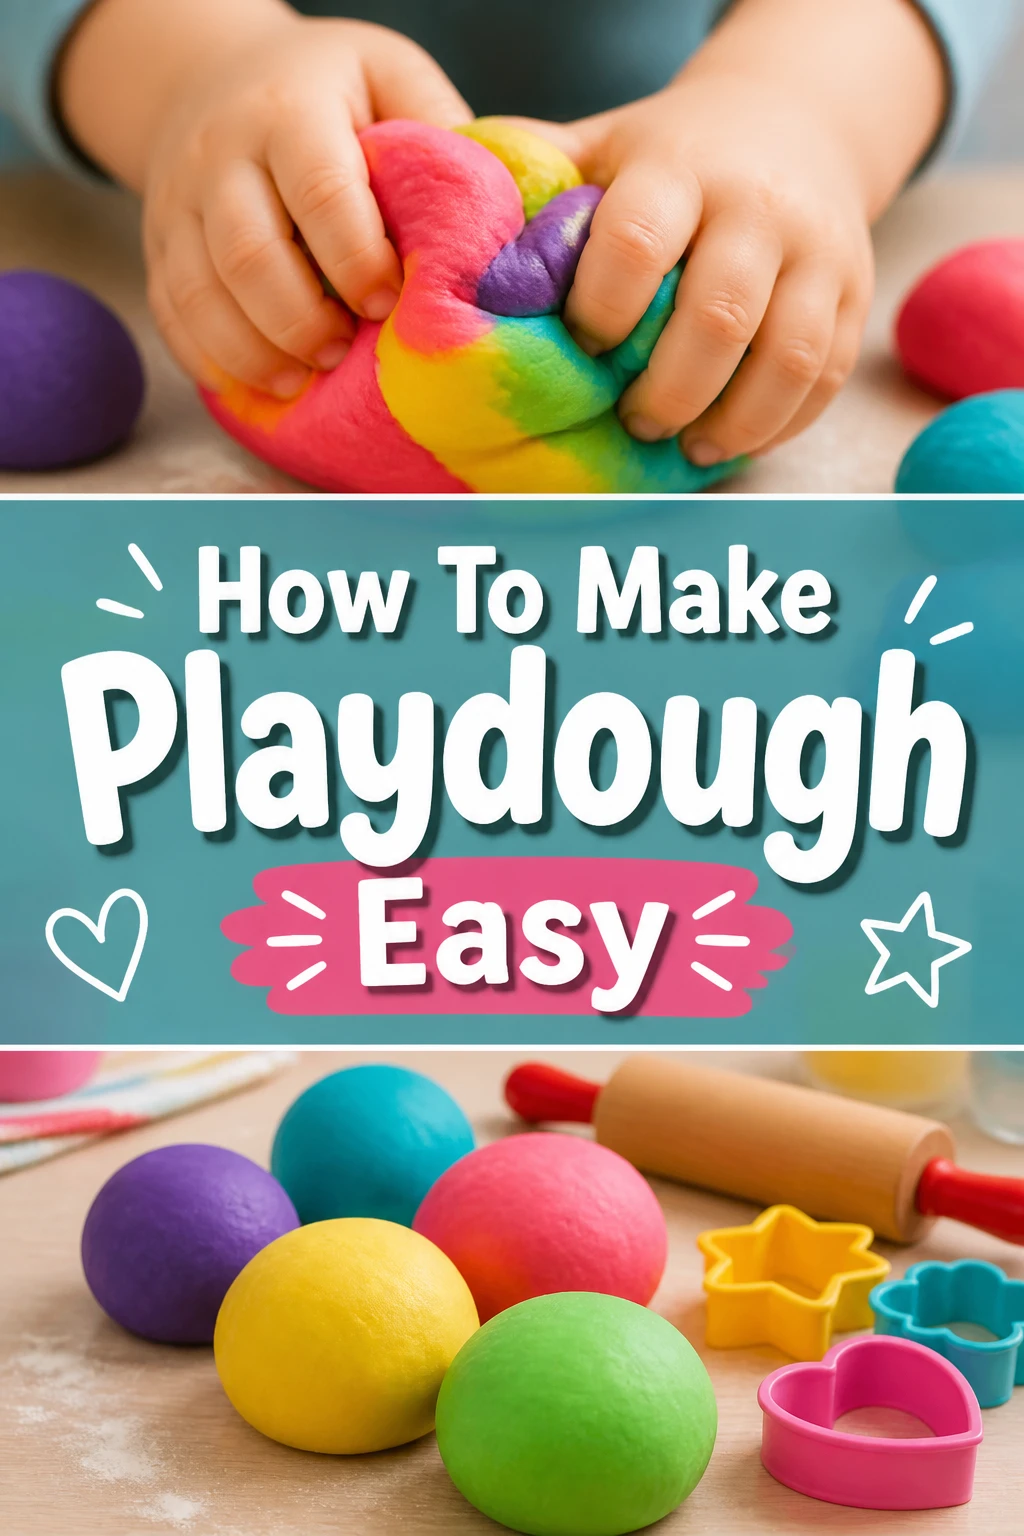
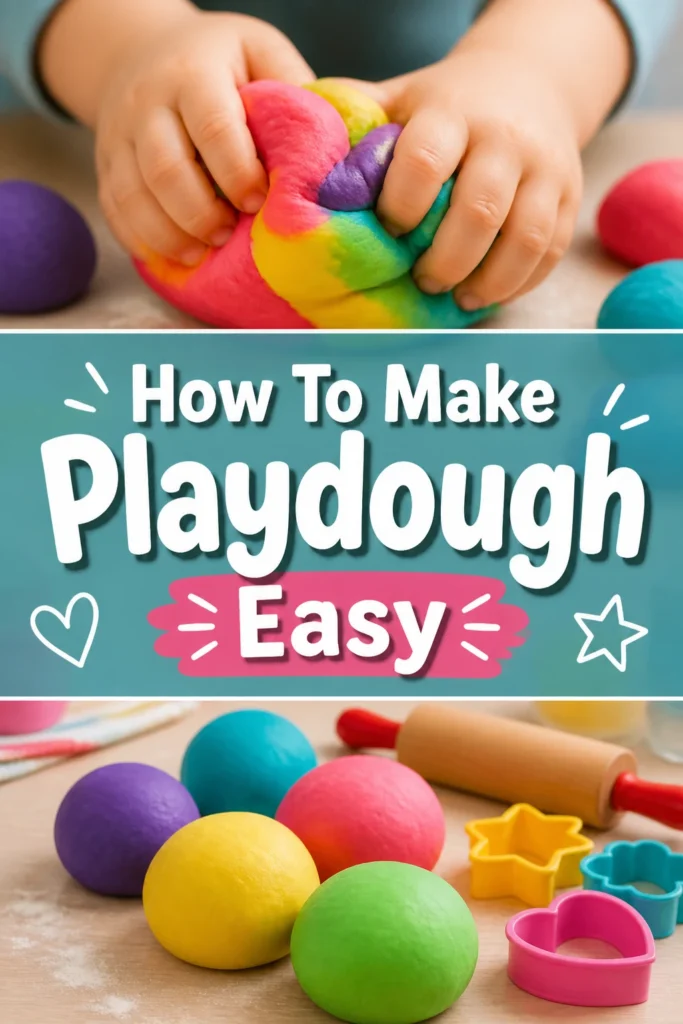
🎨 How To Make Playdough Easy
Making homemade playdough is one of my favorite activities to do with little ones. It brings so much joy and creative exploration, without the hefty price tag of store-bought versions.
I’ve personally whipped up countless batches over the years, from preschool classrooms to my own kitchen table, and I’ve learned all the tricks to make it simple and successful every time. This guide shares those easy, proven methods with you.
Quick Overview
This guide will walk you through creating a soft, pliable, and long-lasting playdough from scratch using simple kitchen ingredients. You’ll soon have a vibrant batch ready for hours of imaginative play.
- Time needed: 15-20 minutes (plus cooling)
- Difficulty: Beginner
- What you’ll need: Flour, salt, cream of tartar, water, cooking oil, food coloring
Step-by-Step Instructions
Step 1: Gather Your Ingredients and Tools
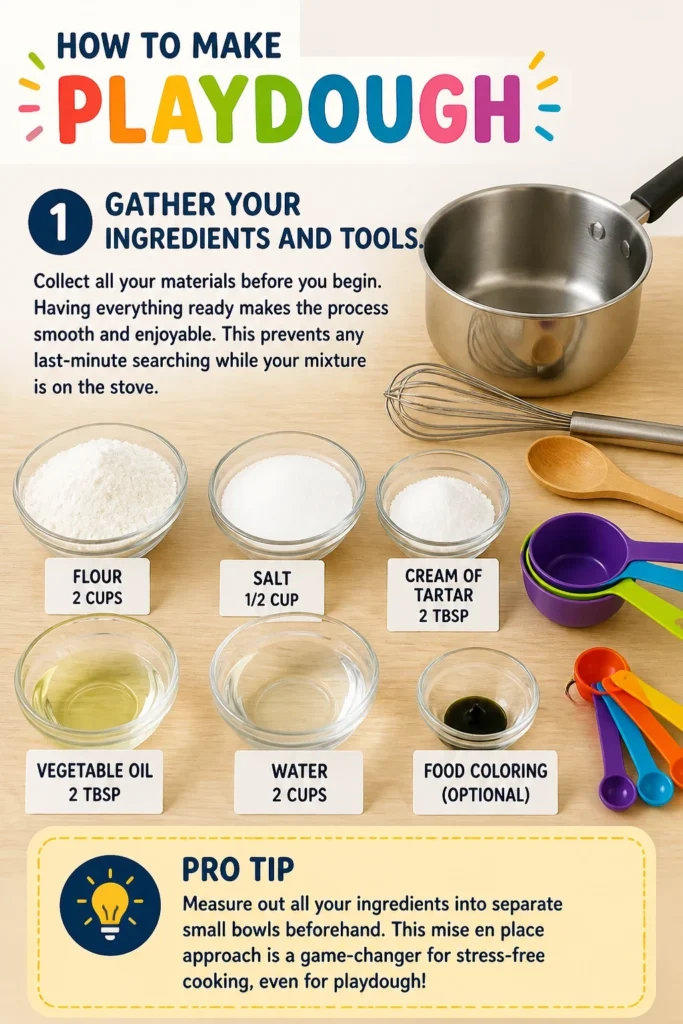
Collect all your materials before you begin. Having everything ready makes the process smooth and enjoyable. This prevents any last-minute searching while your mixture is on the stove.
You will need a medium-sized saucepan, a whisk, a wooden spoon, and measuring cups and spoons. Ensure your workspace is clean and clear.
Pro Tip: Measure out all your ingredients into separate small bowls beforehand. This “mise en place” approach is a game-changer for stress-free cooking, even for playdough!
Step 2: Combine Dry Ingredients
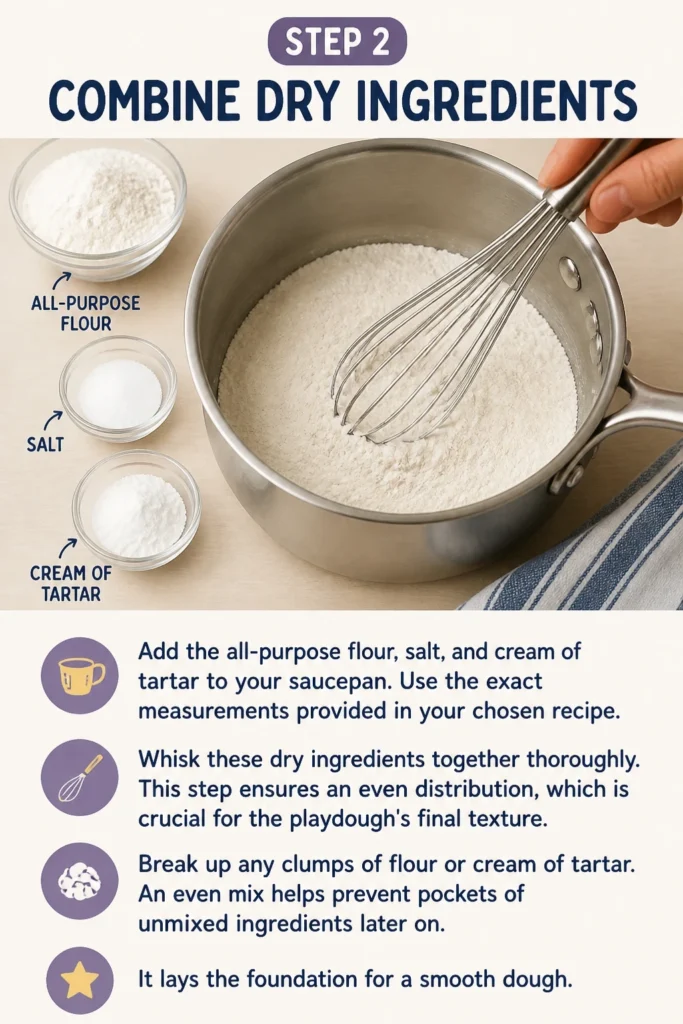
Add the all-purpose flour, salt, and cream of tartar to your saucepan. Use the exact measurements provided in your chosen recipe.
Whisk these dry ingredients together thoroughly. This step ensures an even distribution, which is crucial for the playdough’s final texture. Break up any clumps of flour or cream of tartar.
An even mix helps prevent pockets of unmixed ingredients later on. It lays the foundation for a smooth dough.
Step 3: Introduce Wet Ingredients
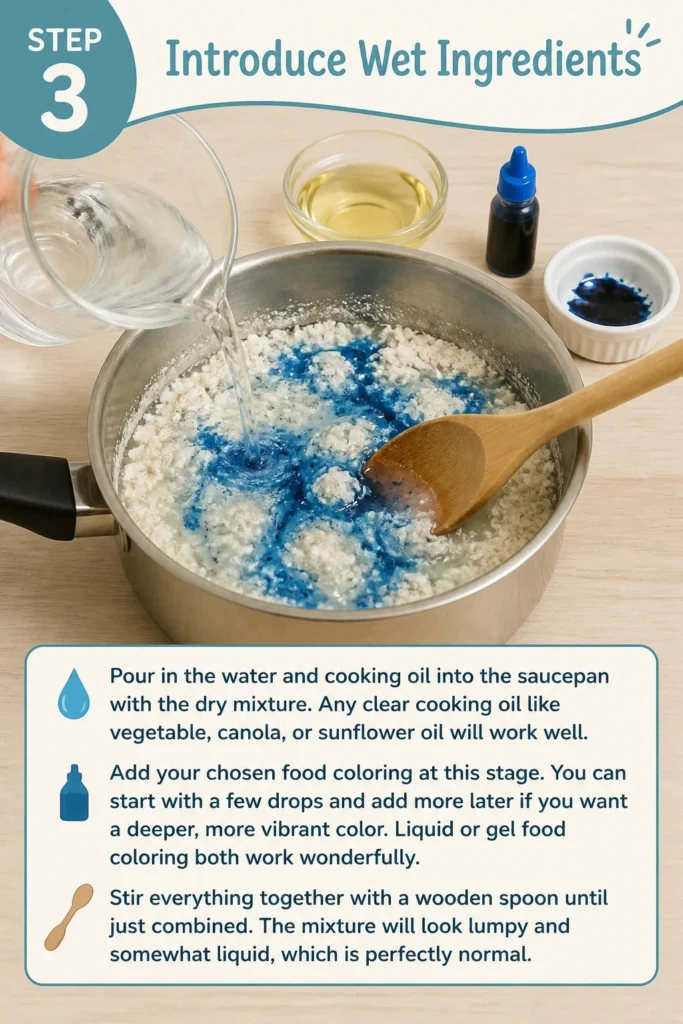
Pour in the water and cooking oil into the saucepan with the dry mixture. Any clear cooking oil like vegetable, canola, or sunflower oil will work well.
Add your chosen food coloring at this stage. You can start with a few drops and add more later if you want a deeper, more vibrant color. Liquid or gel food coloring both work wonderfully.
Stir everything together with a wooden spoon until just combined. The mixture will look lumpy and somewhat liquid, which is perfectly normal.
Step 4: Cook the Mixture
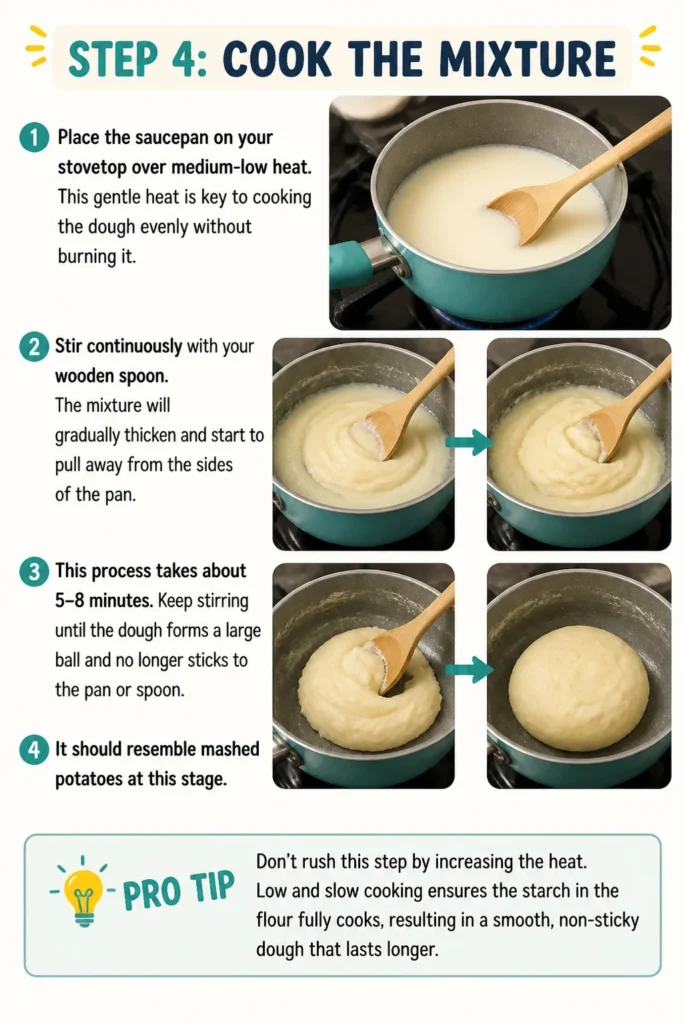
Place the saucepan on your stovetop over medium-low heat. This gentle heat is key to cooking the dough evenly without burning it.
Stir continuously with your wooden spoon. The mixture will gradually thicken and start to pull away from the sides of the pan. This process takes about 5-8 minutes.
Keep stirring until the dough forms a large ball and no longer sticks to the pan or spoon. It should resemble mashed potatoes at this stage.
Pro Tip: Don’t rush this step by increasing the heat. Low and slow cooking ensures the starch in the flour fully cooks, resulting in a smooth, non-sticky dough that lasts longer.
Step 5: Cool the Dough
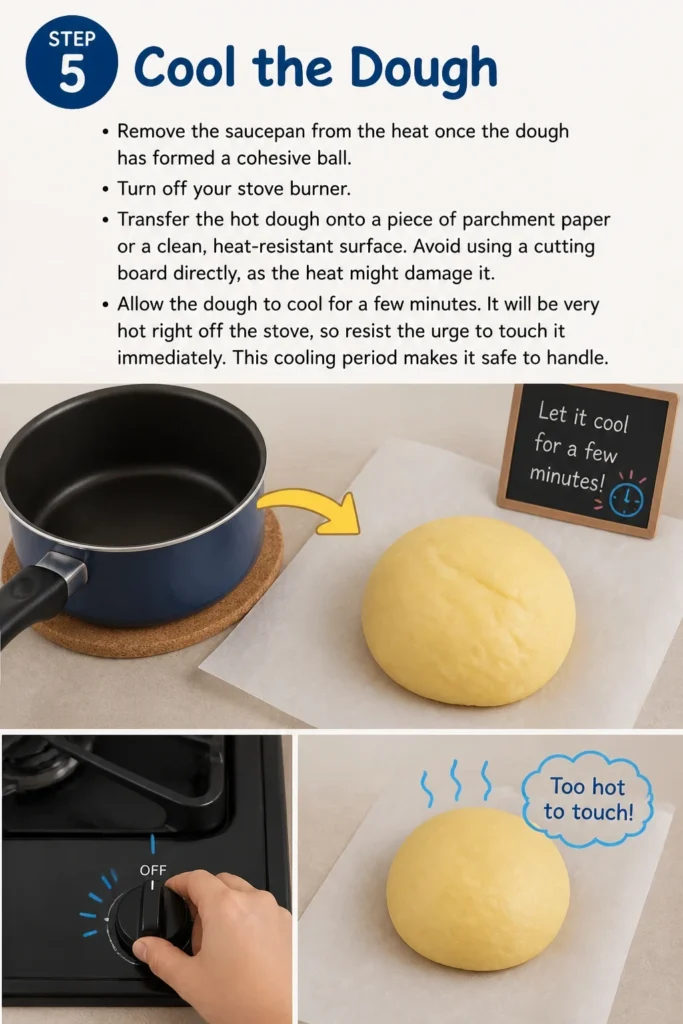
Remove the saucepan from the heat once the dough has formed a cohesive ball. Turn off your stove burner.
Transfer the hot dough onto a piece of parchment paper or a clean, heat-resistant surface. Avoid using a cutting board directly, as the heat might damage it.
Allow the dough to cool for a few minutes. It will be very hot right off the stove, so resist the urge to touch it immediately. This cooling period makes it safe to handle.
Step 6: Knead the Playdough
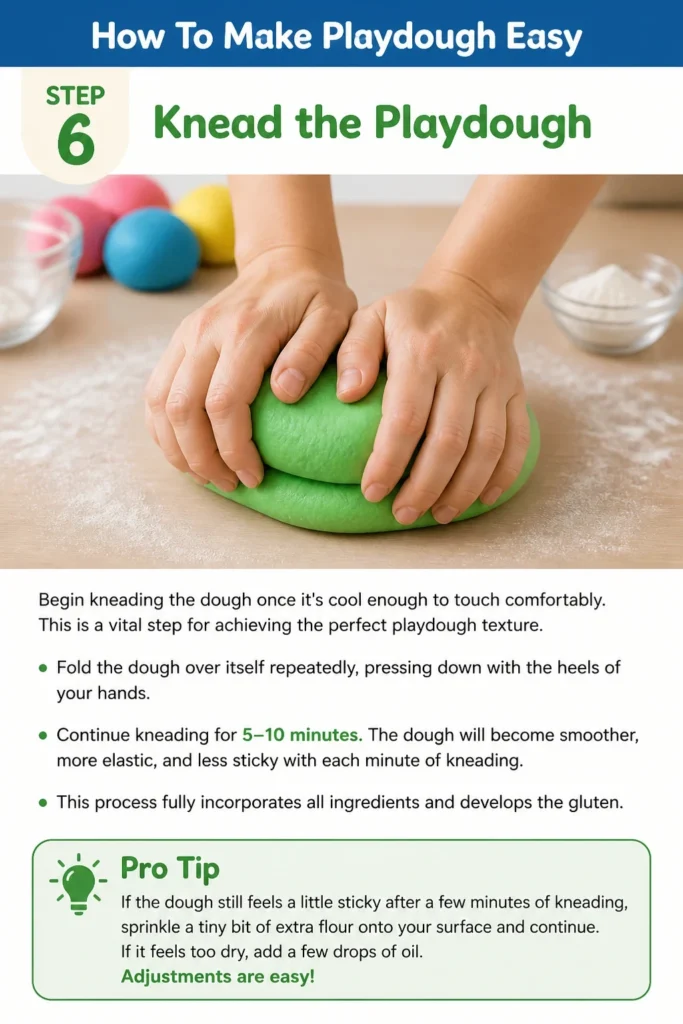
Begin kneading the dough once it’s cool enough to touch comfortably. This is a vital step for achieving the perfect playdough texture.
Fold the dough over itself repeatedly, pressing down with the heels of your hands. Continue kneading for 5-10 minutes.
The dough will become smoother, more elastic, and less sticky with each minute of kneading. This process fully incorporates all ingredients and develops the gluten.
Pro Tip: If the dough still feels a little sticky after a few minutes of kneading, sprinkle a tiny bit of extra flour onto your surface and continue. If it feels too dry, add a few drops of oil. Adjustments are easy!
Step 7: Store and Play!
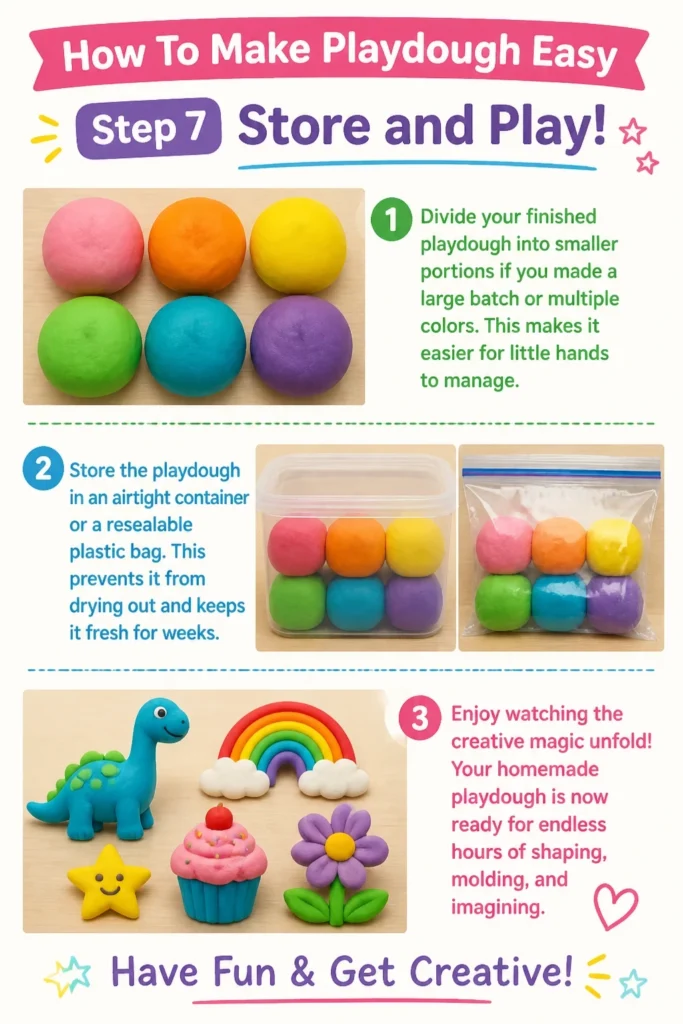
Divide your finished playdough into smaller portions if you made a large batch or multiple colors. This makes it easier for little hands to manage.
Store the playdough in an airtight container or a resealable plastic bag. This prevents it from drying out and keeps it fresh for weeks.
Enjoy watching the creative magic unfold! Your homemade playdough is now ready for endless hours of shaping, molding, and imagining.
Common Mistakes to Avoid
Not Cooking Long Enough
One of the most frequent errors is removing the dough from the heat too soon. If the dough is still sticky or gooey, it hasn’t cooked enough. This results in a messy, unusable playdough that won’t hold its shape.
Continue stirring over low heat until the dough completely pulls away from the sides of the pan and forms a firm ball. Patience here makes all the difference for a perfect texture.
Using Too Much Food Coloring
While vibrant colors are fun, adding an excessive amount of liquid food coloring can sometimes alter the dough’s consistency. It can make the dough slightly wetter or even stain hands during play.
Start with a conservative amount and gradually add more if needed. Gel food coloring often provides more intense color with less liquid, making it a good choice for bold hues.
Skipping the Kneading Step
The kneading process isn’t just for cooling; it’s essential for developing the dough’s texture and elasticity. If you skip or cut short the kneading, your playdough might feel crumbly, stiff, or not as smooth.
Think of kneading as activating the ingredients and making the dough pliable. Dedicate a good 5-10 minutes to this step for the best results.
Improper Storage
Leaving playdough exposed to air is a surefire way to shorten its lifespan. It will dry out quickly, becoming hard and crumbly. This makes it unusable for future play sessions.
Always store your homemade playdough in an airtight container or a tightly sealed plastic bag. This simple step keeps it soft and fresh for weeks, sometimes even months.
Troubleshooting
My Playdough is Too Sticky
If your playdough feels excessively sticky, it likely needs more cooking time or a bit more flour. Return the dough to the saucepan over low heat and stir for a few more minutes until it firms up.
Alternatively, if it’s already cooled, knead in a small amount of extra flour, a teaspoon at a time, until the stickiness disappears. This helps absorb excess moisture.
My Playdough is Too Dry or Crumbly
A dry or crumbly playdough usually indicates it was cooked for too long or didn’t have enough moisture initially. It might feel stiff and break apart easily.
Try kneading in a few drops of cooking oil or a tiny splash of water. Add these liquids very gradually, mixing well after each addition, until the dough reaches a soft, pliable consistency.
My Playdough Developed Mold
Mold typically appears if the playdough wasn’t stored properly or if it’s very old. Homemade playdough, while long-lasting, isn’t immortal.
If you spot any mold, it’s best to discard the entire batch immediately. To prevent mold, always store playdough in an airtight container in the refrigerator, especially if you live in a humid climate.
Key Takeaways
- Gathering all ingredients first makes the playdough-making process much smoother.
- Thoroughly whisking dry ingredients ensures an even texture in your final dough.
- Cooking the dough over medium-low heat and stirring continuously is crucial for proper consistency.
- Don’t underestimate the importance of kneading; it develops elasticity and smoothness.
- Always store homemade playdough in an airtight container to prevent it from drying out.
- Homemade playdough is a cost-effective, non-toxic, and endlessly fun creative activity.
Frequently Asked Questions
How long does homemade playdough last?
When stored correctly in an airtight container, homemade playdough can last for several weeks, often up to a month or two. Keeping it in the refrigerator can extend its lifespan even further. Always check for any signs of mold or a sour smell before use.
Can I make different colors of playdough from one batch?
Absolutely! To make multiple colors, prepare a plain, uncolored batch of playdough up to the kneading stage. Once cooled, divide the plain dough into several portions. Then, knead a few drops of different food colorings into each portion separately until the color is fully incorporated.
Is homemade playdough safe for toddlers?
Yes, homemade playdough made with common kitchen ingredients like flour, salt, and cream of tartar is generally considered non-toxic and safe for toddlers. However, it is not intended for consumption, and supervision is always recommended, especially with very young children who might be tempted to put it in their mouths.
What if I don’t have cream of tartar?
Cream of tartar helps to preserve the playdough and gives it a super soft, elastic texture. While you can make playdough without it, the resulting dough might not last as long or be quite as soft. If you omit it, consider adding an extra tablespoon of salt for preservation.
Our Top Recommended Finds
- Airtight Containers: Essential for keeping your playdough fresh and pliable for weeks. Look for stackable, clear containers for easy organization.
- Kid-Friendly Rolling Pins: Small, easy-to-grip rolling pins are perfect for little hands to flatten and shape dough. Wooden or plastic options work great.
- Cookie Cutters: A set of various shapes and sizes adds endless possibilities for creative play. Animal shapes, letters, or basic geometric forms are always a hit.
Ready to Get Creative?
You now have all the knowledge and practical steps needed to create your very own batch of easy, vibrant playdough. This simple recipe is more than just ingredients; it’s an invitation to creativity, sensory exploration, and precious moments with your children.
Don’t wait another day to experience the joy of homemade playdough. Gather your supplies, follow these steps, and watch the magic unfold in your home. Once you master this, perhaps you’ll explore adding scents with essential oils or textures with glitter!