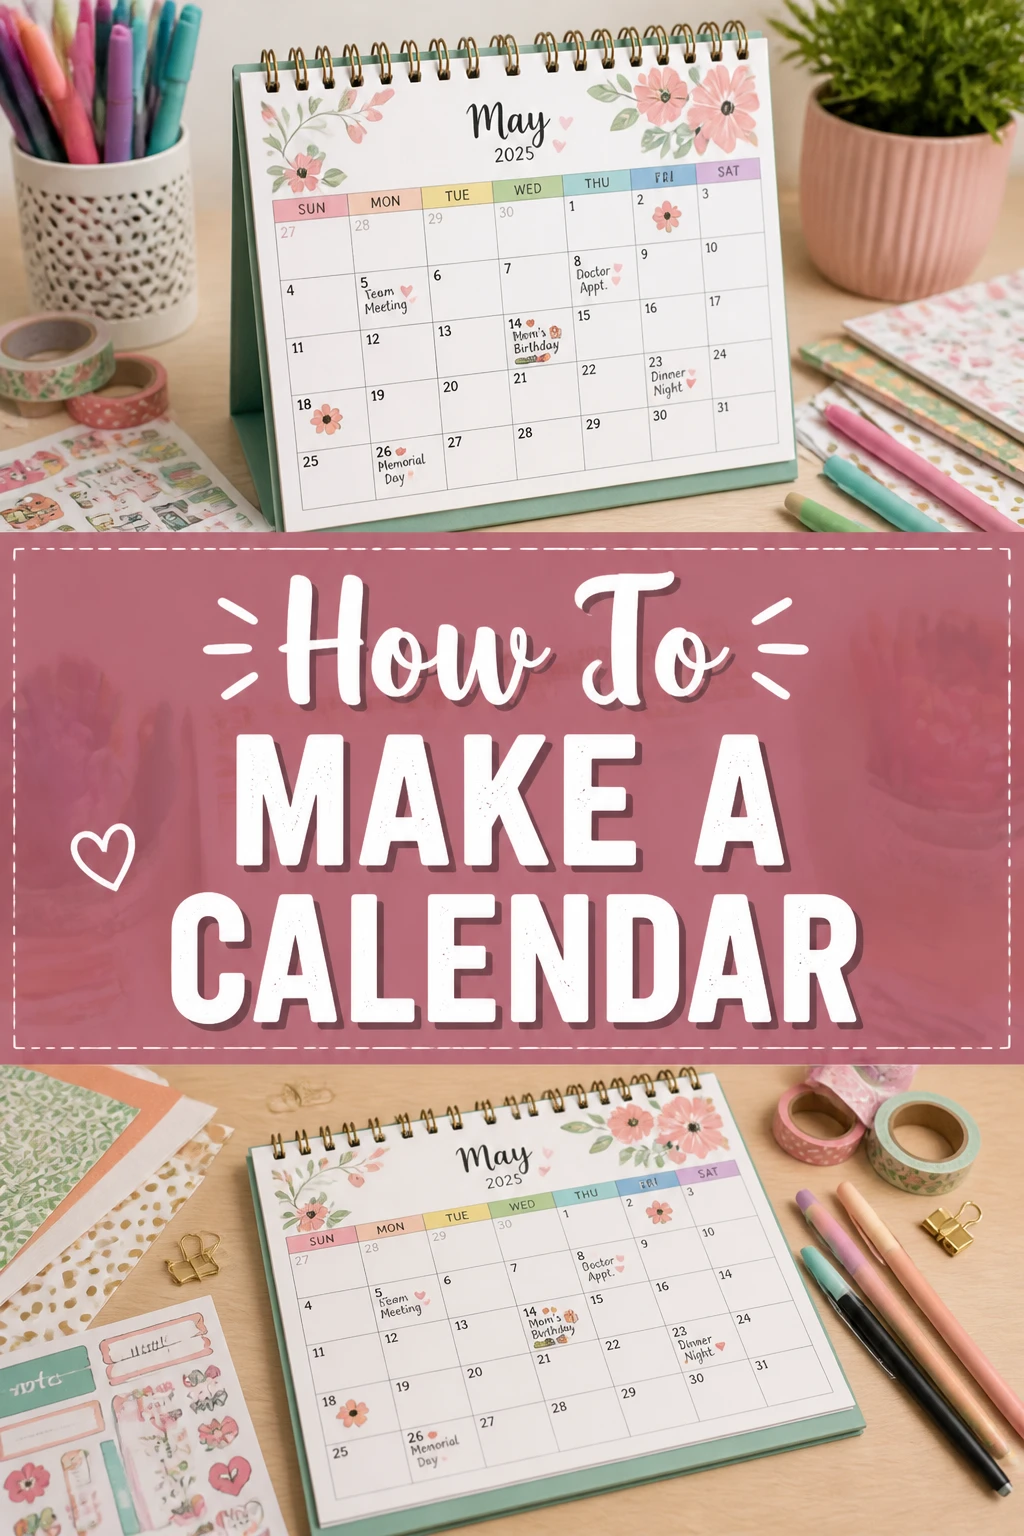
🗓️ How To Make A Calendar
Do you ever feel like off-the-shelf calendars just don’t quite fit your life? I remember years ago struggling to find a planner that had enough space for my family’s busy schedule and my own creative projects.
That’s when I realized the magic of crafting my own. This guide will walk you through creating a calendar that truly works for you.
You’ll learn how to design a functional, beautiful calendar tailored to your unique needs, whether for personal use, a gift, or a small business.
Quick Overview
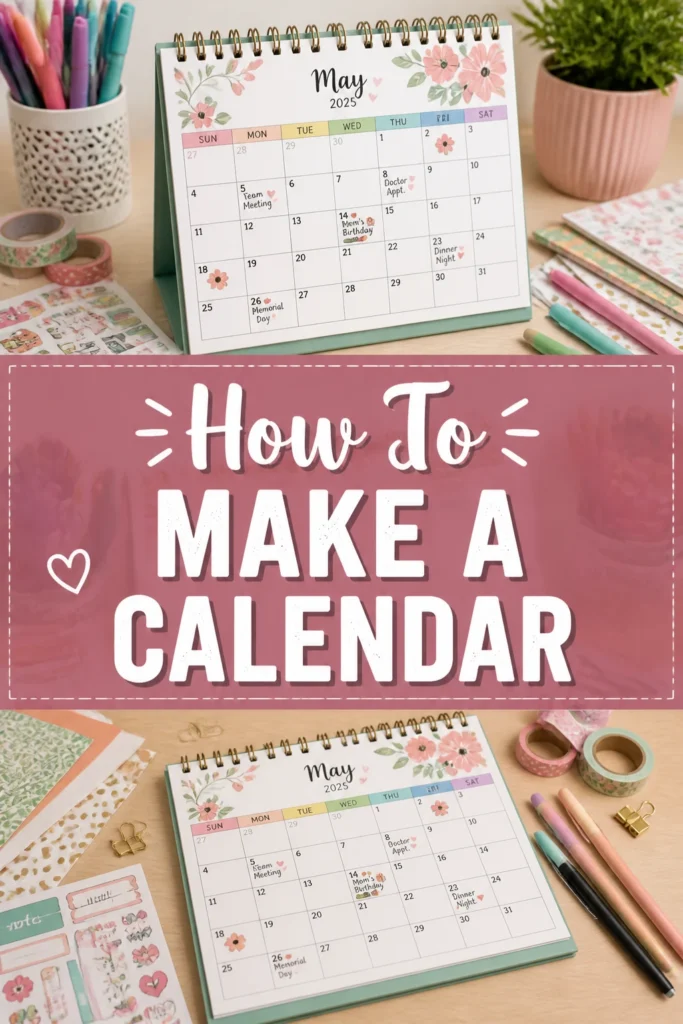
Creating your own calendar is a rewarding project that combines organization with creativity. You’ll finish with a personalized tool ready to help you plan your days.
- Time needed: 2-8 hours (depending on complexity and design choices)
- Difficulty: Beginner to Intermediate
- What you’ll need: Paper/digital design software, measuring tools, creativity, and a clear vision.
Step-by-Step Instructions
Step 1: Define Your Calendar’s Purpose and Audience
Before you begin any design work, think about who the calendar is for and what its primary function will be. Is it a family planner, a personal goal tracker, a desk accessory for work, or a gift?
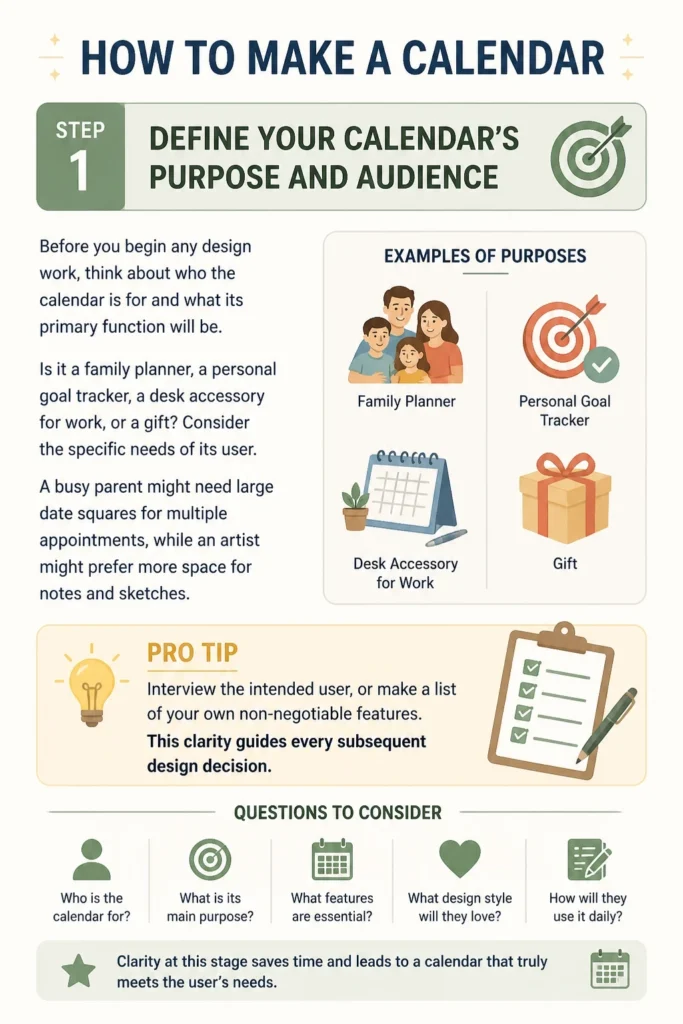
Consider the specific needs of its user. A busy parent might need large date squares for multiple appointments, while an artist might prefer more space for notes and sketches.
Pro Tip: Interview the intended user, or make a list of your own non-negotiable features. This clarity guides every subsequent design decision.
Step 2: Choose Your Format and Size
Calendars come in many forms. You could make a wall calendar, a desk calendar, a daily planner, a digital calendar template, or even a small pocket-sized version.
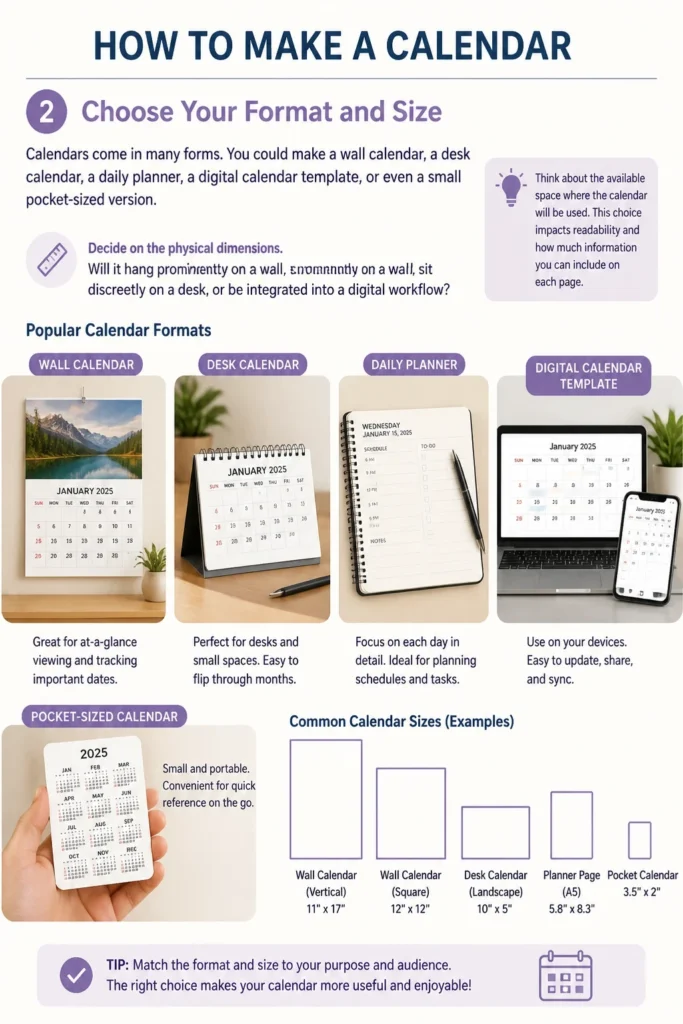
Decide on the physical dimensions. Will it hang prominently on a wall, sit discreetly on a desk, or be integrated into a digital workflow?
Think about the available space where the calendar will be used. This choice impacts readability and how much information you can include on each page.
Step 3: Select Your Materials or Software
Your format choice dictates your material needs. For a physical calendar, you’ll need paper, cardstock, and possibly binding supplies.
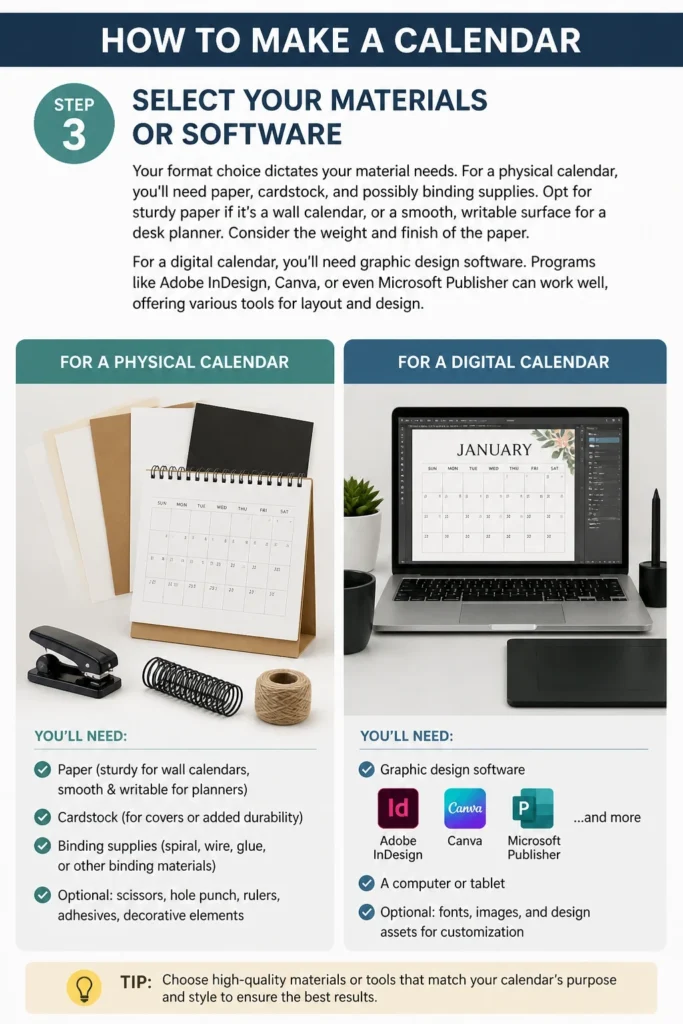
Opt for sturdy paper if it’s a wall calendar, or a smooth, writable surface for a desk planner. Consider the weight and finish of the paper.
For a digital calendar, you’ll need graphic design software. Programs like Adobe InDesign, Canva, or even Microsoft Publisher can work well, offering various tools for layout and design.
Step 4: Design the Basic Layout and Grid
This is where your calendar starts to take shape. Most calendars use a grid system to display days and weeks.
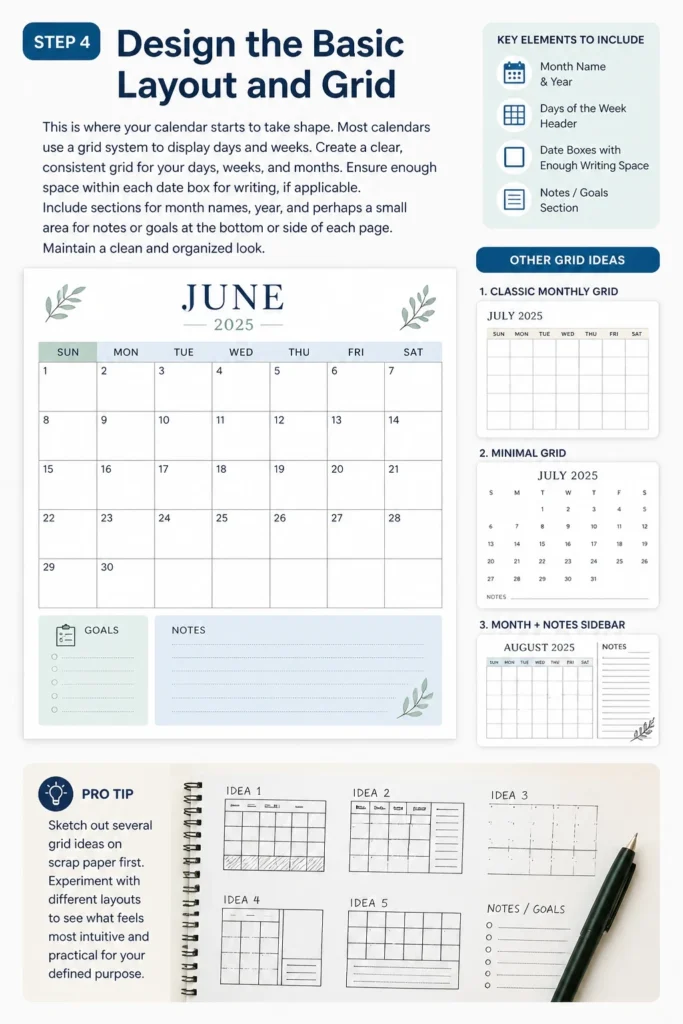
Create a clear, consistent grid for your days, weeks, and months. Ensure enough space within each date box for writing, if applicable.
Include sections for month names, year, and perhaps a small area for notes or goals at the bottom or side of each page. Maintain a clean and organized look.
Pro Tip: Sketch out several grid ideas on scrap paper first. Experiment with different layouts to see what feels most intuitive and practical for your defined purpose.
Step 5: Incorporate Visual Elements and Theme
A calendar doesn’t just track time; it can also be a source of inspiration or beauty. Choose a theme that resonates with you or your audience.
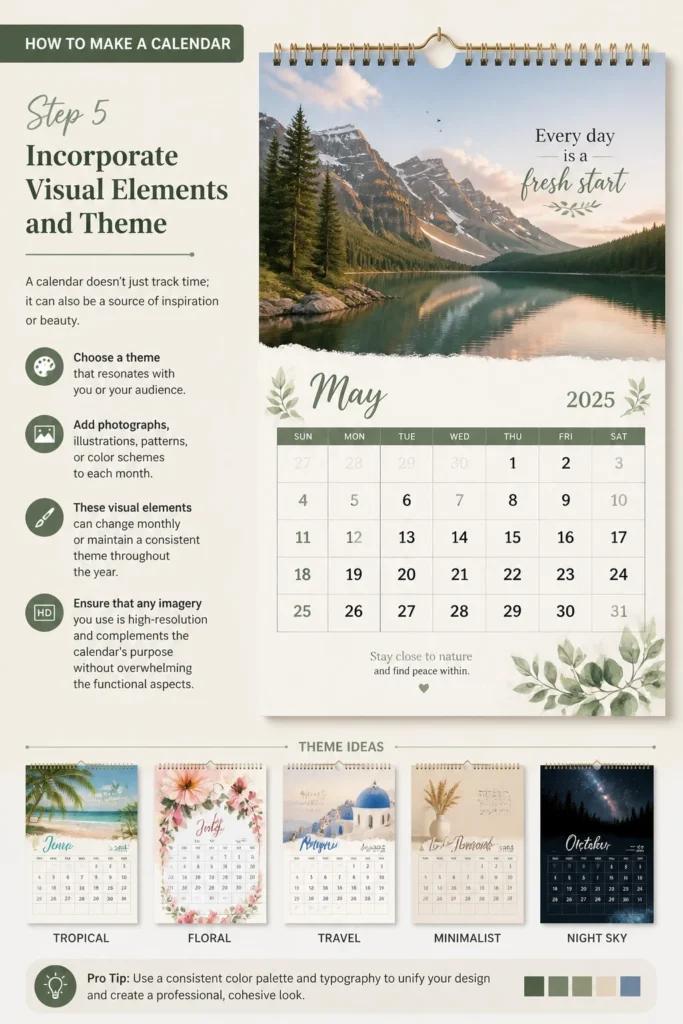
Add photographs, illustrations, patterns, or color schemes to each month. These visual elements can change monthly or maintain a consistent theme throughout the year.
Ensure that any imagery you use is high-resolution and complements the calendar’s purpose without overwhelming the functional aspects.
Step 6: Populate Dates, Holidays, and Important Events
Accuracy is paramount for a calendar. Carefully fill in all the dates for the entire year, paying close attention to the days of the week.
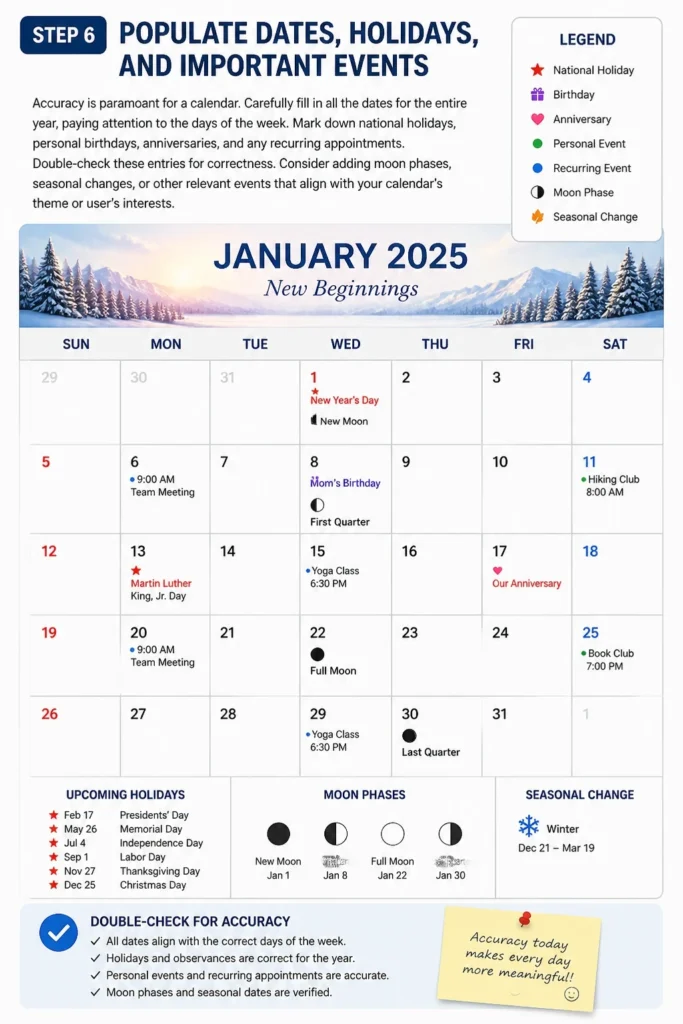
Mark down national holidays, personal birthdays, anniversaries, and any recurring appointments. Double-check these entries for correctness.
Consider adding moon phases, seasonal changes, or other relevant events that align with your calendar’s theme or user’s interests.
Step 7: Add Functional Details and Binding
How will your calendar be used and displayed? These practical considerations are crucial for its usability.
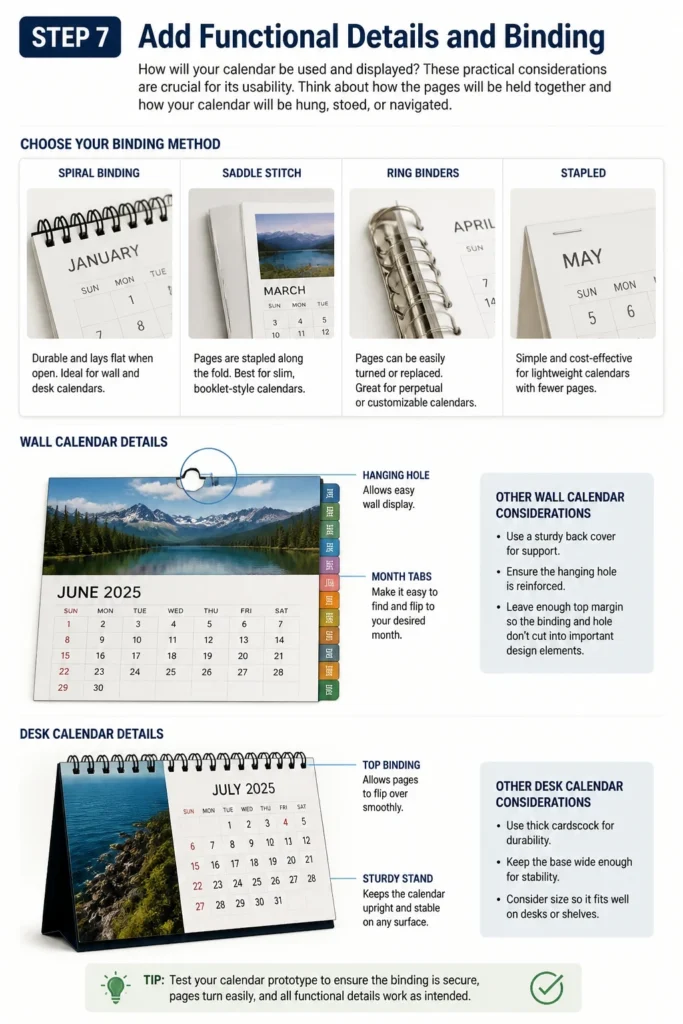
Think about how the pages will be held together. Options include spiral binding, saddle stitch, ring binders, or even simply stapling the pages.
Include elements like a hole for hanging (for wall calendars), tabs for easy month navigation, or a sturdy stand for desk calendars. Plan for these details in your design.
Step 8: Review, Refine, and Proofread
Before finalizing your calendar, a thorough review is essential. Even small errors can make a calendar frustrating to use.
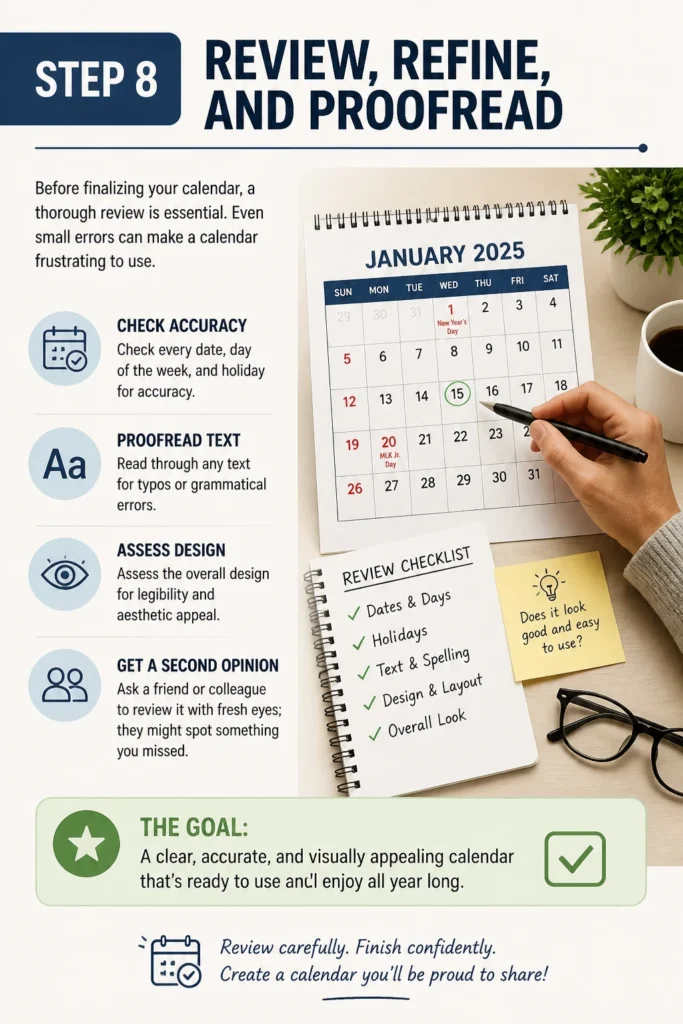
Check every date, day of the week, and holiday for accuracy. Read through any text for typos or grammatical errors.
Assess the overall design for legibility and aesthetic appeal. Ask a friend or colleague to review it with fresh eyes; they might spot something you missed.
Step 9: Print, Publish, or Share Your Calendar
The final step is to bring your calendar to life. The method depends on whether it’s physical or digital.
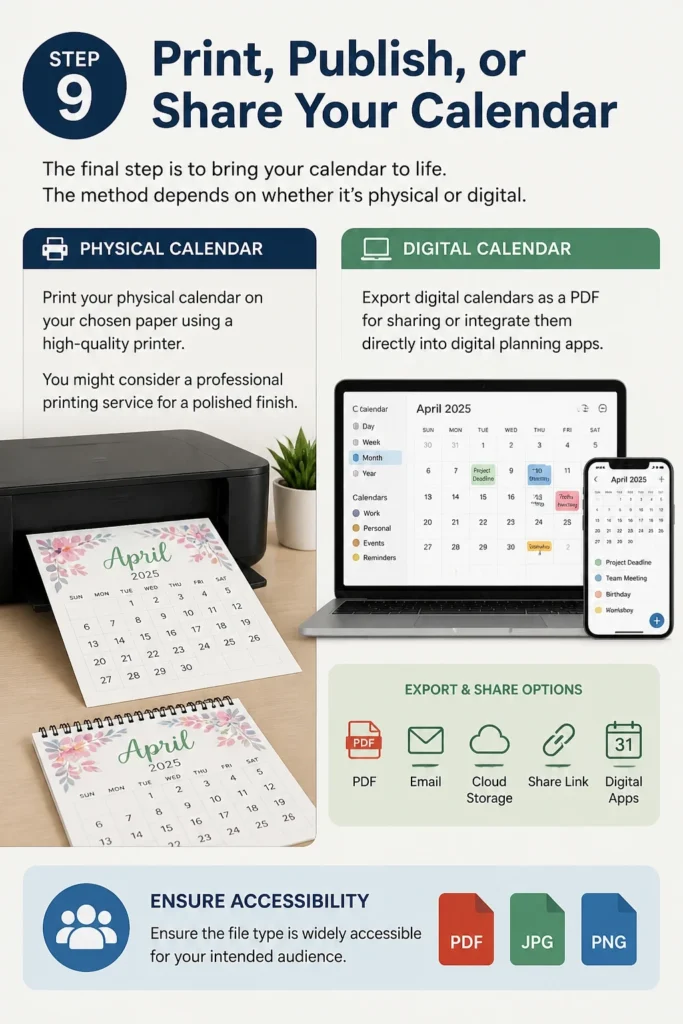
Print your physical calendar on your chosen paper using a high-quality printer. You might consider a professional printing service for a polished finish.
Export digital calendars as a PDF for sharing or integrate them directly into digital planning apps. Ensure the file type is widely accessible for your intended audience.
Common Mistakes to Avoid
Overcomplicating the Design
Many people try to cram too much information or too many design elements onto one page. This can make the calendar look cluttered and difficult to read. Focus on clarity and functionality first, then add decorative touches sparingly to enhance, not distract.
Inconsistent Layout or Formatting
Failing to maintain a consistent grid, font size, or color scheme across all months can make your calendar appear unprofessional and confusing. Establish your core design rules early on and stick to them for a cohesive and polished final product. Consistency builds trust and ease of use.
Ignoring Usability for Aesthetics
Sometimes a design looks beautiful but isn’t practical. Forgetting to leave enough writing space, using fonts that are hard to read, or placing important dates in awkward positions are common errors. Always prioritize how the calendar will actually be used over purely visual appeal.
Forgetting to Proofread Thoroughly
Mistakes in dates, days of the week, or holiday listings are surprisingly common and can render a calendar useless. It’s easy to overlook your own errors. Always have at least one other person review your calendar for accuracy before printing or finalizing to catch any overlooked details.
Troubleshooting
Dates or Days Don’t Align Correctly
This is a frequent issue, especially when manually setting up a grid. Double-check your starting day of the week for January 1st and ensure each subsequent month correctly follows from the last day of the previous month. Use an existing reliable calendar as a reference for cross-checking every single month.
Printing Issues (Colors Off, Misalignment)
If printed colors don’t match your screen, your monitor might not be calibrated, or your printer settings are incorrect. Try printing a test page with various colors. For misalignment, ensure your design margins are set correctly and that your printer paper guides are snug. Sometimes, scaling settings in the print dialogue need adjustment (e.g., “Actual Size” instead of “Fit to Page”).
Calendar Feels Too Flimsy or Falls Apart
The choice of materials and binding is crucial for durability. If your calendar feels too weak, consider using heavier cardstock for pages and a more robust binding method like spiral or wire-o binding. For wall calendars, reinforce the hanging hole with a metal eyelet to prevent tearing.
Key Takeaways
- Start with Purpose: Clearly define who your calendar is for and what its main function will be before any design work.
- Prioritize Clarity: Ensure dates, days, and any notes sections are easy to read and use, avoiding clutter.
- Choose Wisely: Select materials, software, and binding methods that match your calendar’s intended use and durability needs.
- Be Consistent: Maintain a uniform layout, font, and color scheme across all months for a professional and cohesive look.
- Proofread Meticulously: Double-check all dates, days, and text for accuracy to prevent errors.
- Embrace Personalization: Infuse your calendar with themes and visuals that make it uniquely yours or perfectly suited for its recipient.
Frequently Asked Questions
Is it better to make a digital or physical calendar?
The best choice depends on your lifestyle. Digital calendars offer flexibility, easy sharing, and integration with other apps, ideal for on-the-go planning. Physical calendars provide a tangible, often more aesthetic experience, encouraging mindful planning and a break from screens.
What’s the best way to bind a homemade wall calendar?
Spiral binding (also known as coil binding) or wire-o binding are excellent choices for wall calendars. They allow pages to lay flat when open and flip easily without damaging the spine. You can often find affordable binding services at local print shops or invest in a small binding machine.
How can I add special personal touches to my calendar?
Beyond photos, consider marking personal anniversaries, inside jokes, or local events. You could also include a monthly quote, a small space for reflection, or even a ‘challenge of the month’ related to your interests. Hand-drawn elements or custom stickers also add charm.
What’s a good budget-friendly option for printing?
For a budget-friendly option, consider printing at home on quality cardstock, especially if your design is simple. Local office supply stores often offer competitive pricing for basic color printing, and online print services can be cost-effective for larger quantities or specialized finishes.
Our Top Recommended Finds
- Heavyweight Cardstock: Provides a sturdy base for physical calendars, preventing bleed-through and increasing durability.
- Graphic Design Software (e.g., Canva Pro): Offers intuitive tools and templates for creating professional-looking digital or printable designs.
- Portable Photo Printer: Great for adding personal photos directly to your printed calendar pages or for creating mini photo calendars.
Craft Your Organized Future Today
Making your own calendar is more than just a creative project; it’s an act of intentionality. You’re not just organizing dates; you’re designing how you’ll engage with your time, your goals, and your memories.
The process of planning each month, selecting imagery, and ensuring every detail is just right brings a unique sense of accomplishment. You end up with a tool that truly reflects your priorities and aesthetic.
Why settle for a generic calendar when you can have one that’s perfectly aligned with your life? Take the first step today and begin outlining your custom calendar. You’ll love the feeling of personalized organization.