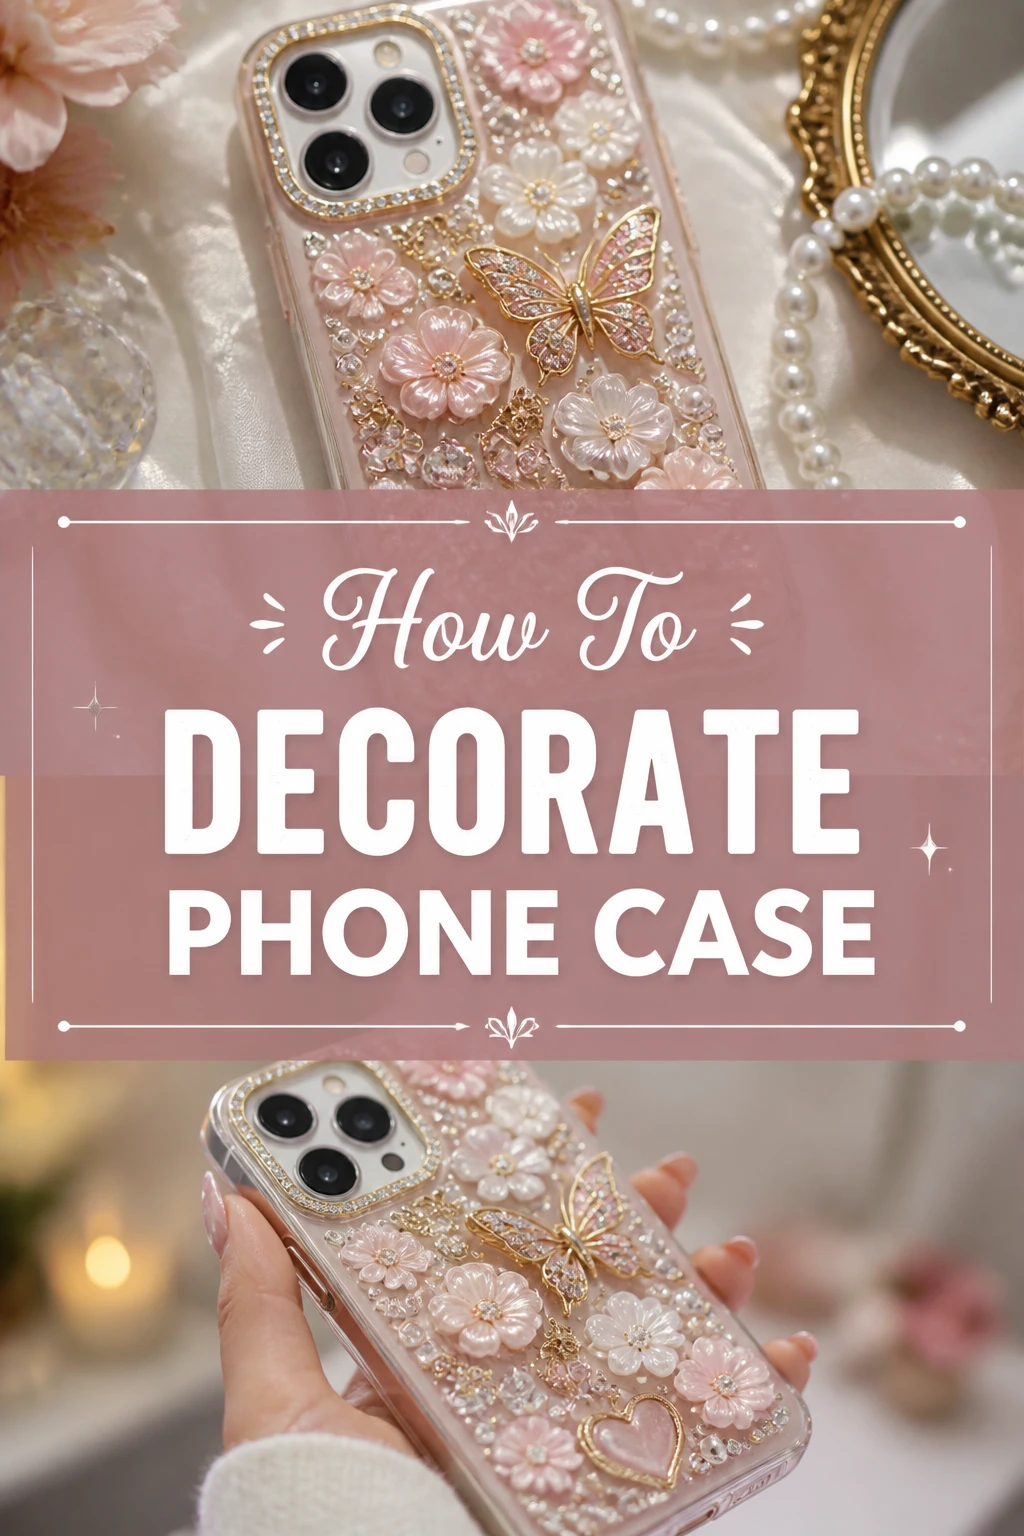
🎨 How To Decorate Phone Case
I have spent years experimenting with different crafting materials to see what actually stays on a phone case and what falls off after two days.
Your phone is likely the most used object in your daily life, so it deserves a look that reflects your personal style.
This guide will help you create a custom accessory that looks professional and stands up to the wear and tear of being in your pocket or bag.
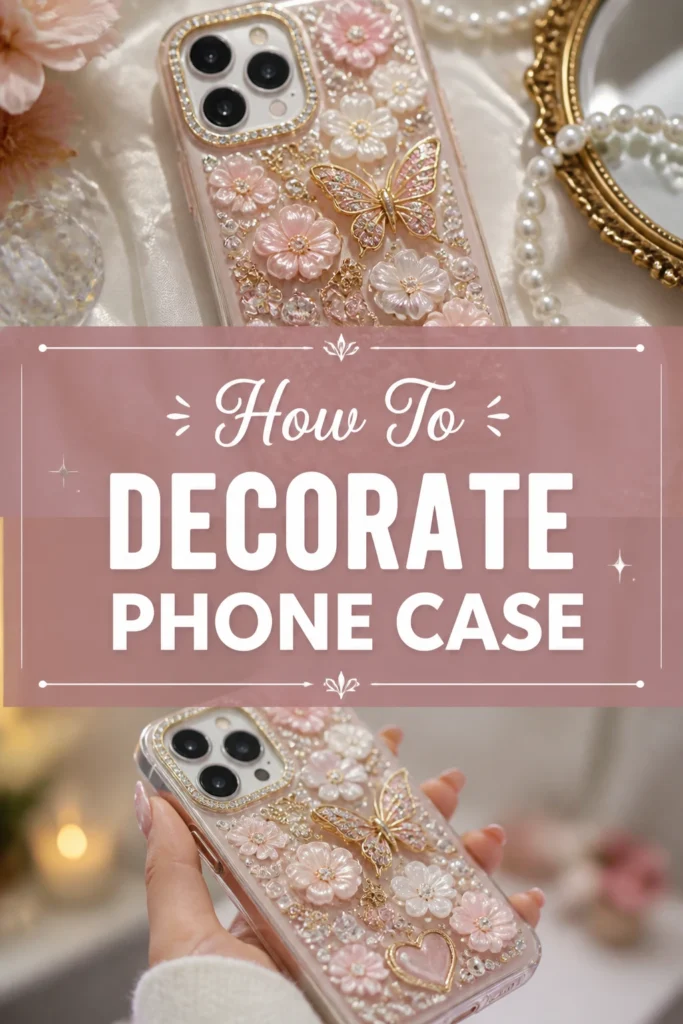
Quick Overview
Before you start gathering your supplies, take a look at the basic requirements for this project.
- Time needed: 45 minutes to 2 hours (plus drying time)
- Difficulty: Beginner
- What you’ll need: A plain phone case, isopropyl alcohol, strong adhesive, and your choice of decorative elements like paint pens, stickers, or charms.
Step 1: Select Your Base Case
Choose a case that provides a flat, stable surface for your decorations.
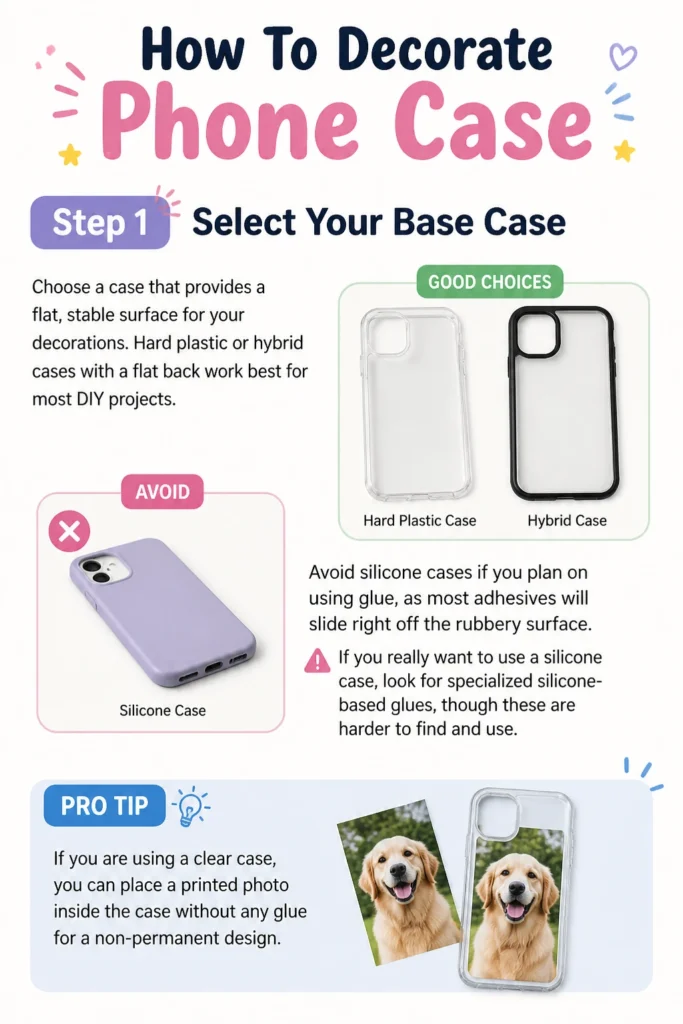
Hard plastic or hybrid cases with a flat back work best for most DIY projects.
Avoid silicone cases if you plan on using glue, as most adhesives will slide right off the rubbery surface.
If you really want to use a silicone case, look for specialized silicone-based glues, though these are harder to find and use.
Clear cases are a popular choice because they allow you to place decorations on the inside or outside of the shell.
Pro Tip: If you are using a clear case, you can place a printed photo inside the case without any glue for a non-permanent design.
Step 2: Clean the Surface Thoroughly
Wipe the entire back of the case with a lint-free cloth dipped in isopropyl alcohol.
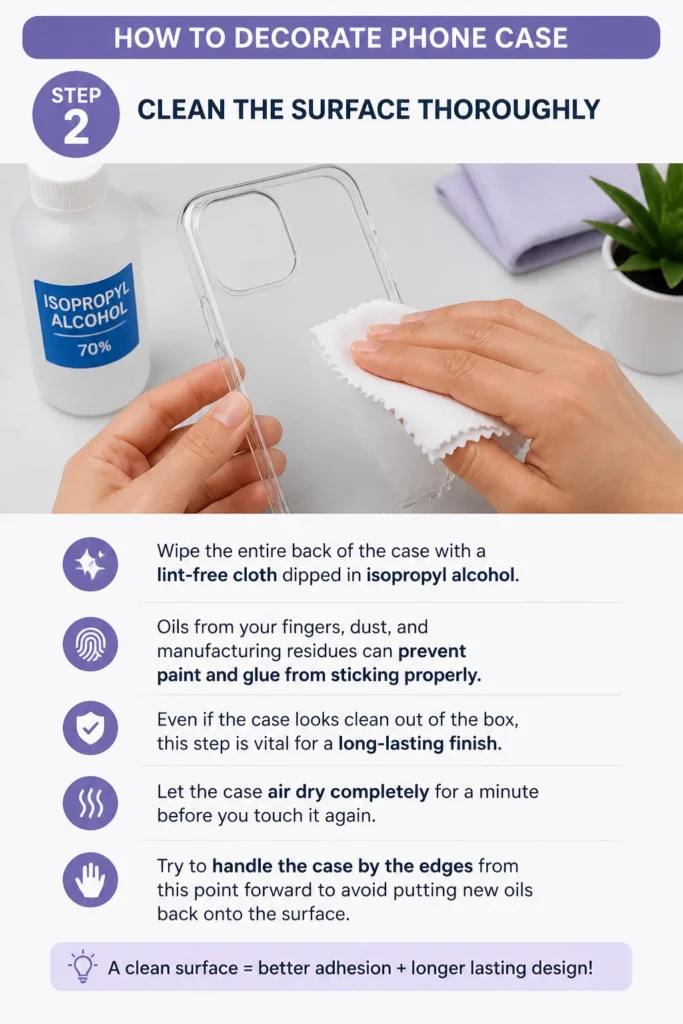
Oils from your fingers, dust, and manufacturing residues can prevent paint and glue from sticking properly.
Even if the case looks clean out of the box, this step is vital for a long-lasting finish.
Let the case air dry completely for a minute before you touch it again.
Try to handle the case by the edges from this point forward to avoid putting new oils back onto the surface.
Step 3: Plan Your Layout
Arrange all your charms, stickers, or photos on the back of the case before you apply any permanent adhesive.
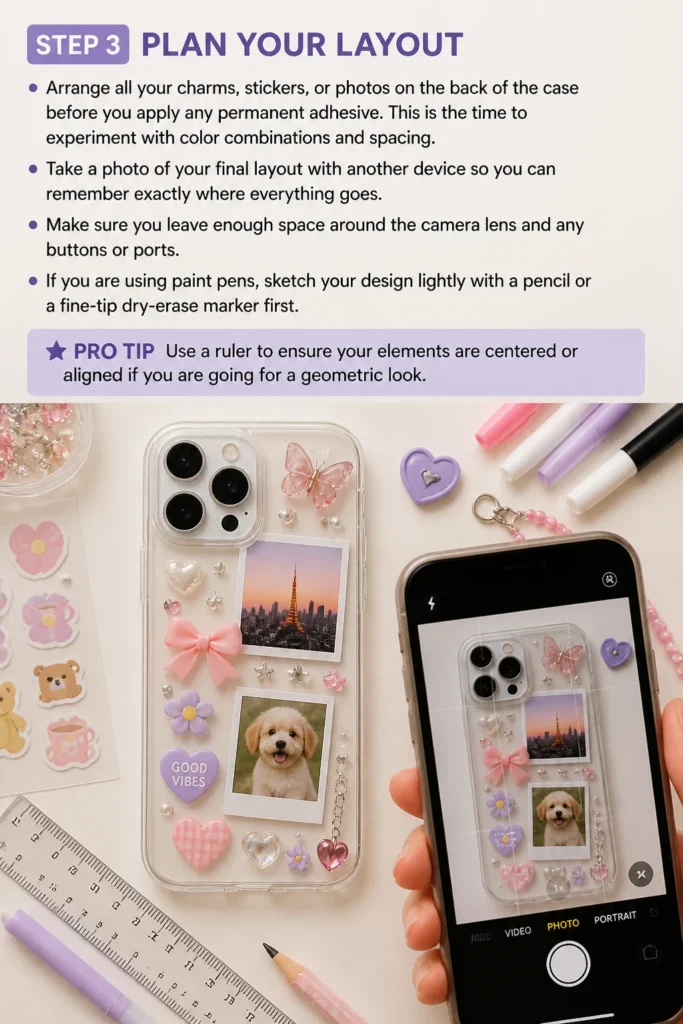
This is the time to experiment with color combinations and spacing.
Take a photo of your final layout with another device so you can remember exactly where everything goes.
Make sure you leave enough space around the camera lens and any buttons or ports.
If you are using paint pens, sketch your design lightly with a pencil or a fine-tip dry-erase marker first.
Pro Tip: Use a ruler to ensure your elements are centered or aligned if you are going for a geometric look.
Step 4: Prepare the Surface for Better Grip
Scuff the surface of the case very lightly with fine-grit sandpaper if you are using heavy charms or thick paint.
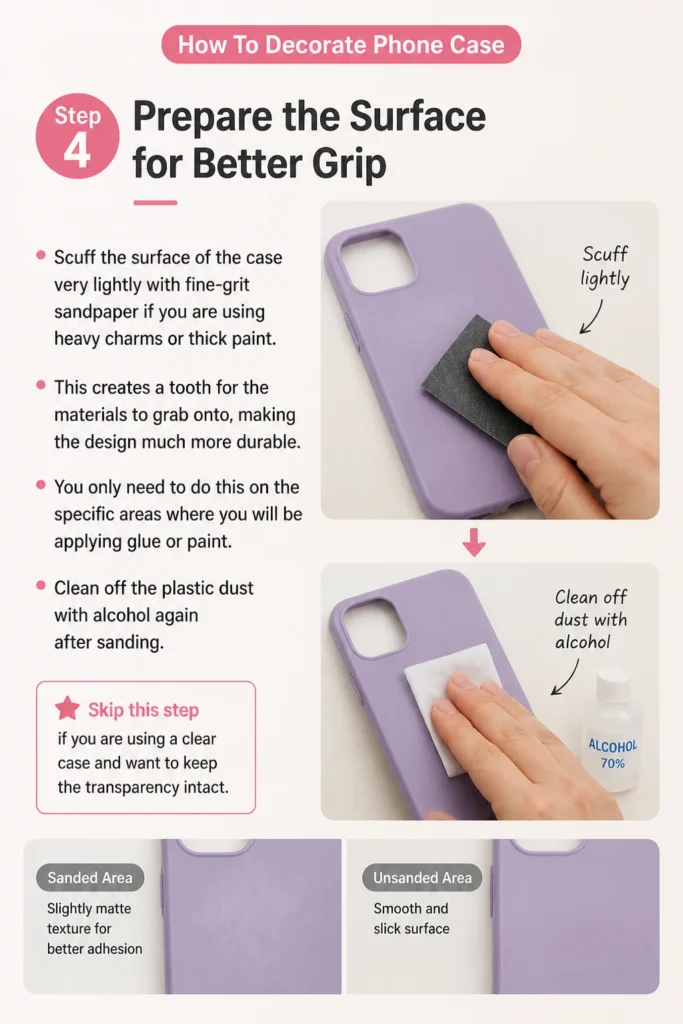
This creates a “tooth” for the materials to grab onto, making the design much more durable.
You only need to do this on the specific areas where you will be applying glue or paint.
Clean off the plastic dust with alcohol again after sanding.
Skip this step if you are using a clear case and want to keep the transparency intact.
Step 5: Apply Your Base Layer
Paint your background or apply your largest stickers first to build the foundation of your design.
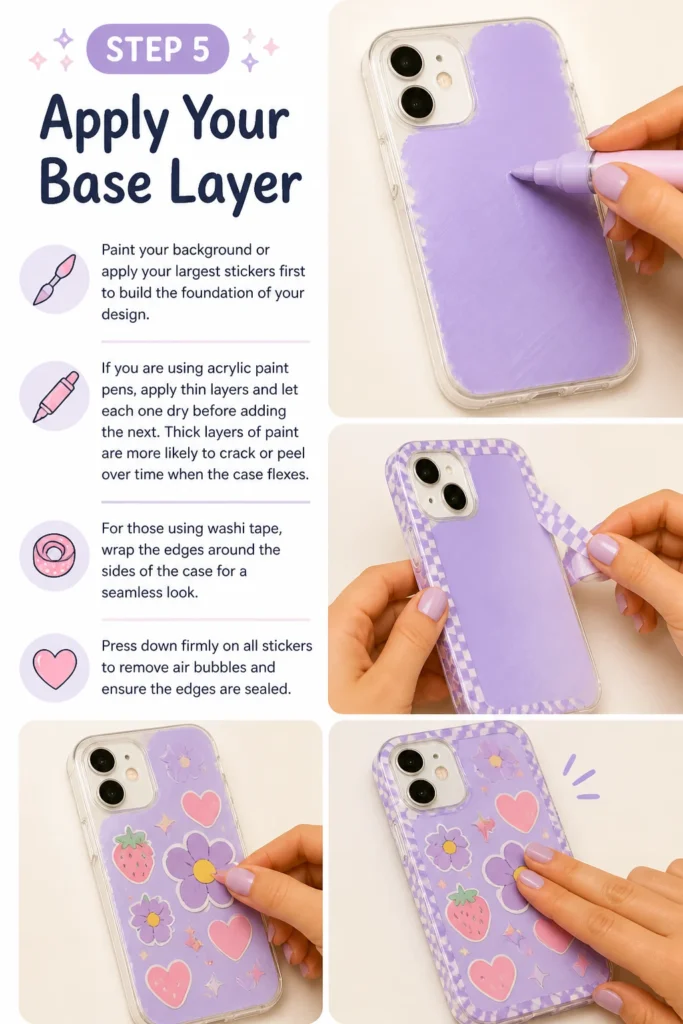
If you are using acrylic paint pens, apply thin layers and let each one dry before adding the next.
Thick layers of paint are more likely to crack or peel over time when the case flexes.
For those using washi tape, wrap the edges around the sides of the case for a seamless look.
Press down firmly on all stickers to remove air bubbles and ensure the edges are sealed.
Step 6: Attach 3D Elements and Charms
Apply a small amount of strong adhesive, like E6000 or a specialized craft glue, to the back of your charms.
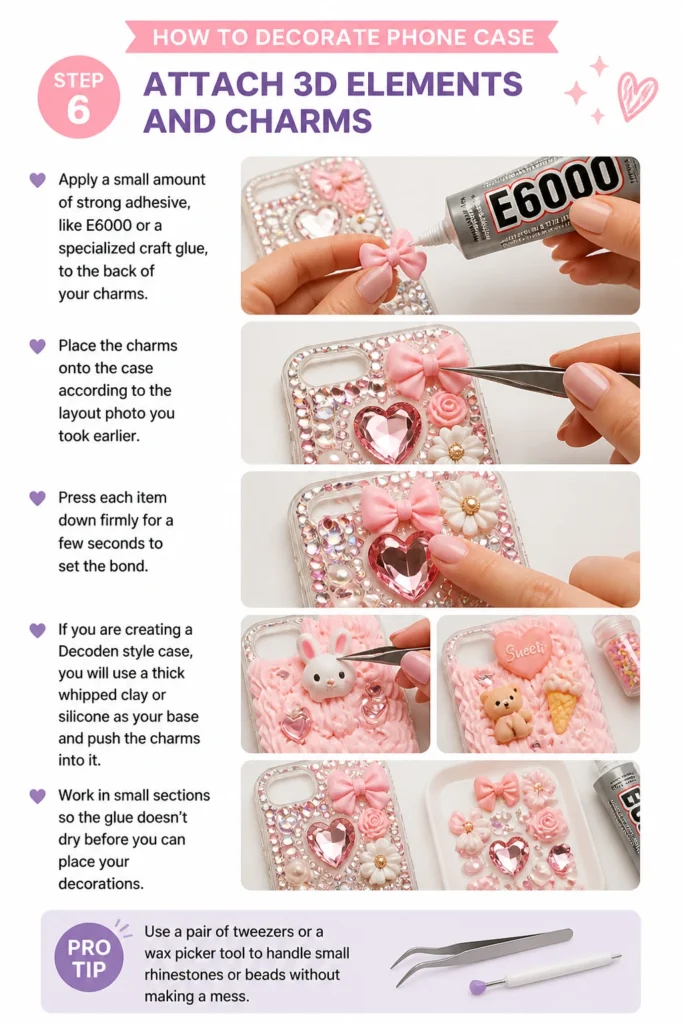
Place the charms onto the case according to the layout photo you took earlier.
Press each item down firmly for a few seconds to set the bond.
If you are creating a “Decoden” style case, you will use a thick whipped clay or silicone as your base and push the charms into it.
Work in small sections so the glue doesn’t dry before you can place your decorations.
Pro Tip: Use a pair of tweezers or a wax picker tool to handle small rhinestones or beads without making a mess.
Step 7: Add Fine Details and Highlights
Fill in any small gaps with tiny beads, glitter, or fine-tip markers.
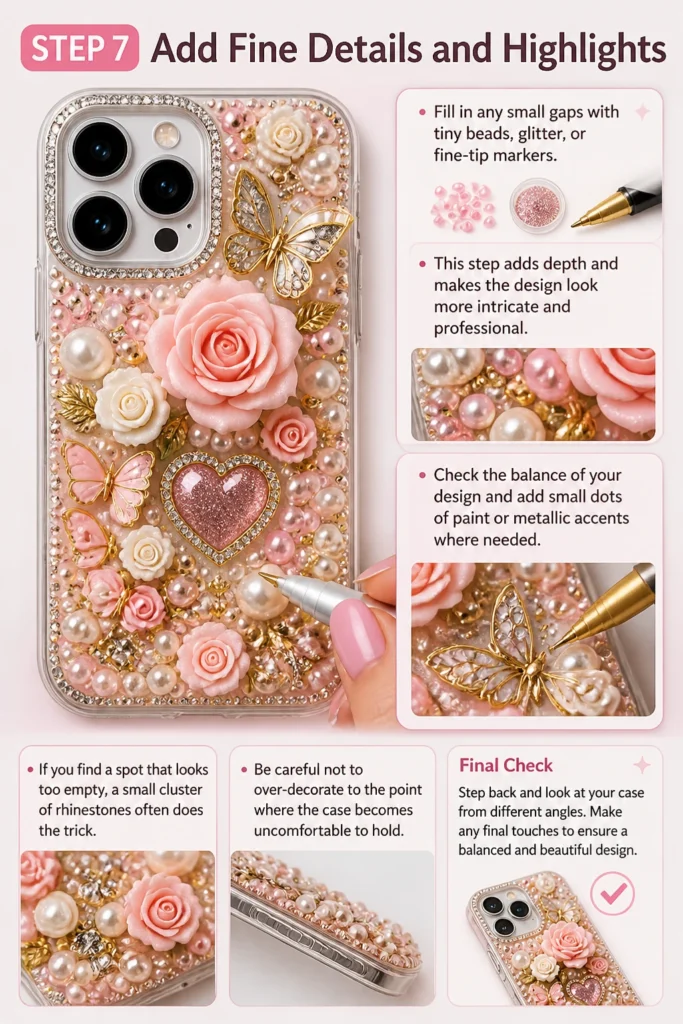
This step adds depth and makes the design look more intricate and professional.
Check the balance of your design and add small dots of paint or metallic accents where needed.
If you find a spot that looks too empty, a small cluster of rhinestones often does the trick.
Be careful not to over-decorate to the point where the case becomes uncomfortable to hold.
Step 8: Seal the Design for Durability
Spray a clear acrylic sealer or apply a layer of resin over your finished design to protect it from scratches.
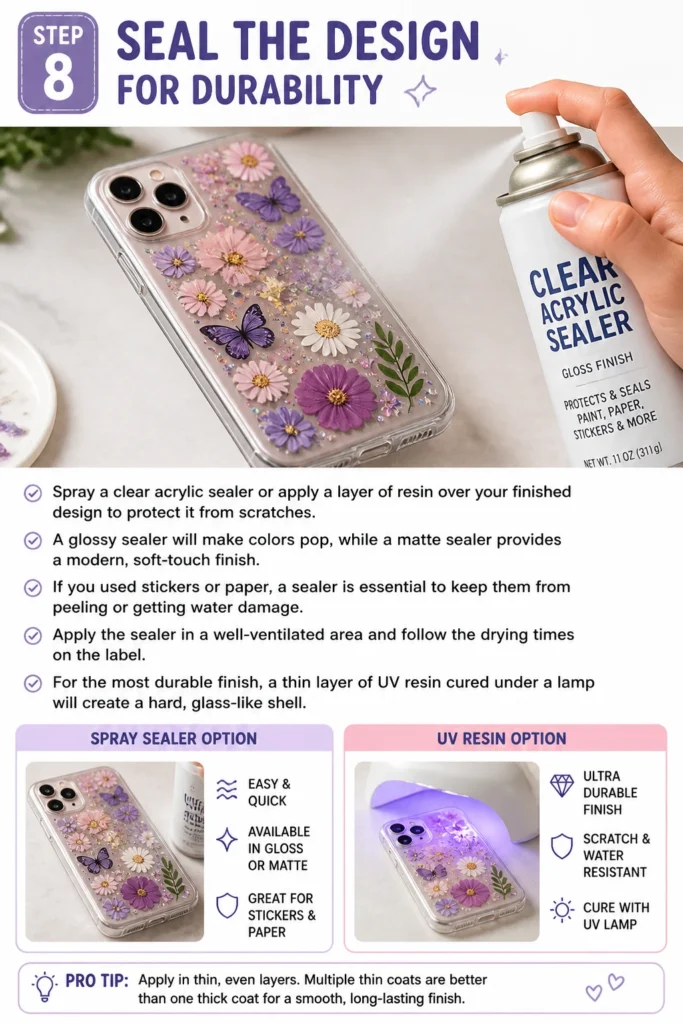
A glossy sealer will make colors pop, while a matte sealer provides a modern, soft-touch finish.
If you used stickers or paper, a sealer is essential to keep them from peeling or getting water damage.
Apply the sealer in a well-ventilated area and follow the drying times on the label.
For the most durable finish, a thin layer of UV resin cured under a lamp will create a hard, glass-like shell.
Step 9: Let the Case Cure
Wait at least 24 hours before putting the case onto your phone.
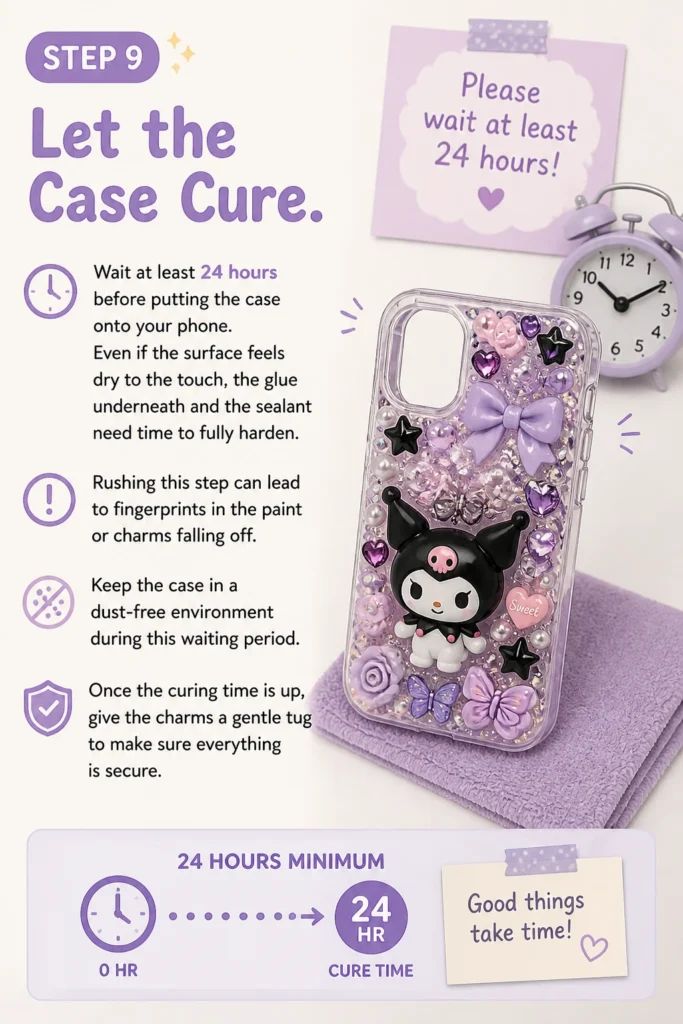
Even if the surface feels dry to the touch, the glue underneath and the sealant need time to fully harden.
Rushing this step can lead to fingerprints in the paint or charms falling off.
Keep the case in a dust-free environment during this waiting period.
Once the curing time is up, give the charms a gentle tug to make sure everything is secure.
Common Mistakes to Avoid
Using the Wrong Glue
Many people reach for a standard school glue or a hot glue gun when decorating their cases. School glue is not strong enough for plastic, and hot glue often peels off in one large piece once it cools. Use an industrial-strength craft adhesive for the best results.
Blocking the Camera or Sensors
It is easy to get carried away with charms and accidentally overhang the camera cutout. This will cause shadows or blurry edges in your photos. Always double-check that your decorations stay at least a few millimeters away from the lens and flash.
Ignoring the Thickness
Adding very thick charms can make it impossible to use some wireless chargers or phone mounts. If you use your phone in a car mount or on a charging pad, keep your decorations relatively flat. Test your phone’s functionality before the glue fully sets.
Applying Too Much Sealer
Dripping or pooling sealer can create uneven bumps and ruin the texture of your case. It is much better to apply three very thin coats than one thick, messy coat. Let the case dry completely between each layer of spray or brush-on sealant.
Troubleshooting
The Paint is Chipping Off
If your paint starts to flake after a few days, it usually means the case wasn’t cleaned well enough or the paint wasn’t sealed. You can try to touch up the area with more paint and then apply a much thicker layer of clear sealant. Next time, try sanding the case slightly to help the paint bond.
The Case Won’t Fit Properly
Sometimes decorations can wrap around the edges and prevent the case from snapping onto the phone. If this happens, you may need to carefully trim the excess material with a craft knife. Be very careful not to cut into the case itself or your fingers.
Charms are Falling Off
This is common with smooth plastic cases. If a charm falls off, scrape away the old glue from both the charm and the case. Sand both surfaces lightly, clean with alcohol, and use a stronger adhesive like a two-part epoxy for a permanent hold.
Key Takeaways
- Always clean your case with isopropyl alcohol to remove oils before starting.
- Plan your entire design and take a photo of it before applying any glue.
- Use industrial-strength adhesives like E6000 for 3D elements rather than hot glue.
- Protect your hard work with a clear acrylic sealer or UV resin to prevent fading.
- Allow a full 24 hours for the case to cure before you start using it.
- Keep decorations away from the camera, flash, and buttons to maintain phone functionality.
Frequently Asked Questions
Can I decorate a silicone phone case?
Silicone is notoriously difficult to bond with. Most glues and paints will peel off very quickly. If you have a silicone case, your best bet is to use permanent markers designed for rubber or to look for cases that have a “PC” (polycarbonate) back with silicone sides.
How do I remove the decorations if I change my mind?
If you used a mild adhesive or stickers, you can often peel them off and use a bit of goo-remover to clean the residue. However, if you used strong glue or sanded the case, the changes are likely permanent. This is why many people prefer to buy several cheap cases to experiment with different designs.
Is UV resin safe to use on a phone case?
Yes, UV resin is safe and provides a very durable finish. Just make sure you work in a ventilated area and wear gloves while the resin is liquid. Once it is fully cured under a UV light, it is a hard plastic that won’t harm your phone or your skin.
What are the best markers for drawing on a case?
Acrylic paint markers, such as Posca pens, are the gold standard for phone case DIYs. They are opaque, come in many colors, and stick well to plastic once sealed. Sharpies can work for small details, but they tend to smear or change color when a spray sealer is applied over them.
Our Top Recommended Finds
- E6000 Craft Adhesive: This glue is famous in the crafting world for its incredible bond on plastic, metal, and glass. It remains slightly flexible when dry, which prevents charms from snapping off when the case bends.
- Posca Acrylic Paint Markers: These markers offer vibrant, matte colors that are easy to control. They are perfect for both intricate illustrations and simple patterns like polka dots or stripes.
- Clear Polycarbonate Case: Starting with a high-quality clear case gives you a blank canvas. These are inexpensive and provide the perfect flat surface for stickers, photos, and resin work.
Start Your Custom Creation
Now that you know the secrets to a long-lasting and beautiful phone case, it is time to gather your materials.
You can start small by simply adding a few stickers and a clear topcoat to see how you like the process.
Once you get comfortable, you can try more advanced techniques like resin pouring or 3D charm layouts.
If you enjoyed this project, you might also want to look into making custom phone grips or matching laptop skins.
Grab an old case or buy a new clear one today and turn your device into a unique piece of art.