☁️ How To Make Cloud Slime
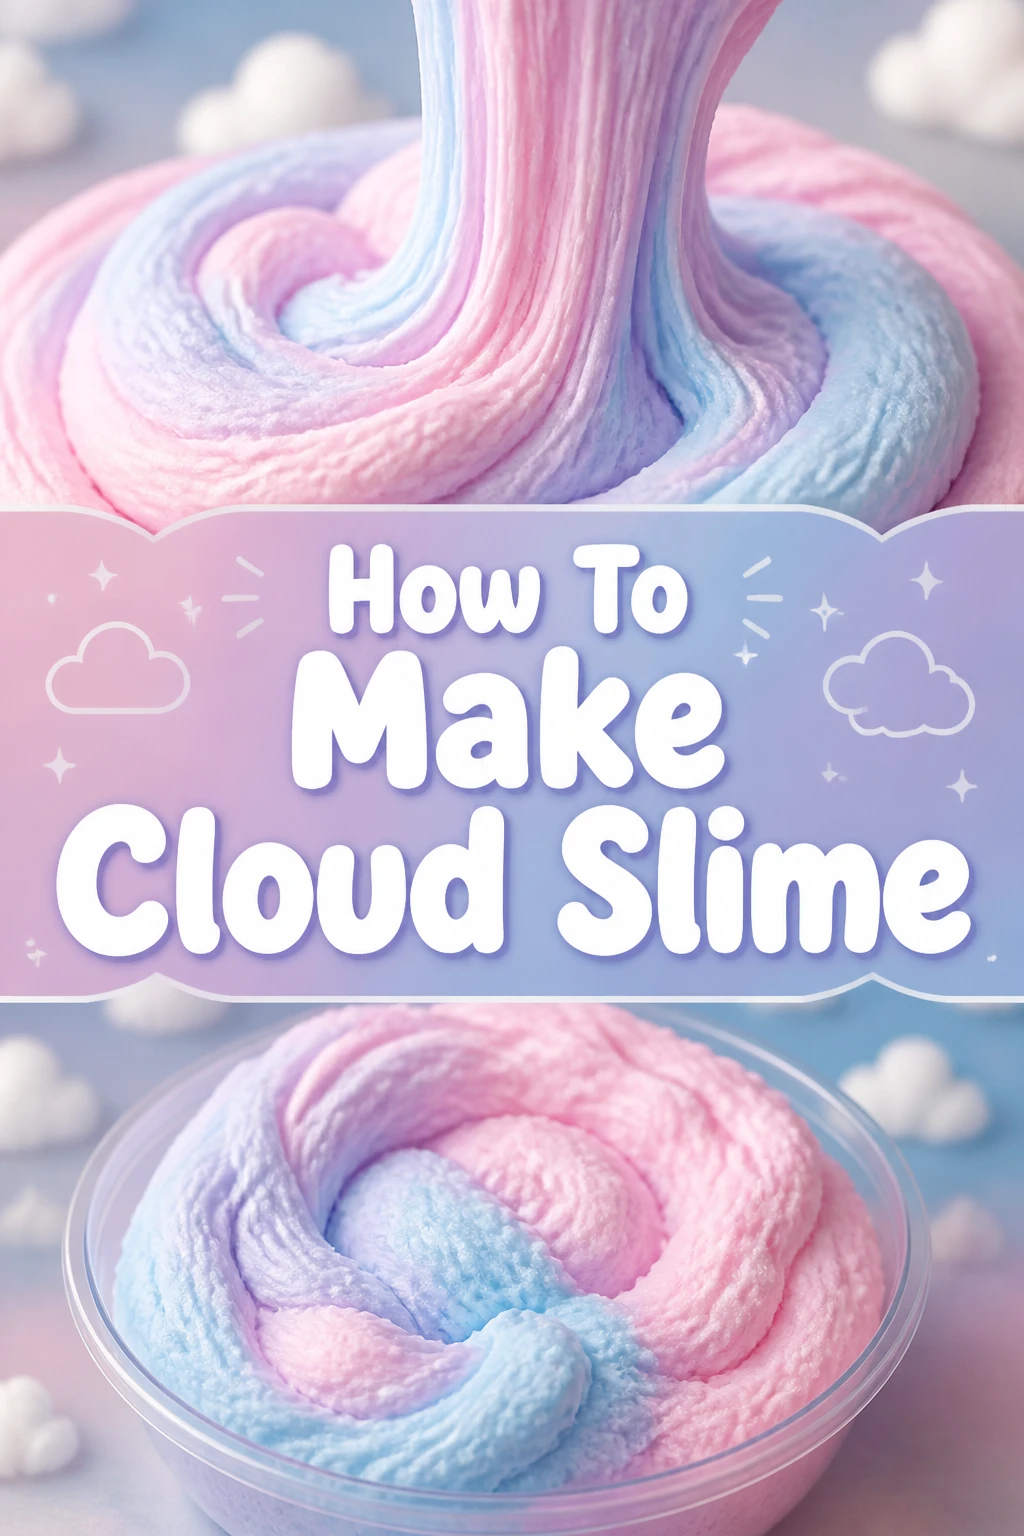
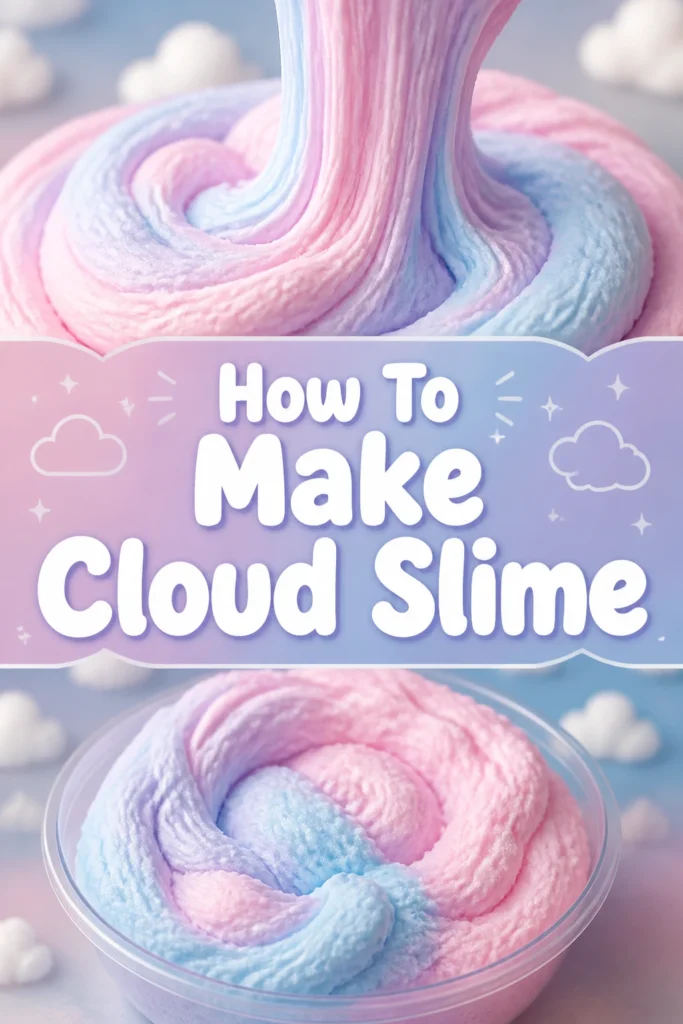
There’s something truly magical about cloud slime, with its light, fluffy texture that drizzles beautifully.
I remember the first time I perfected my own batch; the joy was immense, and the result was so satisfyingly soft.
This guide comes from countless hours of experimenting, and I’m here to share the exact steps to create your own perfect cloud slime.
Quick Overview
Making cloud slime is a delightful process that results in a unique, airy sensory experience. You’ll combine common craft supplies with a special ingredient to achieve that signature fluffy texture. Get ready for some creative fun!
- Time needed: 20-30 minutes (plus optional resting time)
- Difficulty: Beginner
- What you’ll need: PVA white glue, instant snow powder, liquid starch (or other activator), water, mixing bowls, spoons, measuring cups.
Step-by-Step Instructions
Step 1: Gather Your Essential Ingredients and Tools
Before you begin, ensure you have all your materials laid out and ready. This helps streamline the entire slime-making process. Having everything at hand prevents interruptions and keeps your workspace tidy.
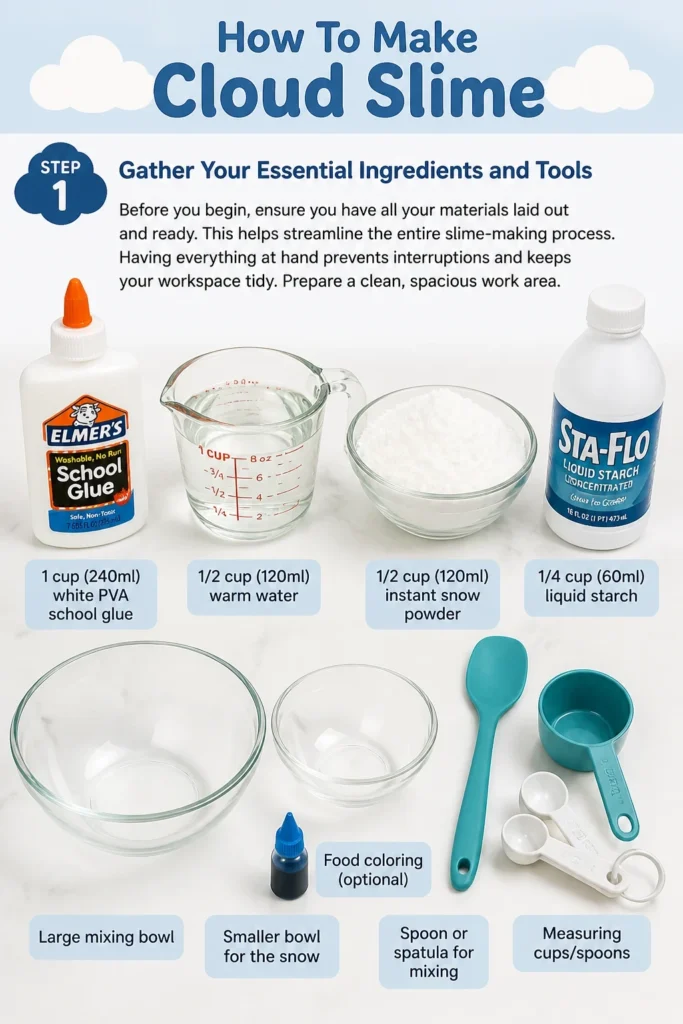
- Prepare a clean, spacious work area.
- Collect your primary ingredients: 1 cup (240ml) white PVA school glue (like Elmer’s), 1/2 cup (120ml) warm water, 1/2 cup (120ml) instant snow powder, and 1/4 cup (60ml) liquid starch (such as Sta-Flo).
- Grab a large mixing bowl, a smaller bowl for the snow, a spoon or spatula for mixing, and measuring cups/spoons.
- Consider adding food coloring if you desire a vibrant cloud slime.
Step 2: Hydrate Your Instant Snow Powder
The instant snow is what gives cloud slime its signature fluffy, drizzly texture. Proper hydration is key to achieving the desired effect. Be patient and watch the magic unfold.
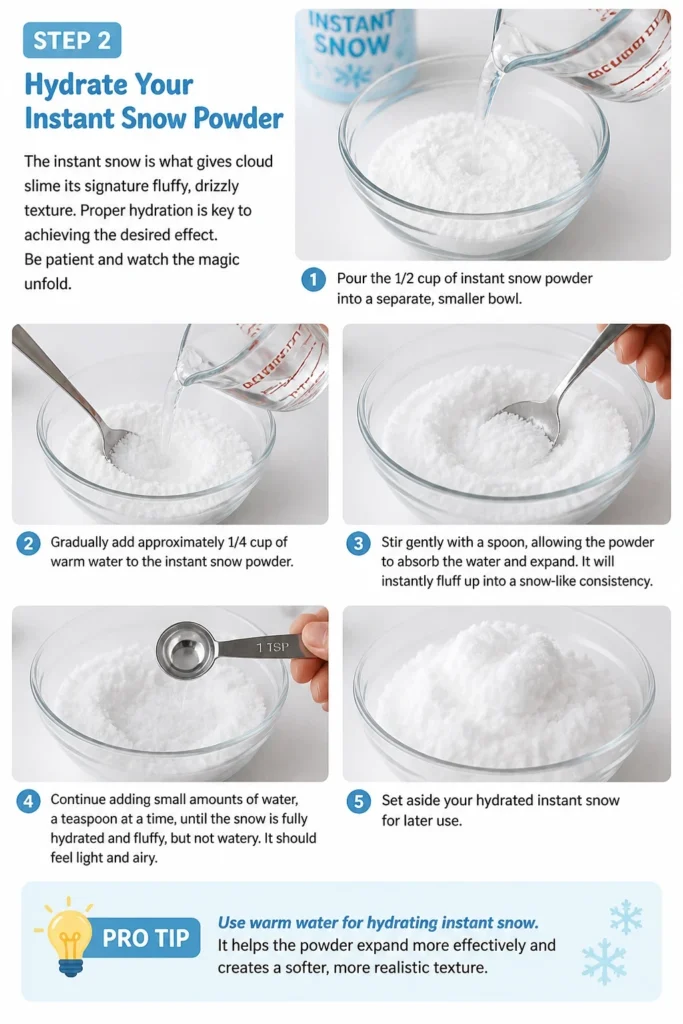
- Pour the 1/2 cup of instant snow powder into a separate, smaller bowl.
- Gradually add approximately 1/4 cup of warm water to the instant snow powder.
- Stir gently with a spoon, allowing the powder to absorb the water and expand. It will instantly fluff up into a snow-like consistency.
- Continue adding small amounts of water, a teaspoon at a time, until the snow is fully hydrated and fluffy, but not watery. It should feel light and airy.
- Set aside your hydrated instant snow for later use.
Pro Tip: Use warm water for hydrating instant snow. It helps the powder expand more effectively and creates a softer, more realistic snow texture. Avoid adding too much water, as this can make your cloud slime overly sticky later.
Step 3: Mix the Glue and Water Base
This step creates the foundational liquid for your slime. A good, even mix ensures your slime will activate properly and have a consistent texture. Don’t rush this part.
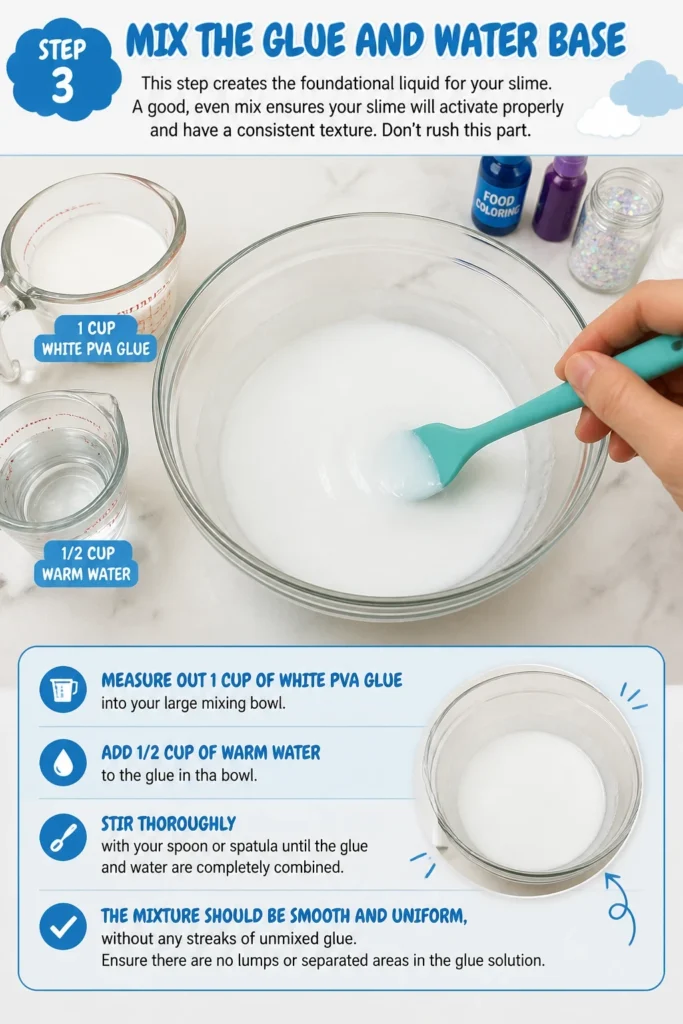
- Measure out 1 cup of white PVA glue into your large mixing bowl.
- Add 1/2 cup of warm water to the glue in the bowl.
- Stir thoroughly with your spoon or spatula until the glue and water are completely combined. The mixture should be smooth and uniform, without any streaks of unmixed glue.
- Ensure there are no lumps or separated areas in the glue solution.
Step 4: Incorporate Food Coloring (Optional)
Adding color is where your cloud slime truly comes to life. Choose a shade you love, or experiment with mixing colors for a custom hue. Remember that a little goes a long way.
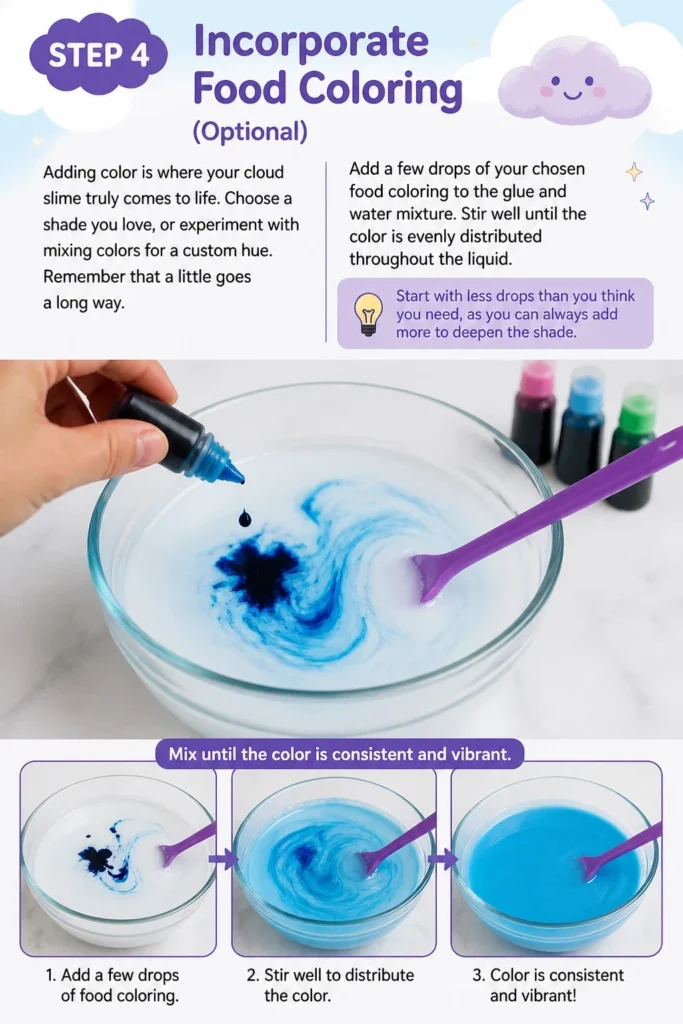
- Add a few drops of your chosen food coloring to the glue and water mixture.
- Stir well until the color is evenly distributed throughout the liquid.
- Start with less drops than you think you need, as you can always add more to deepen the shade.
- Mix until the color is consistent and vibrant.
Step 5: Slowly Add the Activator
The activator is what transforms the liquid glue into slime. Adding it gradually is crucial for achieving the perfect consistency. Too much too fast can make your slime stiff.
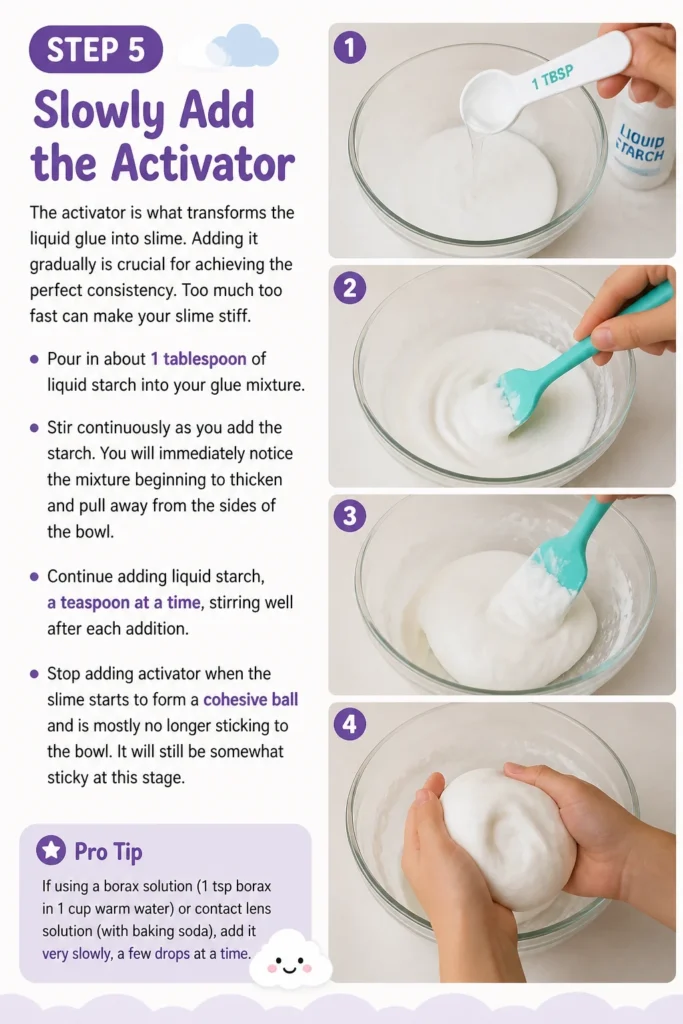
- Pour in about 1 tablespoon of liquid starch into your glue mixture.
- Stir continuously as you add the starch. You will immediately notice the mixture beginning to thicken and pull away from the sides of the bowl.
- Continue adding liquid starch, a teaspoon at a time, stirring well after each addition.
- Stop adding activator when the slime starts to form a cohesive ball and is mostly no longer sticking to the bowl. It will still be somewhat sticky at this stage.
Pro Tip: If using a borax solution (1 tsp borax in 1 cup warm water) or contact lens solution (with baking soda), add it very slowly, a few drops at a time. Over-activating at this stage can make your final cloud slime too firm.
Step 6: Knead the Slime Base
Kneading is essential for developing the slime’s elasticity and bringing it to the right consistency. This is where you truly start to feel the texture change. Don’t be afraid to get your hands a little messy.
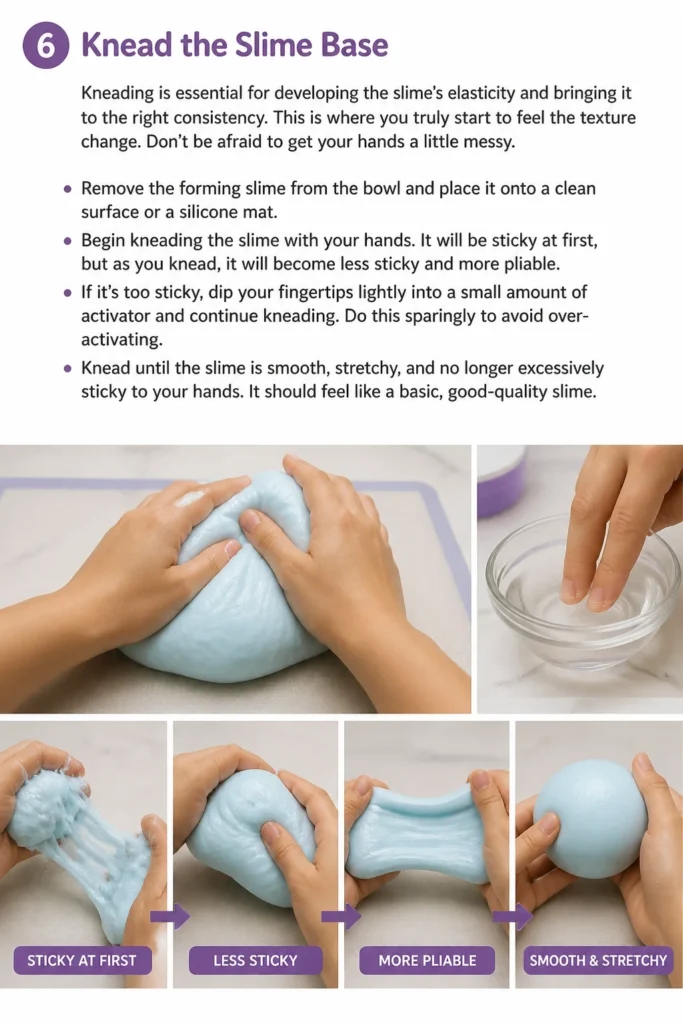
- Remove the forming slime from the bowl and place it onto a clean surface or a silicone mat.
- Begin kneading the slime with your hands. It will be sticky at first, but as you knead, it will become less sticky and more pliable.
- If it’s too sticky, dip your fingertips lightly into a small amount of activator and continue kneading. Do this sparingly to avoid over-activating.
- Knead until the slime is smooth, stretchy, and no longer excessively sticky to your hands. It should feel like a basic, good-quality slime.
Step 7: Introduce the Hydrated Instant Snow
This is the exciting part where your slime transforms into cloud slime! The instant snow will give it that unique fluffy, drizzly quality. Be gentle during this step.
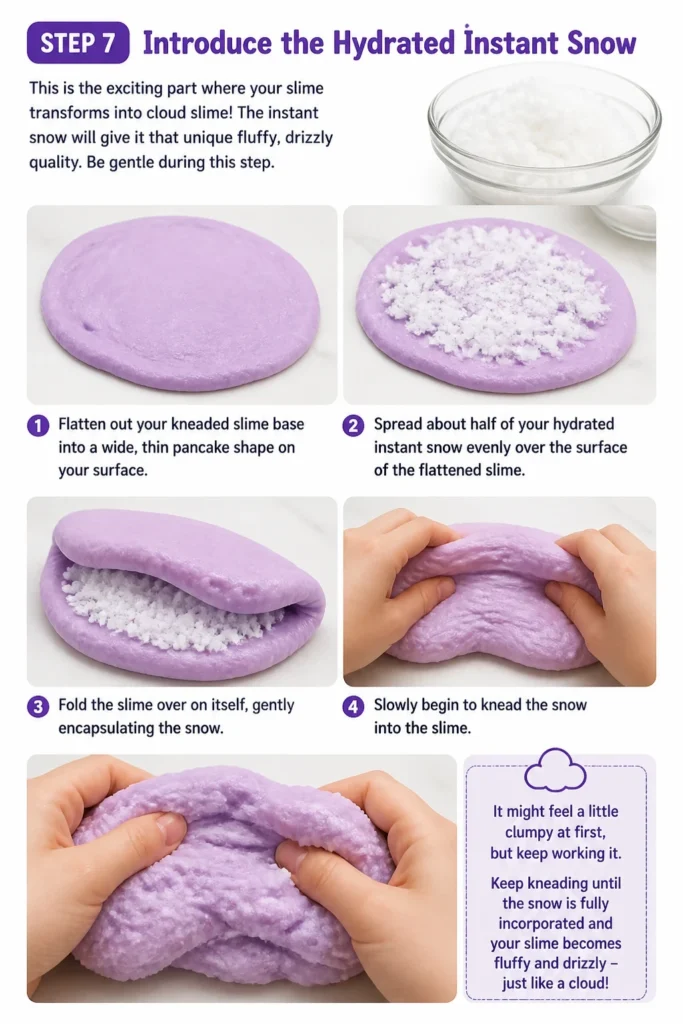
- Flatten out your kneaded slime base into a wide, thin pancake shape on your surface.
- Spread about half of your hydrated instant snow evenly over the surface of the flattened slime.
- Fold the slime over on itself, gently encapsulating the snow.
- Slowly begin to knead the snow into the slime. It might feel a little clumpy at first, but keep working it.
Step 8: Fully Incorporate the Snow and Adjust Texture
Continue working the snow into the slime until it’s evenly distributed and you achieve that beautiful cloud-like texture. This step requires a bit of patience and observation.
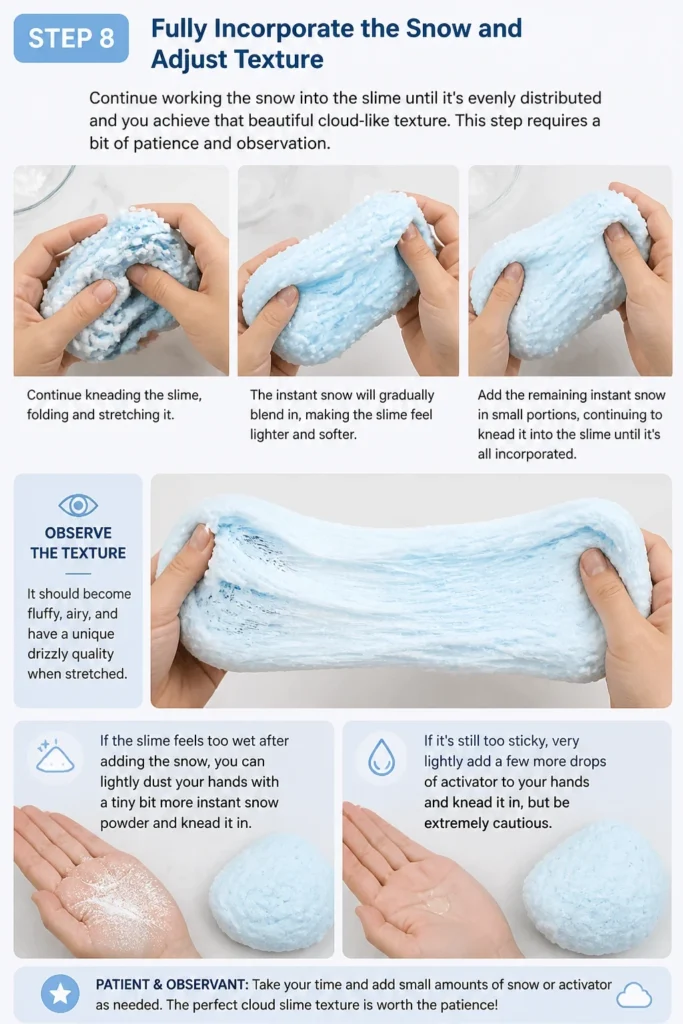
- Continue kneading the slime, folding and stretching it. The instant snow will gradually blend in, making the slime feel lighter and softer.
- Add the remaining instant snow in small portions, continuing to knead it into the slime until it’s all incorporated.
- Observe the texture. It should become fluffy, airy, and have a unique drizzly quality when stretched.
- If the slime feels too wet after adding the snow, you can lightly dust your hands with a tiny bit more instant snow powder and knead it in.
- If it’s still too sticky, very lightly add a few more drops of activator to your hands and knead it in, but be extremely cautious not to overdo it.
Step 9: Enjoy and Store Your Cloud Slime
Congratulations, you’ve made cloud slime! Now it’s time to play and then store it properly to maintain its texture. Proper storage ensures your creation lasts longer.
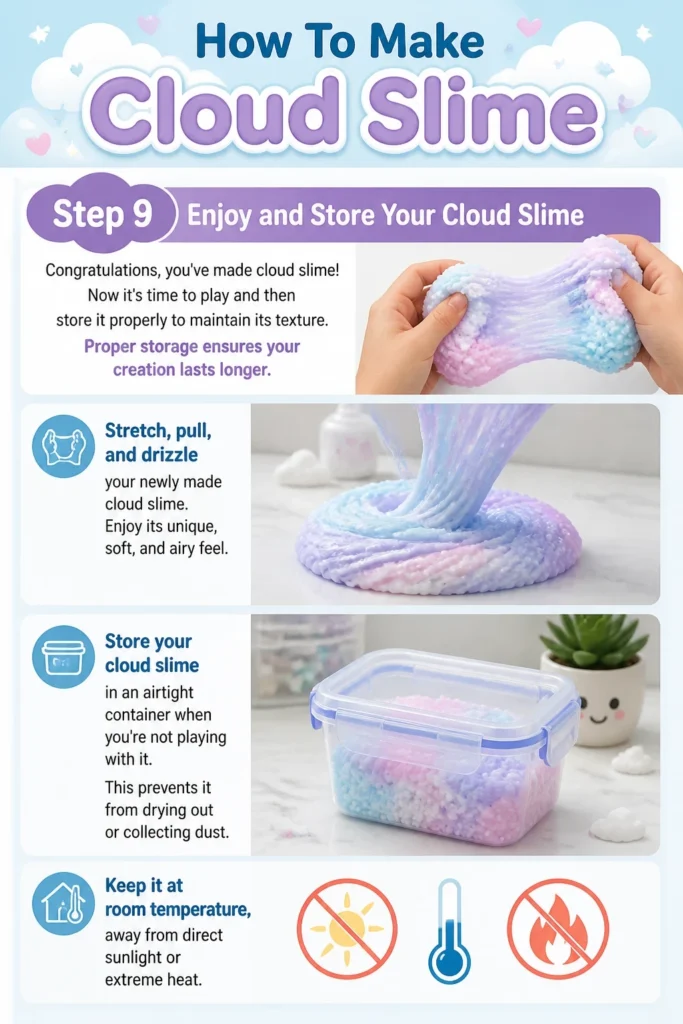
- Stretch, pull, and drizzle your newly made cloud slime. Enjoy its unique, soft, and airy feel.
- Store your cloud slime in an airtight container when you’re not playing with it. This prevents it from drying out or collecting dust.
- Keep it at room temperature, away from direct sunlight or extreme heat.
Common Mistakes to Avoid
Adding Too Much Activator
This is perhaps the most common pitfall in slime making. When you add too much liquid starch or borax solution too quickly, your slime becomes stiff, rubbery, and loses its stretch. It will be hard to knead and will likely break instead of stretch. The correct approach is to add activator gradually, a teaspoon or a few drops at a time, mixing thoroughly after each addition until the slime just begins to pull away from the bowl.
Not Hydrating Instant Snow Properly
If your instant snow isn’t fully hydrated before adding it to the slime, it won’t integrate smoothly. You might end up with dry, crumbly bits in your cloud slime, or it won’t achieve that signature fluffy texture. Make sure to add enough warm water to the instant snow and stir until it’s fully expanded and feels light and airy, but not overtly wet.
Using the Wrong Type of Glue
Not all glues are created equal for slime making. Using school glue that isn’t PVA-based (polyvinyl acetate) or trying specialty glues might result in a failed slime batch. PVA glue, like Elmer’s School Glue, is essential because its polymer chains react correctly with the activator to form the slime consistency. Always double-check your glue’s ingredients.
Not Kneading Enough
Slime requires kneading to develop its elasticity and become less sticky. If you stop kneading too early, your slime will remain overly sticky and difficult to handle. Continue to work the slime with your hands, even when it feels a bit messy, until it becomes smooth, stretchy, and less adhesive. This process strengthens the polymer bonds.
Troubleshooting
My Slime is Too Sticky
If your cloud slime is excessively sticky, it means it needs more activation. Don’t panic; this is an easy fix. Lightly dip your fingertips into a small amount of your liquid starch or activator solution and then knead the slime. Repeat this process very sparingly, a tiny bit at a time, until the stickiness subsides. Avoid pouring activator directly onto the slime.
My Slime is Too Stiff or Rubbery
A stiff or rubbery slime indicates over-activation. This is a bit trickier to fix, but often possible. Try adding a tiny amount of unactivated PVA glue (about a teaspoon) and kneading it into the stiff slime. The fresh glue will provide more polymer chains for the existing activator to work with, softening the overall mixture. You can also try adding a few drops of lotion or hand soap and kneading thoroughly, as these can help break down some of the polymer bonds.
My Cloud Slime Isn’t Drizzling or Fluffy Enough
If your cloud slime lacks that signature drizzle and fluffiness, it might need more instant snow. Flatten your slime out and sprinkle a small amount of freshly hydrated instant snow onto it. Gently fold and knead the new snow into the slime until it’s fully incorporated. Remember, the instant snow is what creates that airy texture, so adding more can enhance the effect. Ensure the instant snow was fully hydrated initially.
Key Takeaways
- Always use white PVA school glue for the best cloud slime results.
- Hydrate your instant snow powder fully before adding it to the slime base.
- Add your slime activator slowly, in small increments, to prevent over-activation.
- Kneading is crucial for developing the slime’s texture and reducing stickiness.
- Store your cloud slime in an airtight container to keep it fresh and prevent drying out.
- Experiment with colors and scents to personalize your cloud slime creation.
Frequently Asked Questions
Can I use clear glue for cloud slime?
While you can make regular slime with clear glue, it’s generally not recommended for cloud slime. Clear glue tends to be less opaque and can sometimes result in a less vibrant, slightly translucent cloud effect. White PVA glue provides the best base for that soft, fluffy, and opaque cloud look.
How long does cloud slime last?
With proper care and storage, cloud slime can last anywhere from a few weeks to a couple of months. Always keep it in an airtight container when not in use to prevent it from drying out or becoming contaminated. If it starts to get stiff or break down, it’s probably time to make a new batch.
What if I don’t have liquid starch?
If you don’t have liquid starch, you can use a borax solution (1 teaspoon of borax powder dissolved in 1 cup of warm water) or a contact lens solution with baking soda. For the contact lens solution method, you’ll typically add 1/2 teaspoon of baking soda to your glue mixture first, then slowly add contact lens solution (ensure it contains boric acid and sodium borate) until the slime activates.
Why is my cloud slime shrinking?
It’s normal for cloud slime to slightly “deflate” or shrink over time, especially after a lot of play. This happens as the instant snow can slowly lose some of its absorbed water or compact with handling. Storing it in an airtight container helps minimize this, but some shrinkage is a natural part of its lifecycle.
Our Top Recommended Finds
- Elmer’s School Glue: The gold standard for slime making, ensuring consistent and reliable results every time.
- Instant Snow Powder: Essential for that unique cloud texture, a good quality powder expands significantly for maximum fluffiness.
- Sta-Flo Liquid Starch: A widely recognized and effective activator that consistently delivers great slime texture.
Embrace Your Inner Slime Alchemist!
You now possess all the knowledge and steps to create your very own batch of mesmerizing cloud slime. This isn’t just about mixing ingredients; it’s about crafting a sensory experience that’s wonderfully tactile and visually appealing.
Don’t hesitate to personalize your creation with different colors, scents, or even a touch of glitter. The possibilities are endless once you master the basic technique. Go ahead, gather your supplies, and start making your fluffy, drizzly masterpiece today!