💧 How To Make Water Slime
Making water slime is a truly unique sensory experience. It’s a fantastic project that results in a clear, jiggly, and wonderfully squishy creation. I’ve spent countless hours experimenting with different slime recipes, and this water slime guide draws from that hands-on experience to ensure your success.
You’re about to discover the secrets to crafting this mesmerizing, translucent slime right in your own home. Get ready for a satisfying crafting session that yields amazing results.
Quick Overview
This guide will walk you through creating a beautiful, clear water slime that’s incredibly fun to play with. You’ll learn the precise steps needed to achieve that perfect jiggly consistency.
- Time needed: Approximately 15-20 minutes active preparation, plus 1-2 hours resting time
- Difficulty: Beginner
- What you’ll need: Clear PVA glue, distilled water, borax powder (or liquid starch/contact lens solution), measuring tools, and mixing bowls
Step-by-Step Instructions
Step 1: Gather Your Materials
Before you begin any crafting project, it’s always best to have everything laid out and ready. This prevents interruptions and ensures a smooth process. Gather all your ingredients and tools in one clear workspace.
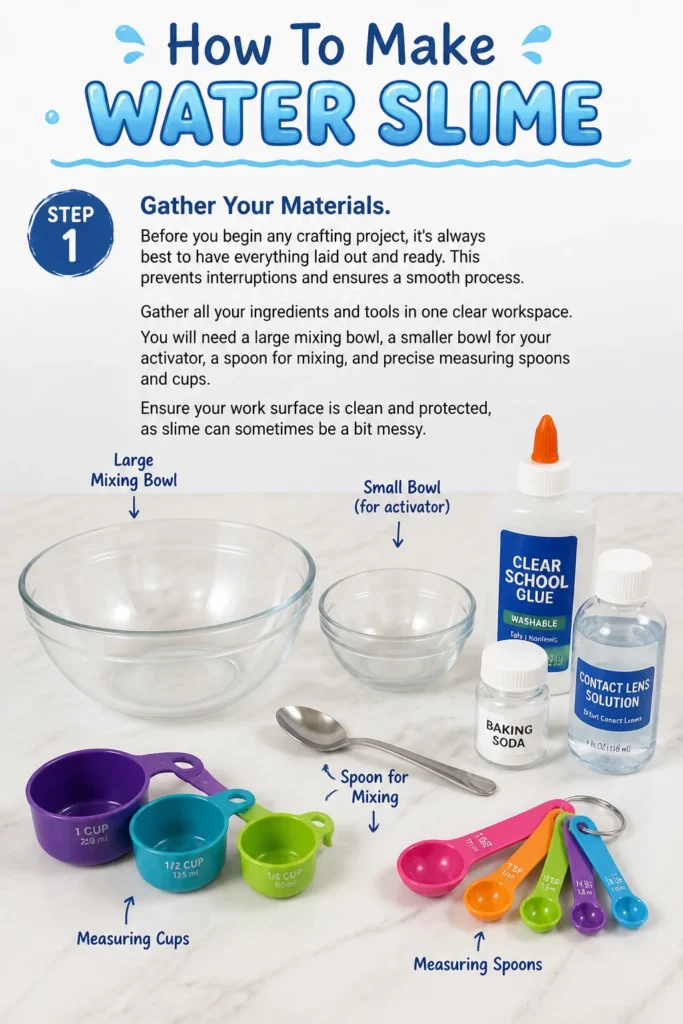
You will need a large mixing bowl, a smaller bowl for your activator, a spoon for mixing, and precise measuring spoons and cups. Ensure your work surface is clean and protected, as slime can sometimes be a bit messy.
Step 2: Prepare Your Glue Mixture
Pour one cup of clear PVA glue into your large mixing bowl. Clear glue is essential for achieving the translucent effect of water slime, so avoid opaque white glues.
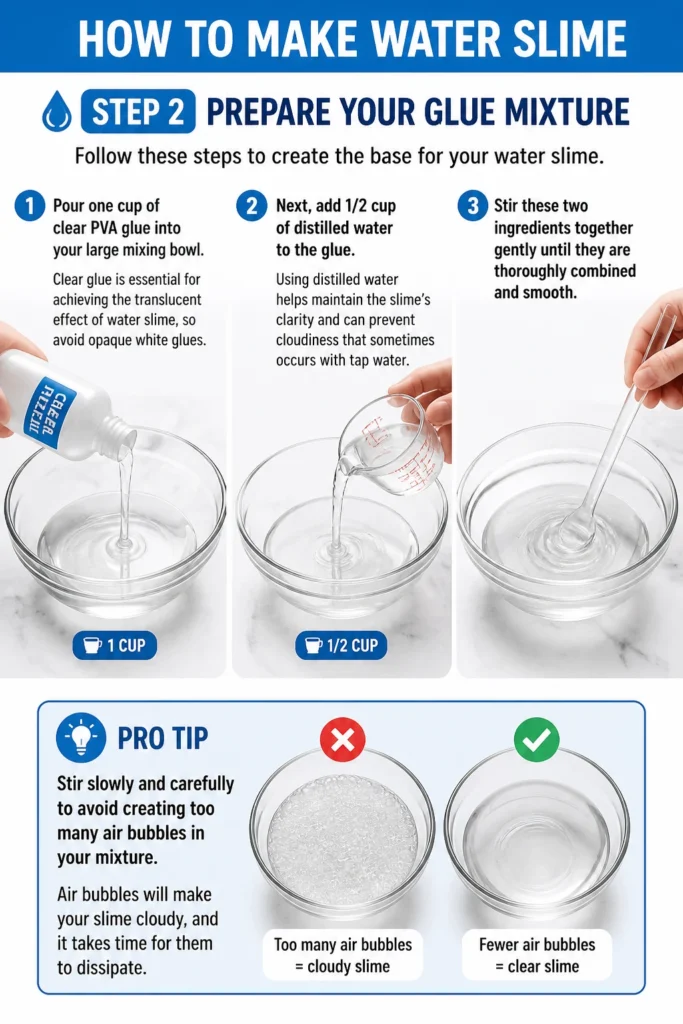
Next, add 1/2 cup of distilled water to the glue. Using distilled water helps maintain the slime’s clarity and can prevent cloudiness that sometimes occurs with tap water. Stir these two ingredients together gently until they are thoroughly combined and smooth.
Pro Tip: Stir slowly and carefully to avoid creating too many air bubbles in your mixture. Air bubbles will make your slime cloudy, and it takes time for them to dissipate.
Step 3: Create the Activator Solution
In your smaller bowl, prepare your slime activator. For this recipe, we’ll use a borax solution. Dissolve 1/2 teaspoon of borax powder into 1 cup of warm water.
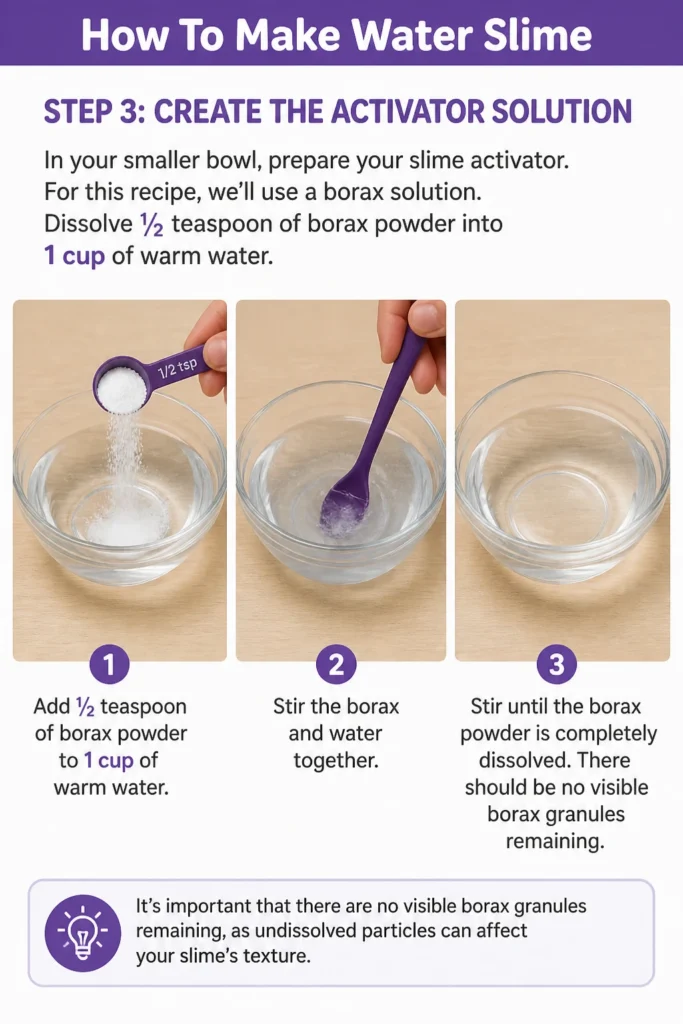
Stir the borax and water together until the borax powder is completely dissolved. It’s important that there are no visible borax granules remaining, as undissolved particles can affect your slime’s texture.
Step 4: Combine Glue and Activator
Now comes the exciting part where the magic starts to happen. Begin by adding the activator solution to your glue mixture very slowly. Start with just one tablespoon of the borax solution.
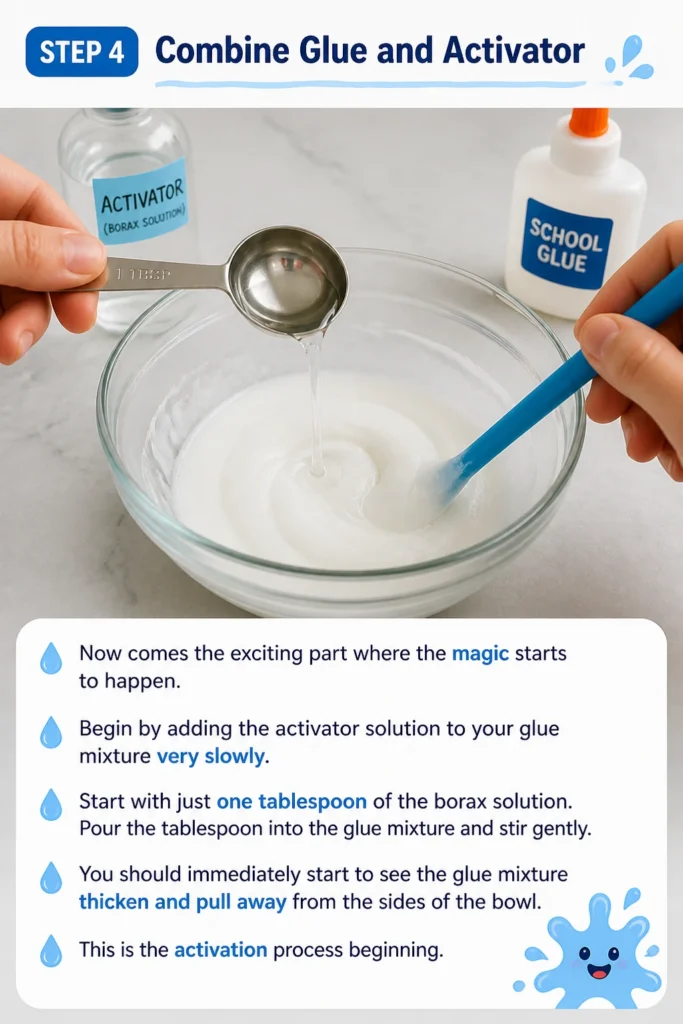
Pour the tablespoon into the glue mixture and stir gently. You should immediately start to see the glue mixture thicken and pull away from the sides of the bowl. This is the activation process beginning.
Step 5: Mix and Observe the Transformation
Continue adding the borax activator solution, one teaspoon at a time, to your glue mixture. Stir consistently after each addition, observing how the slime changes. The mixture will become increasingly thick and stringy.
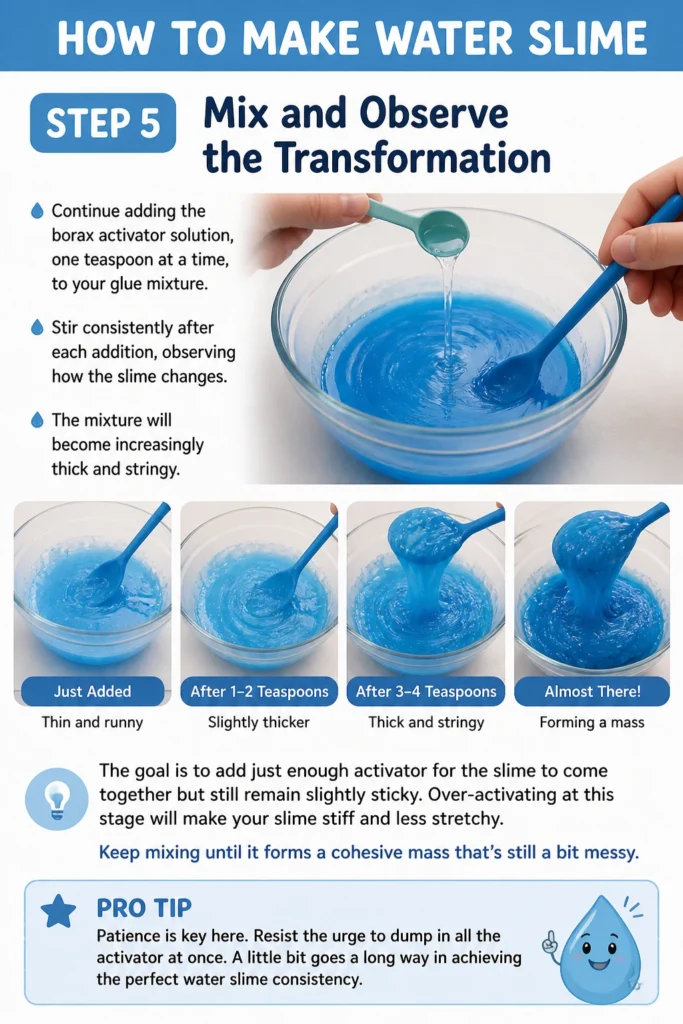
The goal is to add just enough activator for the slime to come together but still remain slightly sticky. Over-activating at this stage will make your slime stiff and less stretchy. Keep mixing until it forms a cohesive mass that’s still a bit messy.
Pro Tip: Patience is key here. Resist the urge to dump in all the activator at once. A little bit goes a long way in achieving the perfect water slime consistency.
Step 6: Knead Your Slime
Once the slime has mostly formed in the bowl and is pulling away from the sides, it’s time to take it out. Transfer the slightly sticky mass onto a clean, non-stick surface or simply hold it in your hands.
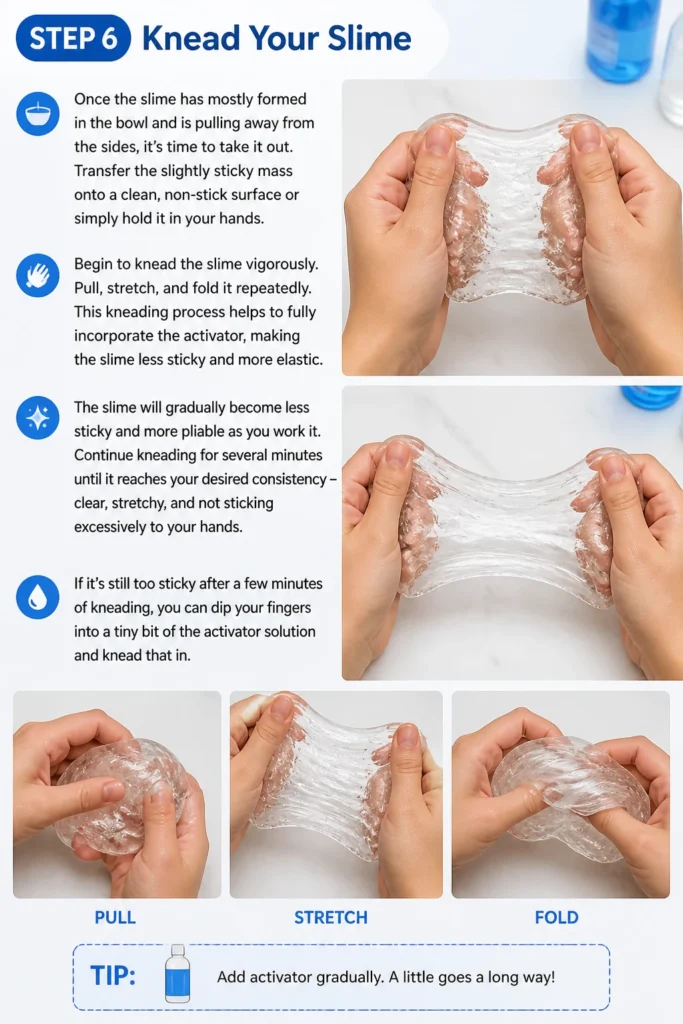
Begin to knead the slime vigorously. Pull, stretch, and fold it repeatedly. This kneading process helps to fully incorporate the activator, making the slime less sticky and more elastic.
The slime will gradually become less sticky and more pliable as you work it. Continue kneading for several minutes until it reaches your desired consistency – clear, stretchy, and not sticking excessively to your hands. If it’s still too sticky after a few minutes of kneading, you can dip your fingers into a tiny bit of the activator solution and knead that in.
Step 7: Allow Your Slime to Rest
For the best water slime results, a resting period is crucial. Once you’re happy with the consistency, place your newly made water slime into an airtight container.
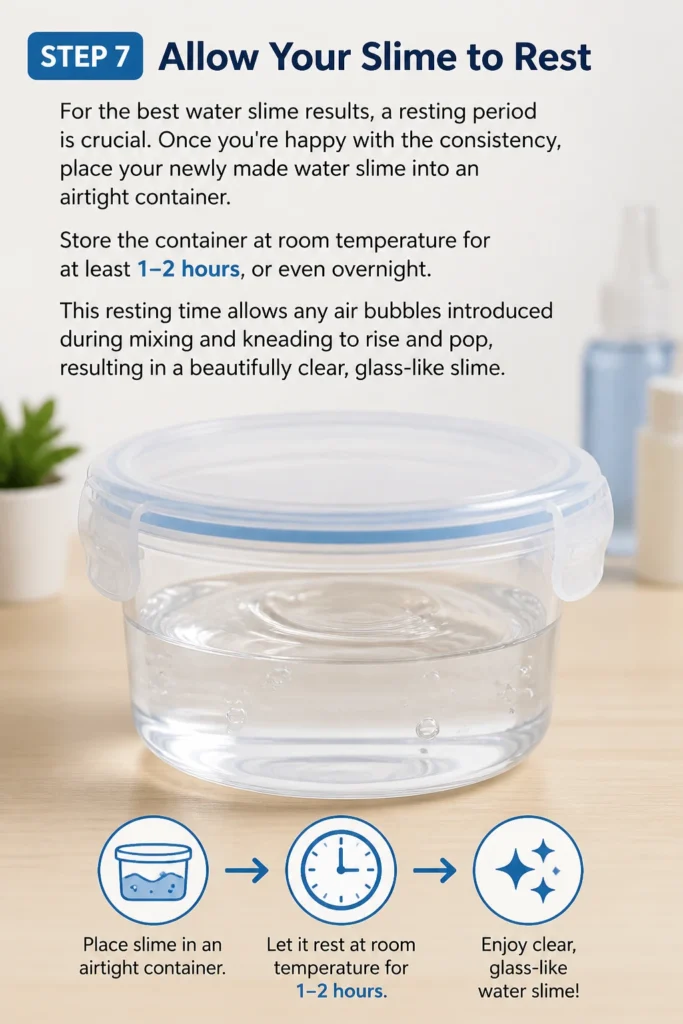
Store the container at room temperature for at least 1-2 hours, or even overnight. This resting time allows any air bubbles introduced during mixing and kneading to rise and pop, resulting in a beautifully clear, glass-like slime.
Step 8: Enjoy Your Creation
After the resting period, your water slime is ready for play! Take it out of the container and marvel at its stunning clarity and unique texture. It should be jiggly, stretchy, and incredibly satisfying.
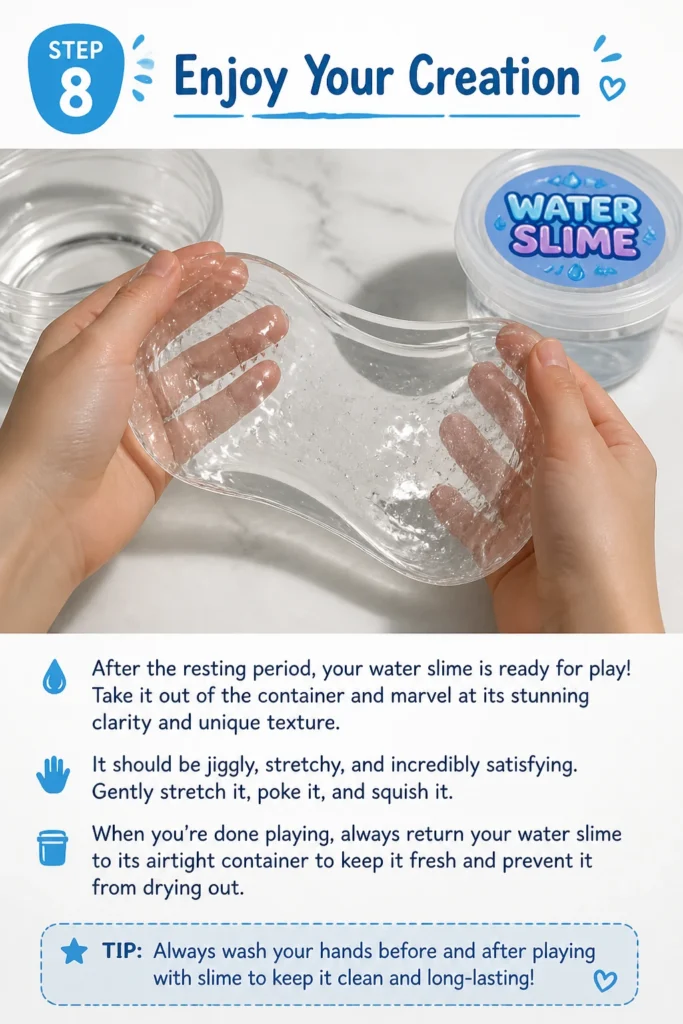
Gently stretch it, poke it, and squish it. When you’re done playing, always return your water slime to its airtight container to keep it fresh and prevent it from drying out.
Common Mistakes to Avoid
Using Too Much Activator
A common pitfall in slime making is adding too much activator too quickly. When you over-activate your water slime, it becomes stiff, rubbery, and prone to breaking rather than stretching. This texture is less enjoyable and doesn’t showcase the unique qualities of water slime. Always add your activator gradually, a teaspoon or tablespoon at a time, and mix thoroughly after each addition until you reach the desired consistency.
Not Mixing Thoroughly Enough
Inadequate mixing, especially during the initial glue and water combination, can lead to uneven slime texture. You might end up with pockets of unactivated glue or areas where the water hasn’t fully integrated, resulting in a lumpy or inconsistent slime. Take your time to gently but completely combine your ingredients at each stage to ensure a smooth, uniform batch of water slime.
Ignoring Resting Time
Many people skip the resting step, eager to play with their slime immediately. However, this resting period is vital for water slime’s signature clarity. Without it, your slime will remain cloudy due to trapped air bubbles from mixing. Allowing it to rest in an airtight container gives those bubbles time to escape, revealing the beautiful, transparent quality of true water slime.
Using the Wrong Type of Glue
Not all glues are created equal when it comes to water slime. Using opaque white glue, for instance, will prevent you from achieving the desired transparent effect. Similarly, some glues may not react as effectively with common activators. Always opt for clear PVA (polyvinyl acetate) glue, as it provides the best foundation for a clear, stretchy water slime.
Troubleshooting
Slime is Too Sticky
If your water slime is excessively sticky, clinging to your hands or the surface, it simply needs a bit more activator. Don’t panic or add a large amount at once. Dip your fingertips into a tiny amount of your activator solution and knead it into the slime. Repeat this process, adding very small amounts of activator until the stickiness subsides and the slime is comfortable to handle.
Slime is Too Stiff/Breaks Easily
A slime that is too stiff or breaks rather than stretches has likely been over-activated. While it’s hard to completely reverse this, you can try to salvage it. Add a very small amount (half a teaspoon) of plain, warm water or clear PVA glue to the slime and slowly knead it in. This can help rehydrate and soften the slime, making it more pliable.
Slime is Watery/Not Forming
If your mixture remains too liquid and isn’t forming a cohesive mass, it indicates that it hasn’t received enough activator. Continue adding your activator solution in small increments, stirring thoroughly after each addition. Be patient; sometimes it takes a few extra additions and consistent mixing for the glue molecules to properly cross-link and form the slime structure.
Key Takeaways
- Precision in measuring ingredients is crucial for achieving the desired water slime consistency.
- Always add your activator solution gradually, stirring well after each small addition, to prevent over-activation.
- Thorough kneading is essential to fully develop the slime’s texture and reduce stickiness.
- Allowing your water slime to rest in an airtight container helps air bubbles dissipate, enhancing its clarity.
- Proper storage ensures your water slime remains fresh and playable for longer periods.
- Water slime offers a uniquely clear, jiggly, and satisfying sensory experience.
Frequently Asked Questions
What’s the difference between regular slime and water slime?
Regular slime often uses white PVA glue, resulting in an opaque or colored slime. Water slime, on the other hand, specifically uses clear PVA glue and a higher water-to-glue ratio in its base mixture, which, combined with a resting period, produces a beautiful, translucent, jiggly texture. It feels lighter and often has a more delicate stretch.
Can I add color to water slime?
Yes, you can absolutely add color to water slime! For the best results in maintaining clarity, use liquid food coloring or translucent liquid watercolors. Add just a drop or two to your glue and water mixture before adding the activator. Too much color can make the slime opaque, so start with a tiny amount and add more if desired.
How long does water slime last?
When stored correctly in an airtight container at room temperature, water slime can last for about one to two weeks. Over time, it may lose some of its elasticity or clarity, and if it starts to smell strange or grow mold, it’s time to discard it. Regular hand washing before playing can extend its life.
Is water slime safe for kids?
Water slime, like most homemade slimes, is generally safe for children when made with non-toxic ingredients and supervised by an adult. The main concern is ensuring children do not ingest the slime or its ingredients, especially borax. Always ensure hands are washed thoroughly after playing with slime. For very young children or those with sensitive skin, consider borax-free activator alternatives like liquid starch or contact lens solution with baking soda.
Our Top Recommended Finds
- Clear PVA Glue: Look for a reputable brand of clear school glue. This is the foundation for your translucent slime.
- Borax Powder: A common household cleaning agent, essential for activating many slime recipes. Ensure it’s 100% borax for consistent results.
- Airtight Containers: Essential for proper slime storage, these containers keep your slime fresh and prevent it from drying out.
- Measuring Cups and Spoons Set: Accurate measurements are key in slime making, making a reliable set indispensable.
Start Crafting Your Water Slime Today!
You now have all the knowledge and steps needed to create your very own batch of mesmerizing water slime. It’s a project that promises satisfaction and a wonderfully unique sensory experience. Don’t wait to try it out!
Gather your materials, follow these instructions carefully, and prepare to be amazed by the clear, jiggly, and stretchy creation you’ll bring to life. Once you master this, perhaps you’ll explore other slime variations, like fluffy slime or cloud slime. The world of slime making is vast and full of fun possibilities!