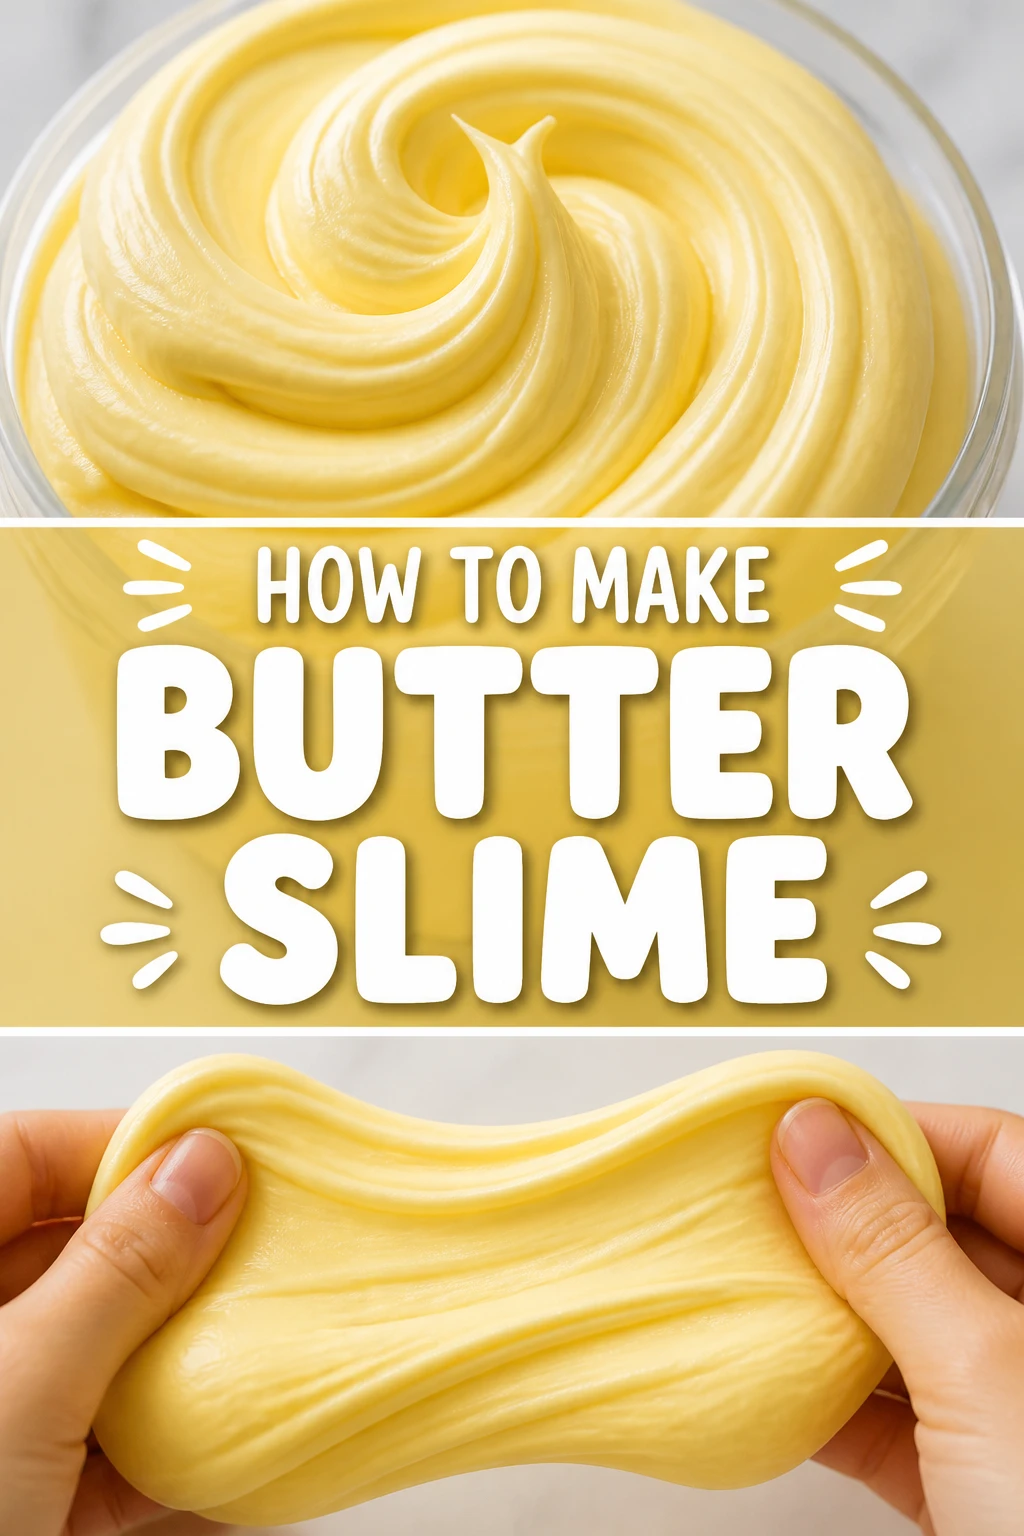
🧈 How To Make Butter Slime
There’s something truly special about butter slime.
Its unique, spreadable texture sets it apart from other slimes, offering a wonderfully satisfying sensory experience.
I’ve personally experimented with countless slime recipes, and this guide shares my perfected method for achieving that signature buttery feel, ensuring your success.
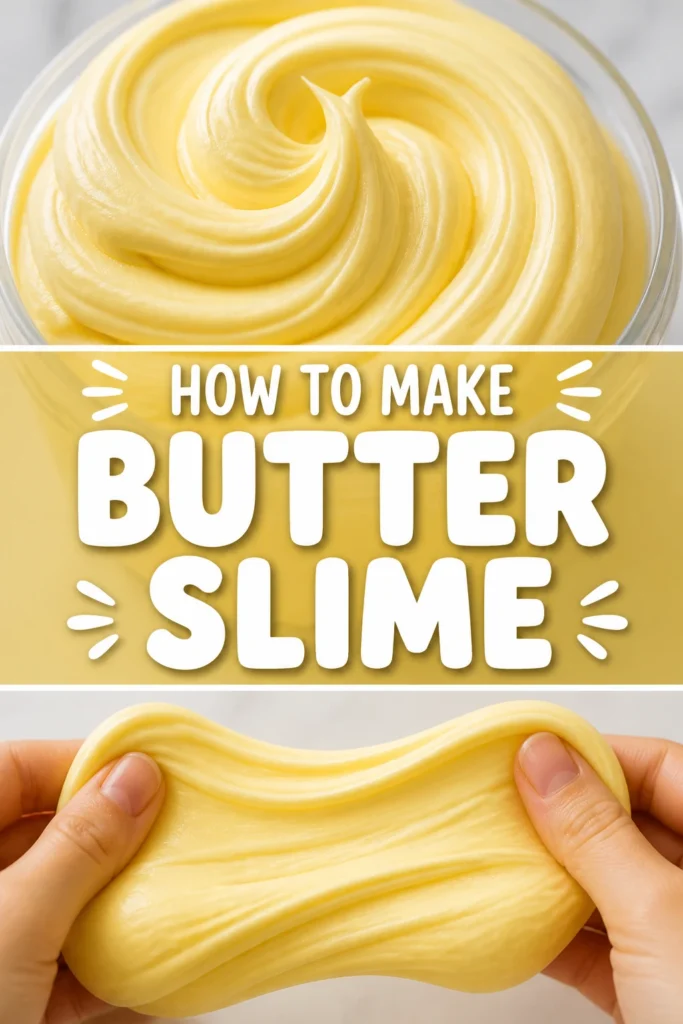
Quick Overview
Get ready to create an irresistibly soft and spreadable butter slime that you’ll love to squish, stretch, and play with!
- Time needed: 20-30 minutes (including mixing and kneading)
- Difficulty: Beginner
- What you’ll need: White glue, clay (air dry), baking soda, contact lens solution, lotion, and optional food coloring.
Step-by-Step Instructions
Step 1: Gather Your Ingredients and Tools
Before you begin, make sure you have everything laid out and ready.
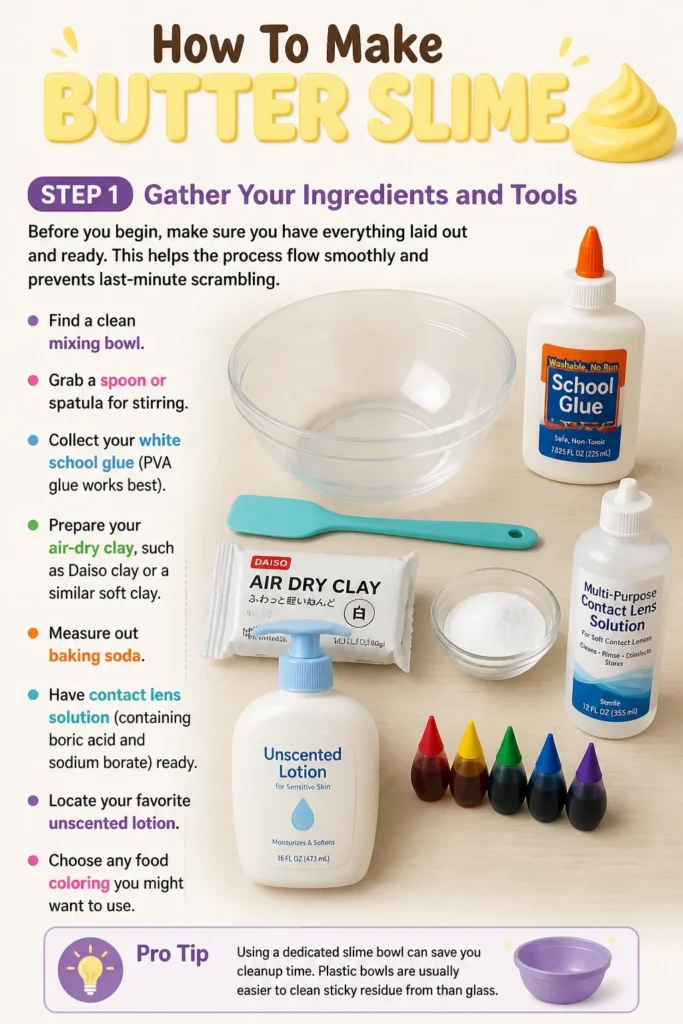
This helps the process flow smoothly and prevents last-minute scrambling.
- Find a clean mixing bowl.
- Grab a spoon or spatula for stirring.
- Collect your white school glue (PVA glue works best).
- Prepare your air-dry clay, such as Daiso clay or a similar soft clay.
- Measure out baking soda.
- Have contact lens solution (containing boric acid and sodium borate) ready.
- Locate your favorite unscented lotion.
- Choose any food coloring you might want to use.
Pro Tip: Using a dedicated “slime bowl” can save you cleanup time. Plastic bowls are usually easier to clean sticky residue from than glass.
Step 2: Start with Your Glue Base
The glue forms the foundation of your butter slime.
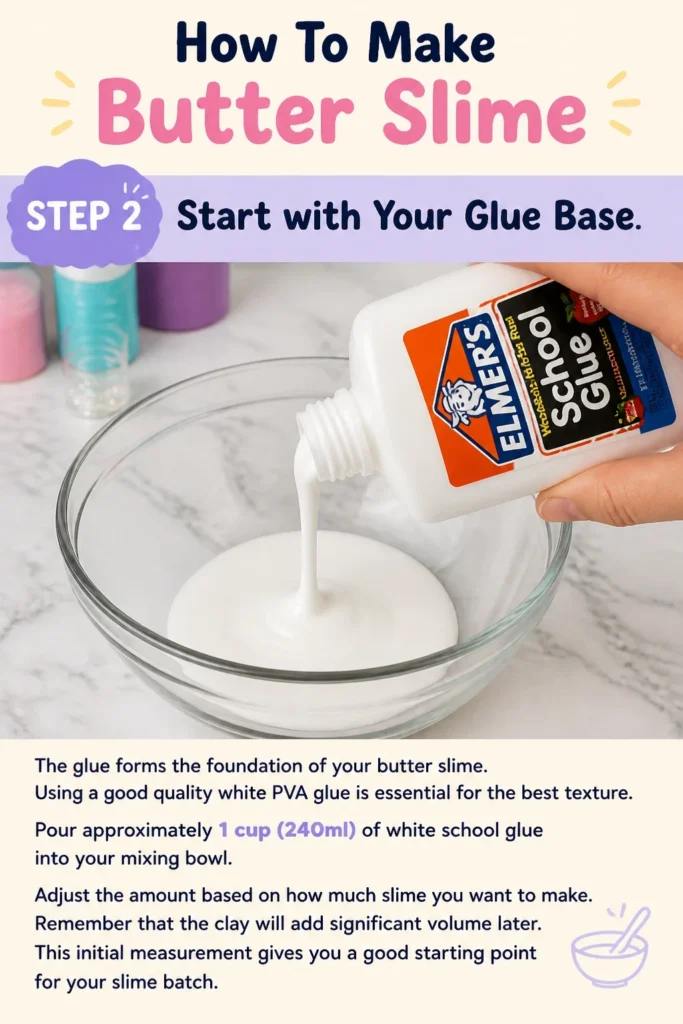
Using a good quality white PVA glue is essential for the best texture.
- Pour approximately 1 cup (240ml) of white school glue into your mixing bowl.
- Adjust the amount based on how much slime you want to make.
- Remember that the clay will add significant volume later.
This initial measurement gives you a good starting point for your slime batch.
Step 3: Add Baking Soda
Baking soda works with the contact lens solution to activate the slime.
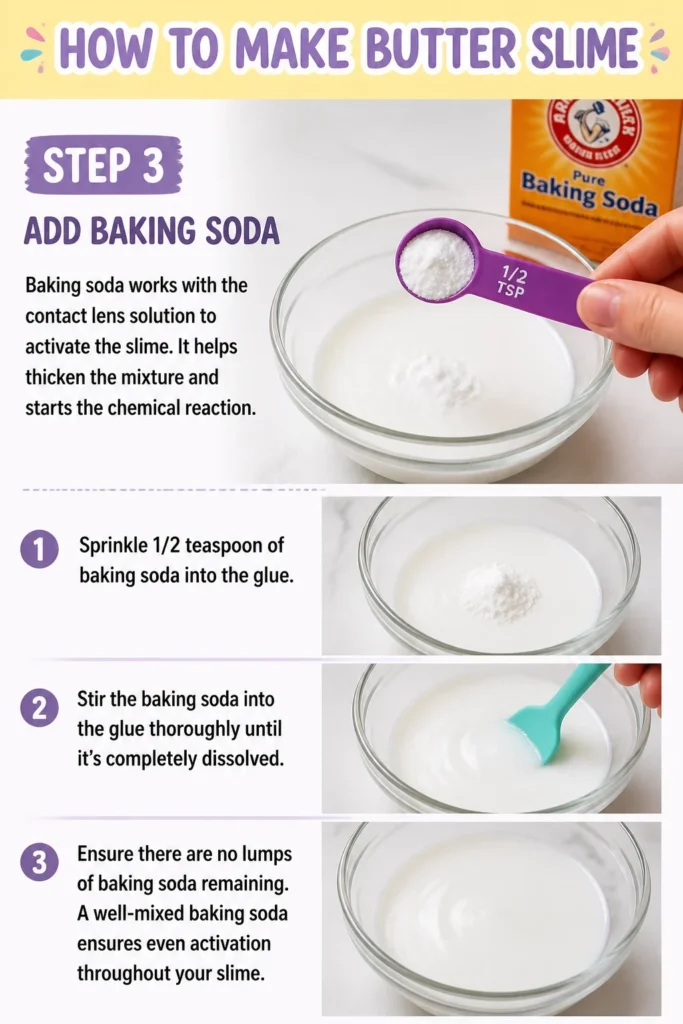
It helps thicken the mixture and starts the chemical reaction.
- Sprinkle 1/2 teaspoon of baking soda into the glue.
- Stir the baking soda into the glue thoroughly until it’s completely dissolved.
- Ensure there are no lumps of baking soda remaining.
A well-mixed baking soda ensures even activation throughout your slime.
Step 4: Introduce Lotion and Color (Optional)
Lotion is a secret ingredient for butter slime, adding to its softness and stretch.
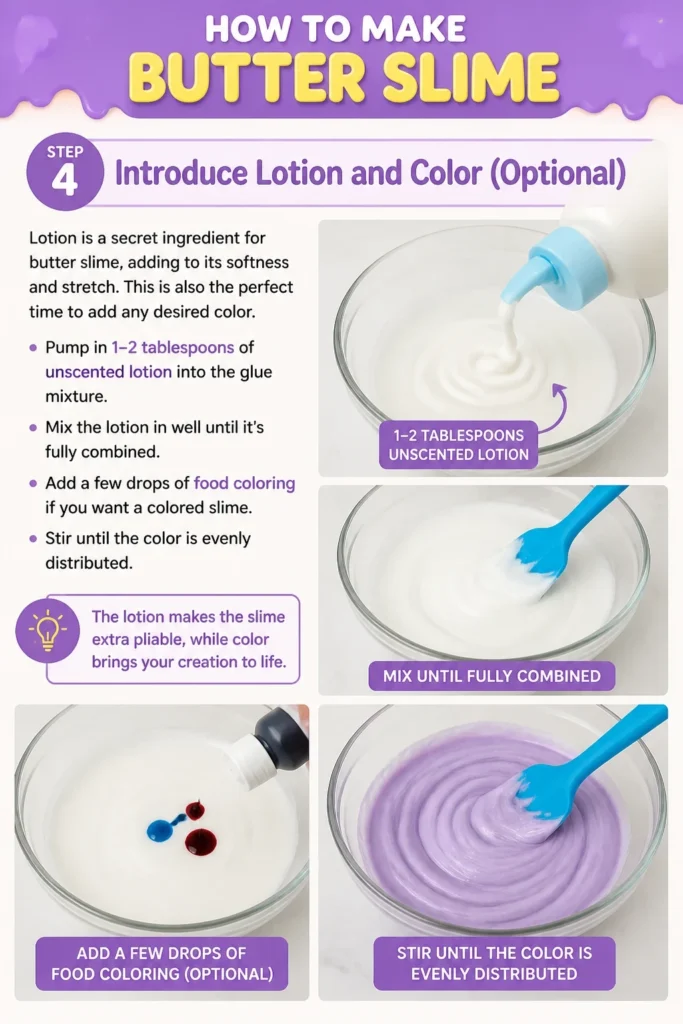
This is also the perfect time to add any desired color.
- Pump in 1-2 tablespoons of unscented lotion into the glue mixture.
- Mix the lotion in well until it’s fully combined.
- Add a few drops of food coloring if you want a colored slime.
- Stir until the color is evenly distributed.
The lotion makes the slime extra pliable, while color brings your creation to life.
Step 5: Activate Your Slime
This is where the magic happens, transforming the liquid mixture into slime.
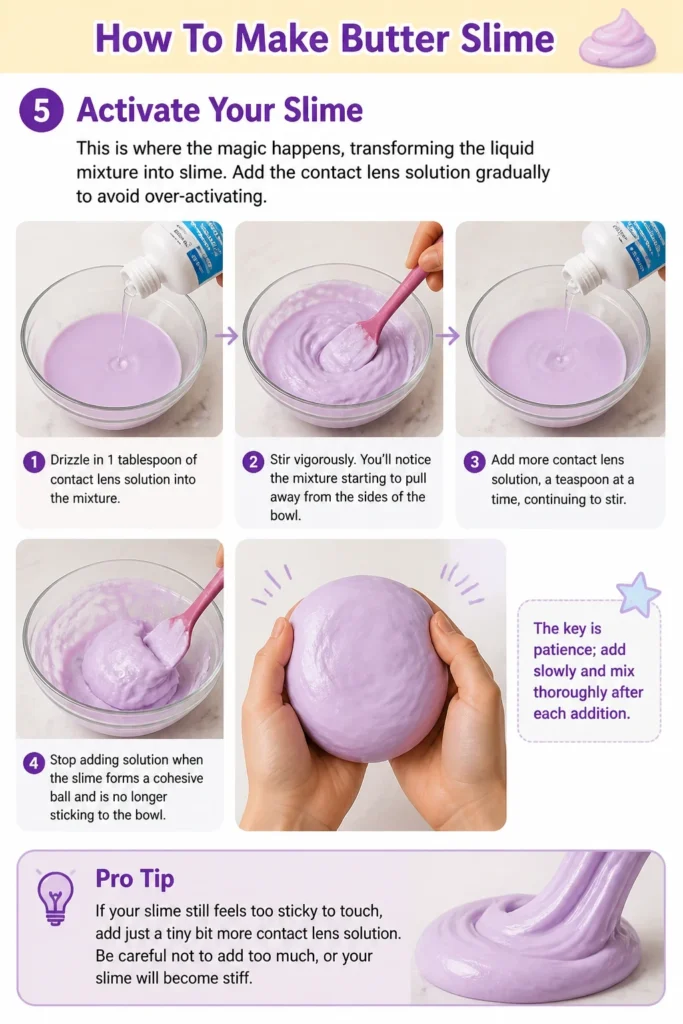
Add the contact lens solution gradually to avoid over-activating.
- Drizzle in 1 tablespoon of contact lens solution into the mixture.
- Stir vigorously. You’ll notice the mixture starting to pull away from the sides of the bowl.
- Add more contact lens solution, a teaspoon at a time, continuing to stir.
- Stop adding solution when the slime forms a cohesive ball and is no longer sticking to the bowl.
The key is patience; add slowly and mix thoroughly after each addition.
Pro Tip: If your slime still feels too sticky to touch, add just a tiny bit more contact lens solution. Be careful not to add too much, or your slime will become stiff.
Step 6: Knead Your Slime
Once the slime is mostly formed in the bowl, it’s time to get your hands dirty.
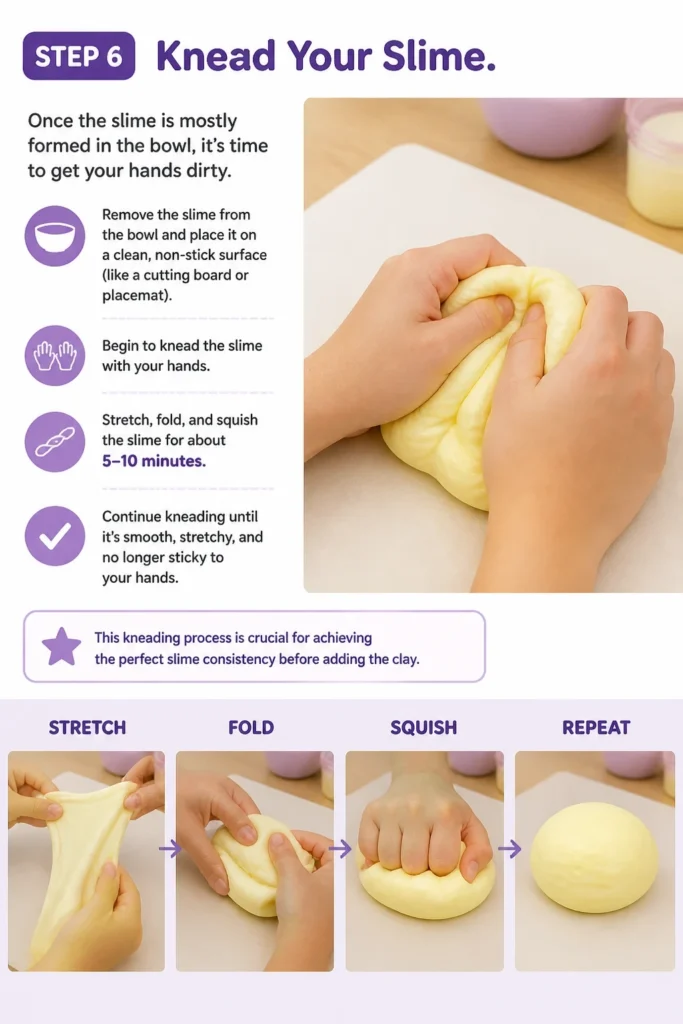
Kneading develops the slime’s texture and makes it less sticky.
- Remove the slime from the bowl and place it on a clean, non-stick surface (like a cutting board or placemat).
- Begin to knead the slime with your hands.
- Stretch, fold, and squish the slime for about 5-10 minutes.
- Continue kneading until it’s smooth, stretchy, and no longer sticky to your hands.
This kneading process is crucial for achieving the perfect slime consistency before adding the clay.
Step 7: Incorporate the Air-Dry Clay
The air-dry clay is what gives butter slime its signature “buttery” feel and spreadable texture.
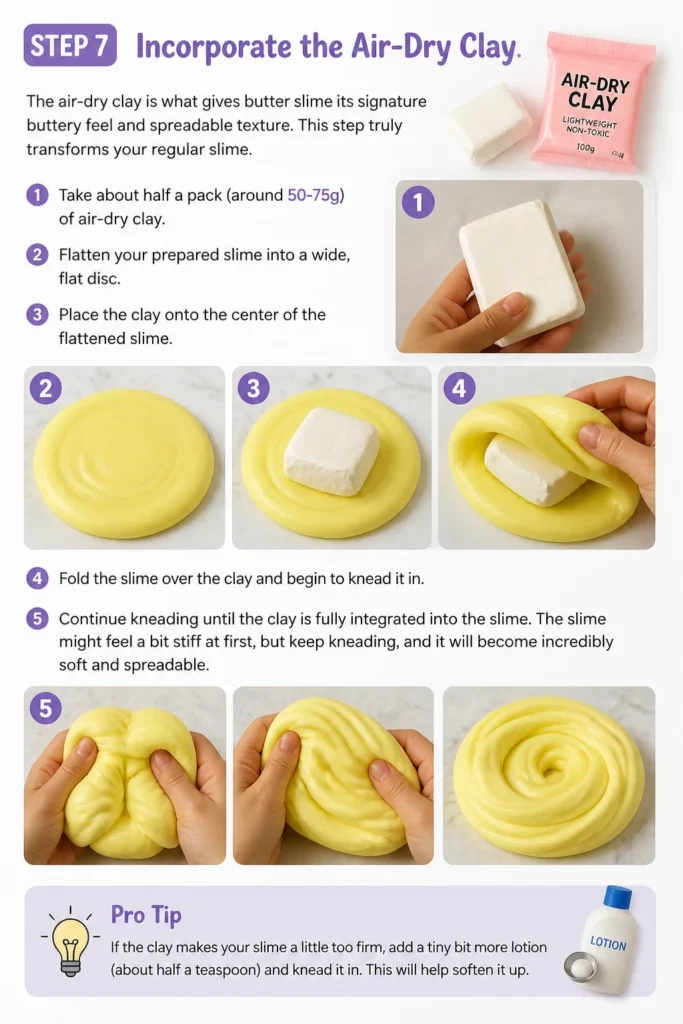
This step truly transforms your regular slime.
- Take about half a pack (around 50-75g) of air-dry clay.
- Flatten your prepared slime into a wide, flat disc.
- Place the clay onto the center of the flattened slime.
- Fold the slime over the clay and begin to knead it in.
- Continue kneading until the clay is fully integrated into the slime.
The slime might feel a bit stiff at first, but keep kneading, and it will become incredibly soft and spreadable.
Pro Tip: If the clay makes your slime a little too firm, add a tiny bit more lotion (about half a teaspoon) and knead it in. This will help soften it up.
Common Mistakes to Avoid
Adding Too Much Activator Too Fast
It’s very tempting to pour in a lot of contact lens solution all at once, hoping to speed up the process. However, this often leads to over-activated, stiff, and brittle slime that breaks easily. Always add your activator slowly, a teaspoon or even half a teaspoon at a time, mixing thoroughly after each addition until the slime reaches the desired consistency.
Not Kneading Enough
Many beginners stop kneading as soon as the slime is no longer sticky in the bowl. The truth is, the real work happens when you get it out and start to work it with your hands. Proper kneading develops the slime’s elasticity, smoothness, and overall texture. Don’t be afraid to spend 5-10 minutes stretching and folding your slime; it makes a huge difference.
Using the Wrong Type of Clay
Not all clays are created equal for butter slime. Using heavy, oil-based, or oven-bake clay will result in a completely different, often undesirable, texture. For true butter slime, you need a soft, lightweight air-dry clay, often labeled as “Daiso clay” or similar craft foam clay. These clays blend seamlessly and provide that unique, smooth, spreadable feel.
Incorrect Glue Choice
While many glues exist, for a reliable slime, especially butter slime, a good quality white PVA (polyvinyl acetate) school glue is crucial. Craft glues or clear glues might work for other slime types, but white PVA glue provides the best base for the clay to integrate and gives the optimal stretch and softness. Check the label to ensure it’s PVA-based.
Troubleshooting
Slime is Too Sticky
If your butter slime is sticking to your hands and surface, it simply needs a bit more activator. Add a very small amount (a quarter teaspoon) of contact lens solution to your slime. Knead it in thoroughly for a minute or two. Repeat this process, adding tiny amounts and kneading, until the stickiness disappears. Be cautious not to add too much, or it will become stiff.
Slime is Too Stiff or Breaks Easily
This usually means your slime is over-activated or lacks enough lotion. Try adding half a teaspoon of unscented lotion to the slime and knead it in completely. If it’s still stiff, you can add another small amount of lotion. A few drops of baby oil or even a tiny splash of warm water can also help restore its elasticity, but lotion is generally the best choice for butter slime.
Clay Won’t Blend Properly
Sometimes, the clay might seem resistant to mixing into the slime, creating lumps. This can happen if the slime itself is too stiff or if the clay is a bit dry. Ensure your base slime is soft and pliable before adding the clay. If lumps persist, continuously knead and stretch the slime. You can also try warming the clay slightly in your hands before adding it, which makes it more pliable and easier to incorporate.
Key Takeaways
- Always add activator (contact lens solution) slowly, in small increments.
- Kneading is essential for developing the perfect slime texture and reducing stickiness.
- Air-dry clay is the key ingredient that gives butter slime its unique spreadable quality.
- Lotion helps make the slime soft, stretchy, and easier to work with.
- Proper storage in an airtight container extends the life of your butter slime.
- Don’t be afraid to experiment with colors and scents to personalize your creation.
Frequently Asked Questions
What kind of clay is best for butter slime?
For the best butter slime, you should use a soft, lightweight air-dry clay. Brands like Daiso clay are popular choices because they blend smoothly and give that signature spreadable, buttery texture. Avoid heavy, oil-based, or oven-bake clays, as these won’t achieve the desired consistency.
How do I store butter slime so it lasts?
To keep your butter slime fresh and soft, always store it in an airtight container. A plastic food container with a tight-fitting lid or a resealable plastic bag works perfectly. Keeping it sealed prevents it from drying out and maintains its texture for longer play sessions.
Can I make butter slime without contact lens solution?
While contact lens solution is a popular and effective activator, you can use other activators. Alternatives include liquid starch or Borax dissolved in water. The key is that the activator contains borate ions, which react with the PVA glue to form slime. Always research specific recipes for these alternative activators to ensure proper ratios.
Why is my butter slime not stretchy?
If your butter slime isn’t very stretchy, it’s likely over-activated. This means too much contact lens solution was added. To fix this, try kneading in a small amount of unscented lotion, baby oil, or even a few drops of glycerine. These ingredients help to soften the slime and restore its elasticity, making it more pliable and fun to stretch.
Our Top Recommended Finds
- Airtight Plastic Containers: Essential for keeping your slime fresh and preventing it from drying out between play sessions.
- Craft Sticks or Spatulas: Great for mixing ingredients without getting your hands messy too early in the process.
- Unscented Lotion: A must-have for achieving that extra soft, spreadable texture and for troubleshooting stiff slime.
Your Next Slime Adventure Awaits
You’ve just created an amazing batch of butter slime, a testament to your crafting skills.
Now that you’ve mastered this satisfying texture, why not explore other slime variations?
Consider trying clear slime, fluffy slime, or even a crunchy bead slime next time.
The world of slime is full of endless possibilities, so grab your ingredients and let your creativity flow today!