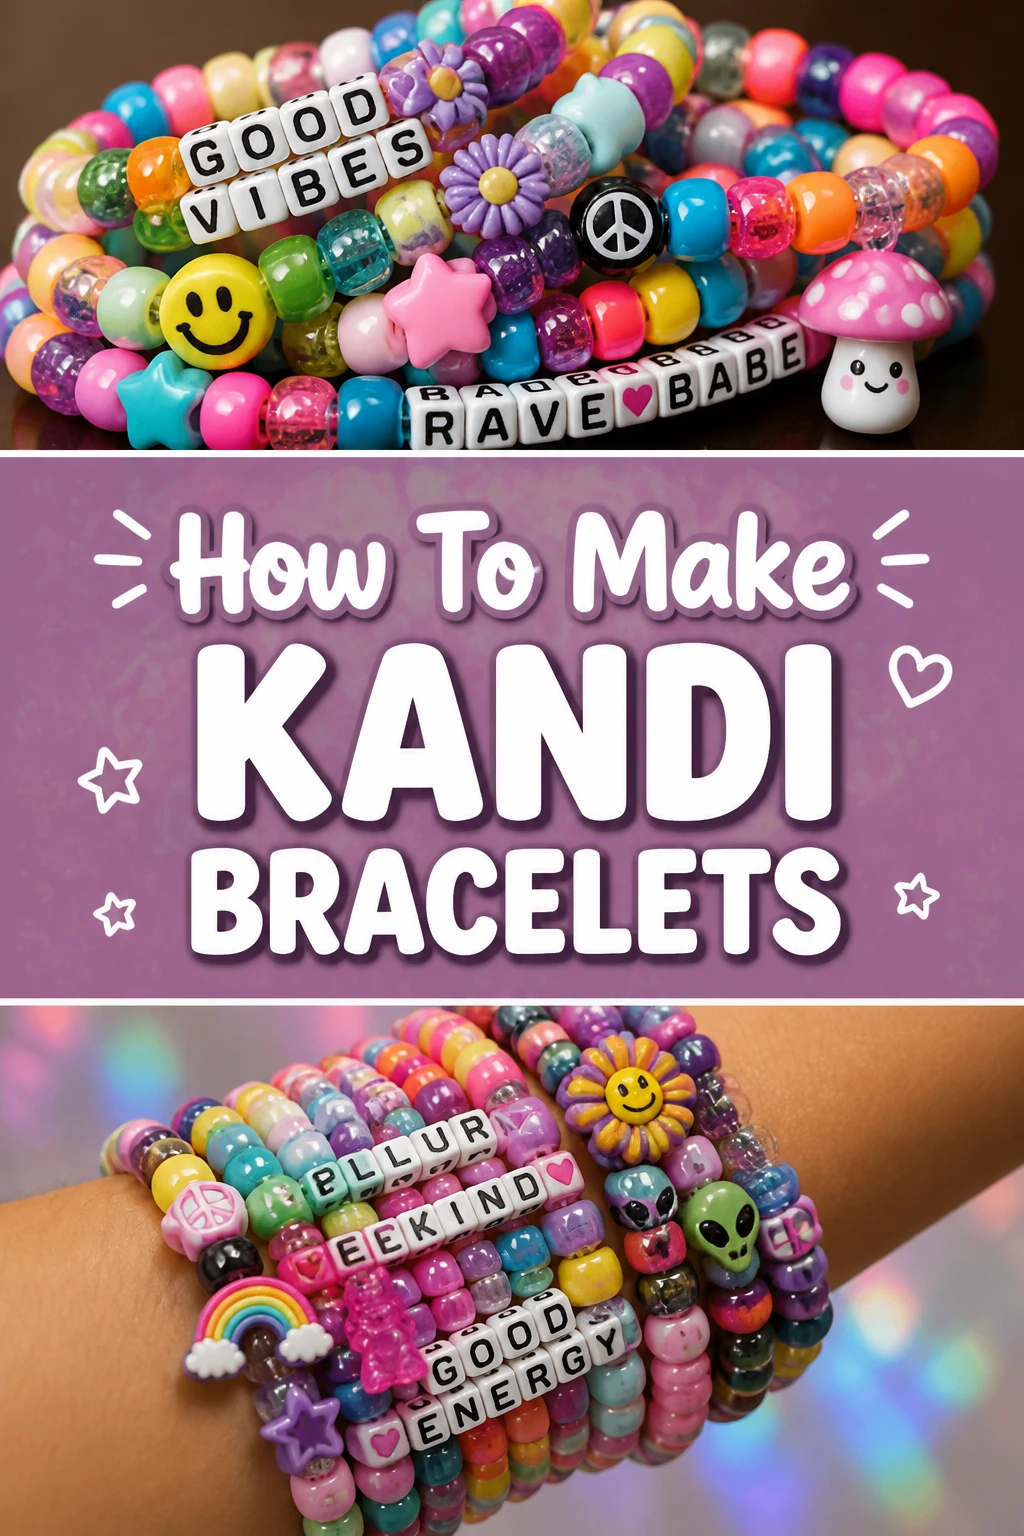
🌈 How To Make Kandi Bracelets
I still remember the first time someone handed me a bright, neon-colored bracelet at a music festival.
That small piece of plastic jewelry instantly made me feel like part of a massive, welcoming family.
After a decade of trading and crafting, I have refined the best methods to create durable, beautiful bracelets that won’t snap the moment you put them on.
Quick Overview
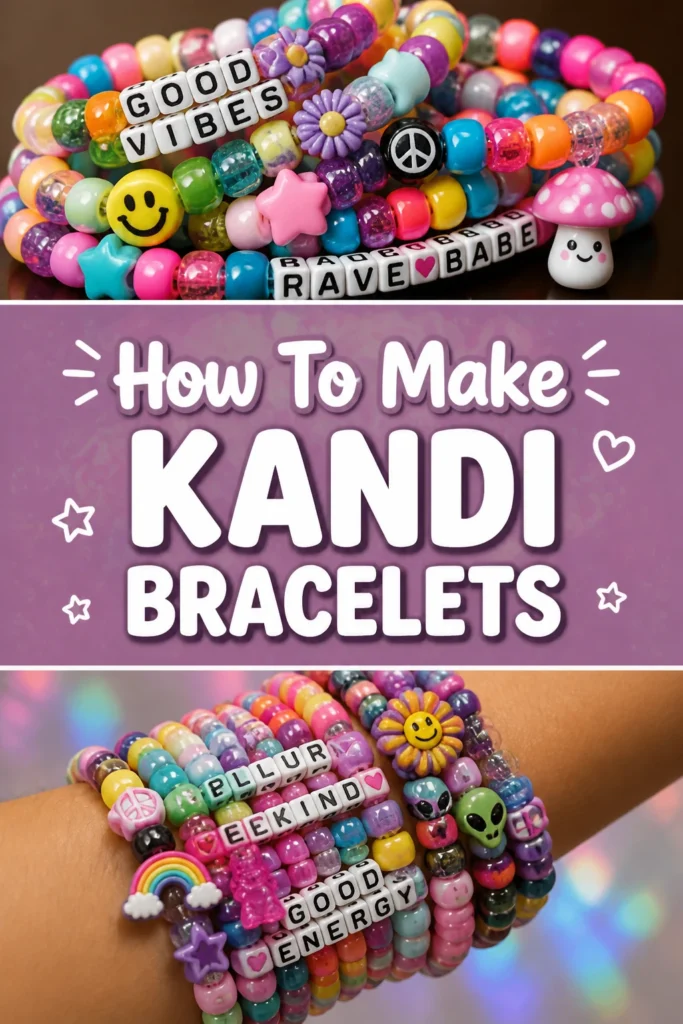
Making a basic kandi bracelet, often called a “single,” is the foundation of the entire rave craft culture.
It is a relaxing hobby that allows you to express your personality and share kindness with others through the tradition of trading.
- Time needed: 10 to 15 minutes per bracelet
- Difficulty: Beginner
- What you’ll need: Elastic cord, 9mm pony beads, sharp scissors, and a ruler.
Step 1: Choose Your Elastic Cord
Select a high-quality elastic string that can withstand the wear and tear of a long event.
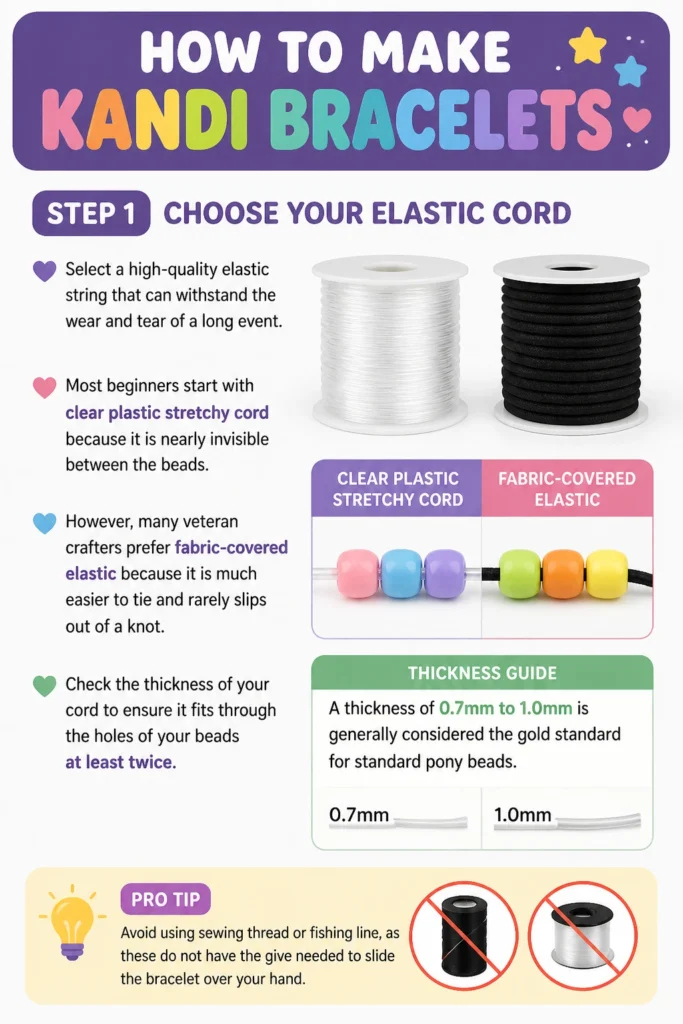
Most beginners start with clear plastic stretchy cord because it is nearly invisible between the beads.
However, many veteran crafters prefer fabric-covered elastic because it is much easier to tie and rarely slips out of a knot.
Check the thickness of your cord to ensure it fits through the holes of your beads at least twice.
A thickness of 0.7mm to 1.0mm is generally considered the gold standard for standard pony beads.
Pro Tip: Avoid using sewing thread or fishing line, as these do not have the “give” needed to slide the bracelet over your hand.
Step 2: Measure and Cut Your String
Pull a length of string from the spool that is roughly double the circumference of your wrist.
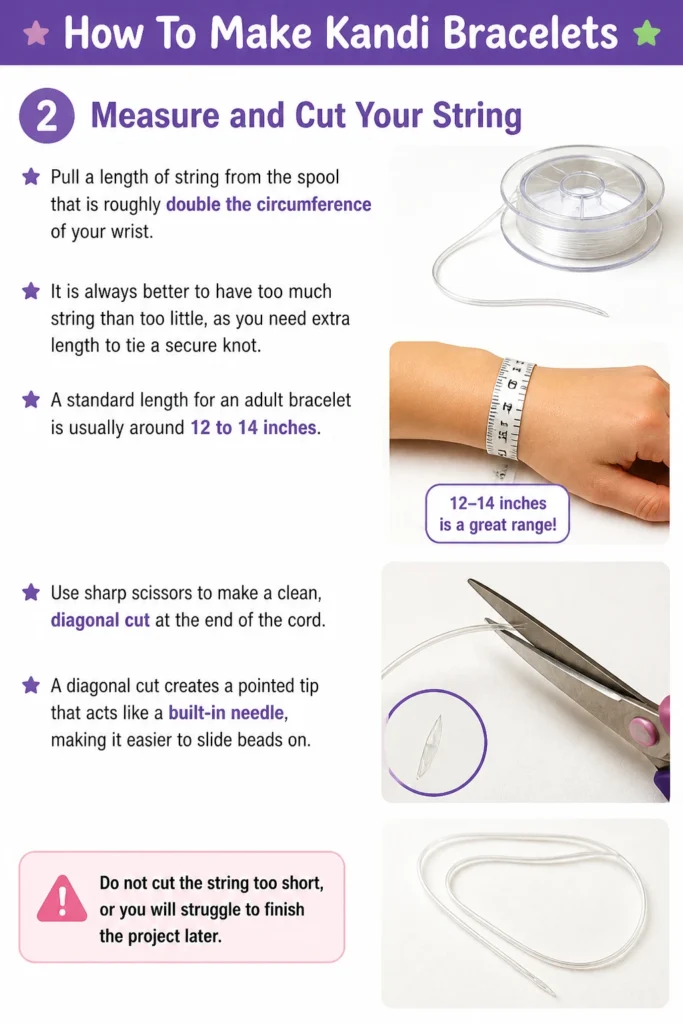
It is always better to have too much string than too little, as you need extra length to tie a secure knot.
A standard length for an adult bracelet is usually around 12 to 14 inches.
Use sharp scissors to make a clean, diagonal cut at the end of the cord.
A diagonal cut creates a pointed tip that acts like a built-in needle, making it easier to slide beads on.
Do not cut the string too short, or you will struggle to finish the project later.
Step 3: Secure the Working End
Clip one end of your string with a binder clip or a piece of tape to prevent beads from sliding off the other side.
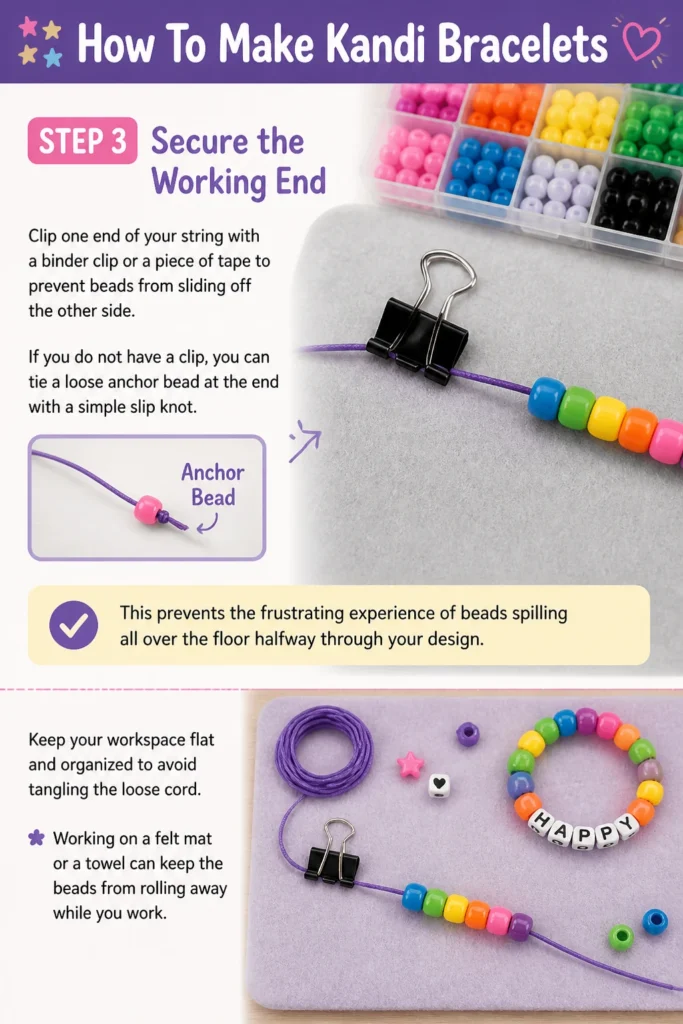
If you do not have a clip, you can tie a loose “anchor bead” at the end with a simple slip knot.
This prevents the frustrating experience of beads spilling all over the floor halfway through your design.
Keep your workspace flat and organized to avoid tangling the loose cord.
Working on a felt mat or a towel can keep the beads from rolling away while you work.
Step 4: Plan Your Color Pattern
Lay out your beads in the order you want them to appear on the bracelet before you start stringing.
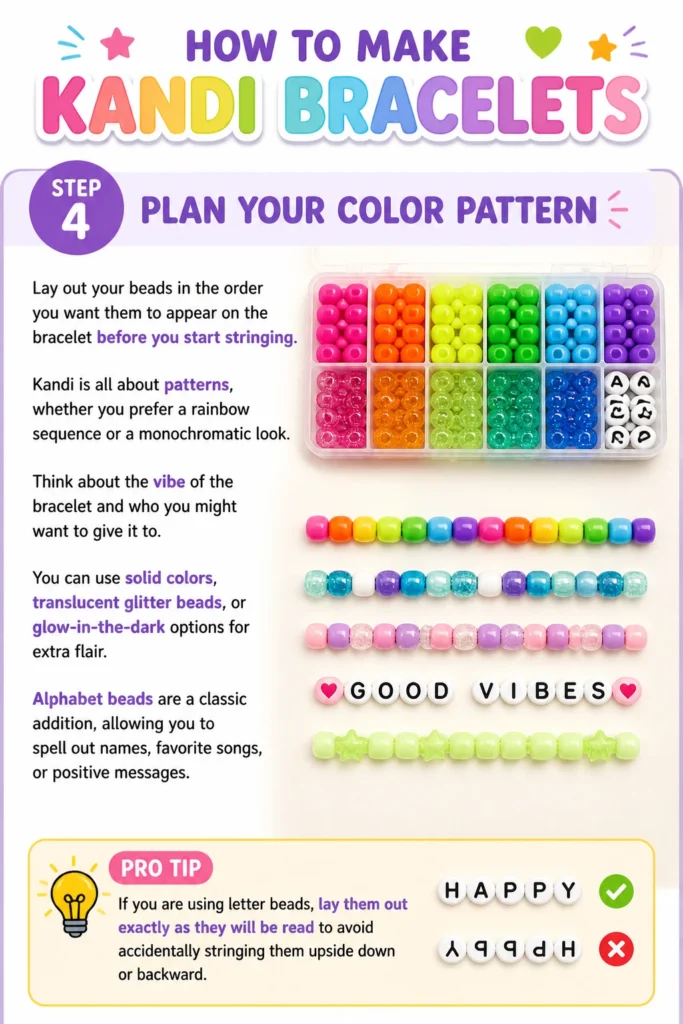
Kandi is all about patterns, whether you prefer a rainbow sequence or a monochromatic look.
Think about the “vibe” of the bracelet and who you might want to give it to.
You can use solid colors, translucent “glitter” beads, or glow-in-the-dark options for extra flair.
Alphabet beads are a classic addition, allowing you to spell out names, favorite songs, or positive messages.
Pro Tip: If you are using letter beads, lay them out exactly as they will be read to avoid accidentally stringing them upside down or backward.
Step 5: String the Beads
Slide the beads onto the cord one by one, following your pre-planned pattern.
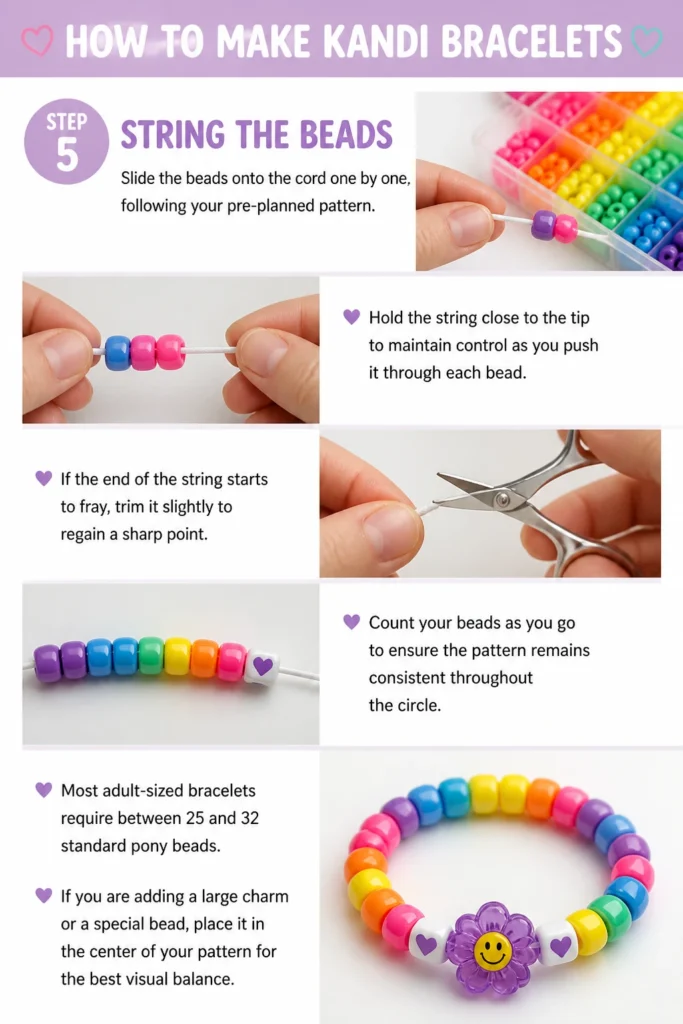
Hold the string close to the tip to maintain control as you push it through each bead.
If the end of the string starts to fray, trim it slightly to regain a sharp point.
Count your beads as you go to ensure the pattern remains consistent throughout the circle.
Most adult-sized bracelets require between 25 and 32 standard pony beads.
If you are adding a large charm or a special bead, place it in the center of your pattern for the best visual balance.
Step 6: Check the Fit
Wrap the unfinished bracelet around your wrist to see how the ends meet.
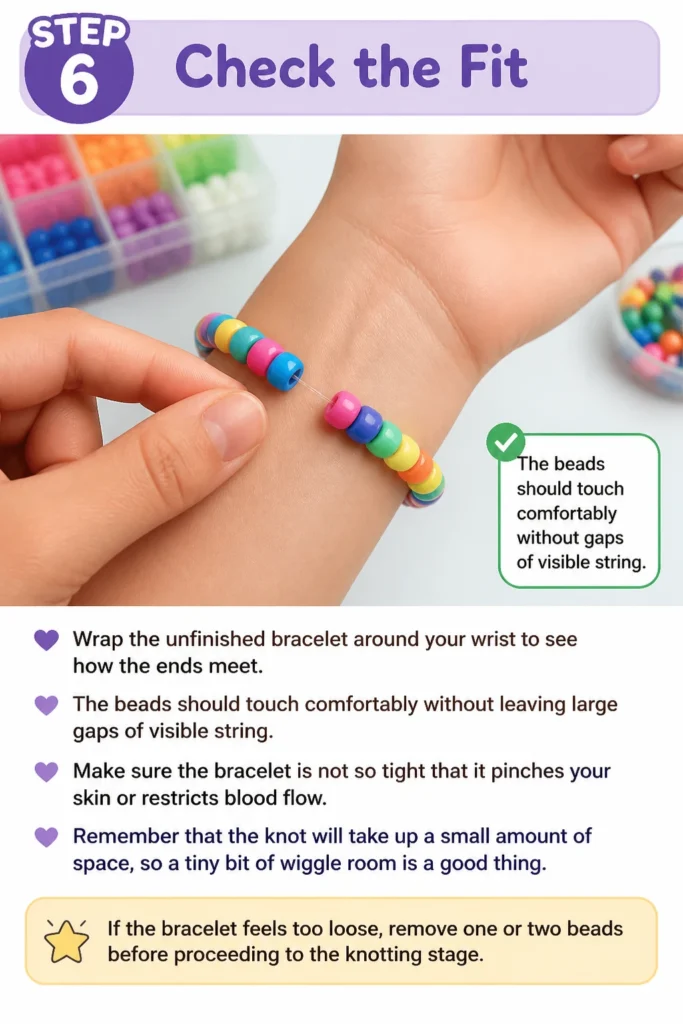
The beads should touch comfortably without leaving large gaps of visible string.
Make sure the bracelet is not so tight that it pinches your skin or restricts blood flow.
Remember that the knot will take up a small amount of space, so a tiny bit of wiggle room is a good thing.
If the bracelet feels too loose, remove one or two beads before proceeding to the knotting stage.
Step 7: Tie a Surgeon’s Knot
Cross the two ends of the string and tie a basic overhand knot, just like you are starting to tie your shoes.
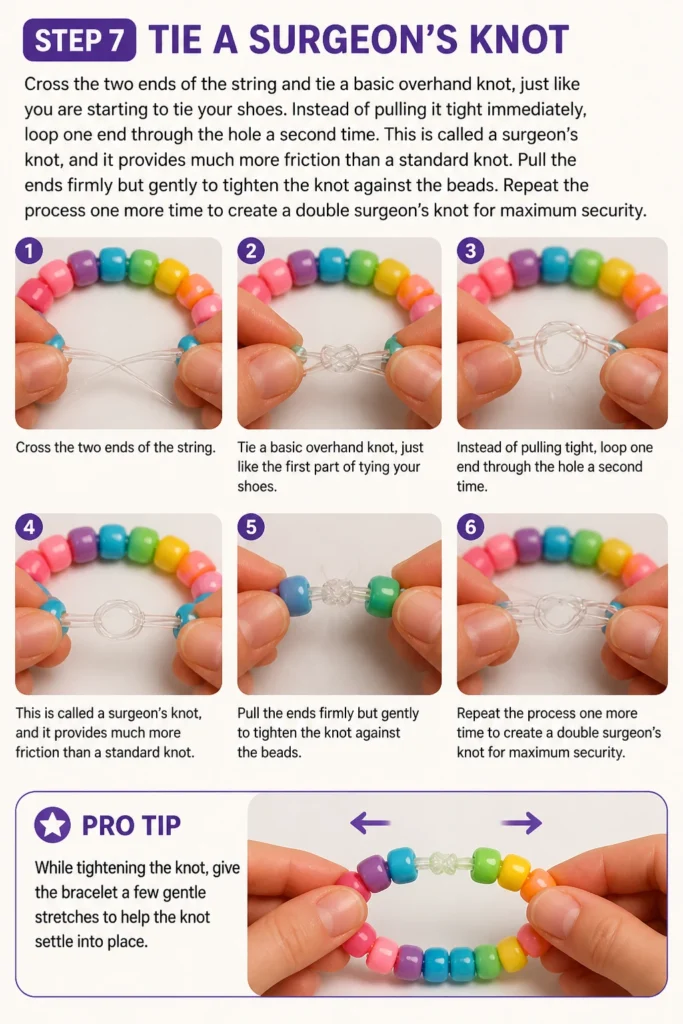
Instead of pulling it tight immediately, loop one end through the hole a second time.
This is called a surgeon’s knot, and it provides much more friction than a standard knot.
Pull the ends firmly but gently to tighten the knot against the beads.
Repeat the process one more time to create a double surgeon’s knot for maximum security.
Pro Tip: While tightening the knot, give the bracelet a few gentle stretches to help the knot settle into place.
Step 8: Secure and Hide the Knot
Apply a tiny drop of clear nail polish or super glue to the knot if you are using slick, clear plastic cord.
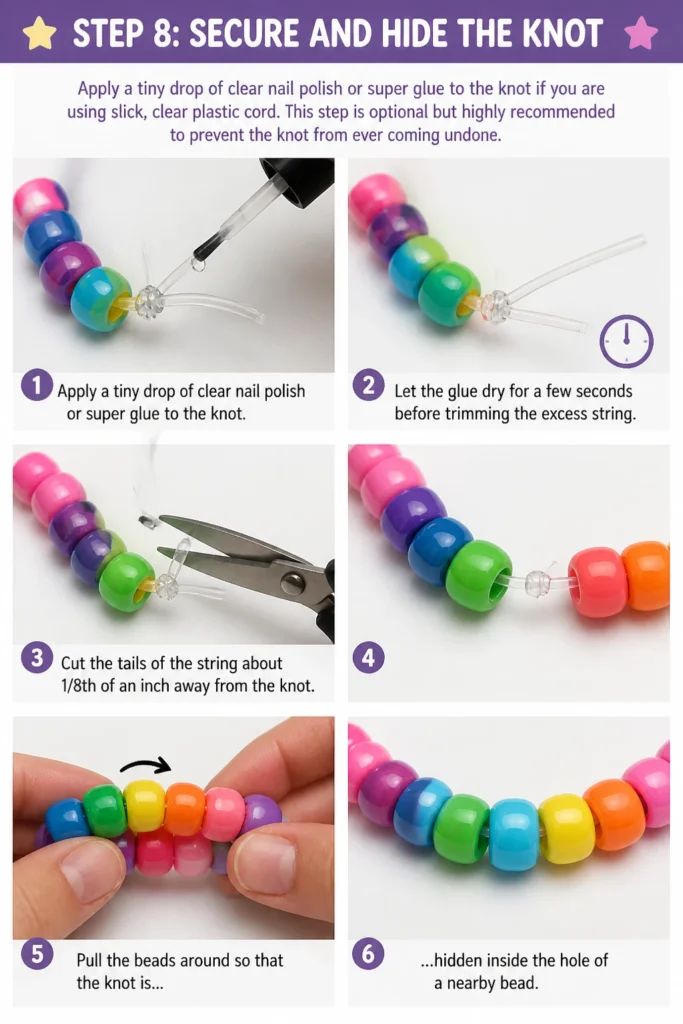
This step is optional but highly recommended to prevent the knot from ever coming undone.
Let the glue dry for a few seconds before trimming the excess string.
Cut the tails of the string about 1/8th of an inch away from the knot.
Finally, pull the beads around so that the knot is hidden inside the hole of a nearby bead.
Common Mistakes to Avoid
Using the Wrong String Tension
If you pull the string too tight while tieing the knot, the bracelet will be stiff and might snap when stretched.
The beads should be able to move slightly, allowing the elastic to flex naturally with your movement.
Conversely, if the tension is too loose, you will see the string between every bead, which looks messy.
Forgetting to Center the Words
When using alphabet beads, many people start stringing the words at the very beginning of the cord.
This often results in the word sitting right next to the knot or being off-center on the wrist.
Always place an equal number of colored beads on either side of your word or charm to keep it centered.
Neglecting the “Stretch Test”
Many beginners finish a bracelet and immediately put it in their bag without testing the knot.
Always give the finished piece a few firm tugs to ensure the knot is locked in place.
It is much better for a bracelet to break in your hands while you can fix it than to break while you are trading it to a friend.
Troubleshooting
The Knot Keeps Slipping
If you are using clear cord and the knot won’t stay tight, it is likely because the material is too smooth.
Try the surgeon’s knot again, but this time, hold the knot with your fingernails as you pull the ends.
Adding a drop of super glue is usually the only permanent fix for very stubborn, slippery plastic cords.
The String is Fraying
Fabric-covered elastic can sometimes fray at the ends, making it impossible to thread through small bead holes.
You can fix this by briefly singeing the very tip of the cord with a lighter to melt the fibers together.
Be extremely careful not to burn the elastic core, as this will make the string brittle and prone to breaking.
Beads Are Too Small for the String
Sometimes you might find a beautiful bead that simply won’t slide onto your cord.
Do not try to force it, as this can damage the internal elastic fibers of the string.
Keep a separate spool of thinner 0.5mm cord specifically for smaller accent beads or crystals.
Key Takeaways
- Always use a surgeon’s knot to ensure your bracelets stay together during high-energy activities.
- Measure your string to be at least twice the size of your wrist to allow for easy tieing.
- Fabric-covered elastic is generally more durable and easier to knot than clear plastic cord.
- Hide your knots inside the bead holes for a professional, “store-bought” appearance.
- Plan your patterns and words in advance to avoid mistakes and save time.
- Apply a small amount of adhesive to the knot for extra peace of mind.
Frequently Asked Questions
What are the best beads for kandi?
Plastic pony beads are the standard choice because they are lightweight, affordable, and come in every color imaginable.
They have large holes that make them very easy to string, even for children or people with limited dexterity.
How do I know what size to make the bracelet?
A standard adult bracelet usually has about 27 to 30 beads, while a child’s version might only need 20 to 22.
If you are making bracelets to trade, it is a good idea to make a variety of sizes to fit different people.
Can I wash my kandi bracelets?
Yes, you can wash them with mild soap and lukewarm water if they get dirty at an outdoor event.
Avoid using hot water or harsh chemicals, as these can break down the elastic over time and cause it to lose its stretch.
What does PLUR mean in the kandi community?
PLUR stands for Peace, Love, Unity, and Respect, which are the core values of the rave community.
Kandi is often traded using a special handshake that represents each of these four words.
Our Top Recommended Finds
- 9mm Multi-Color Pony Bead Bulk Pack: Having a wide variety of colors allows you to create more intricate and personalized designs.
- 1mm Fabric-Covered Elastic Cord: This string is the most reliable option for bracelets that will be traded and worn frequently.
- Bead Organizer Storage Box: Keeping your colors separated saves hours of time and makes the crafting process much more enjoyable.
Level Up Your Crafting Skills
Once you have mastered the basic “single” bracelet, you can start exploring more complex designs like cuffs and charms.
Multi-row cuffs use a “ladder” or “peyote” stitch to create thick, armor-like jewelry that can feature complex pixel art.
You can also try making “3D” pieces, such as rotating cuffs or even small beaded animals.
The best way to improve is to keep practicing and sharing your creations with others in the community.
Grab a bag of beads today and start making your first set of bracelets to share at your next big event.